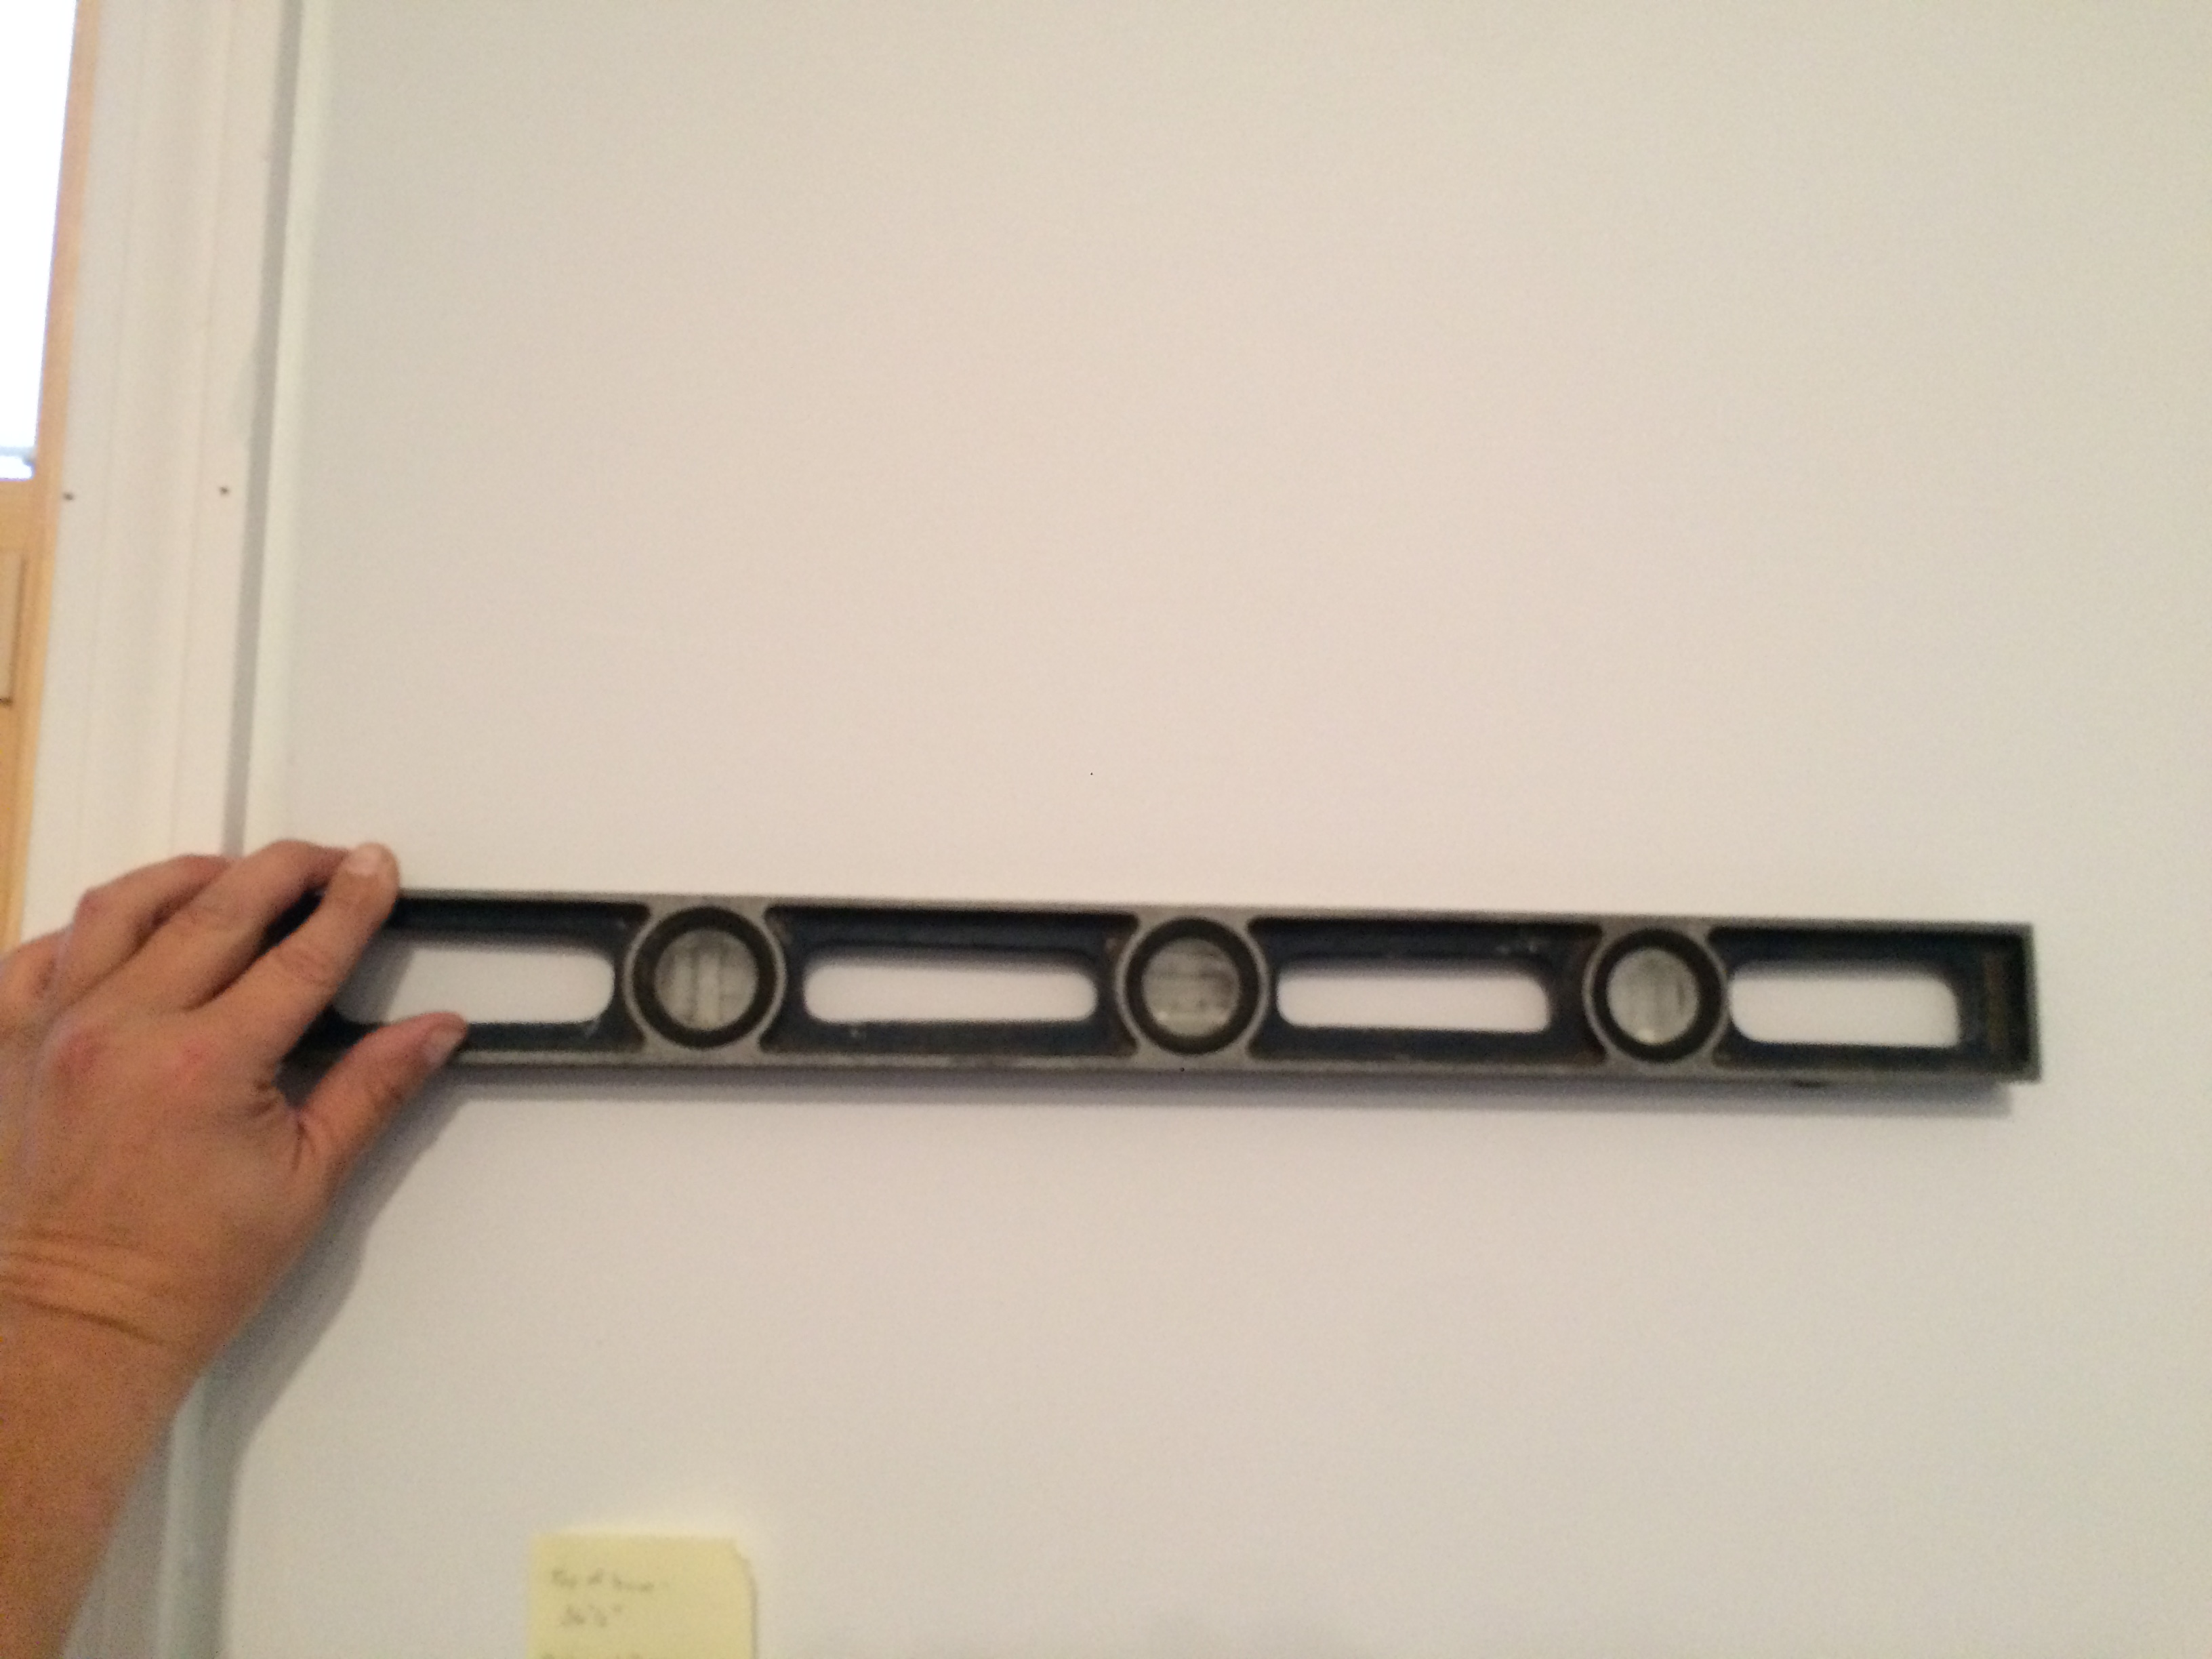
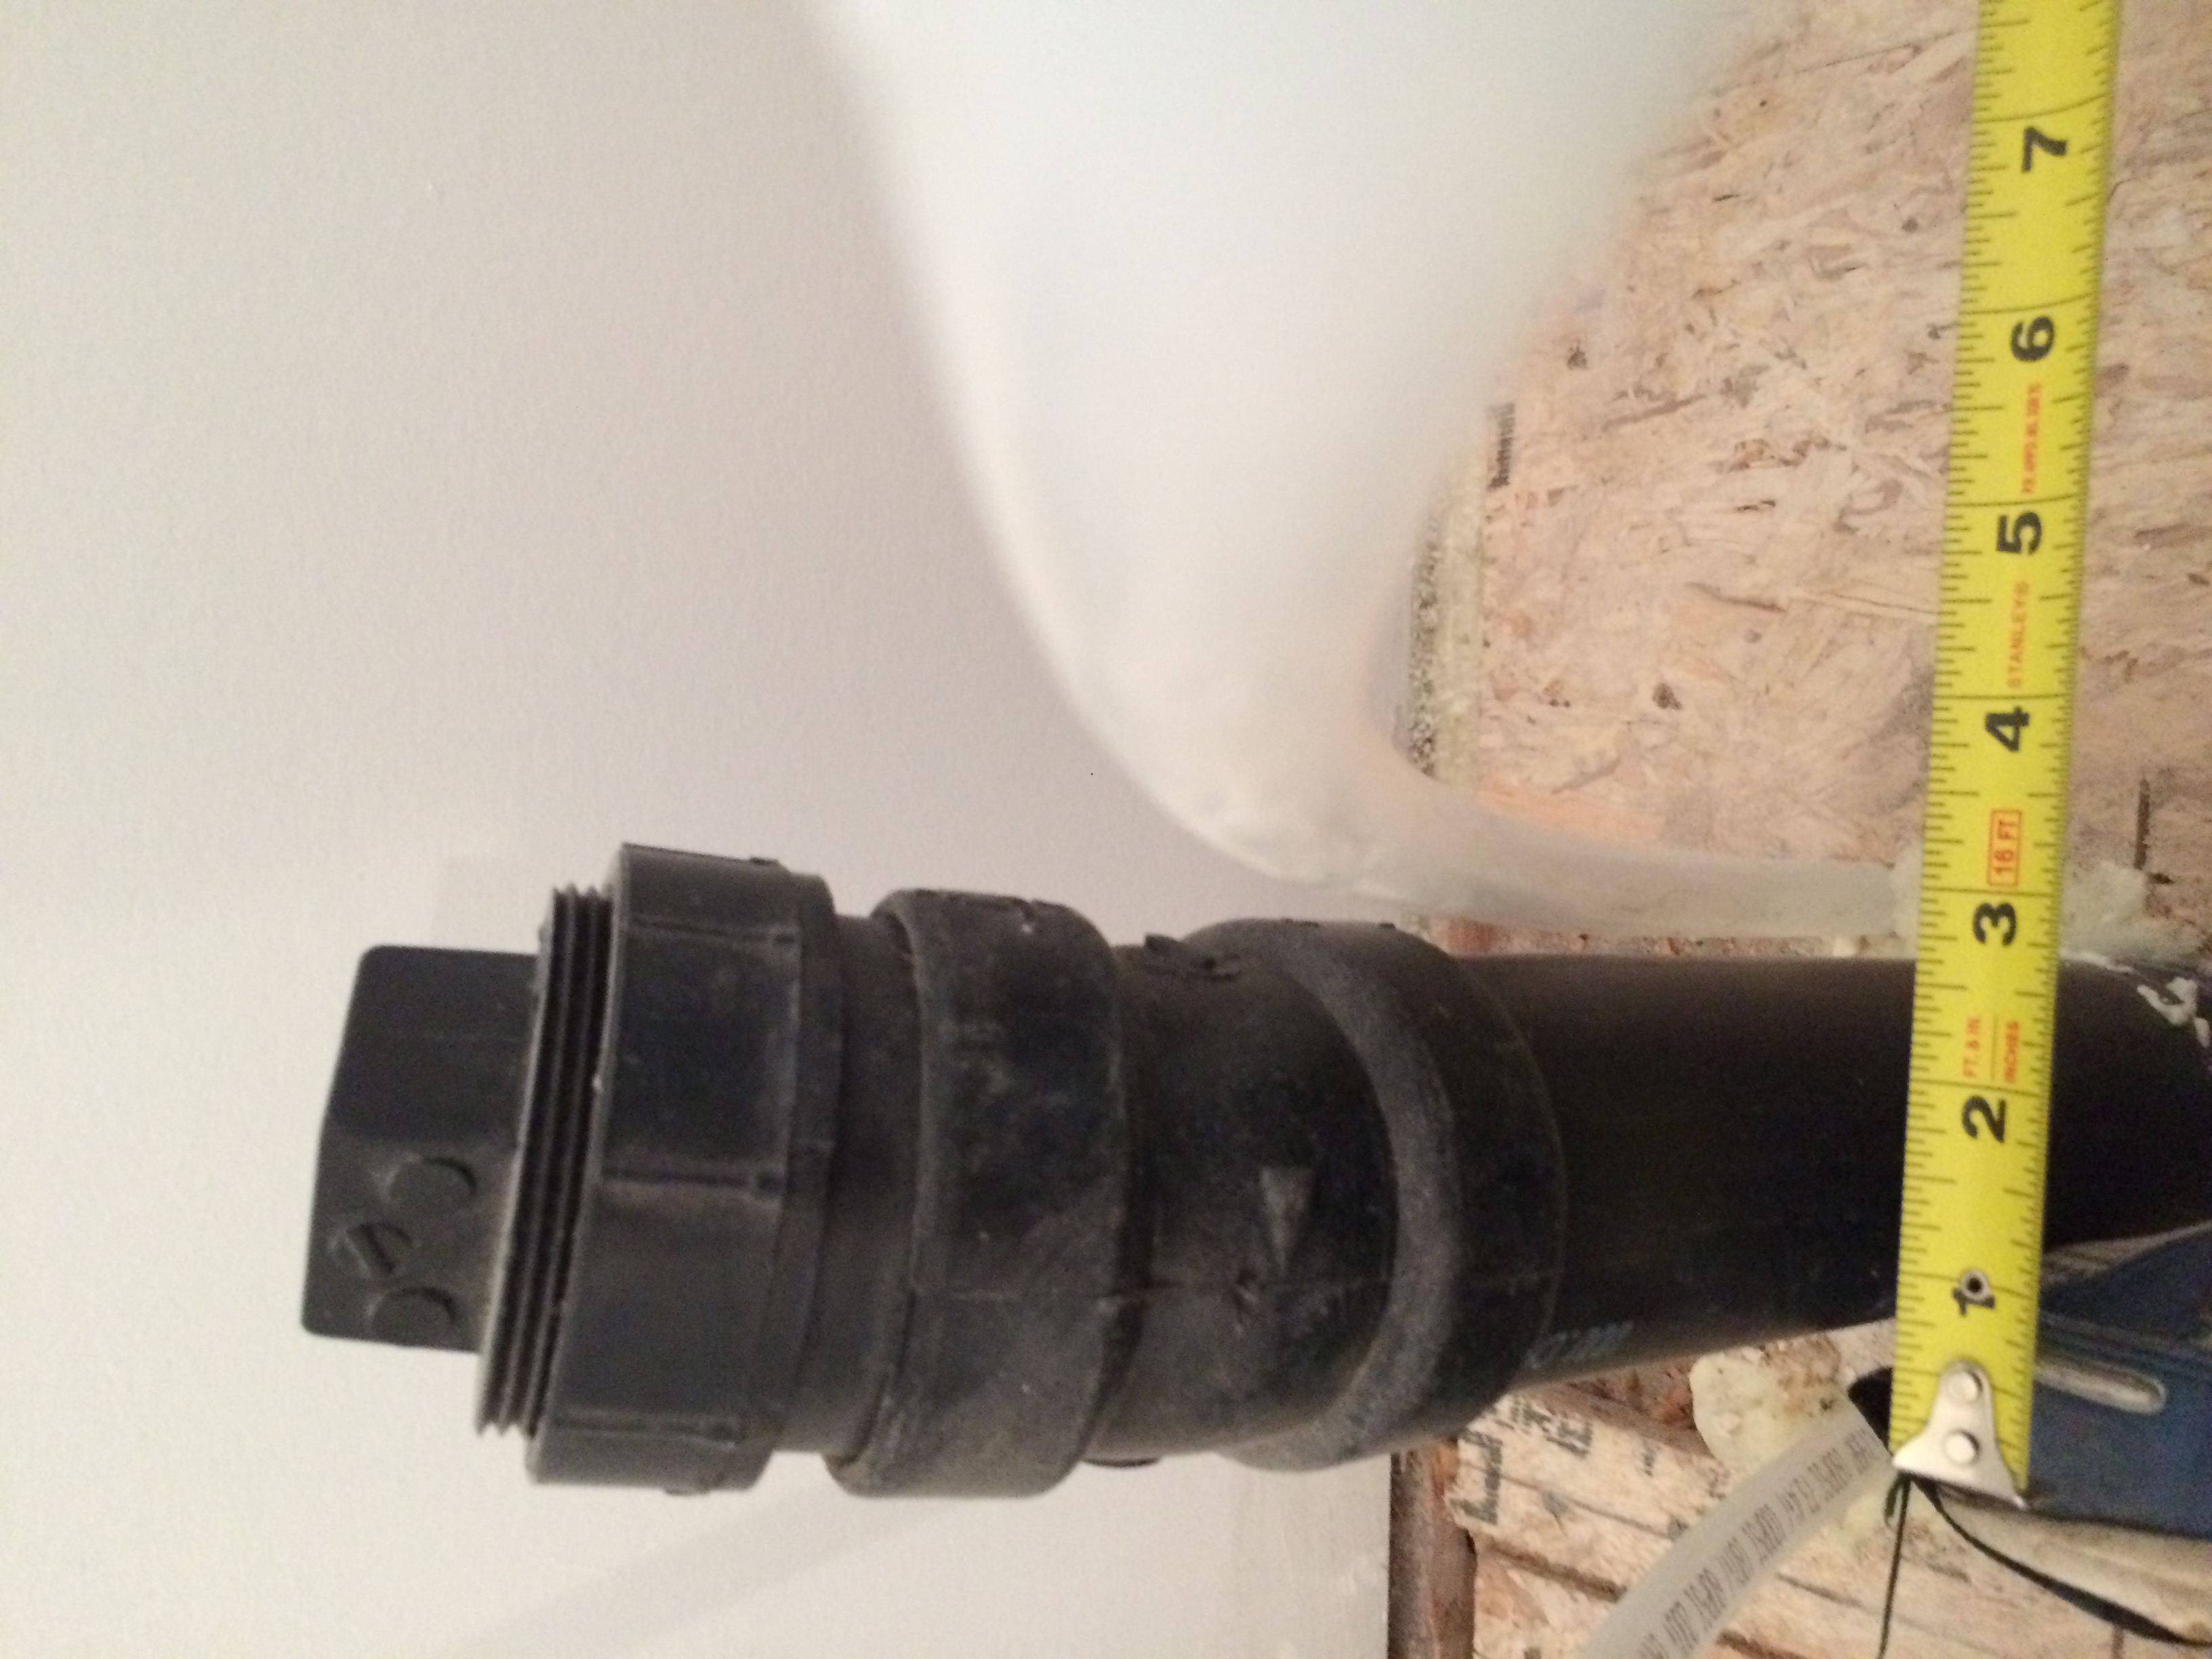
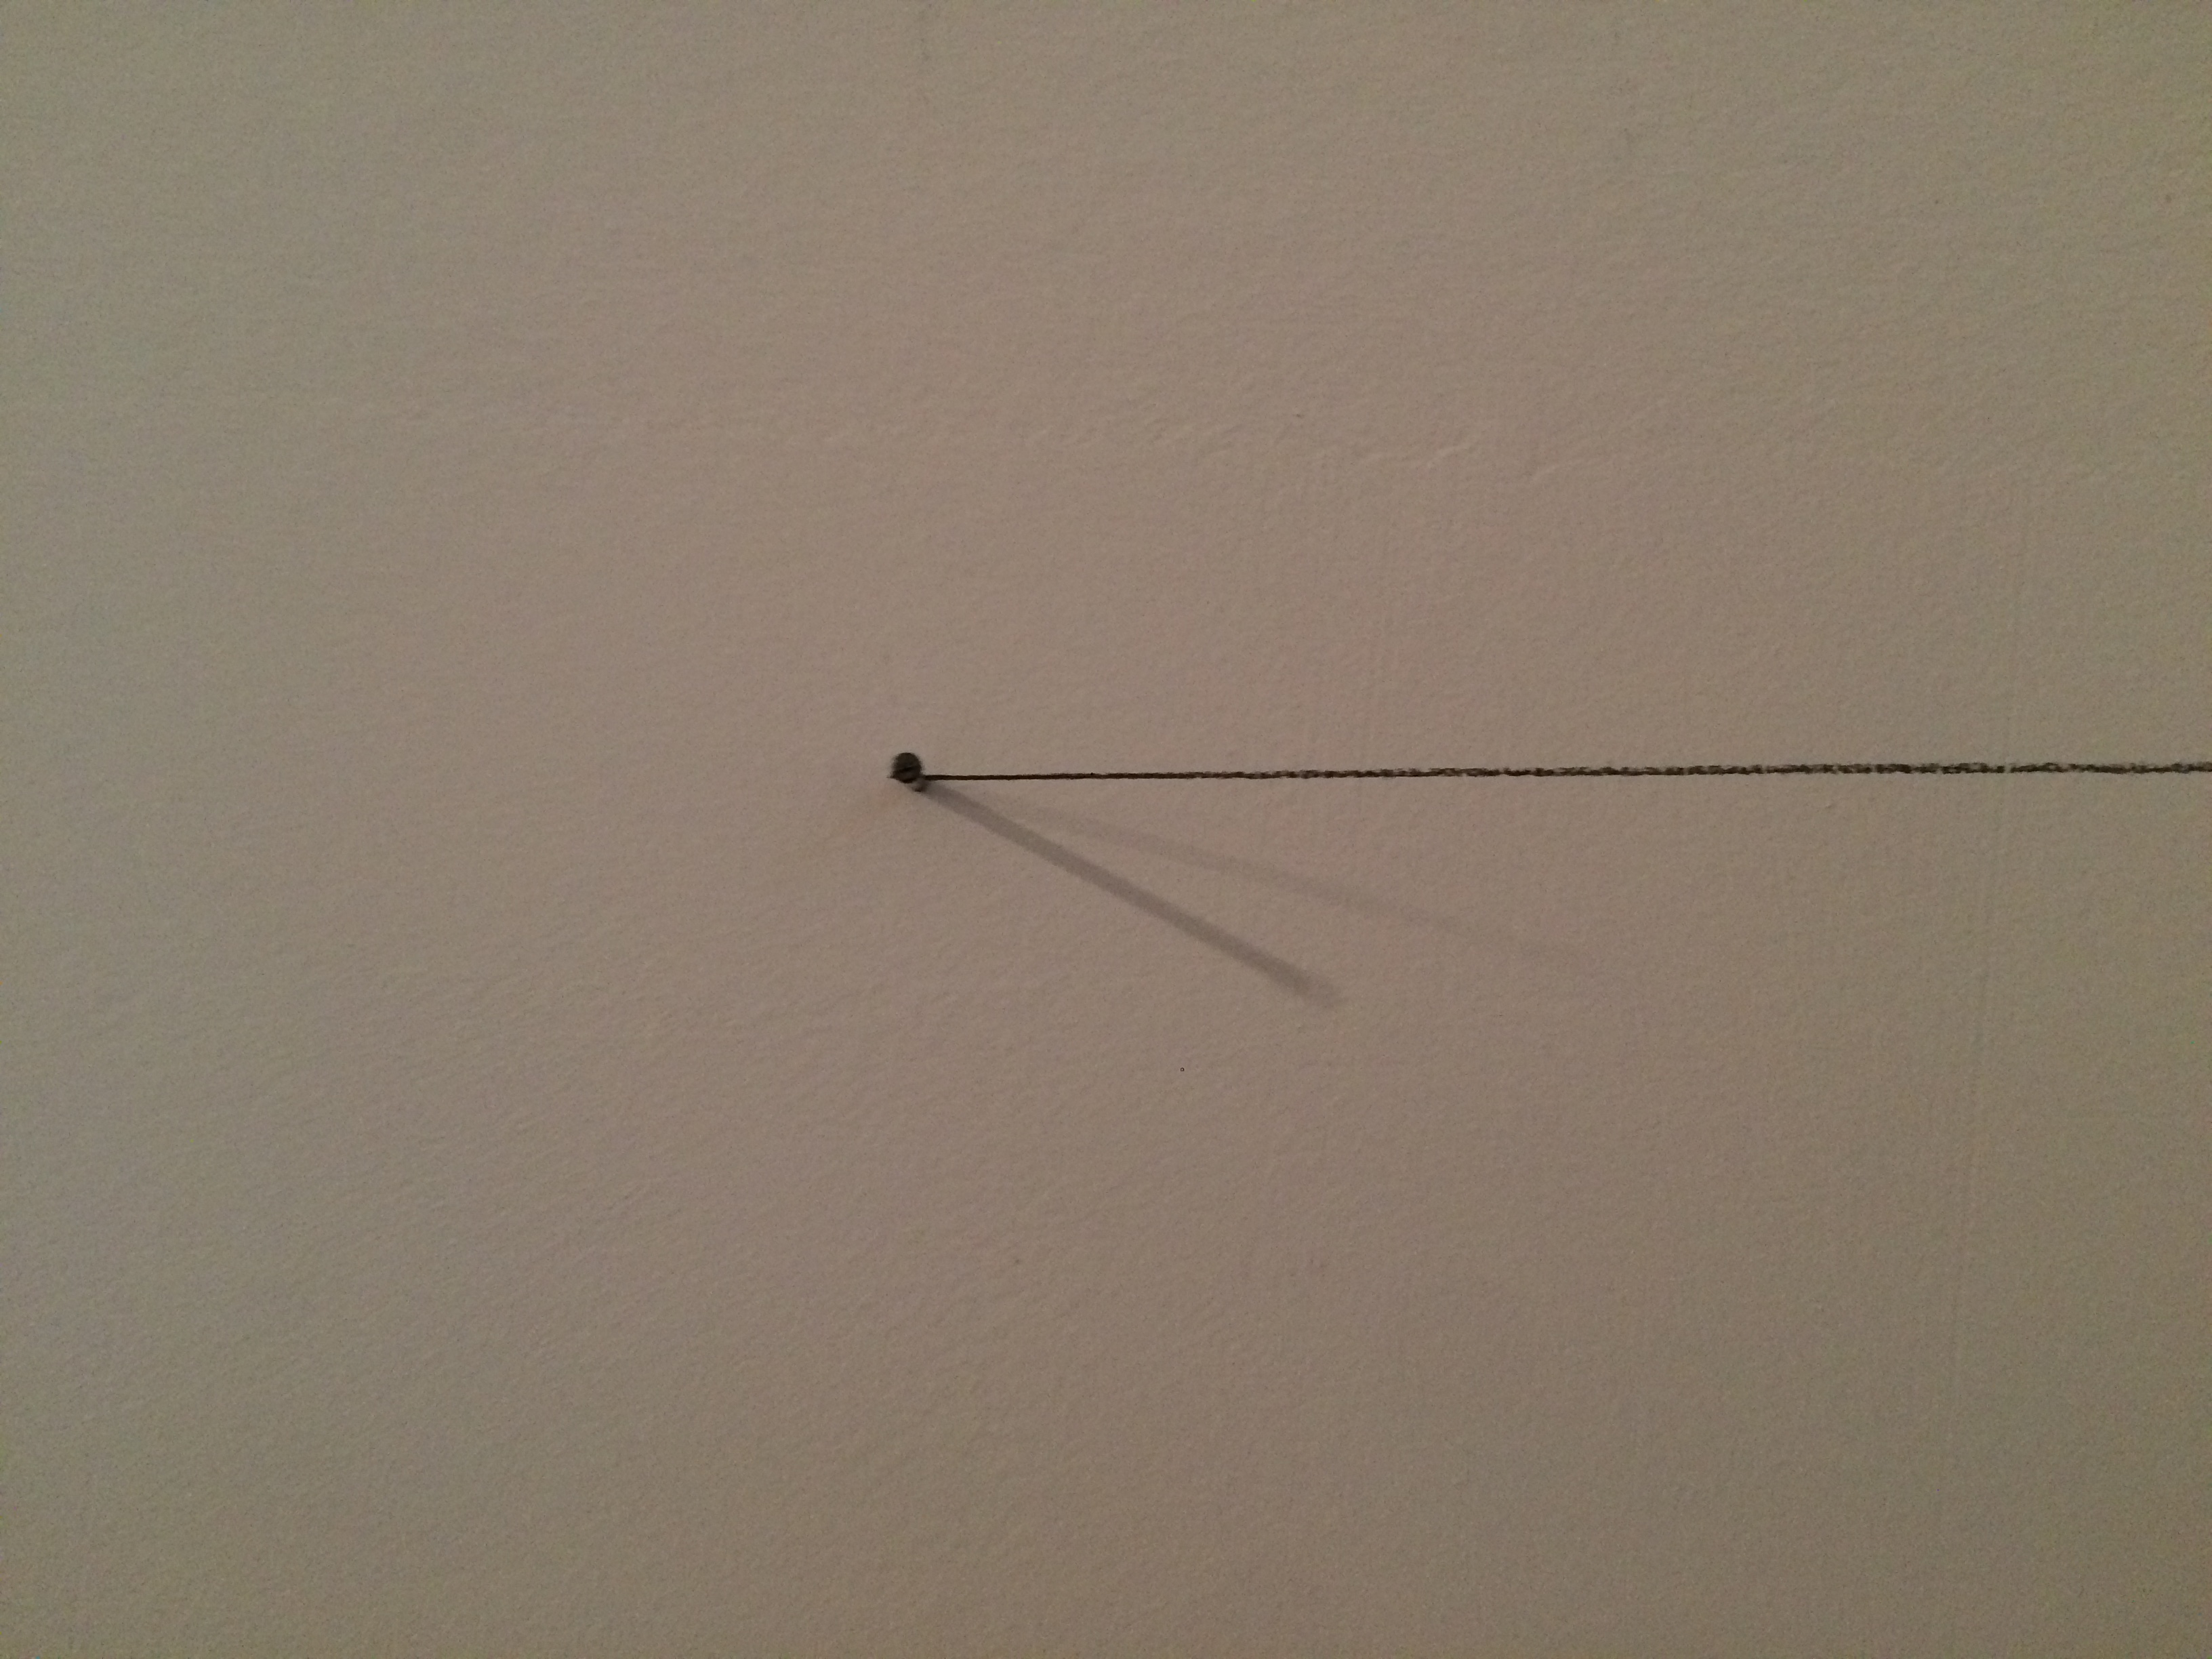
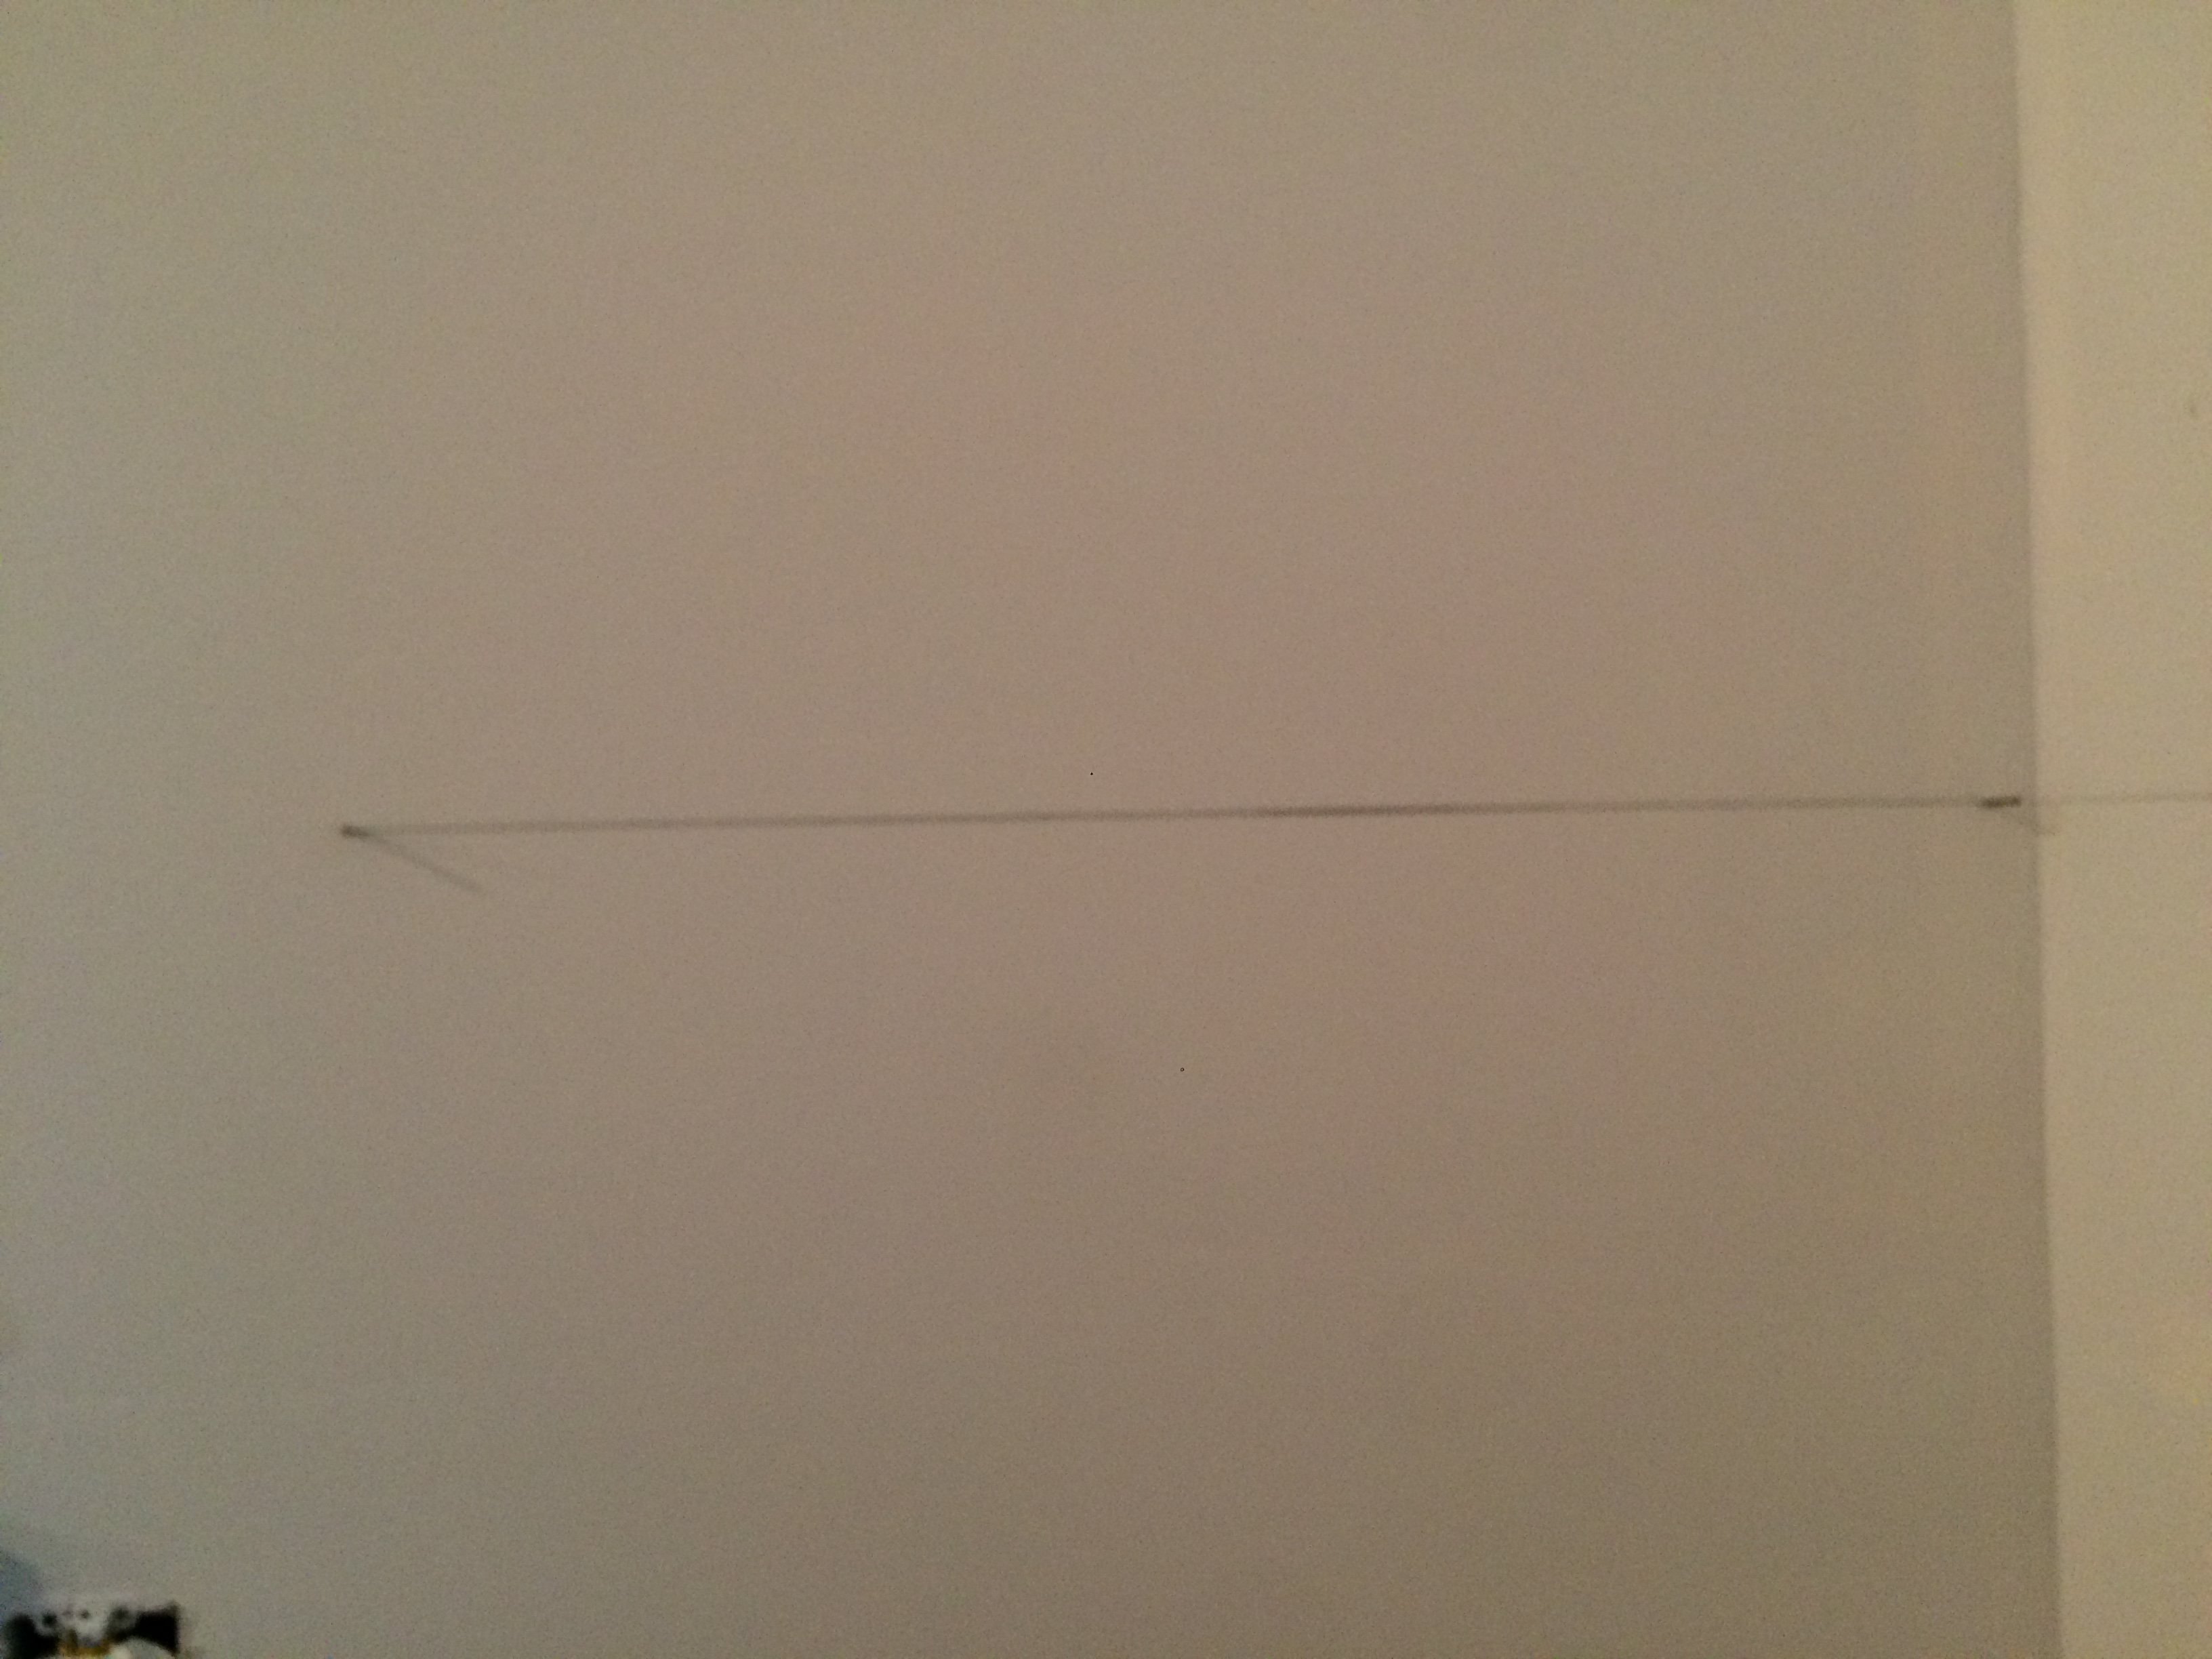
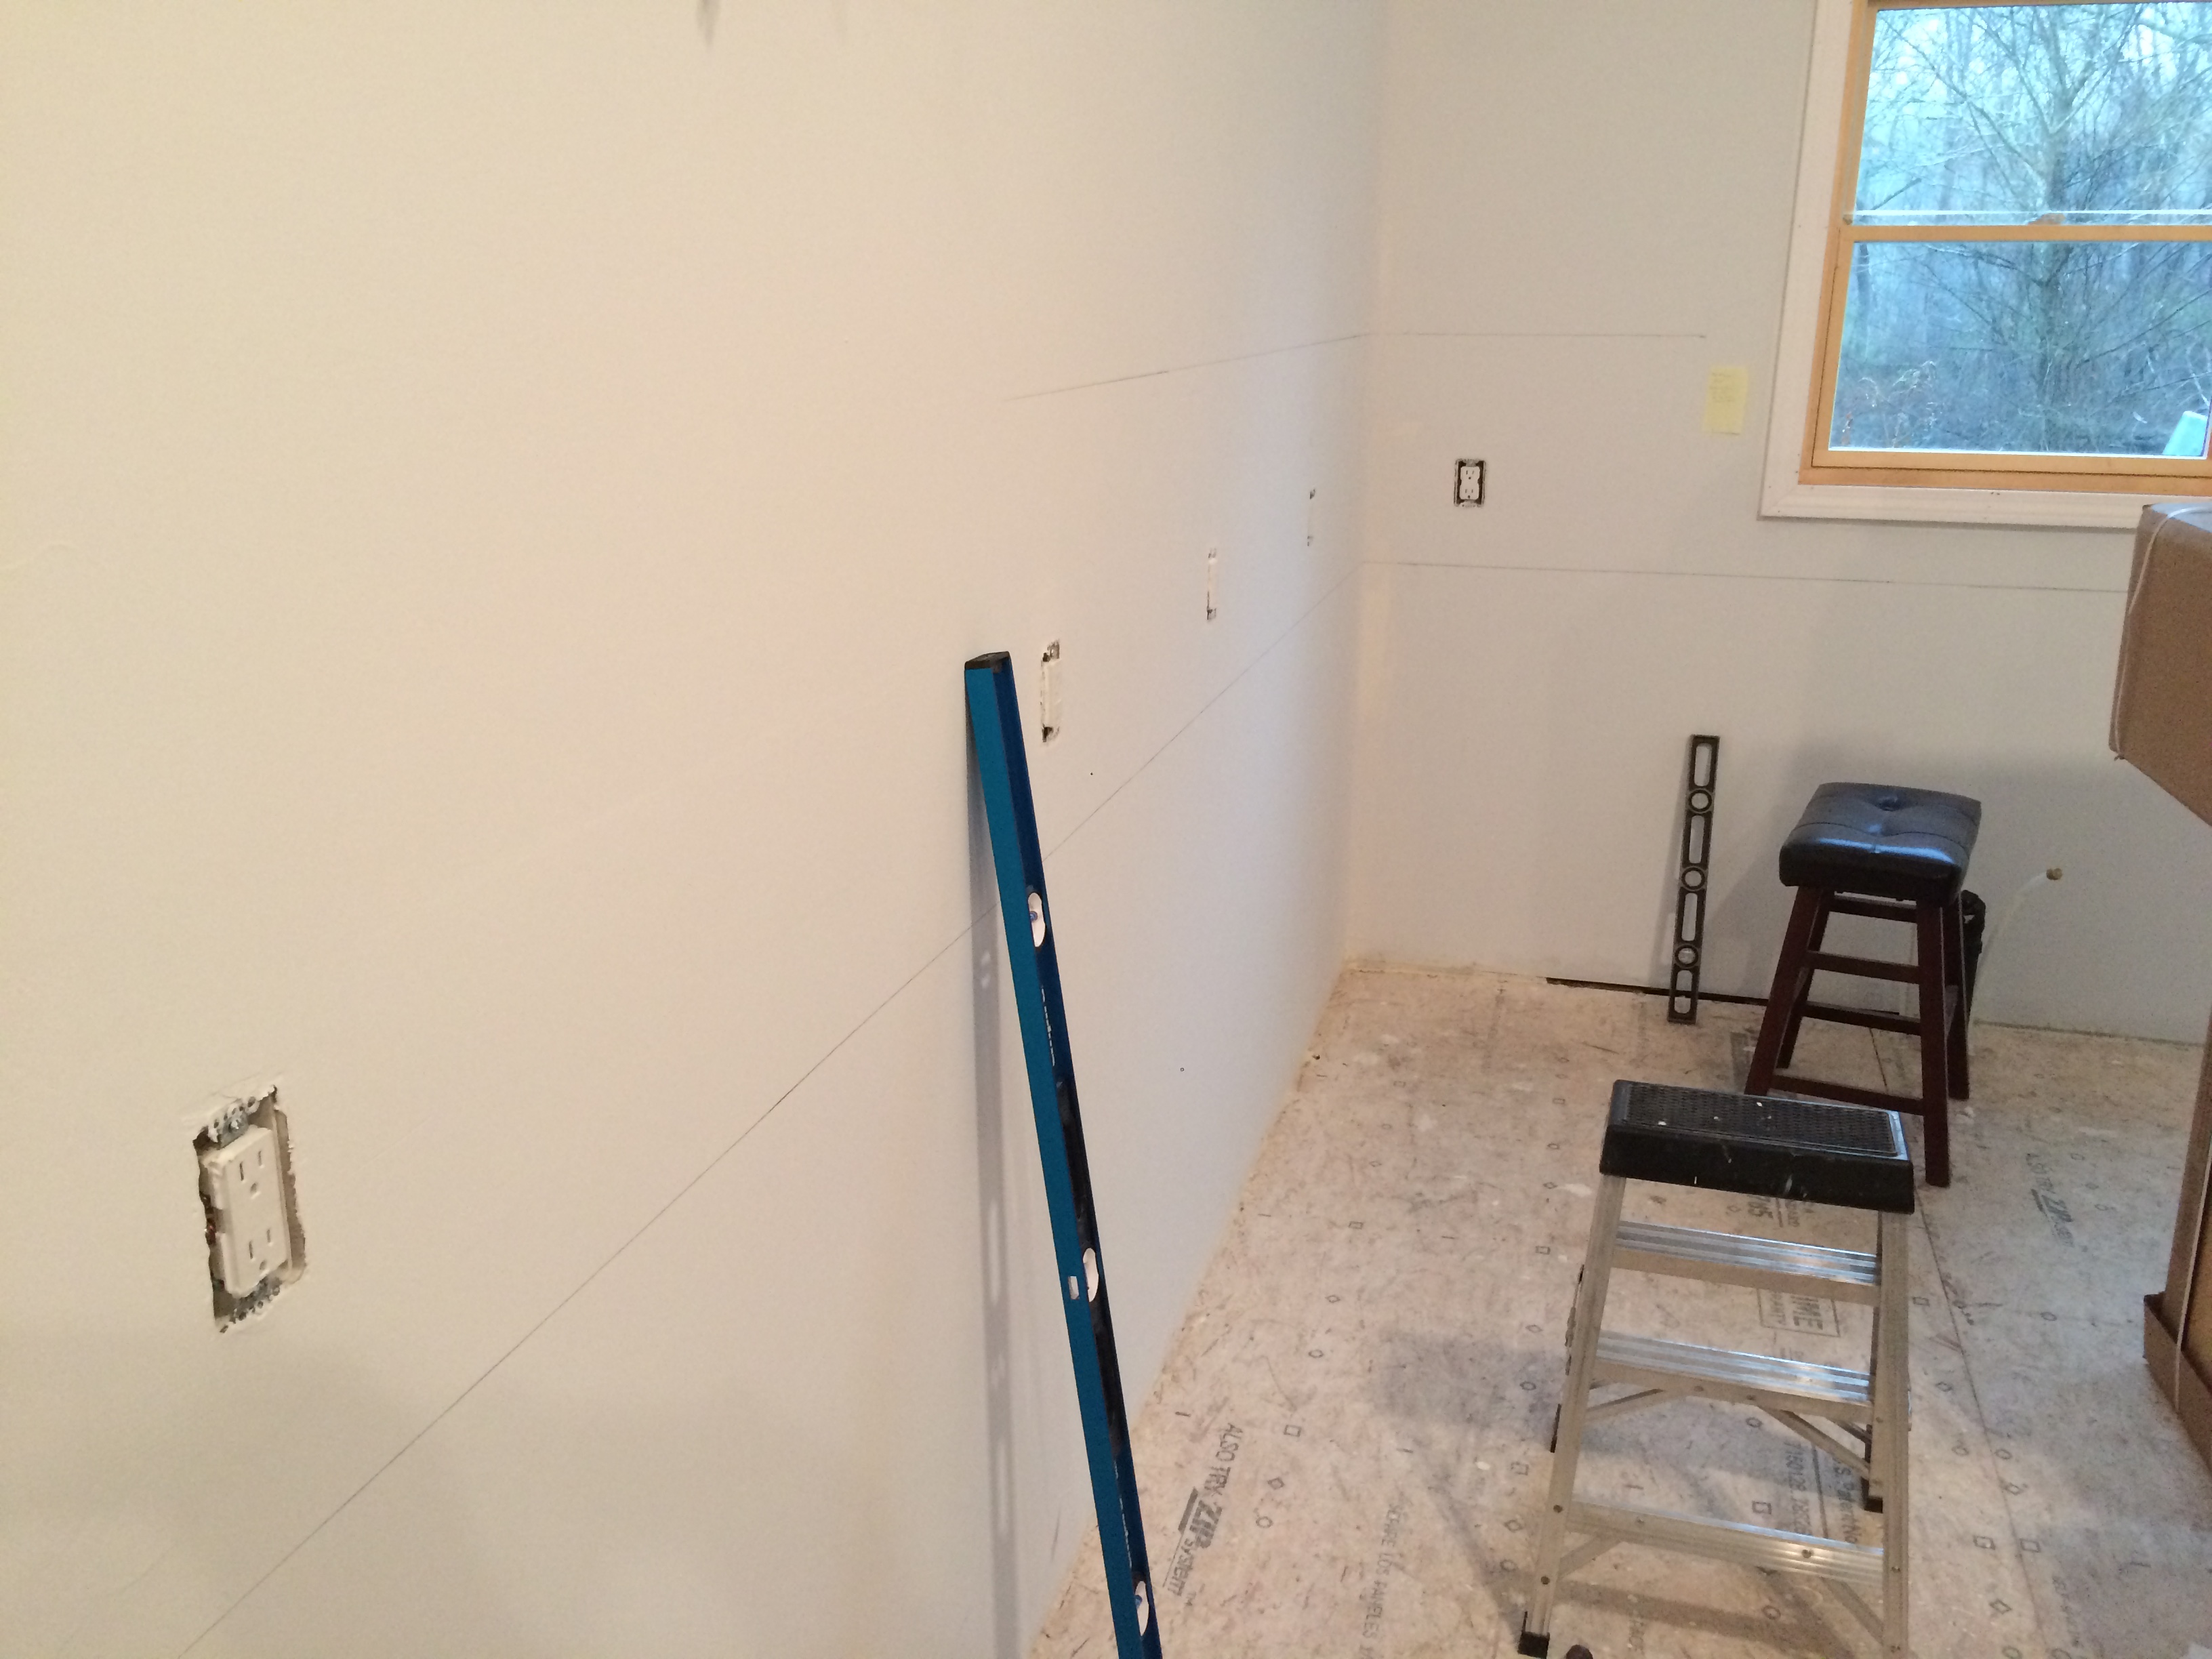
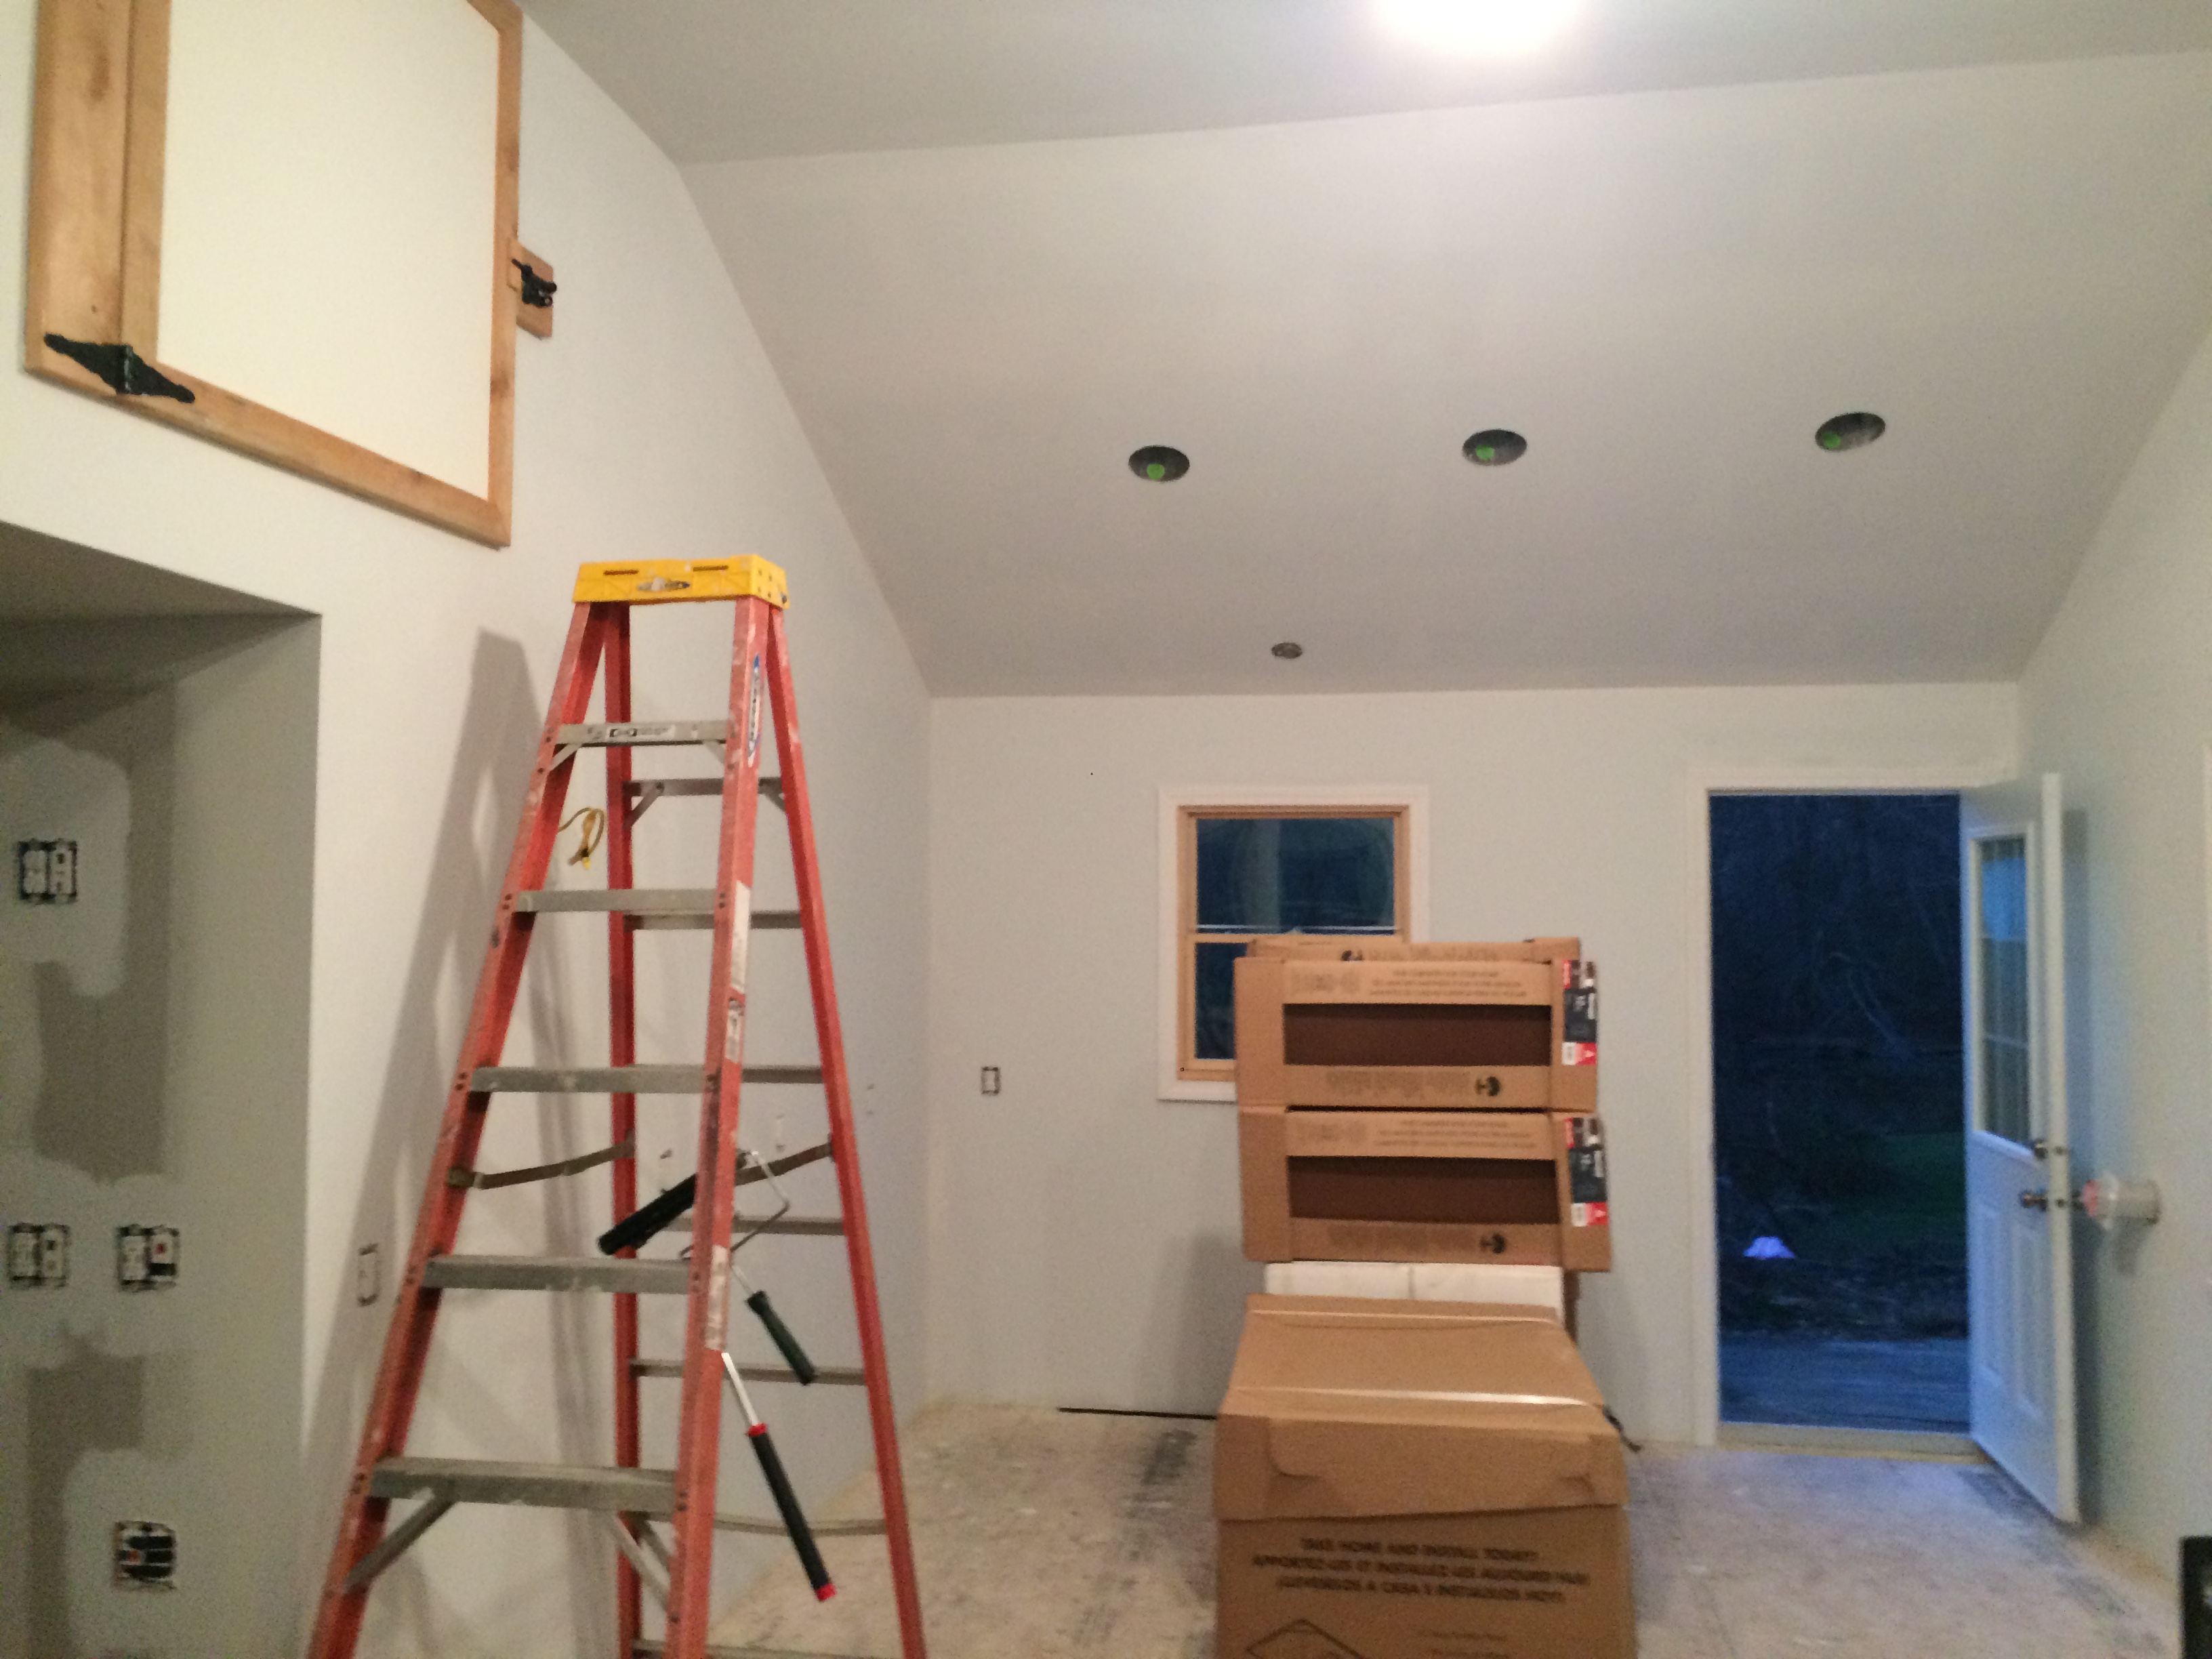
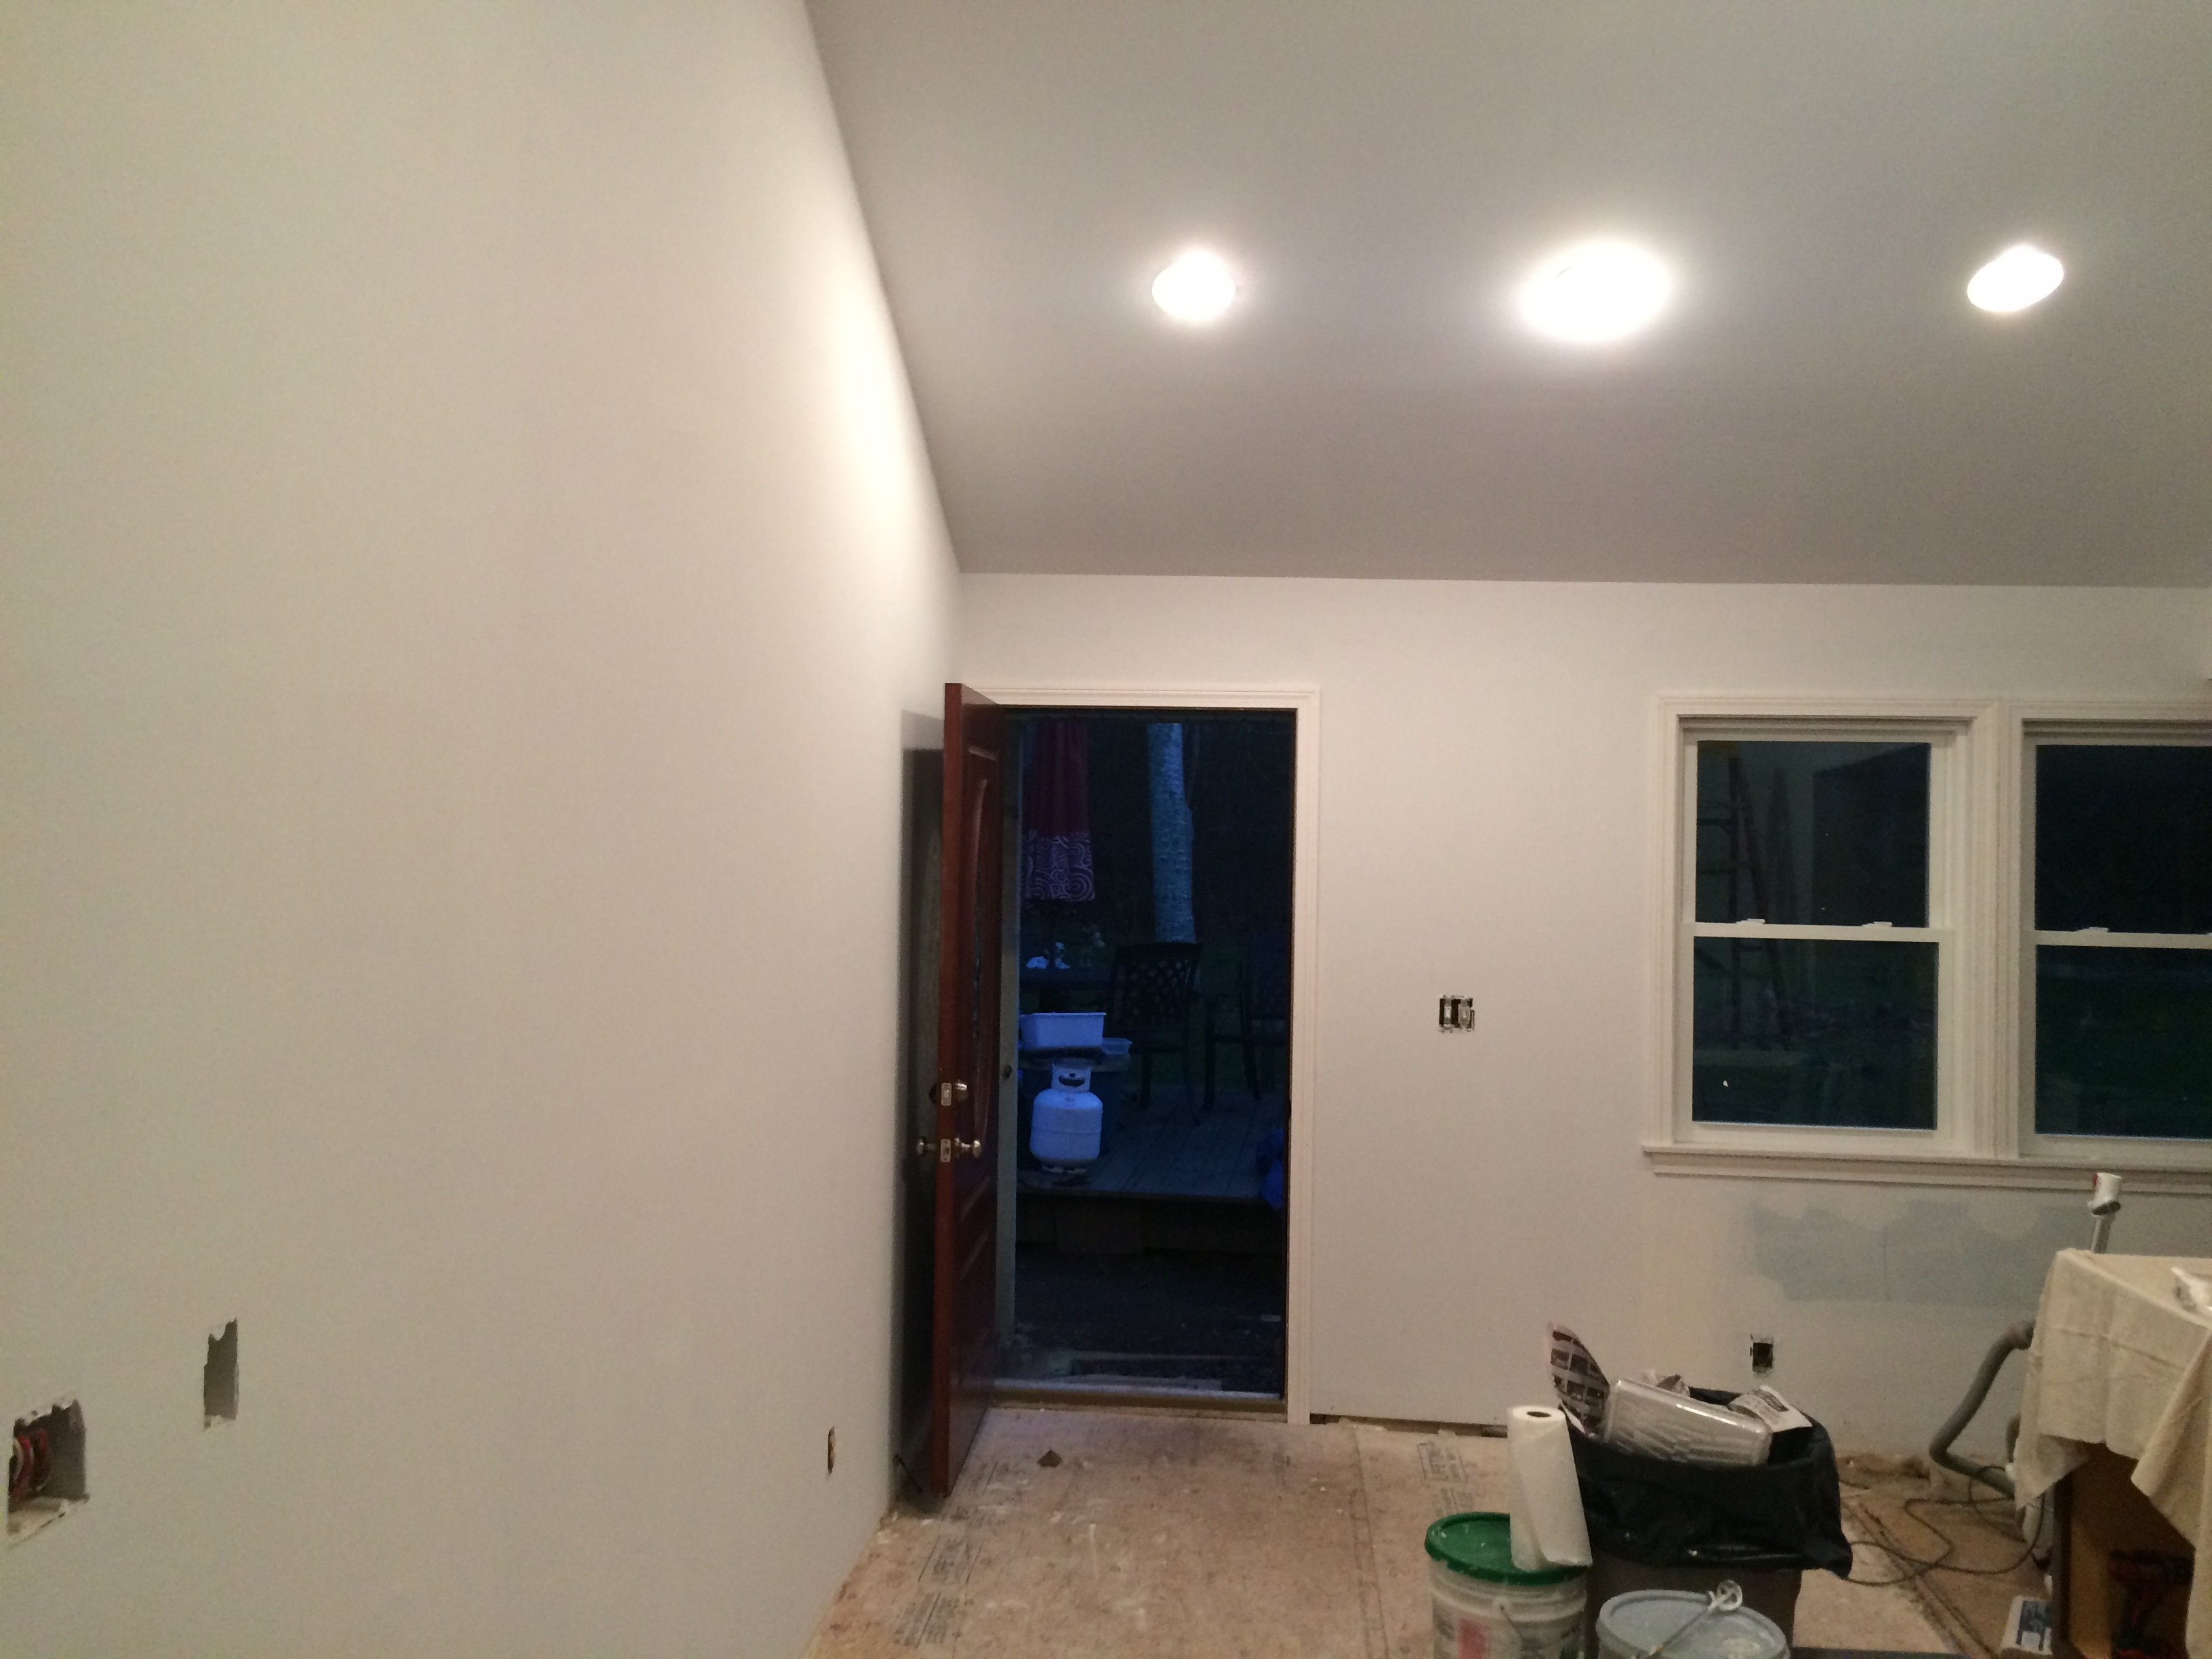
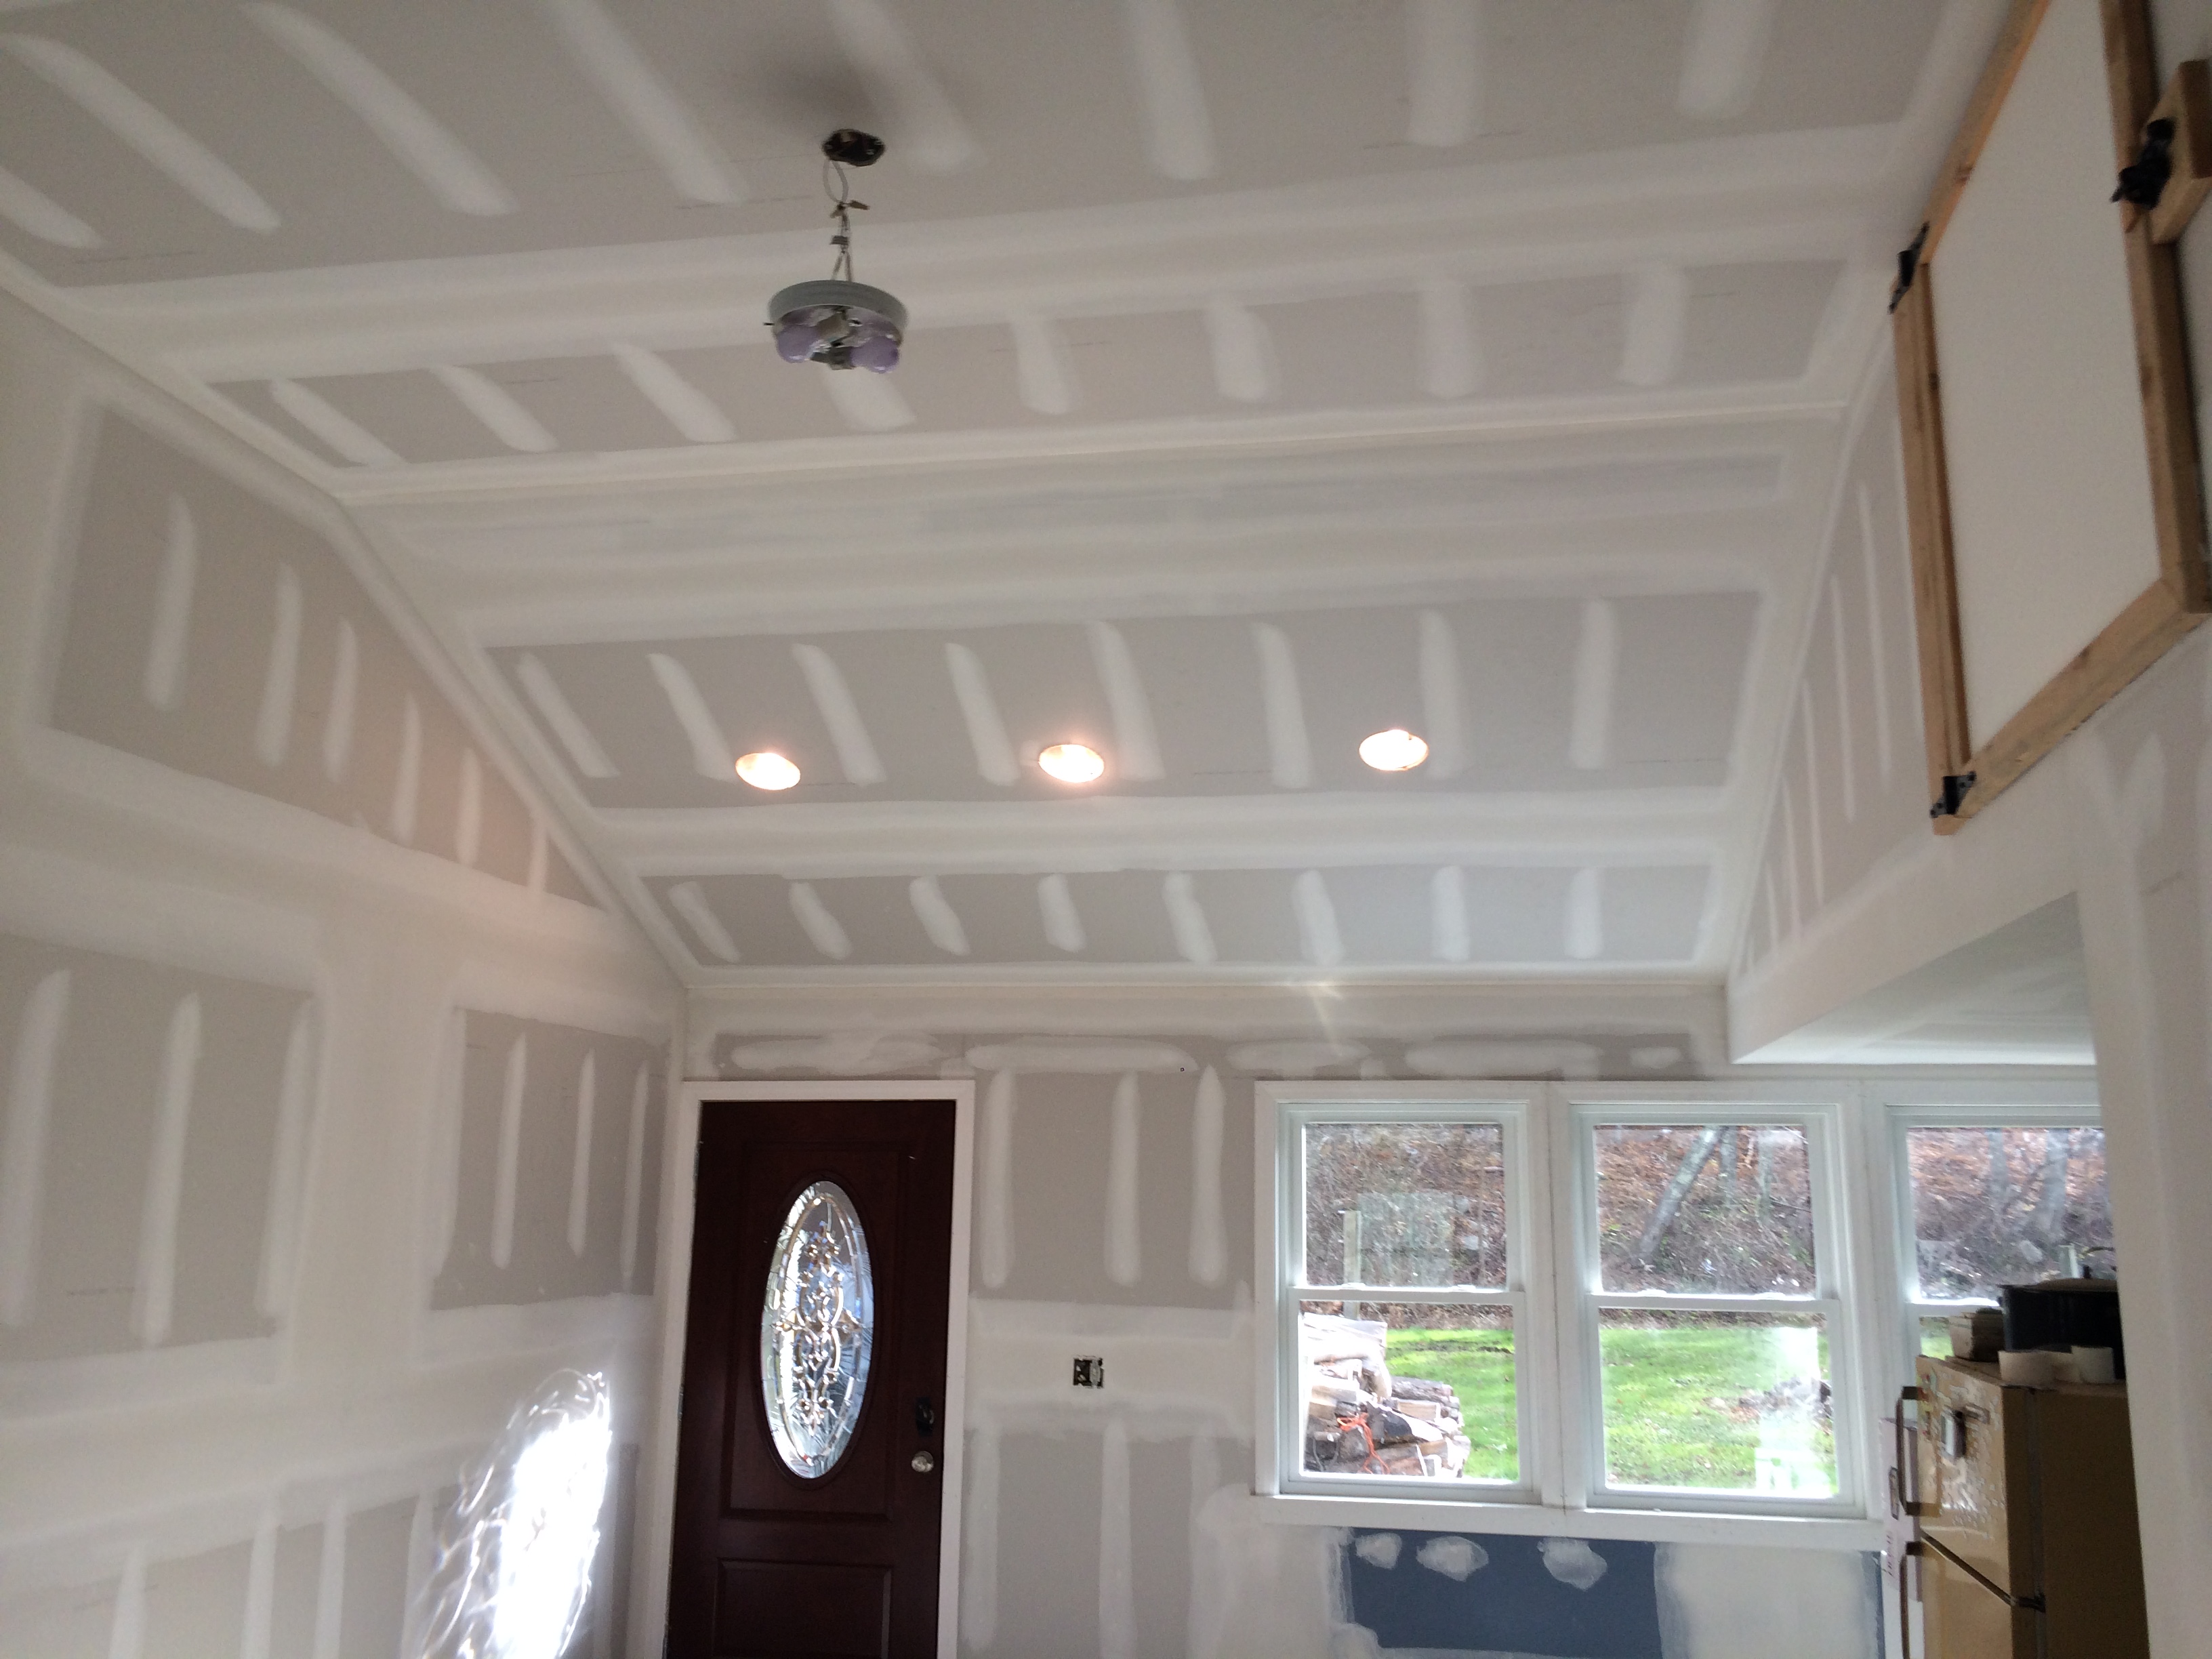
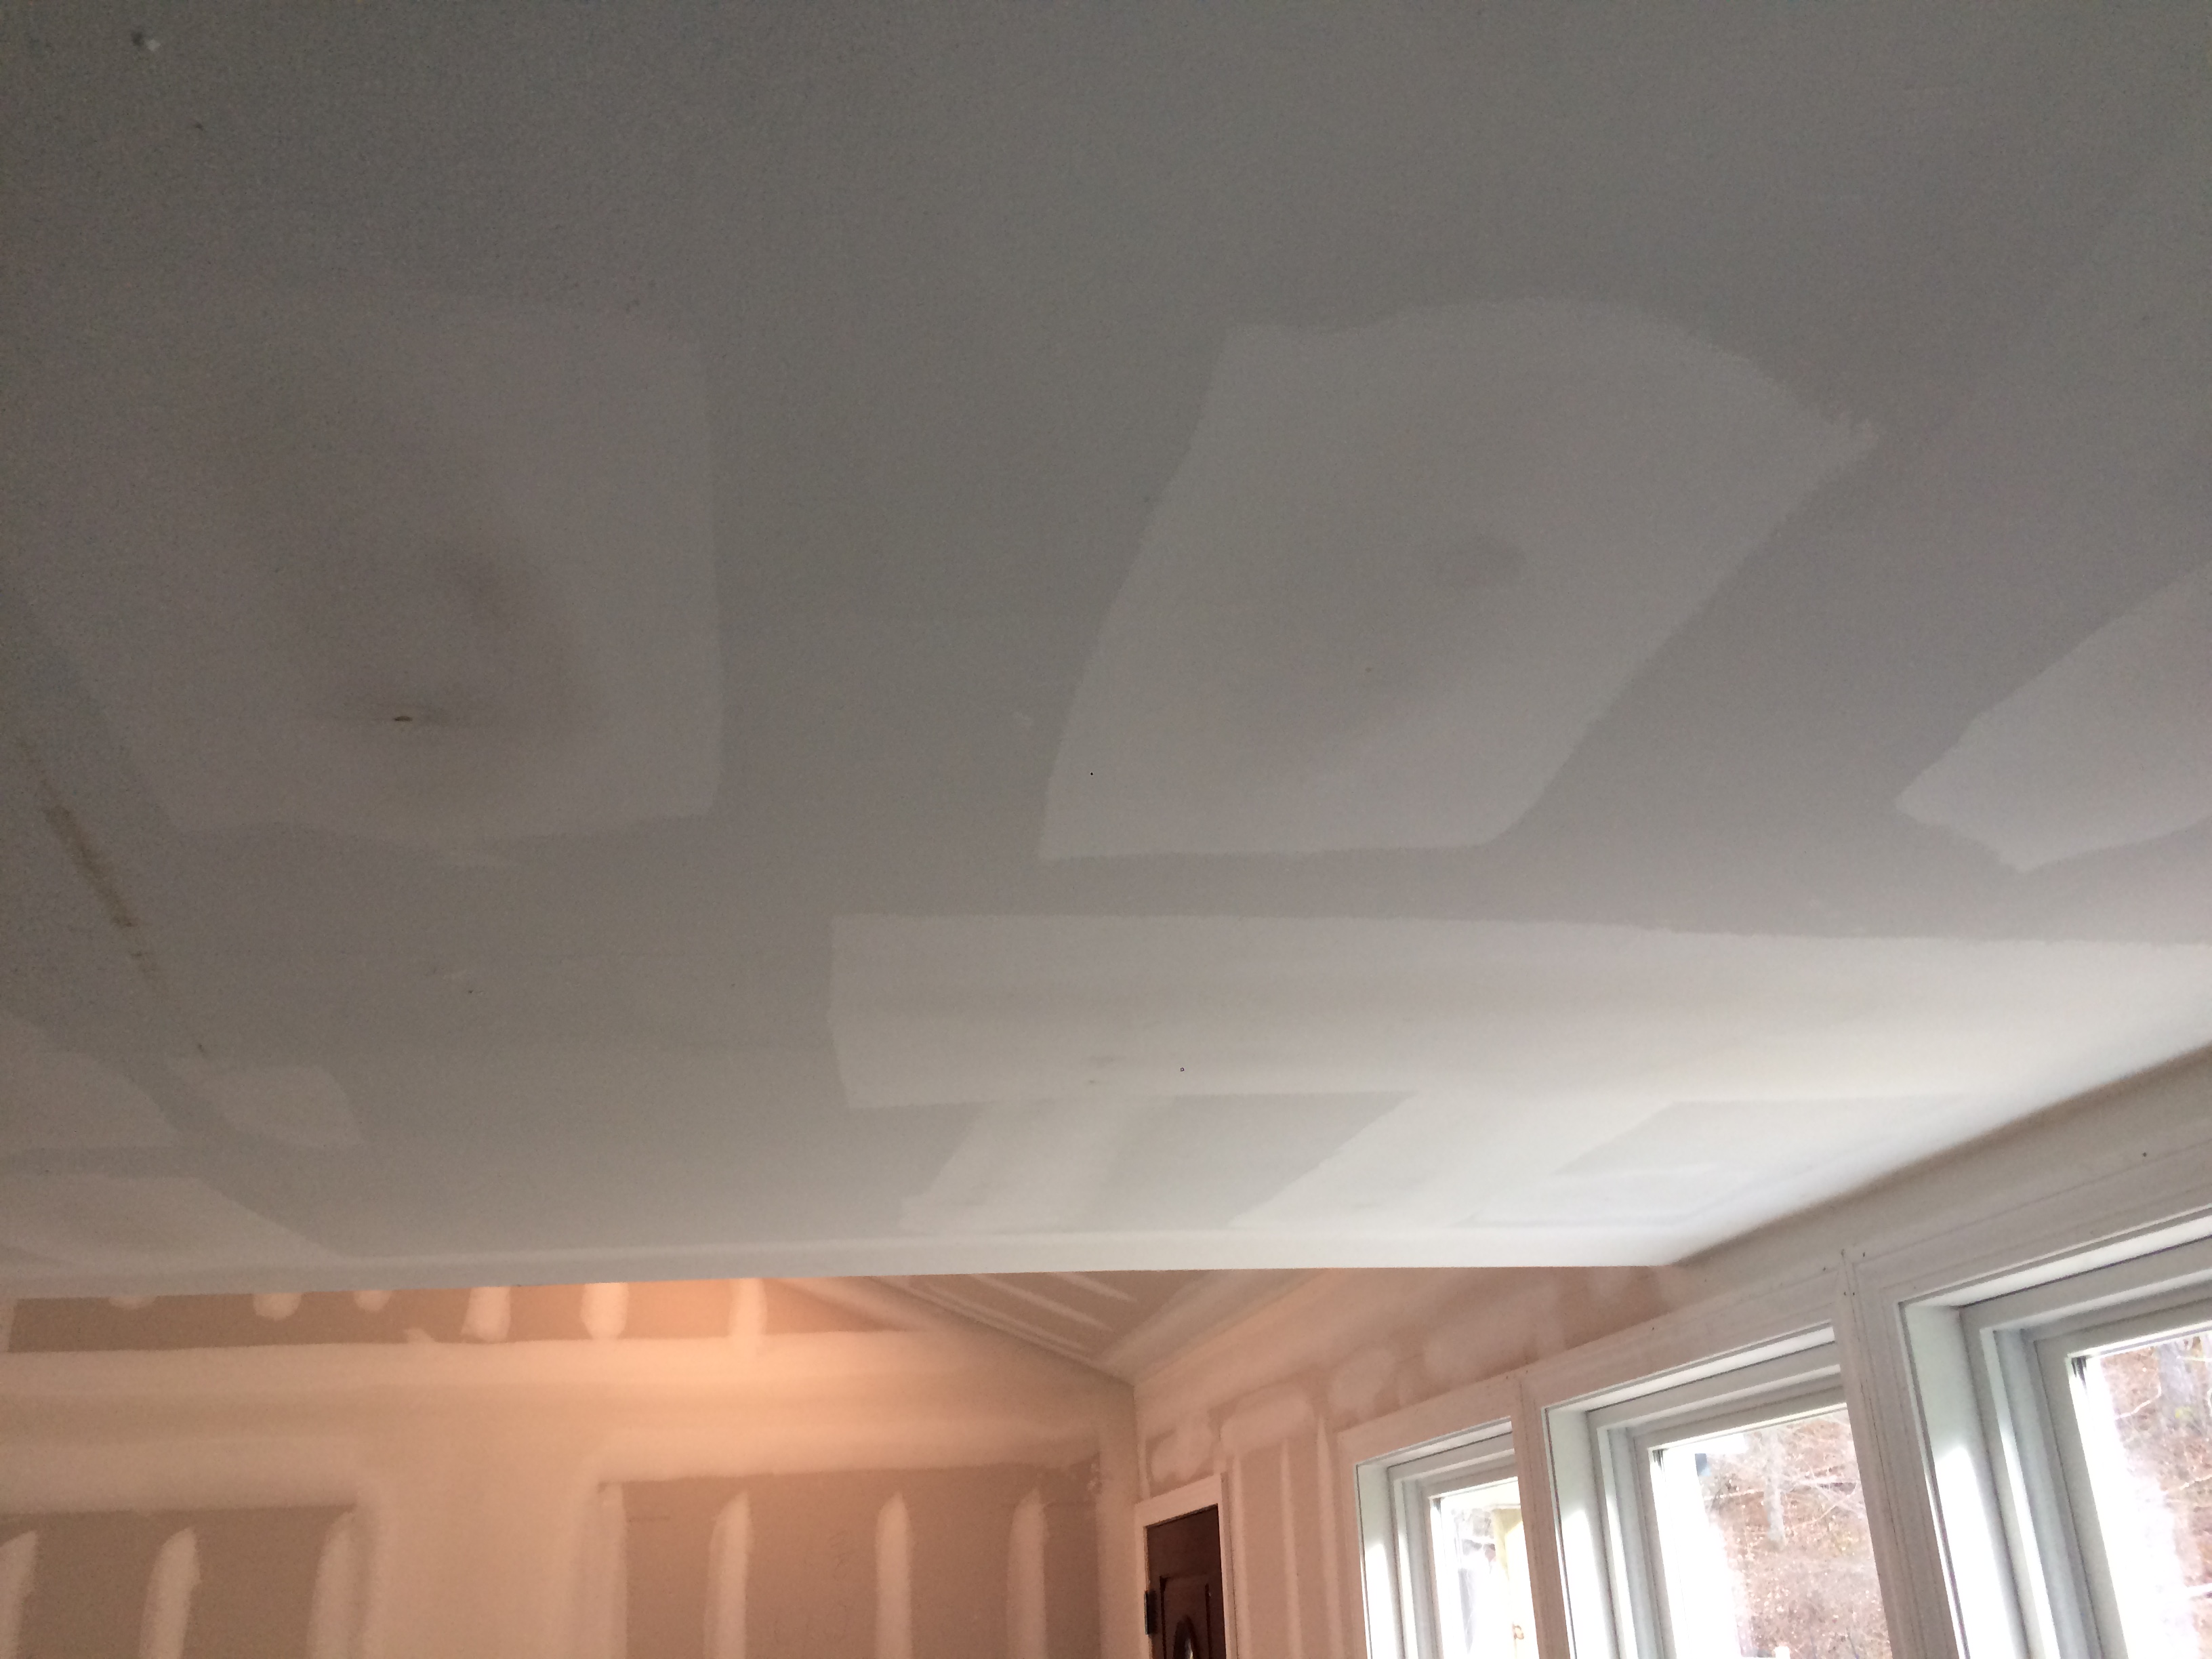
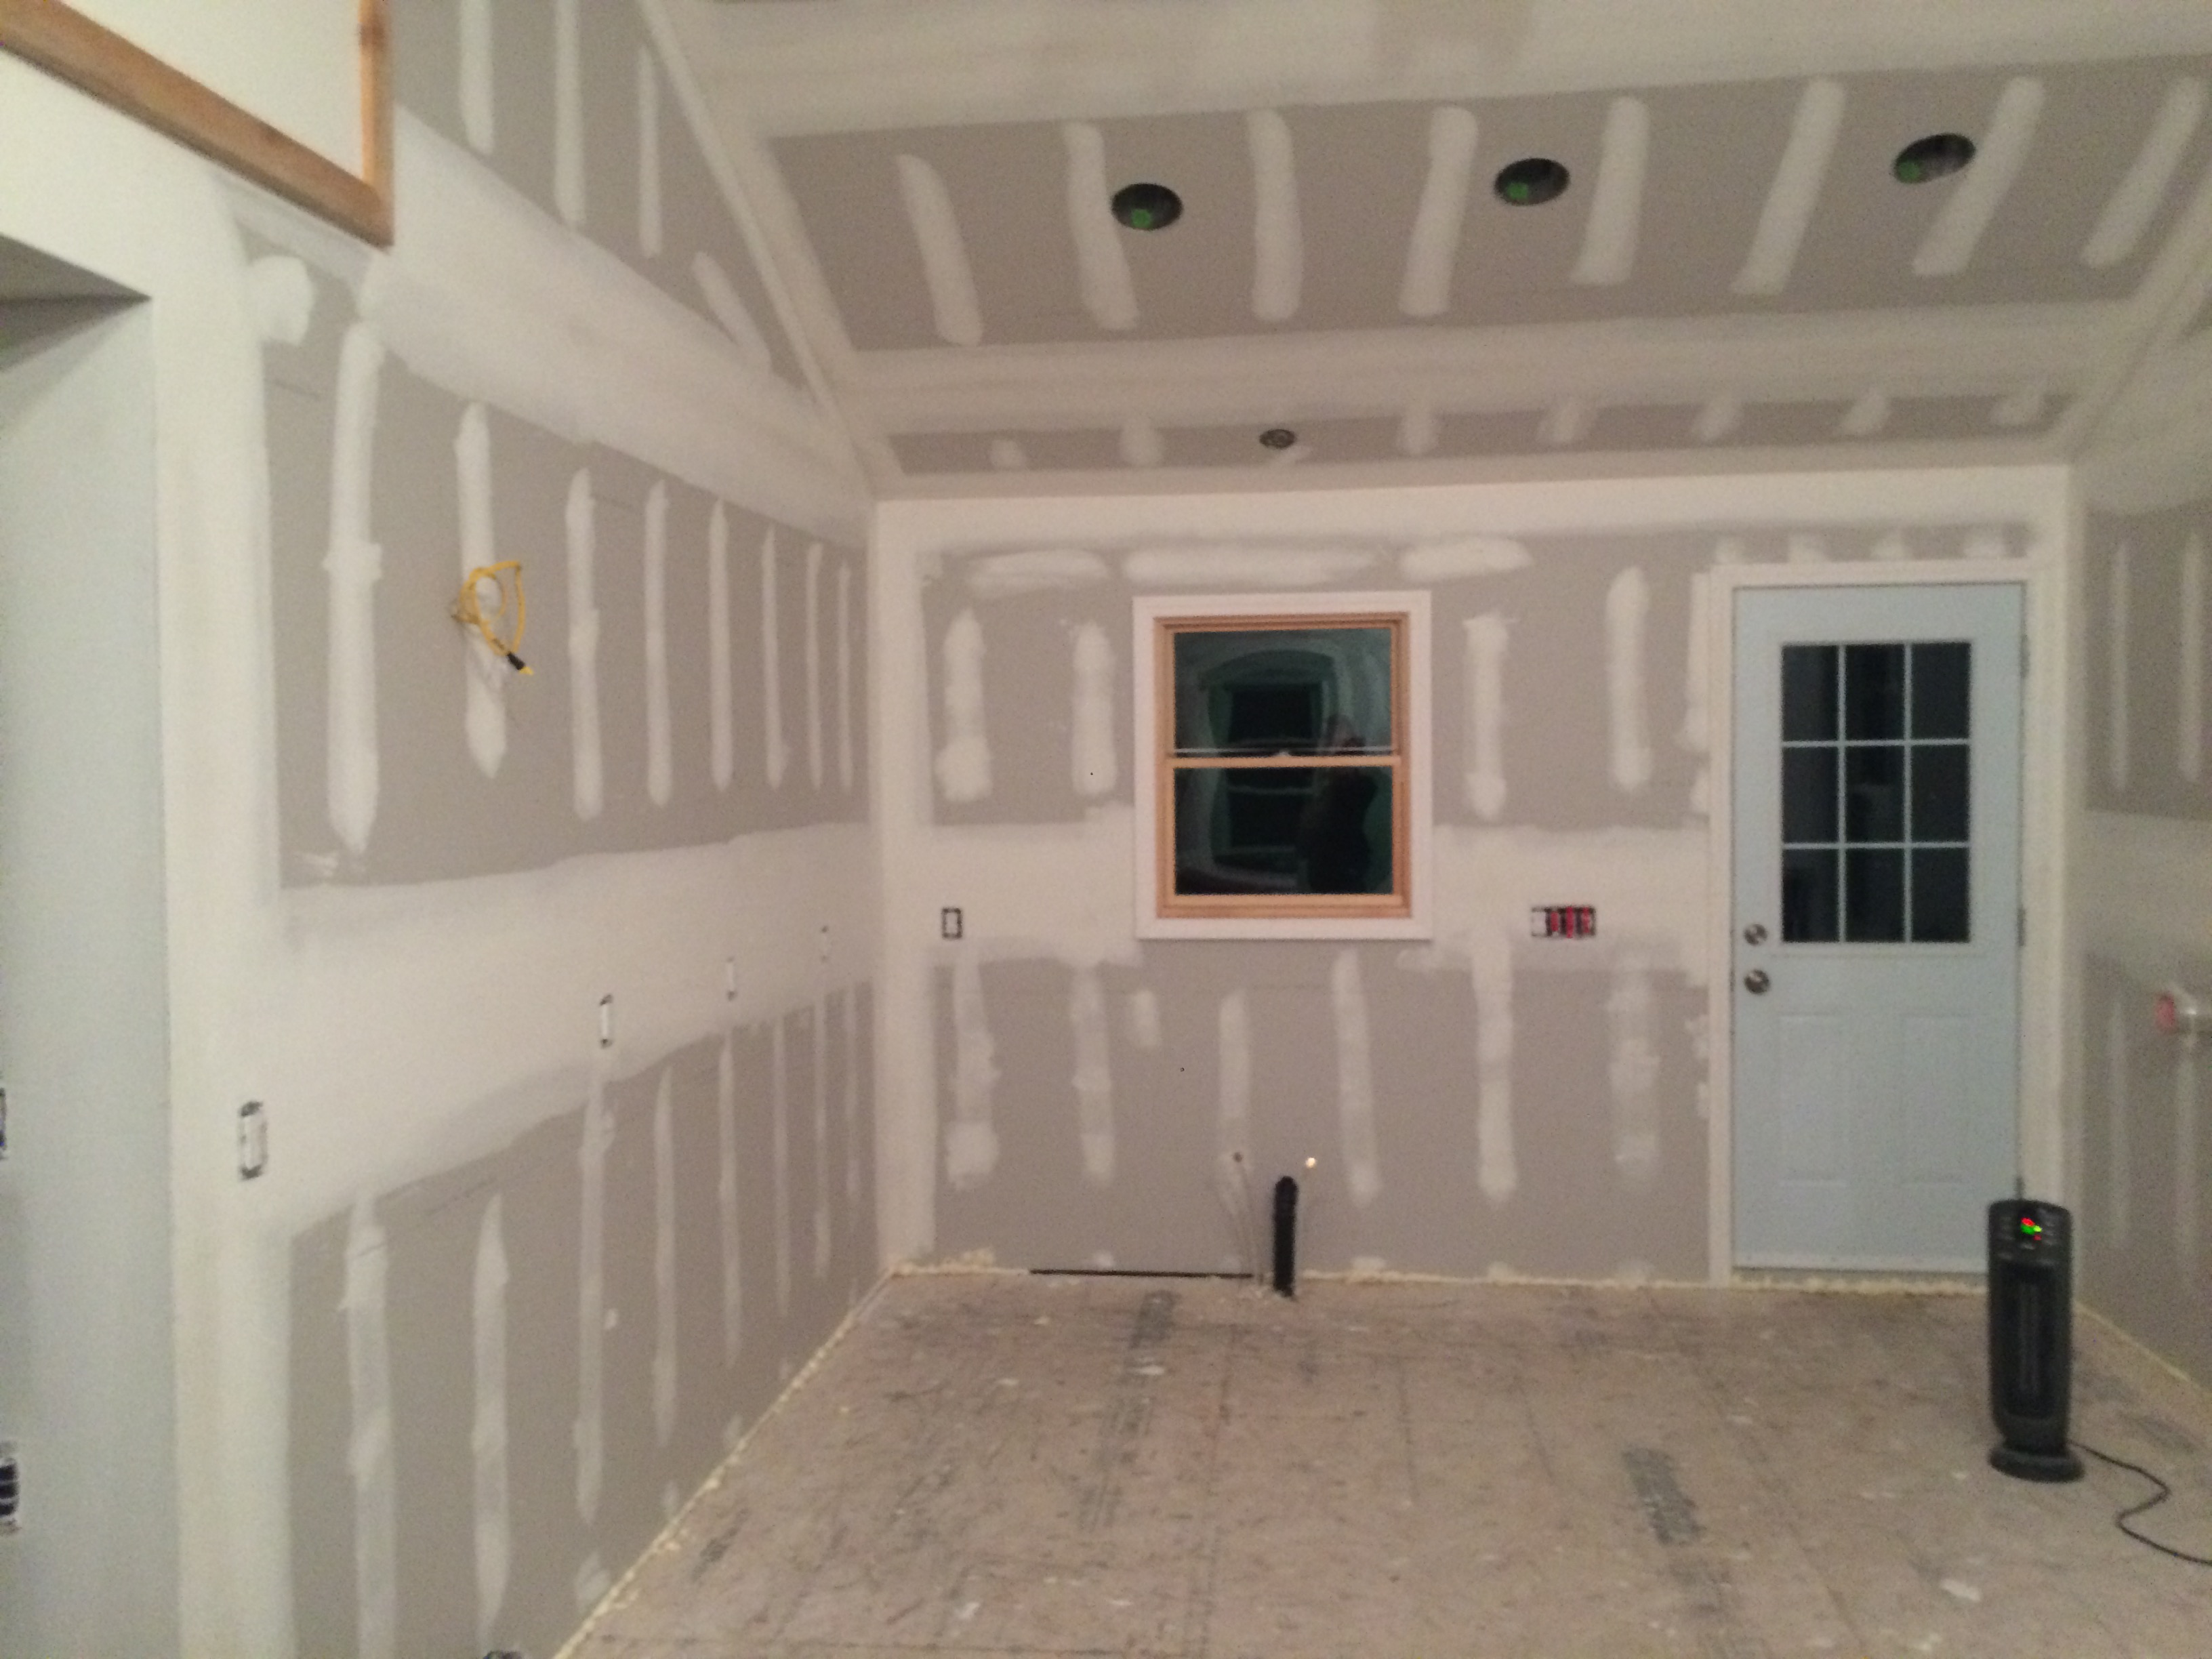
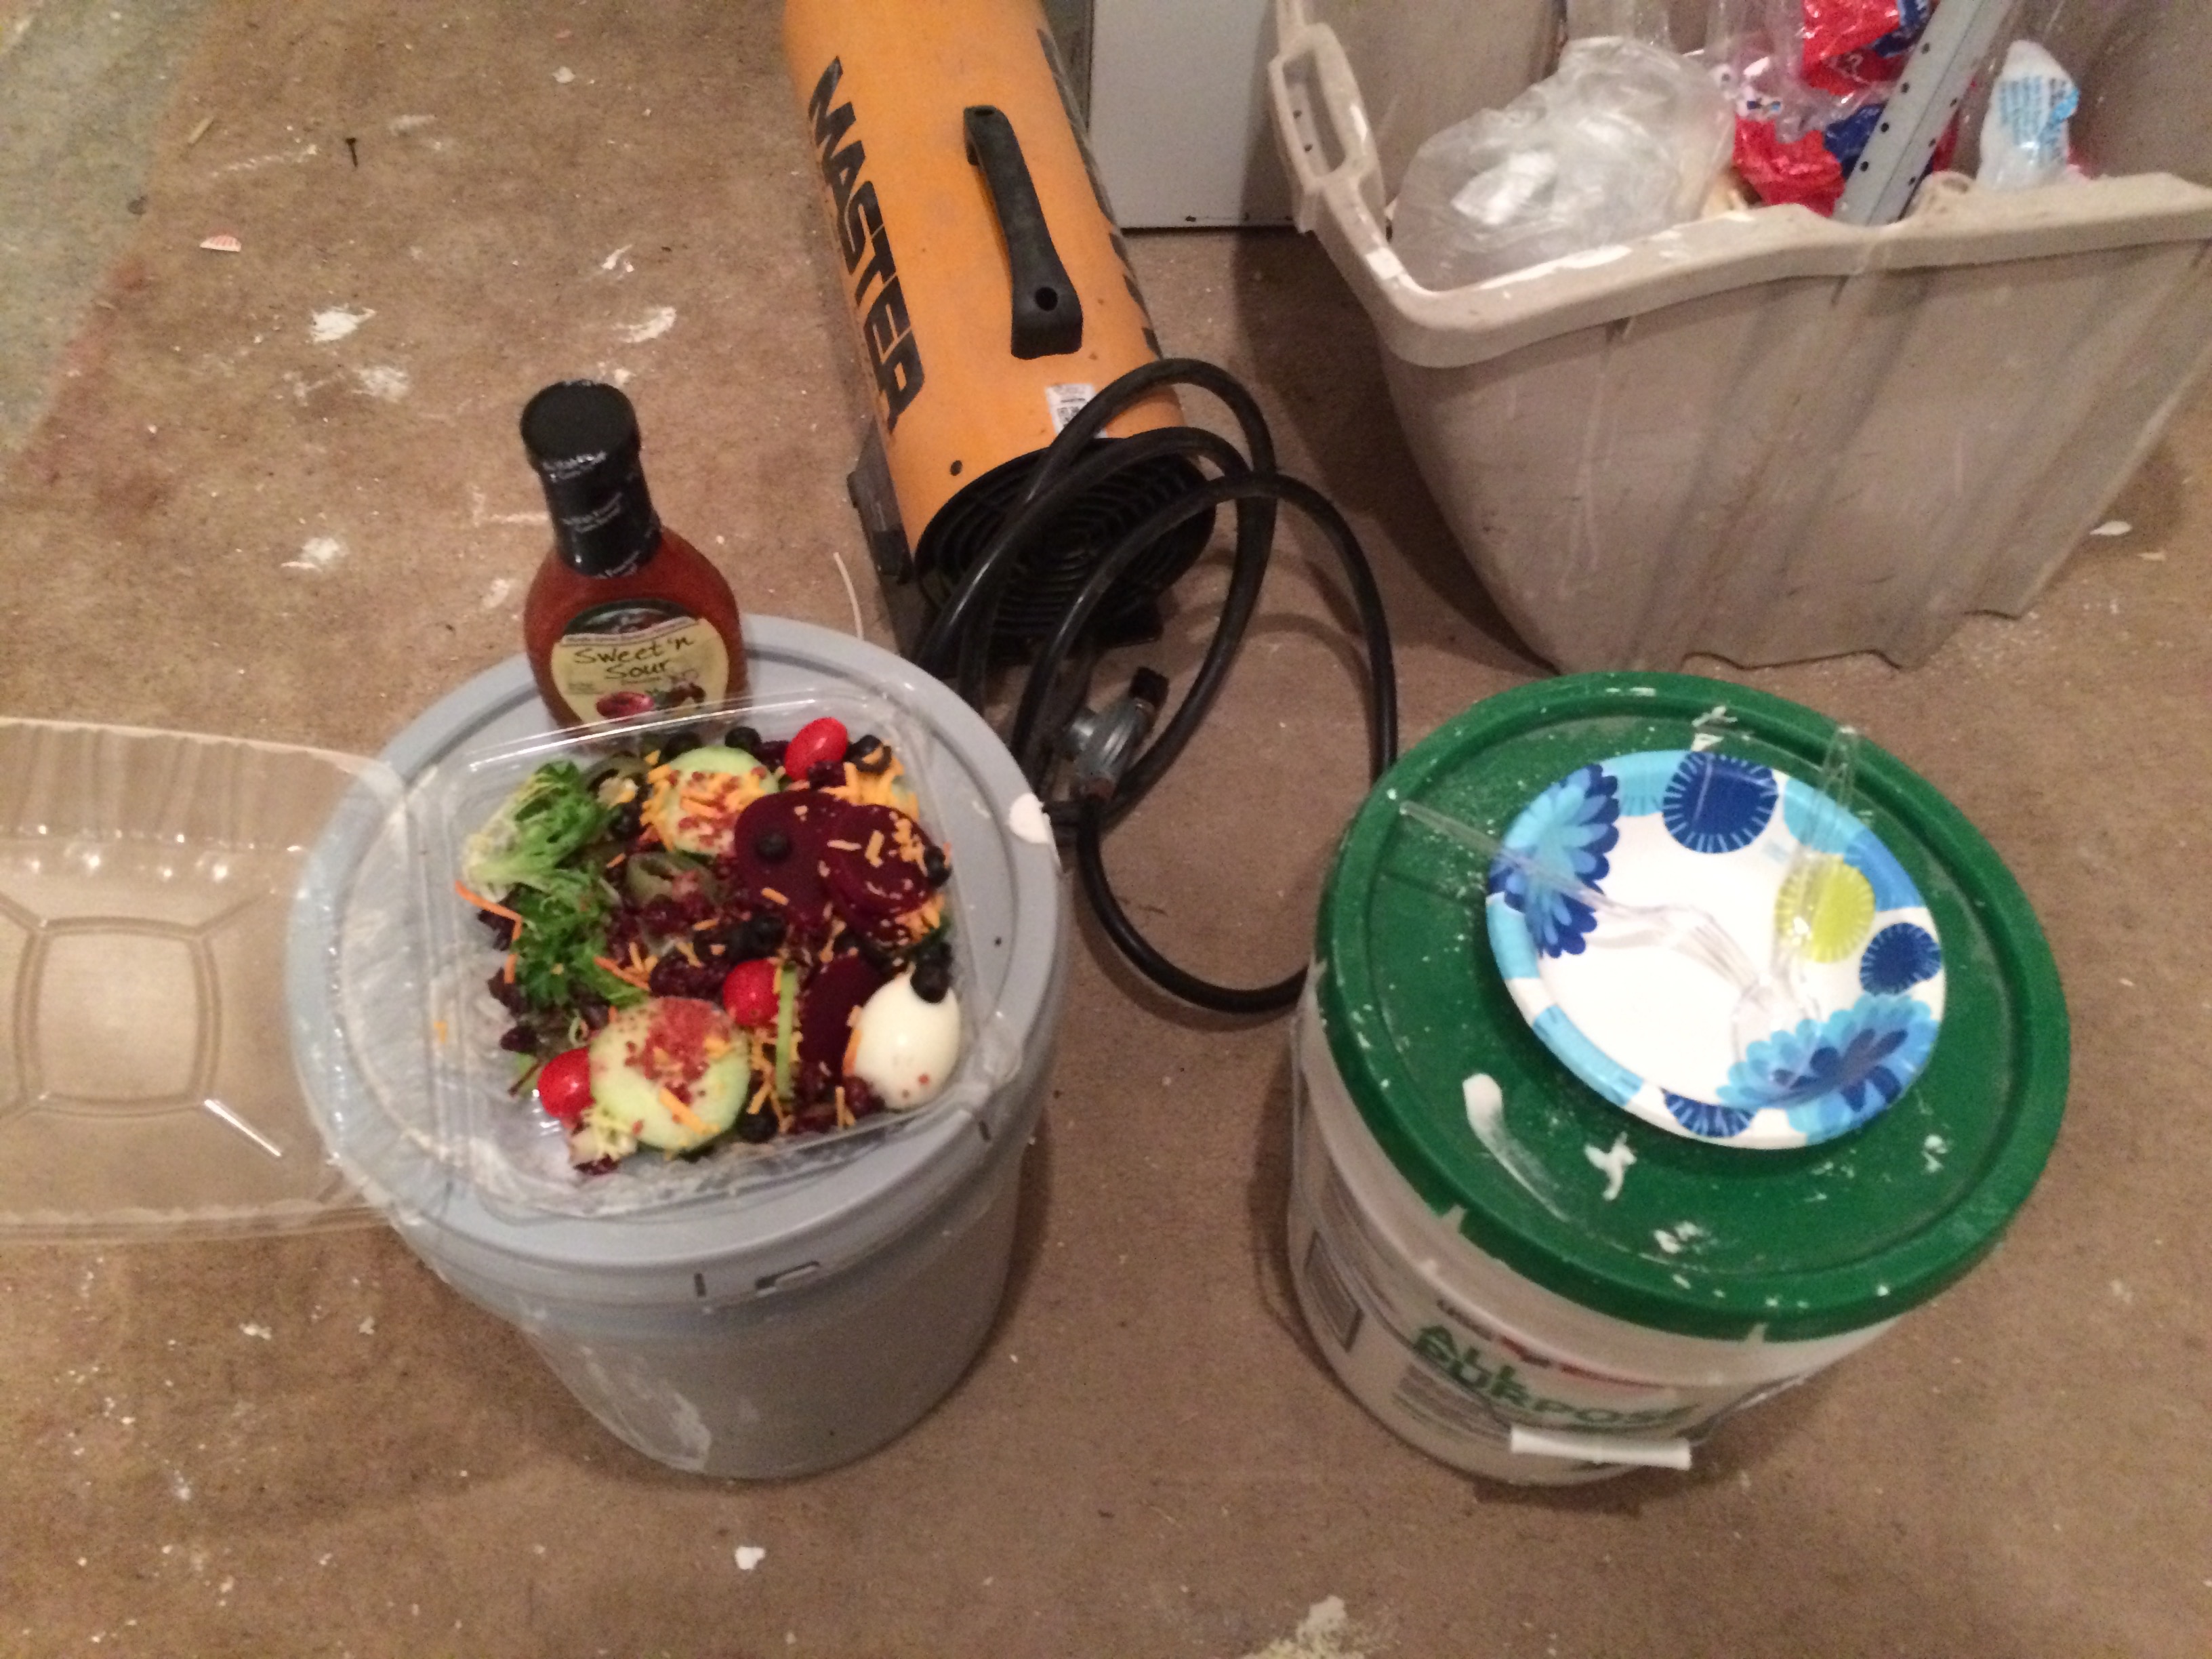
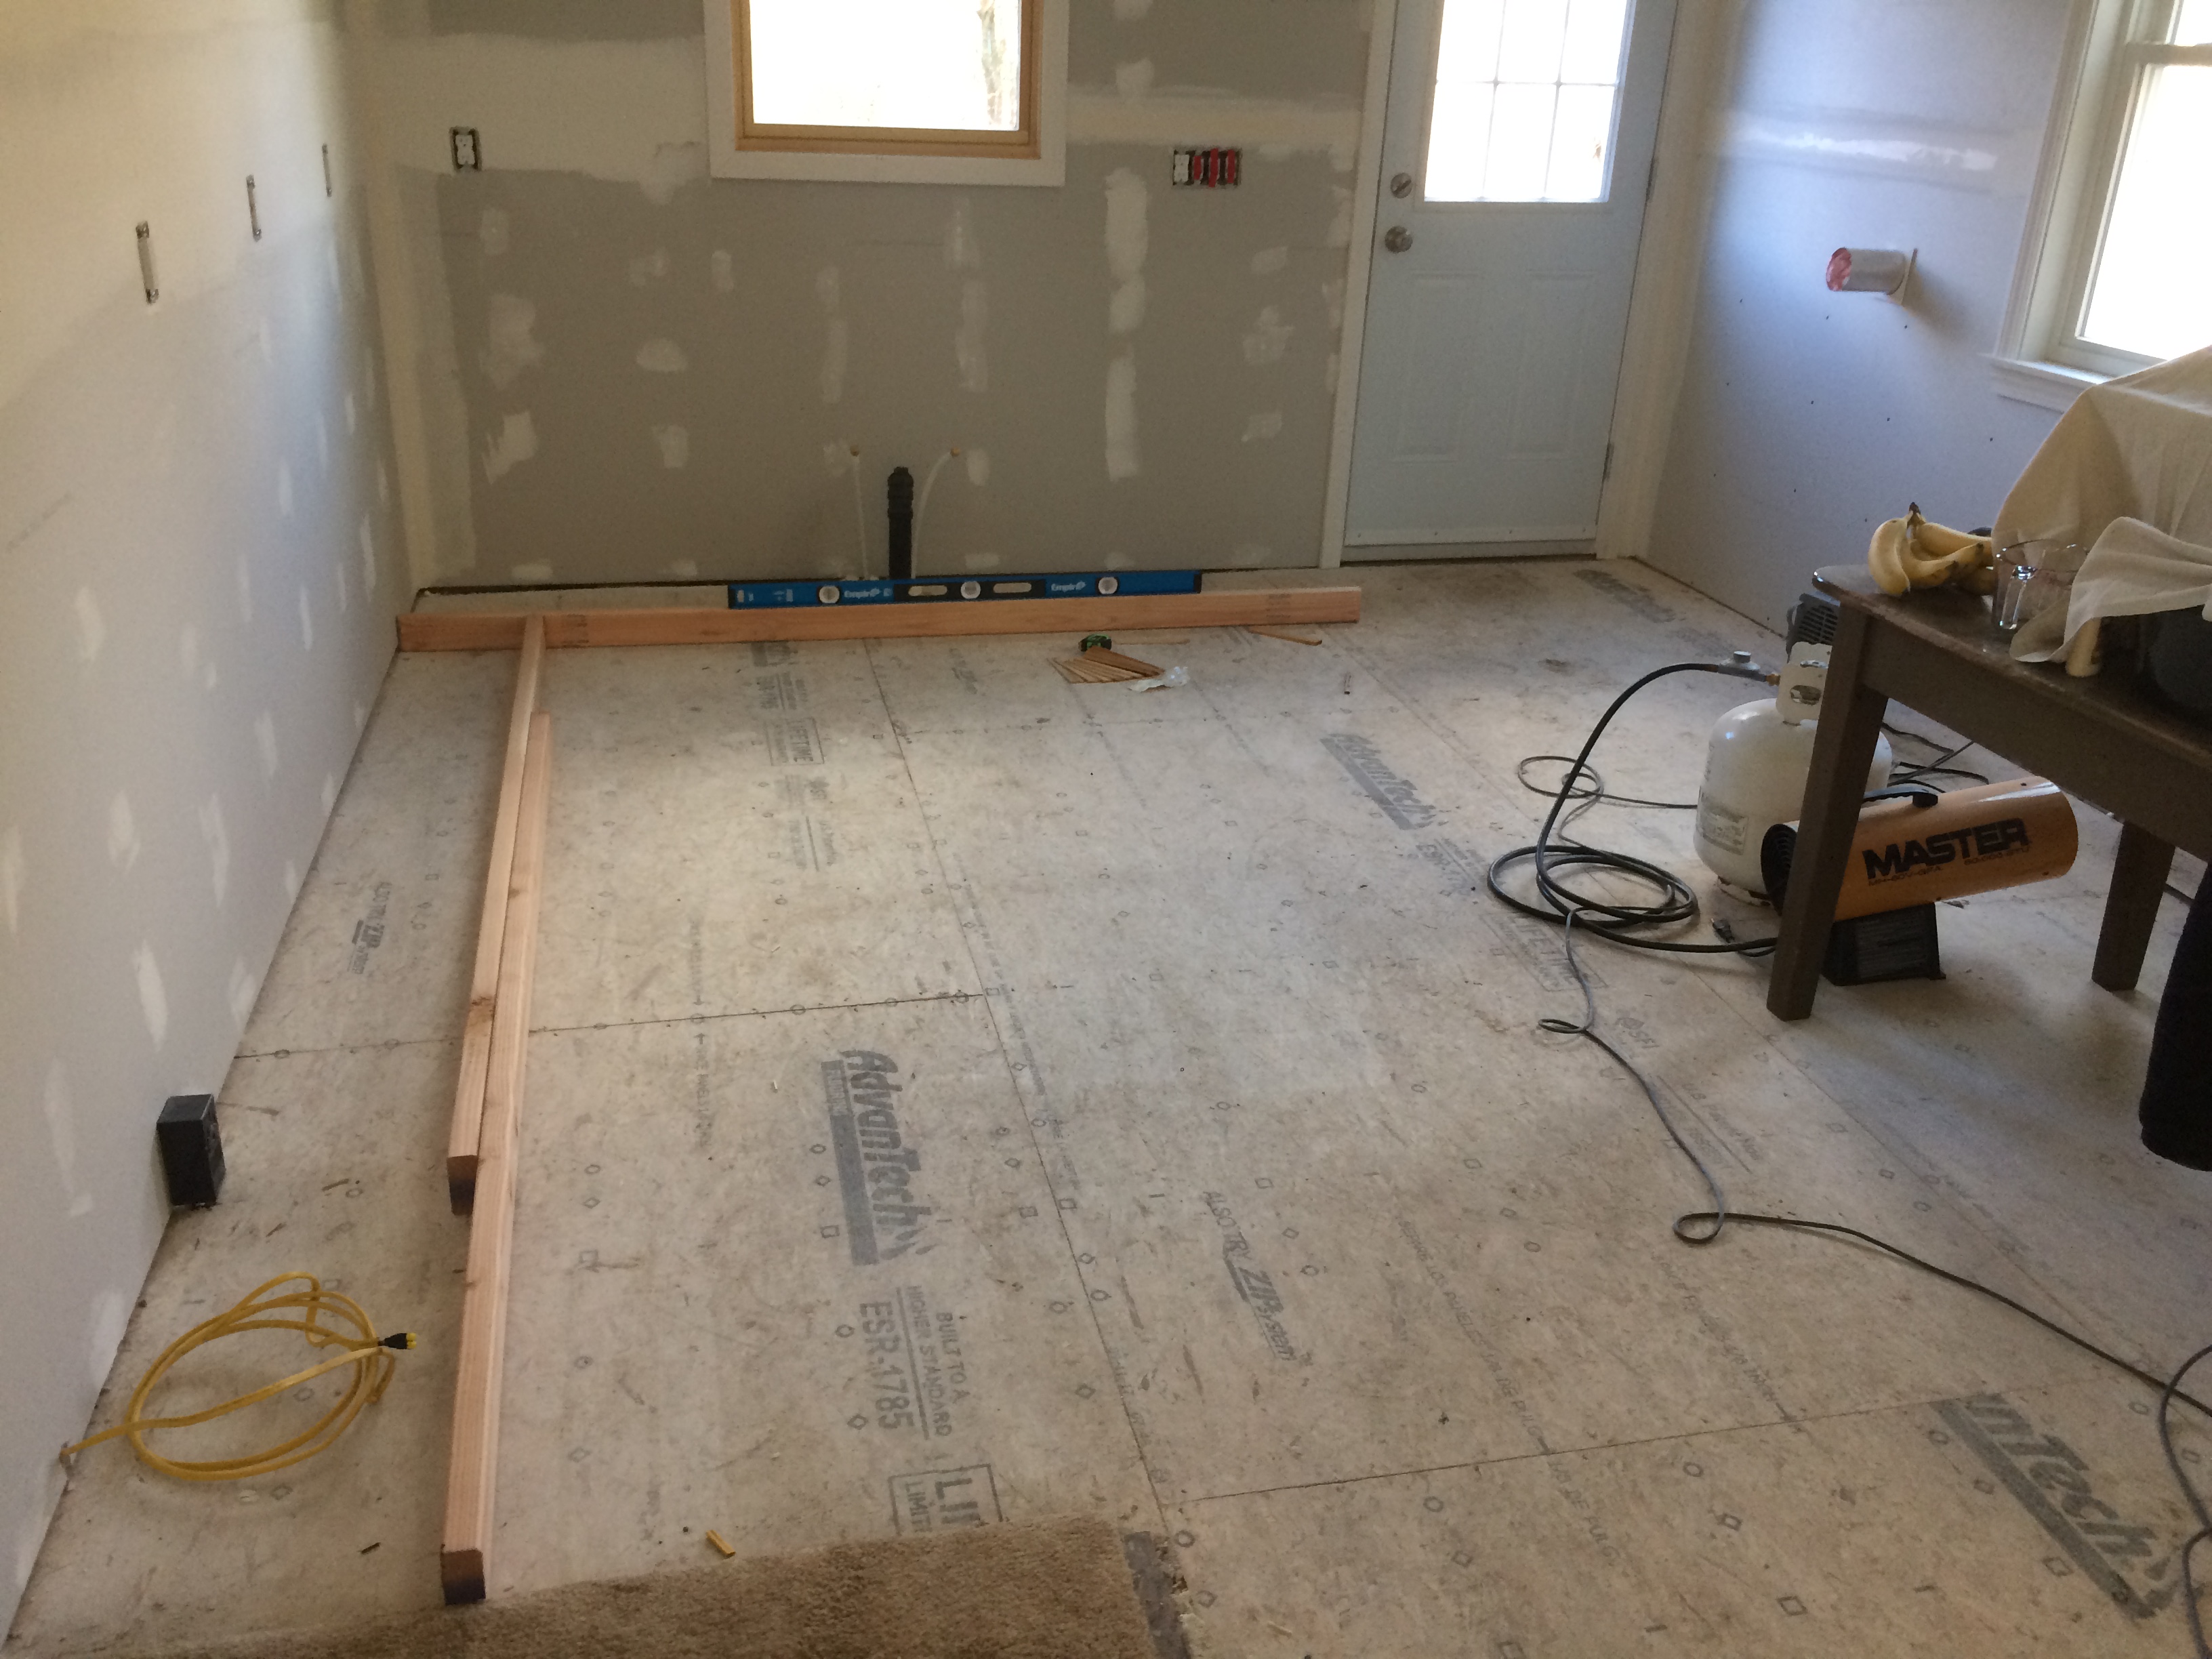
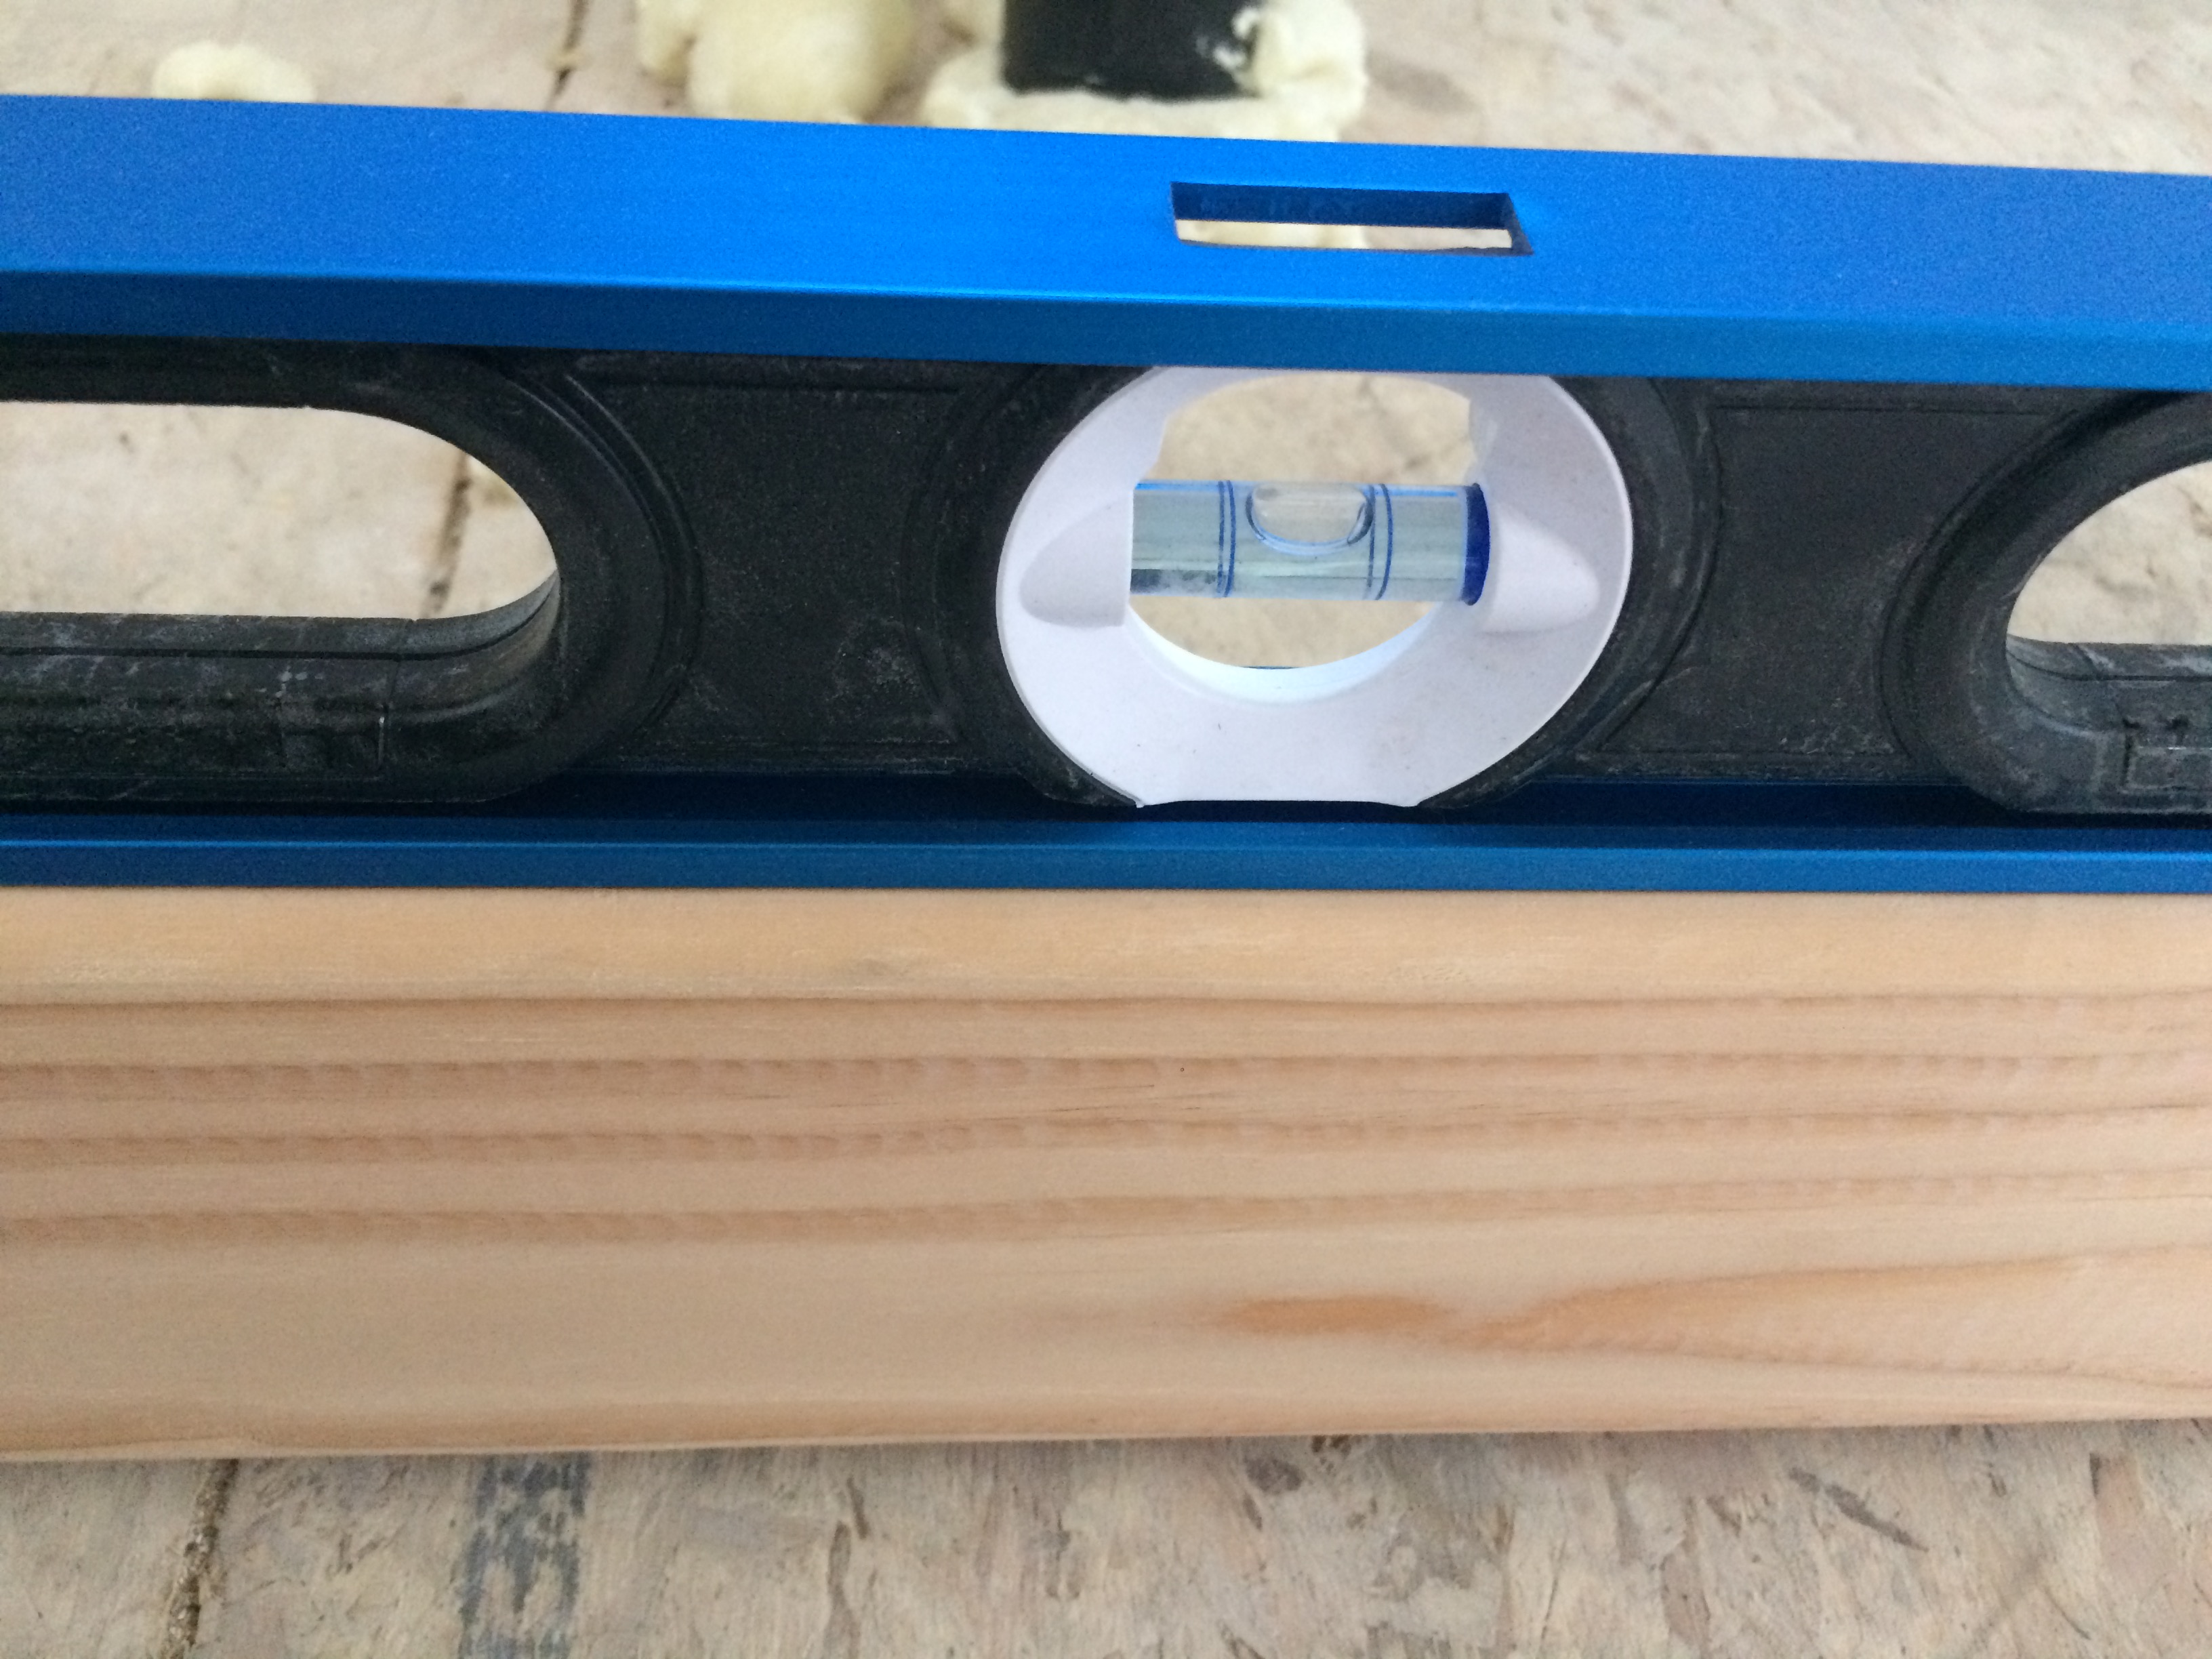
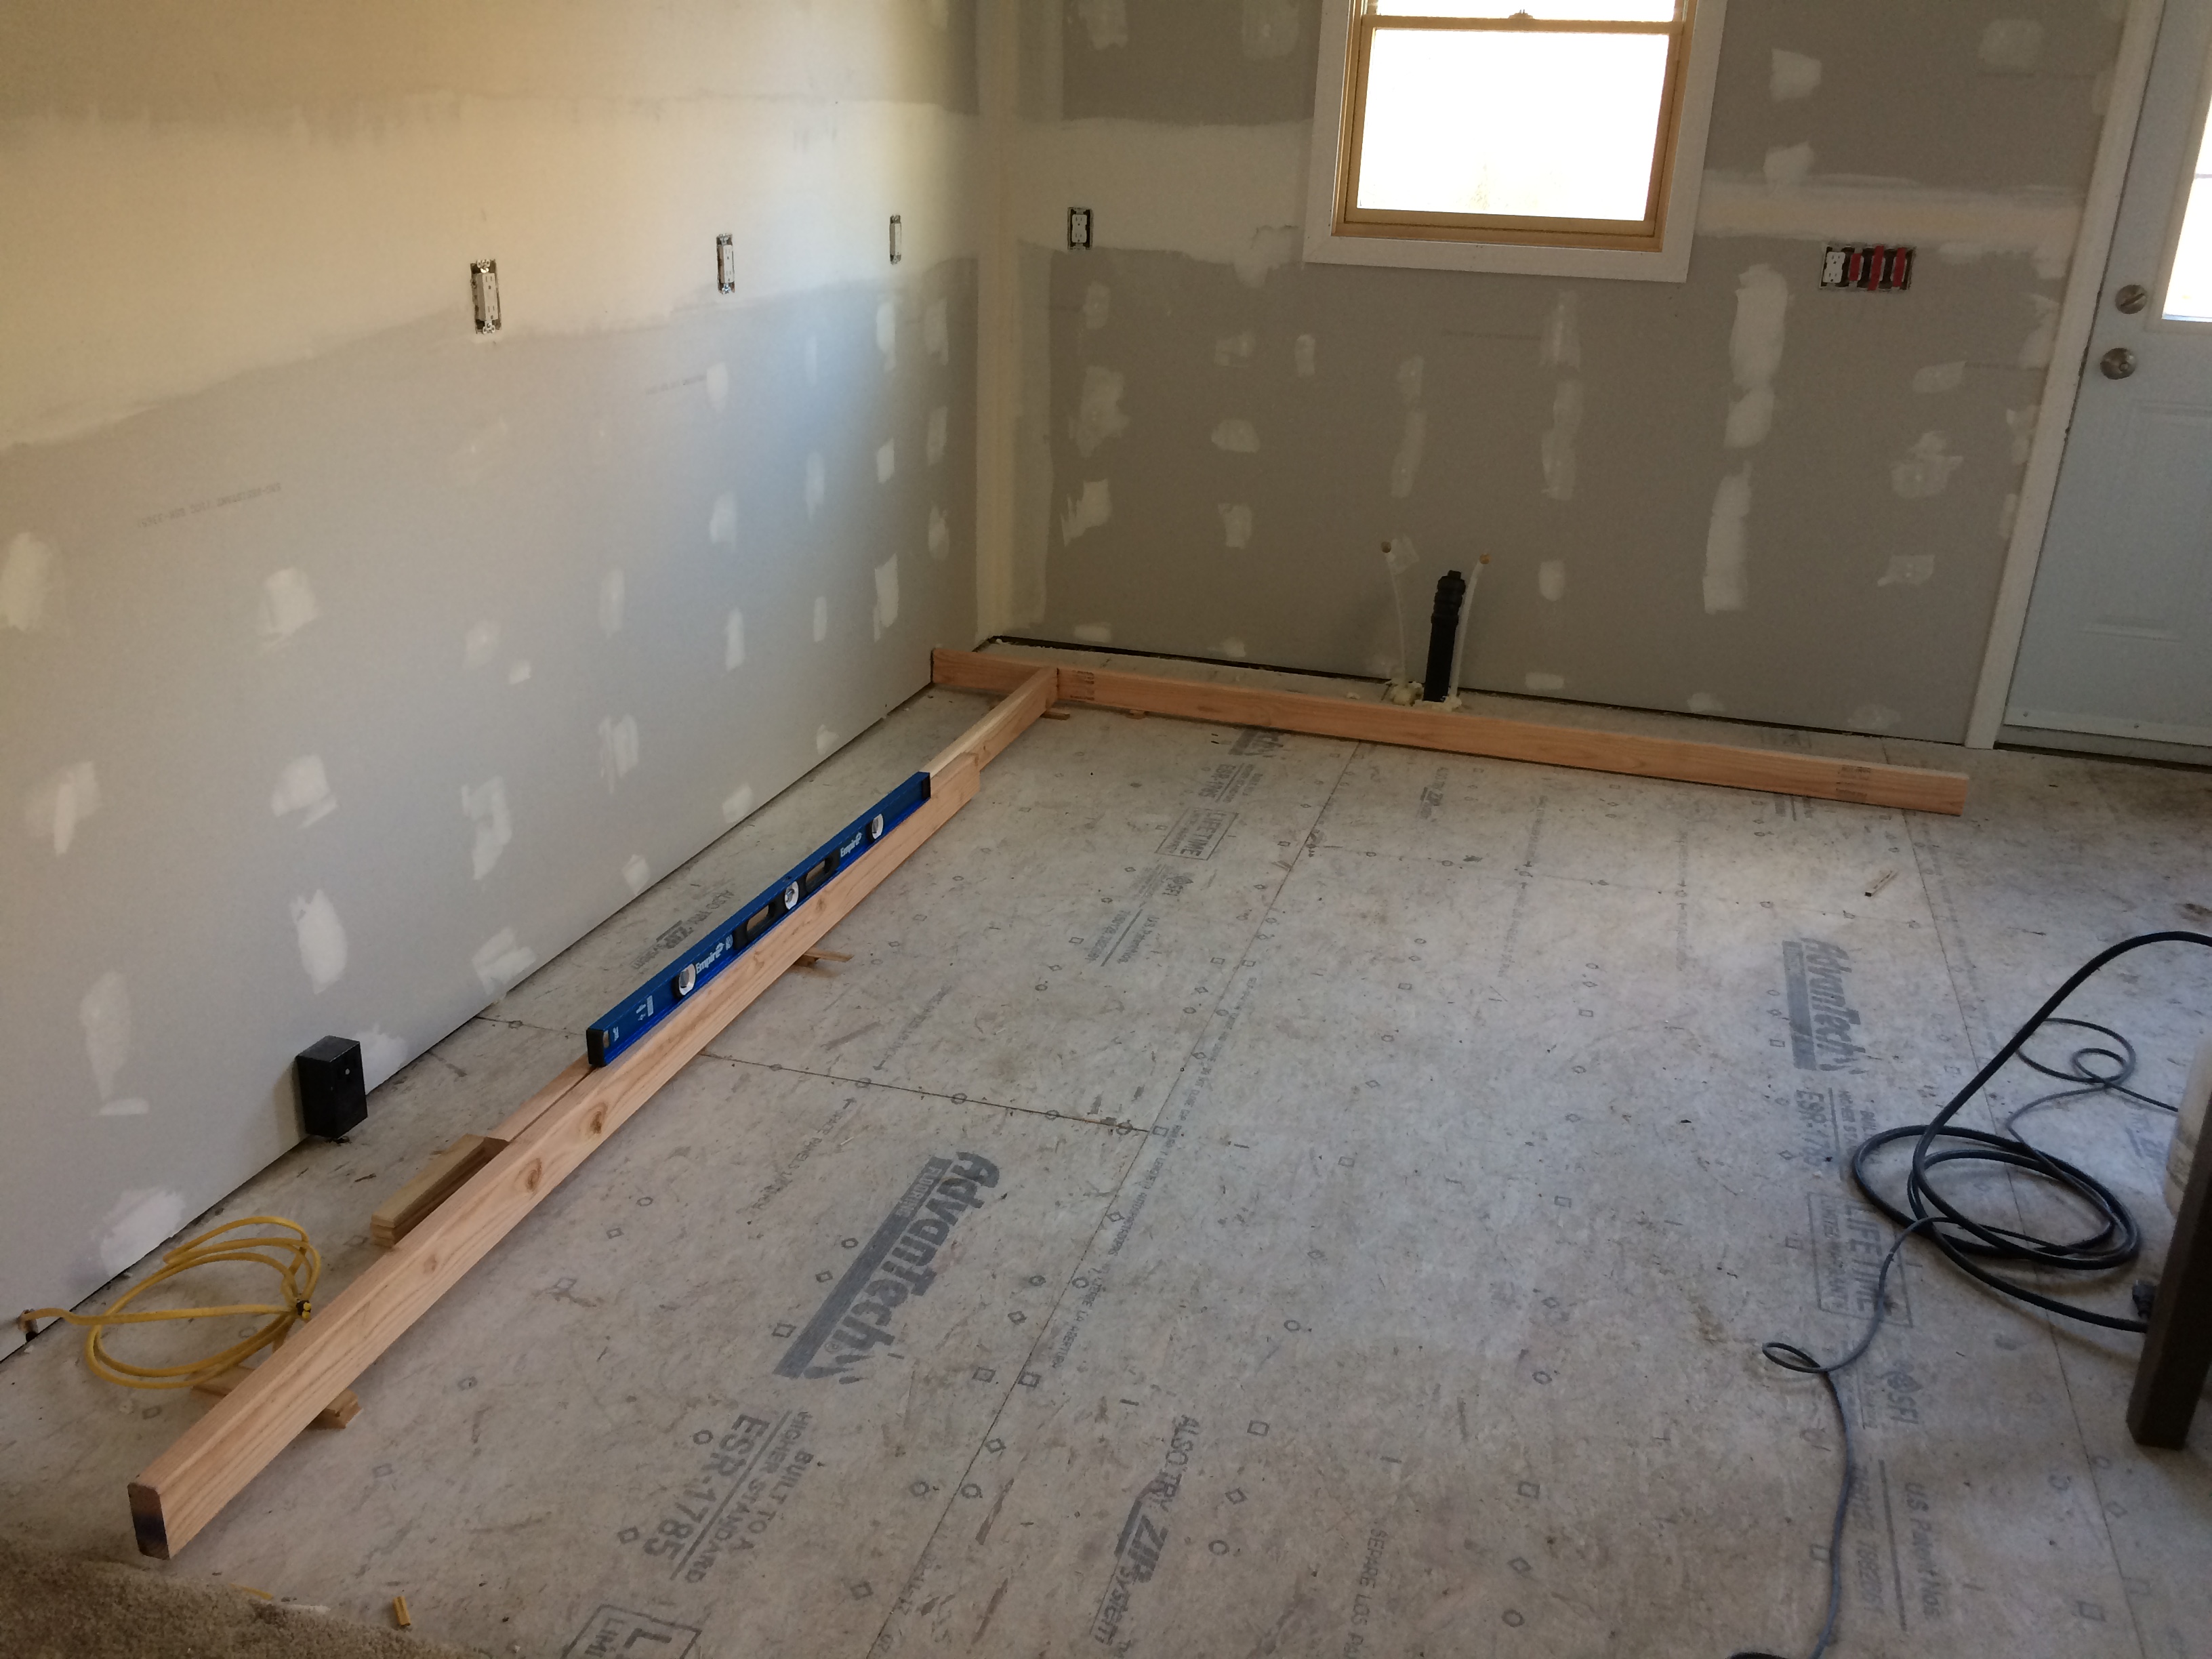
Spent a good part of the morning setting up my final level lines.
Although I also ran out to get the parts to (eventually) hook up the kitchen sink.
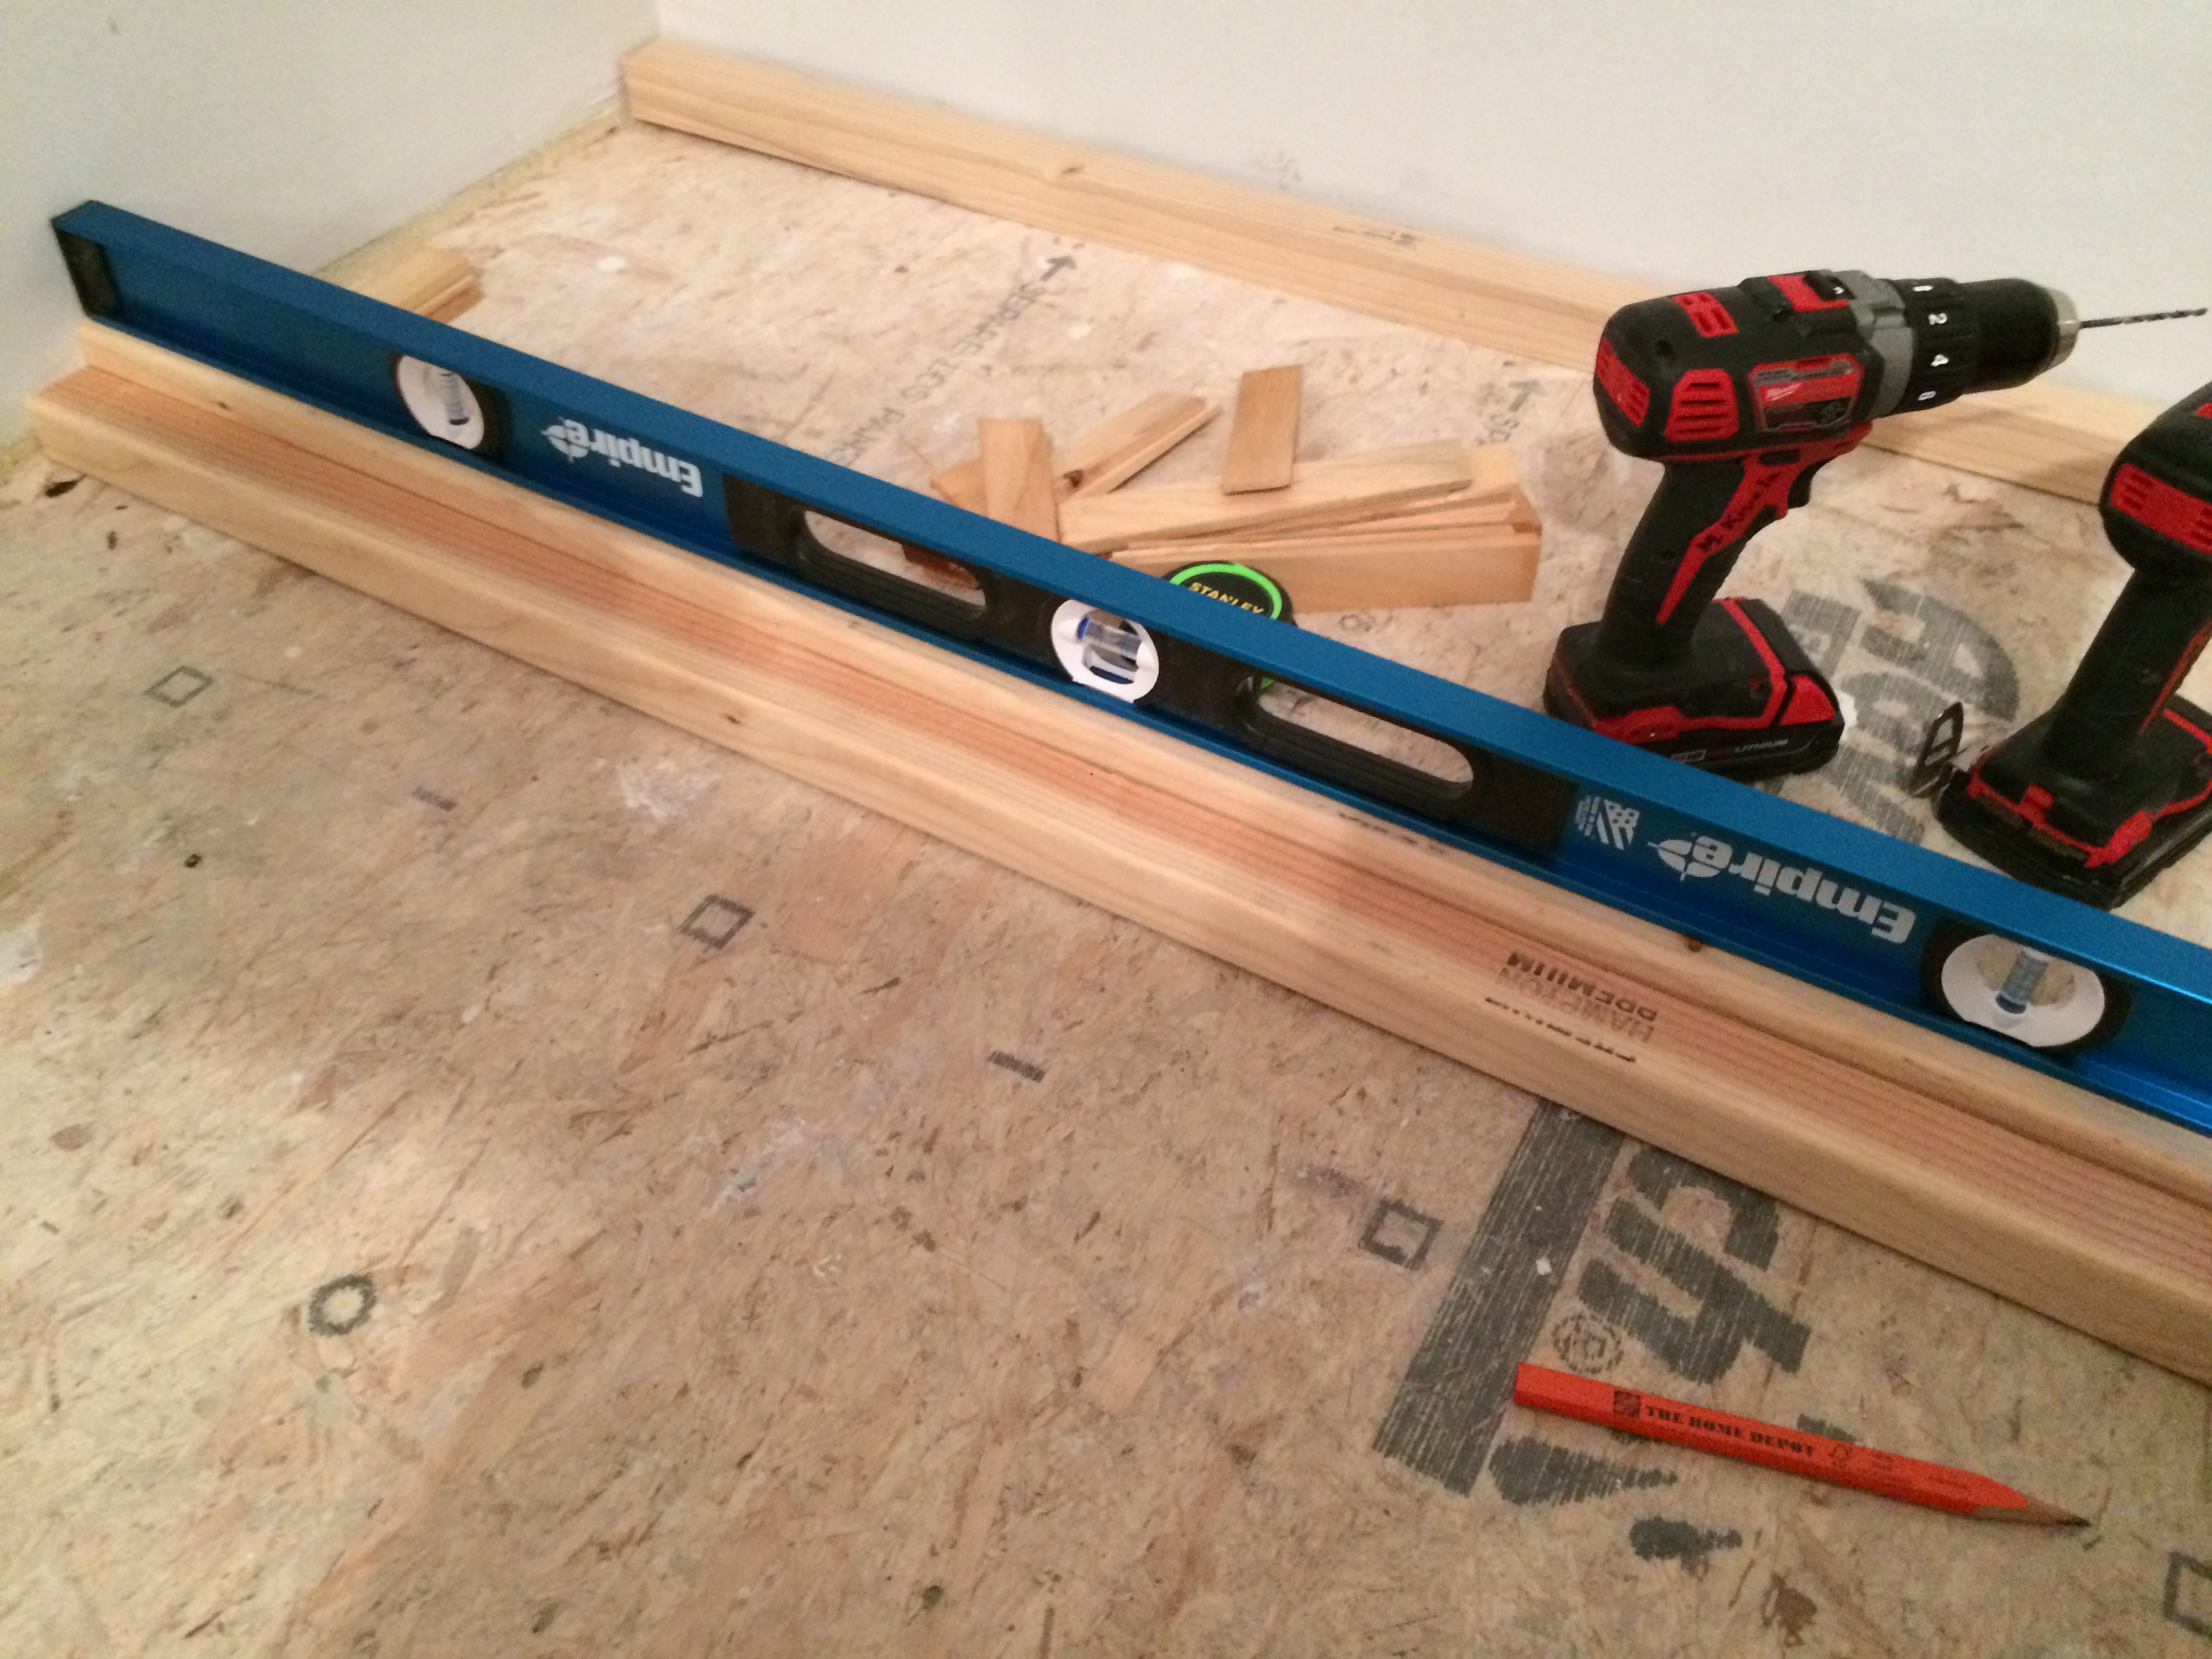
Finishing nails helped hold up one end of the level while I drew the line.
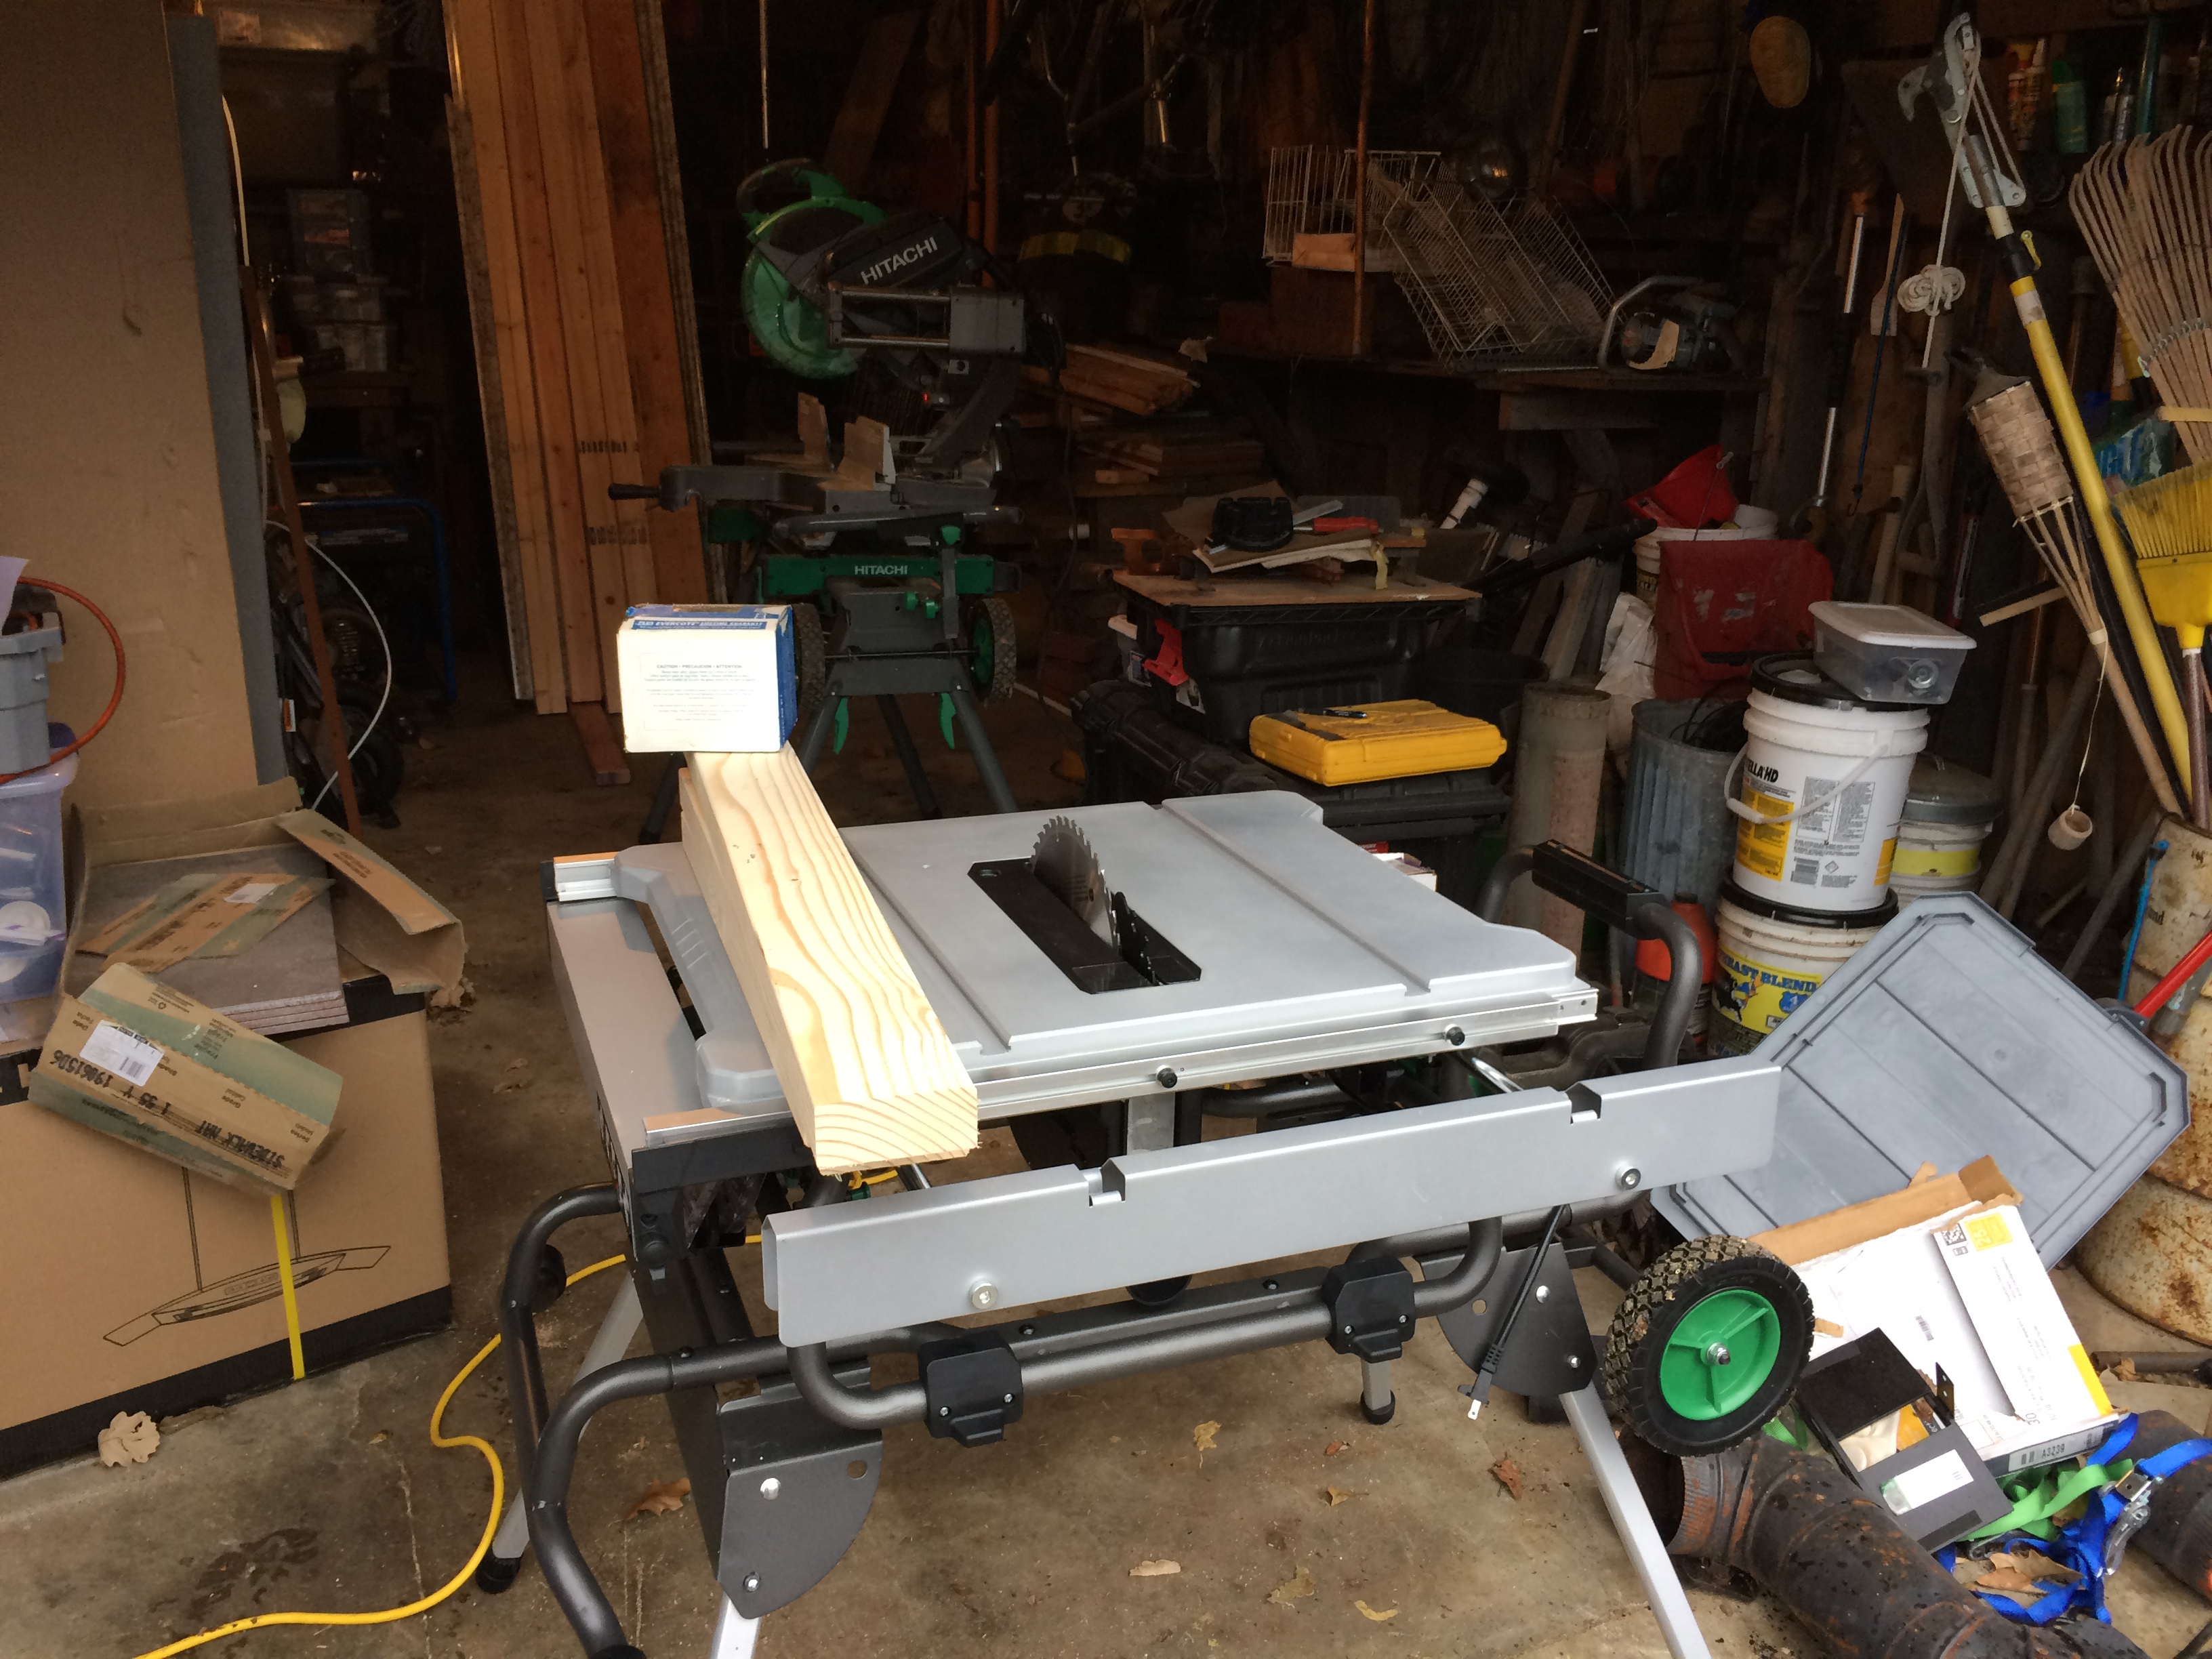
Hey look, I have a teeny tiny itsy bitsy work area in my garage again!
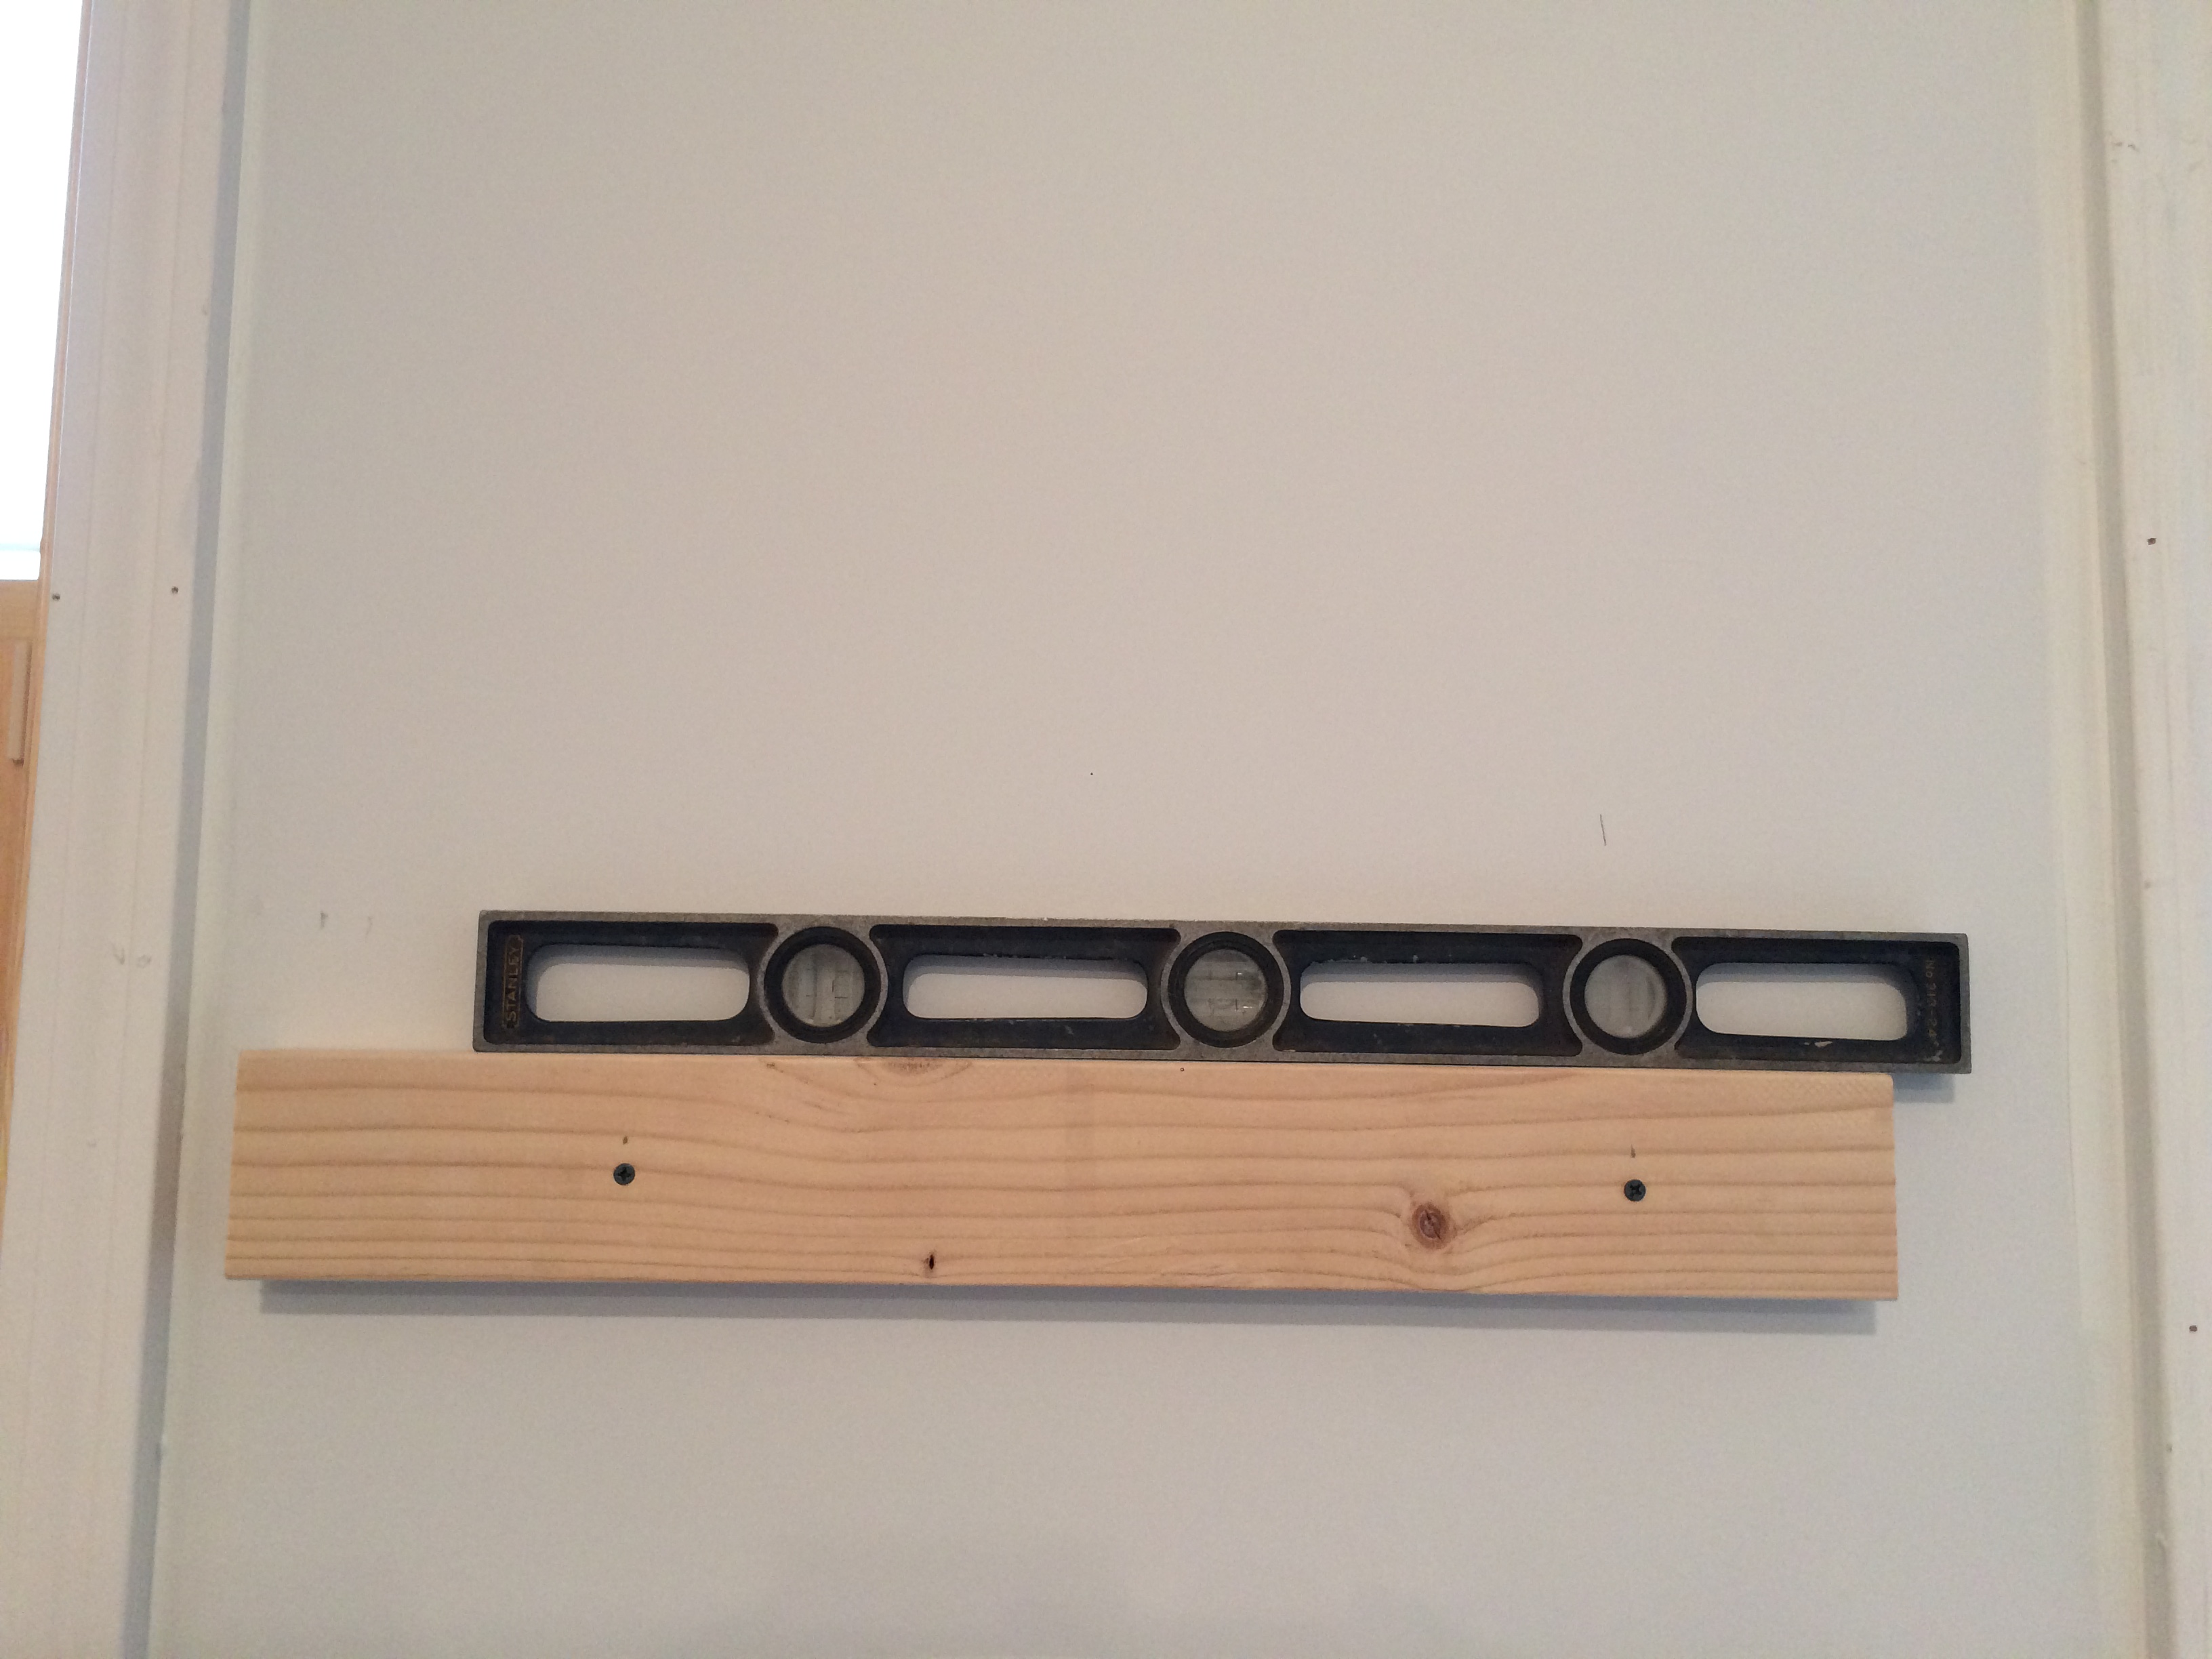
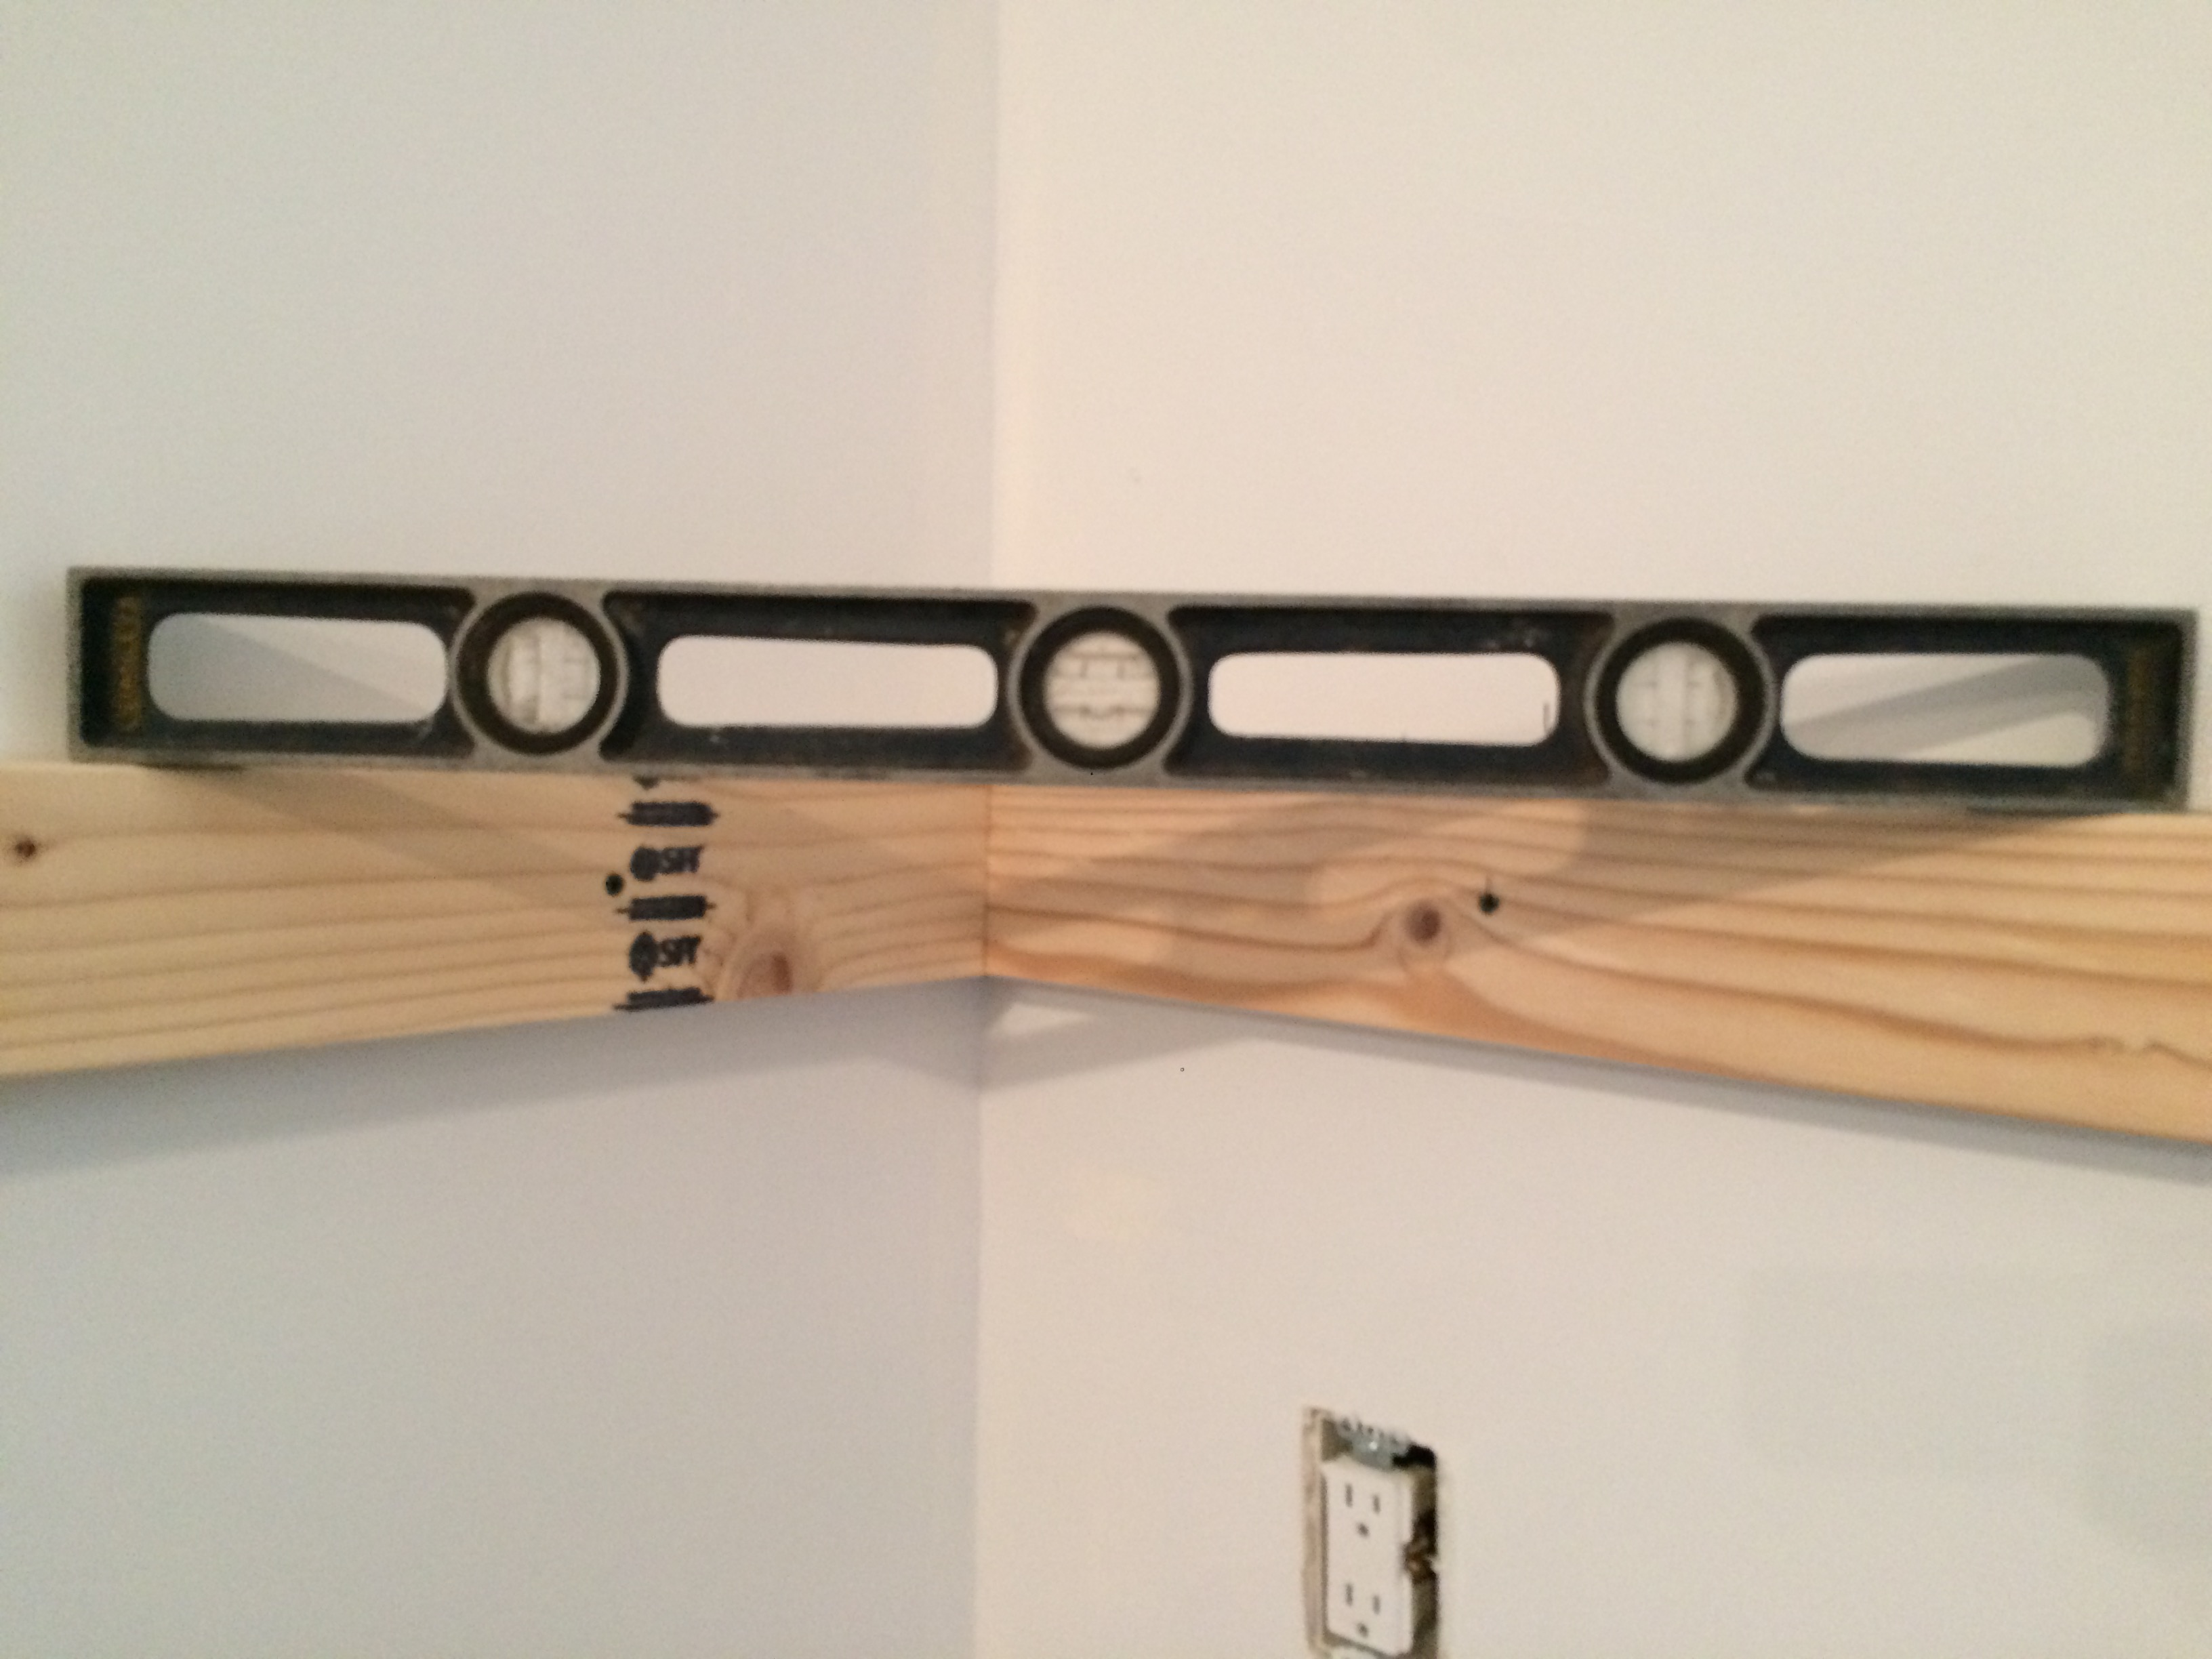
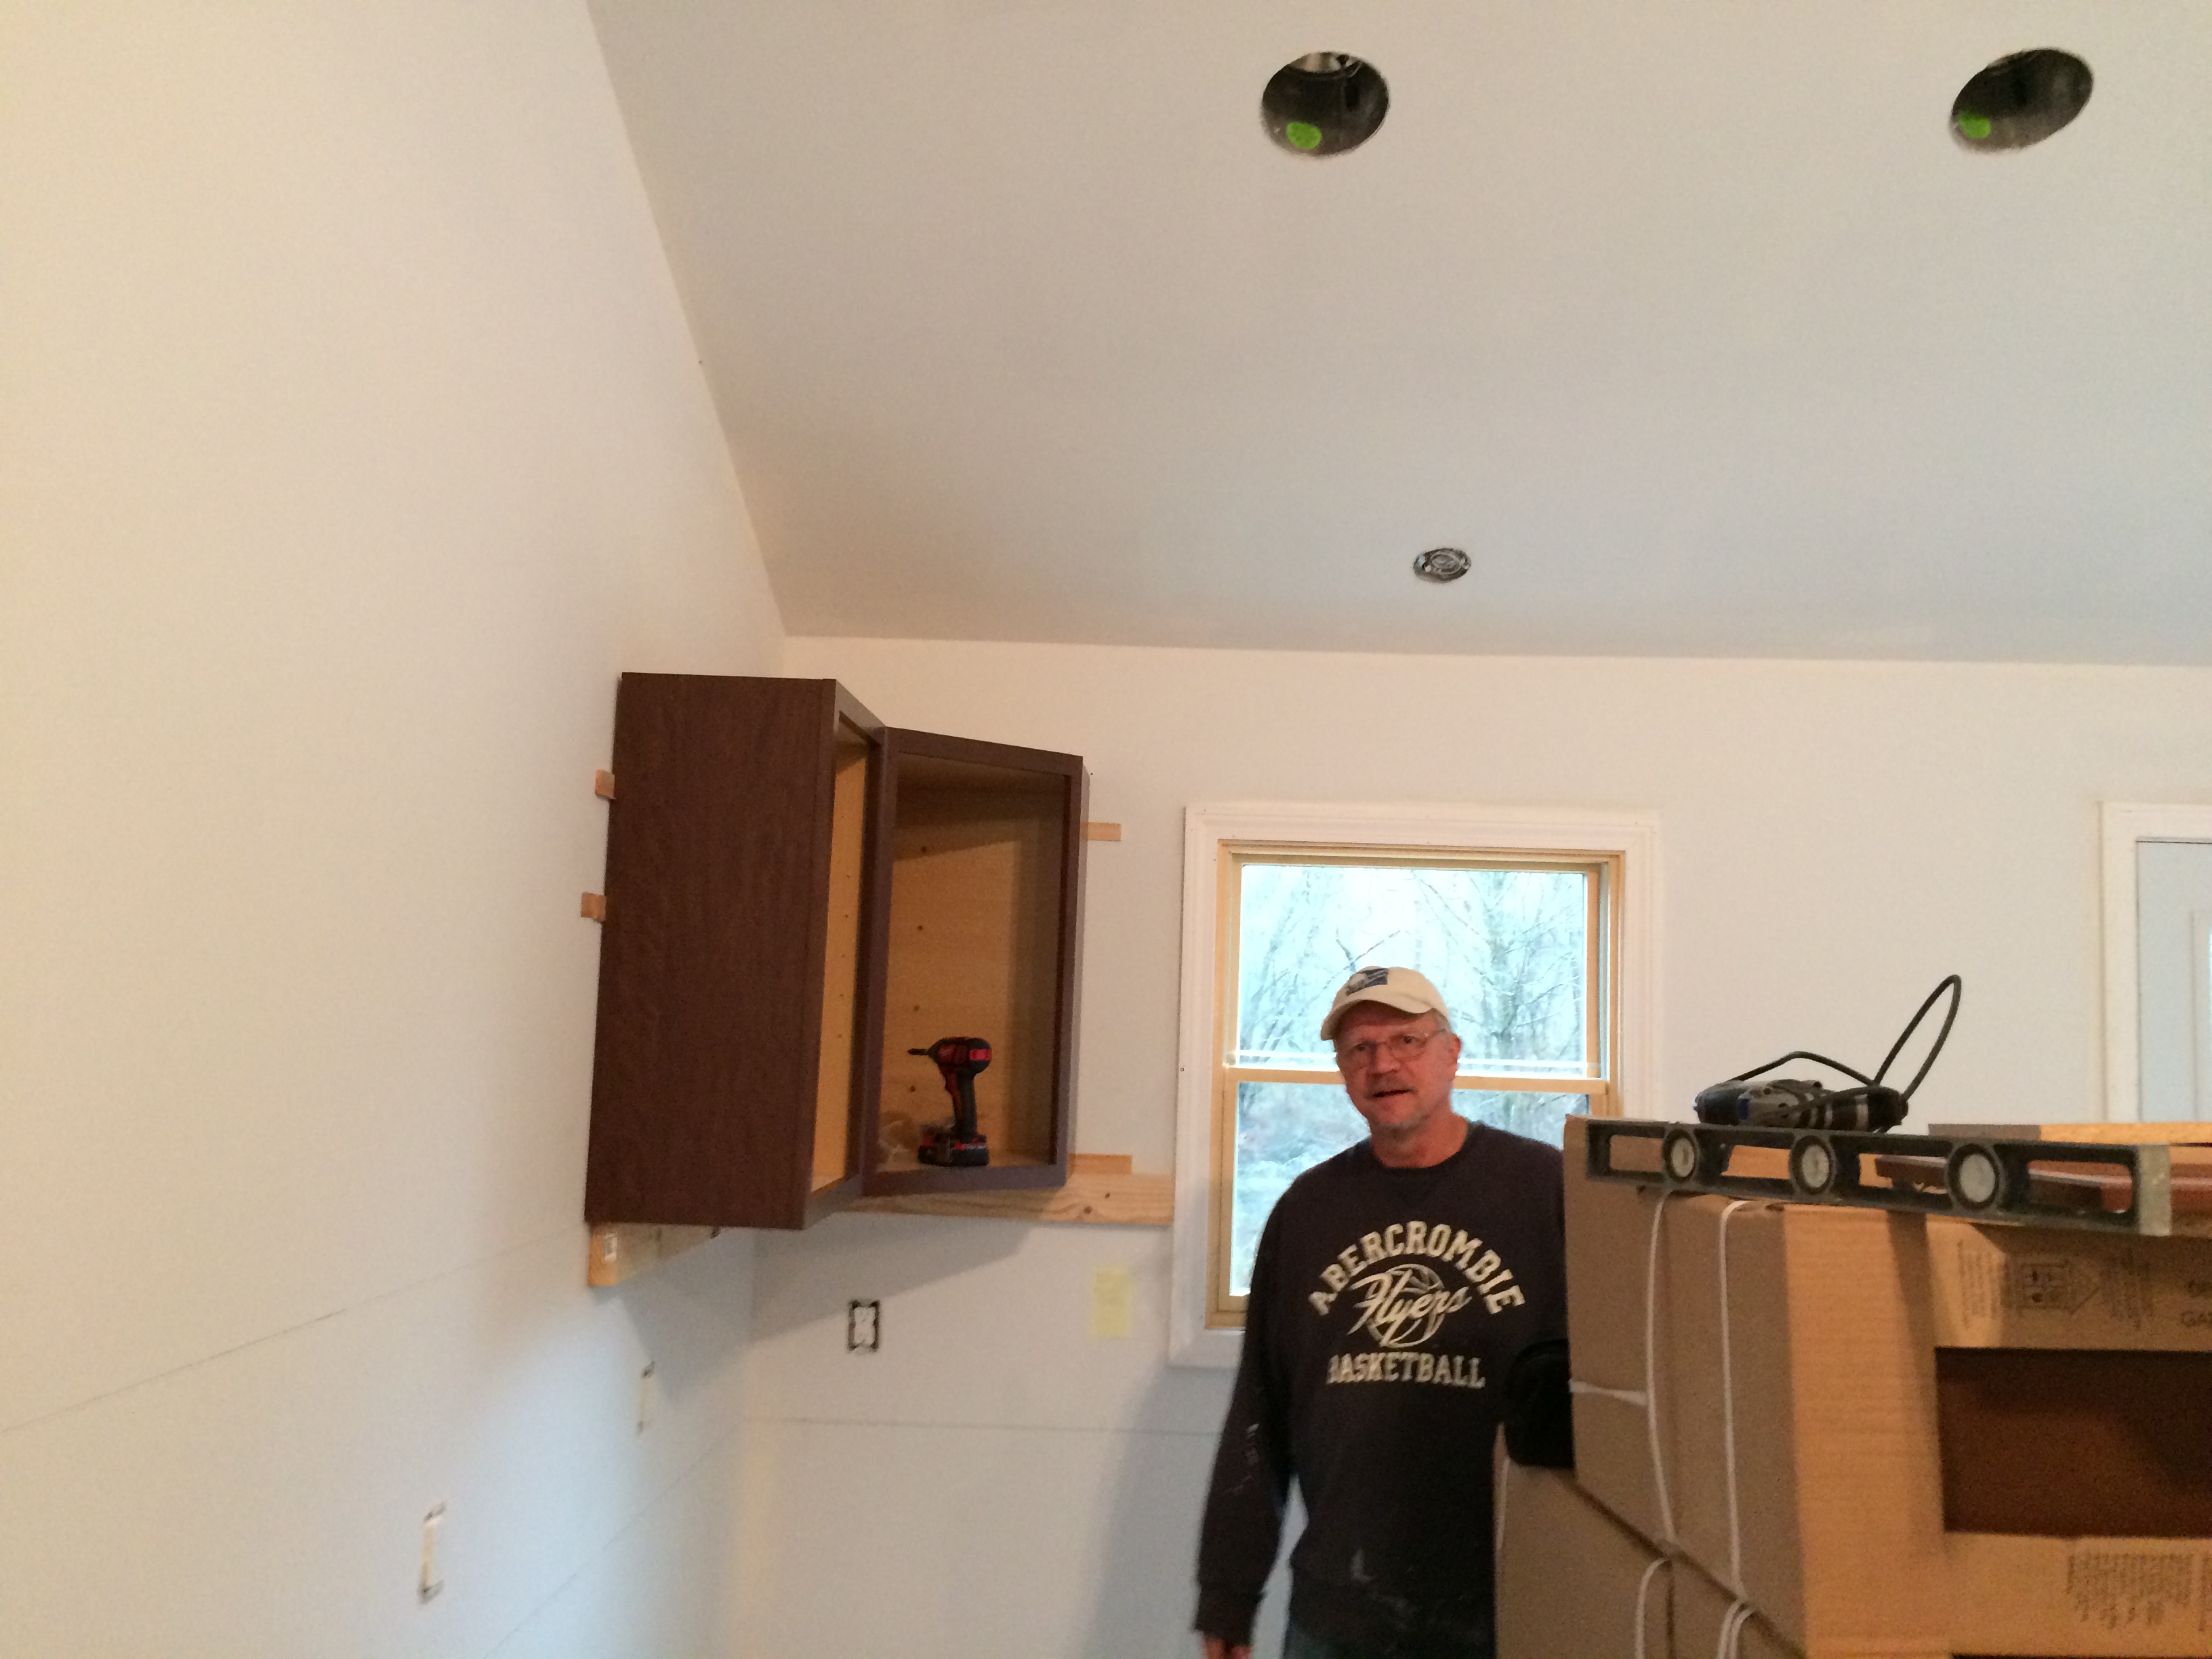
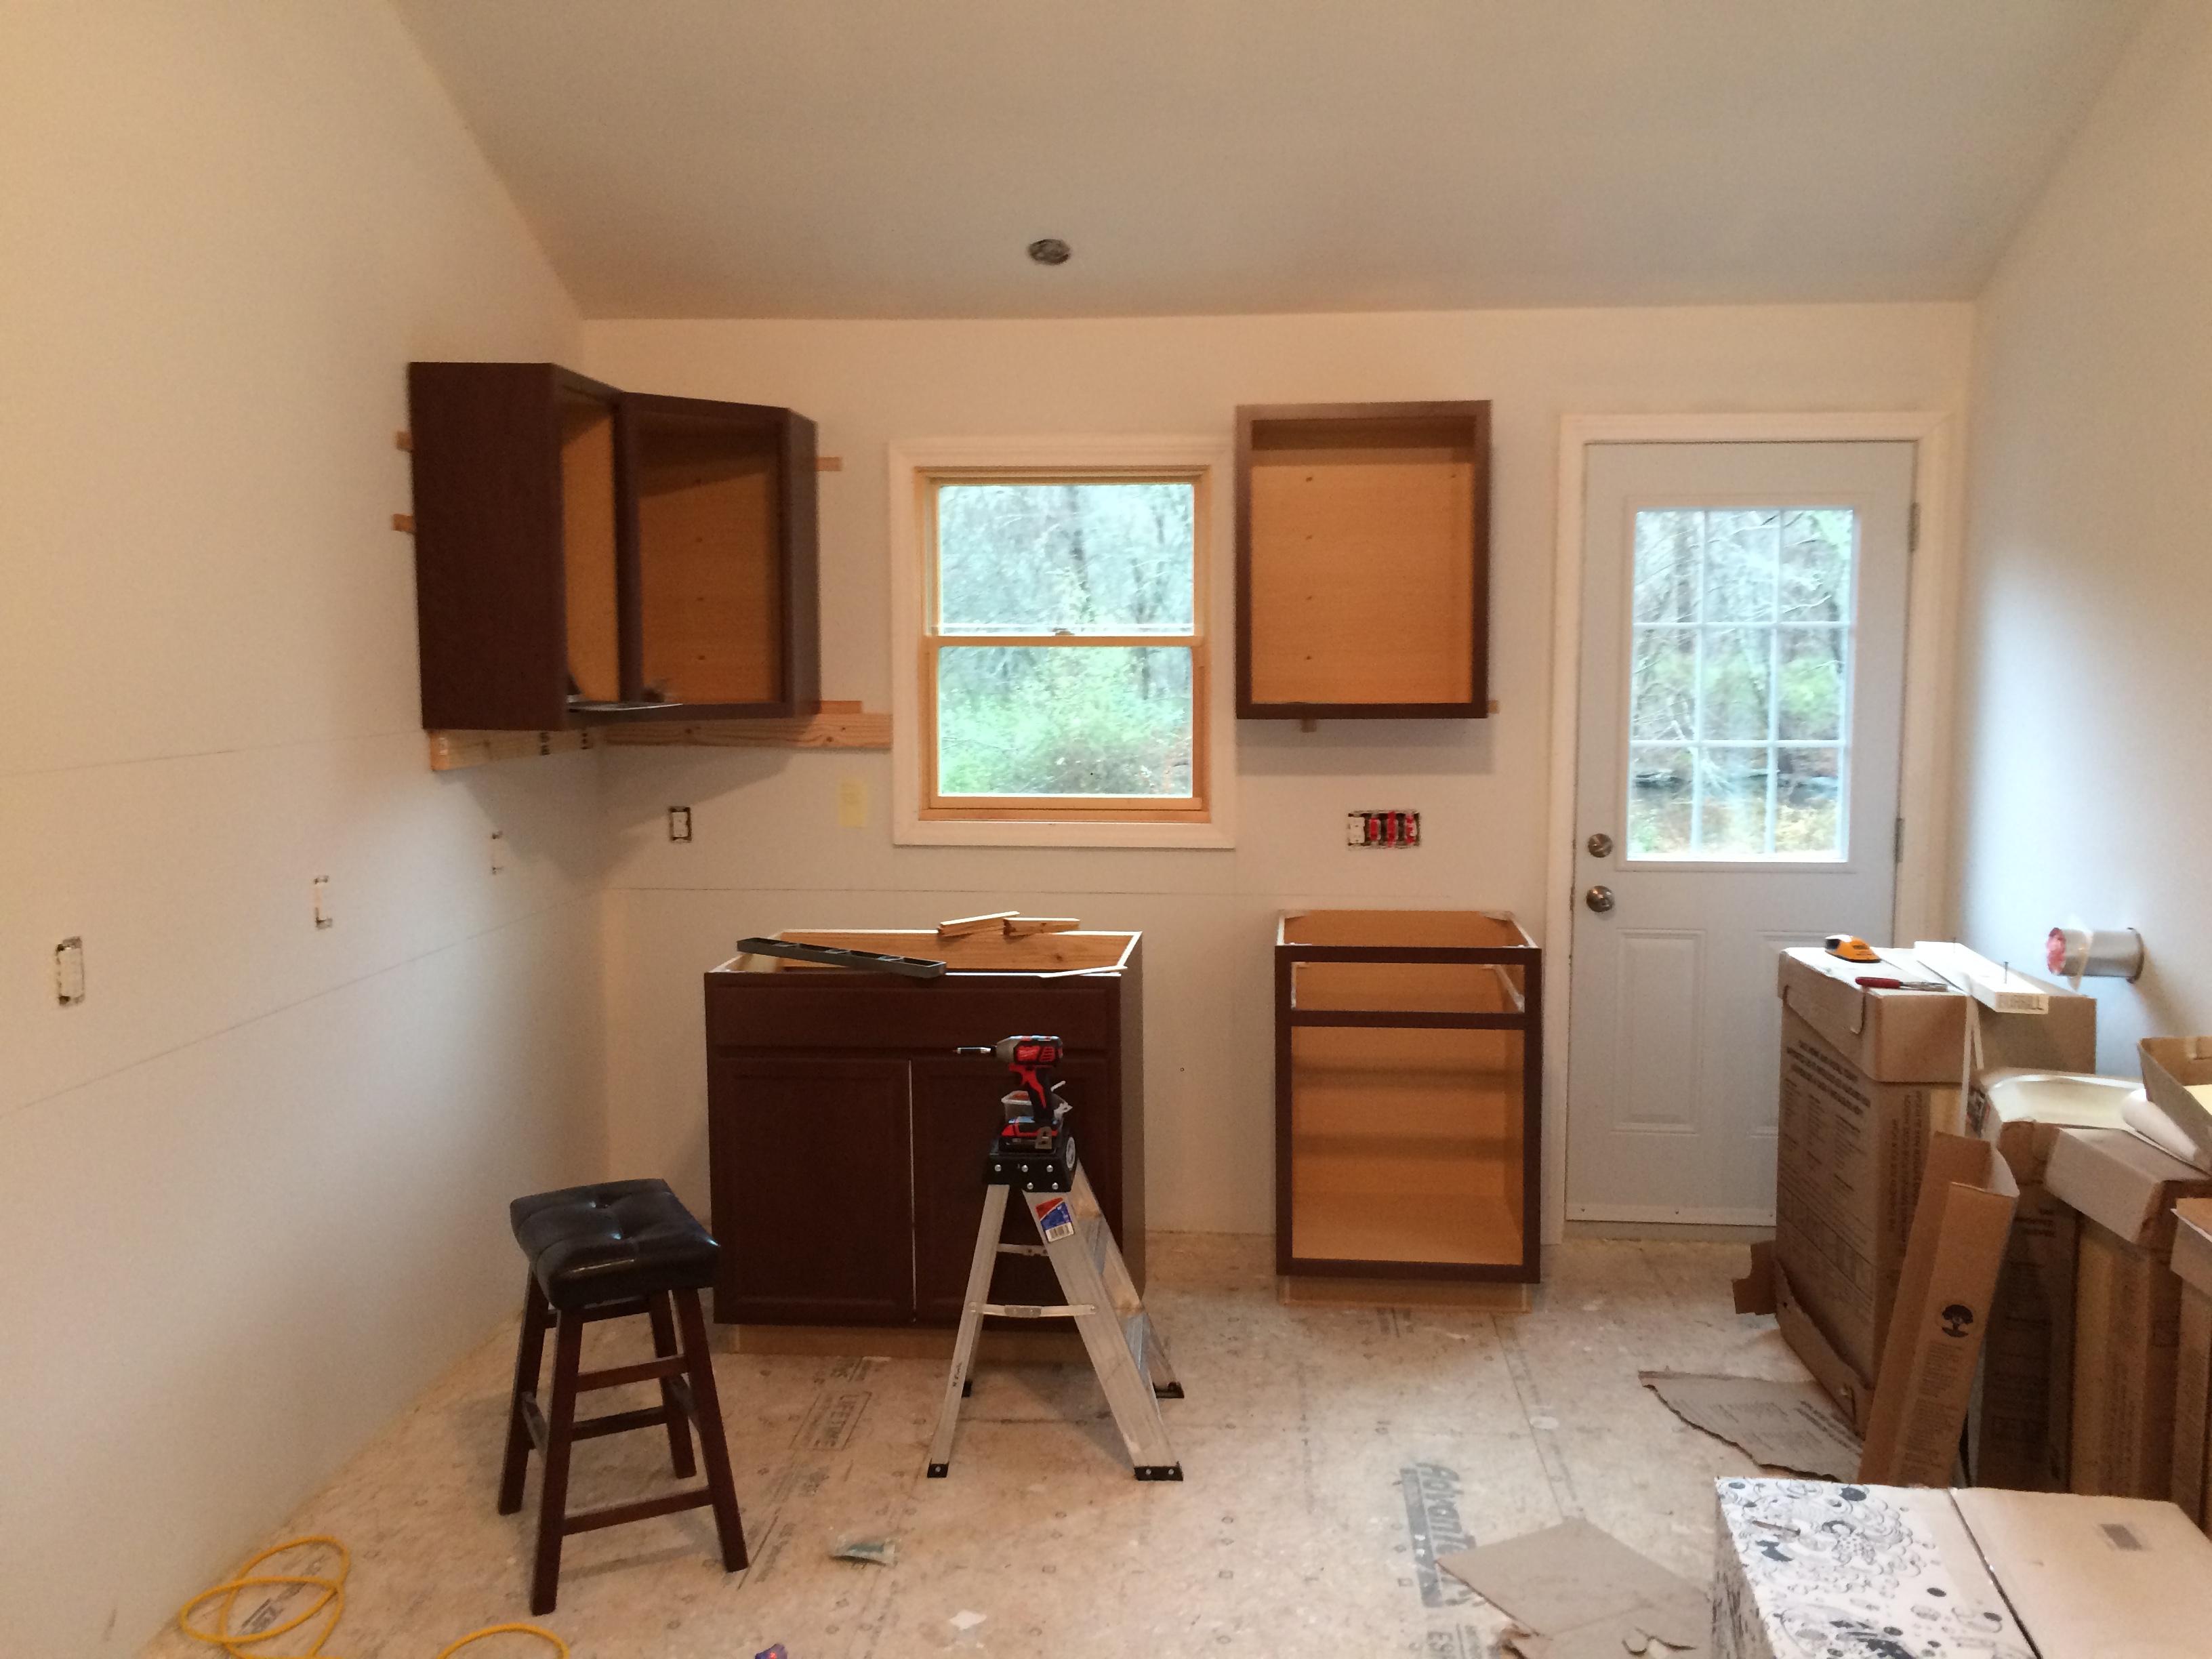
Temporary ledges to hold up the shelves when mounting:
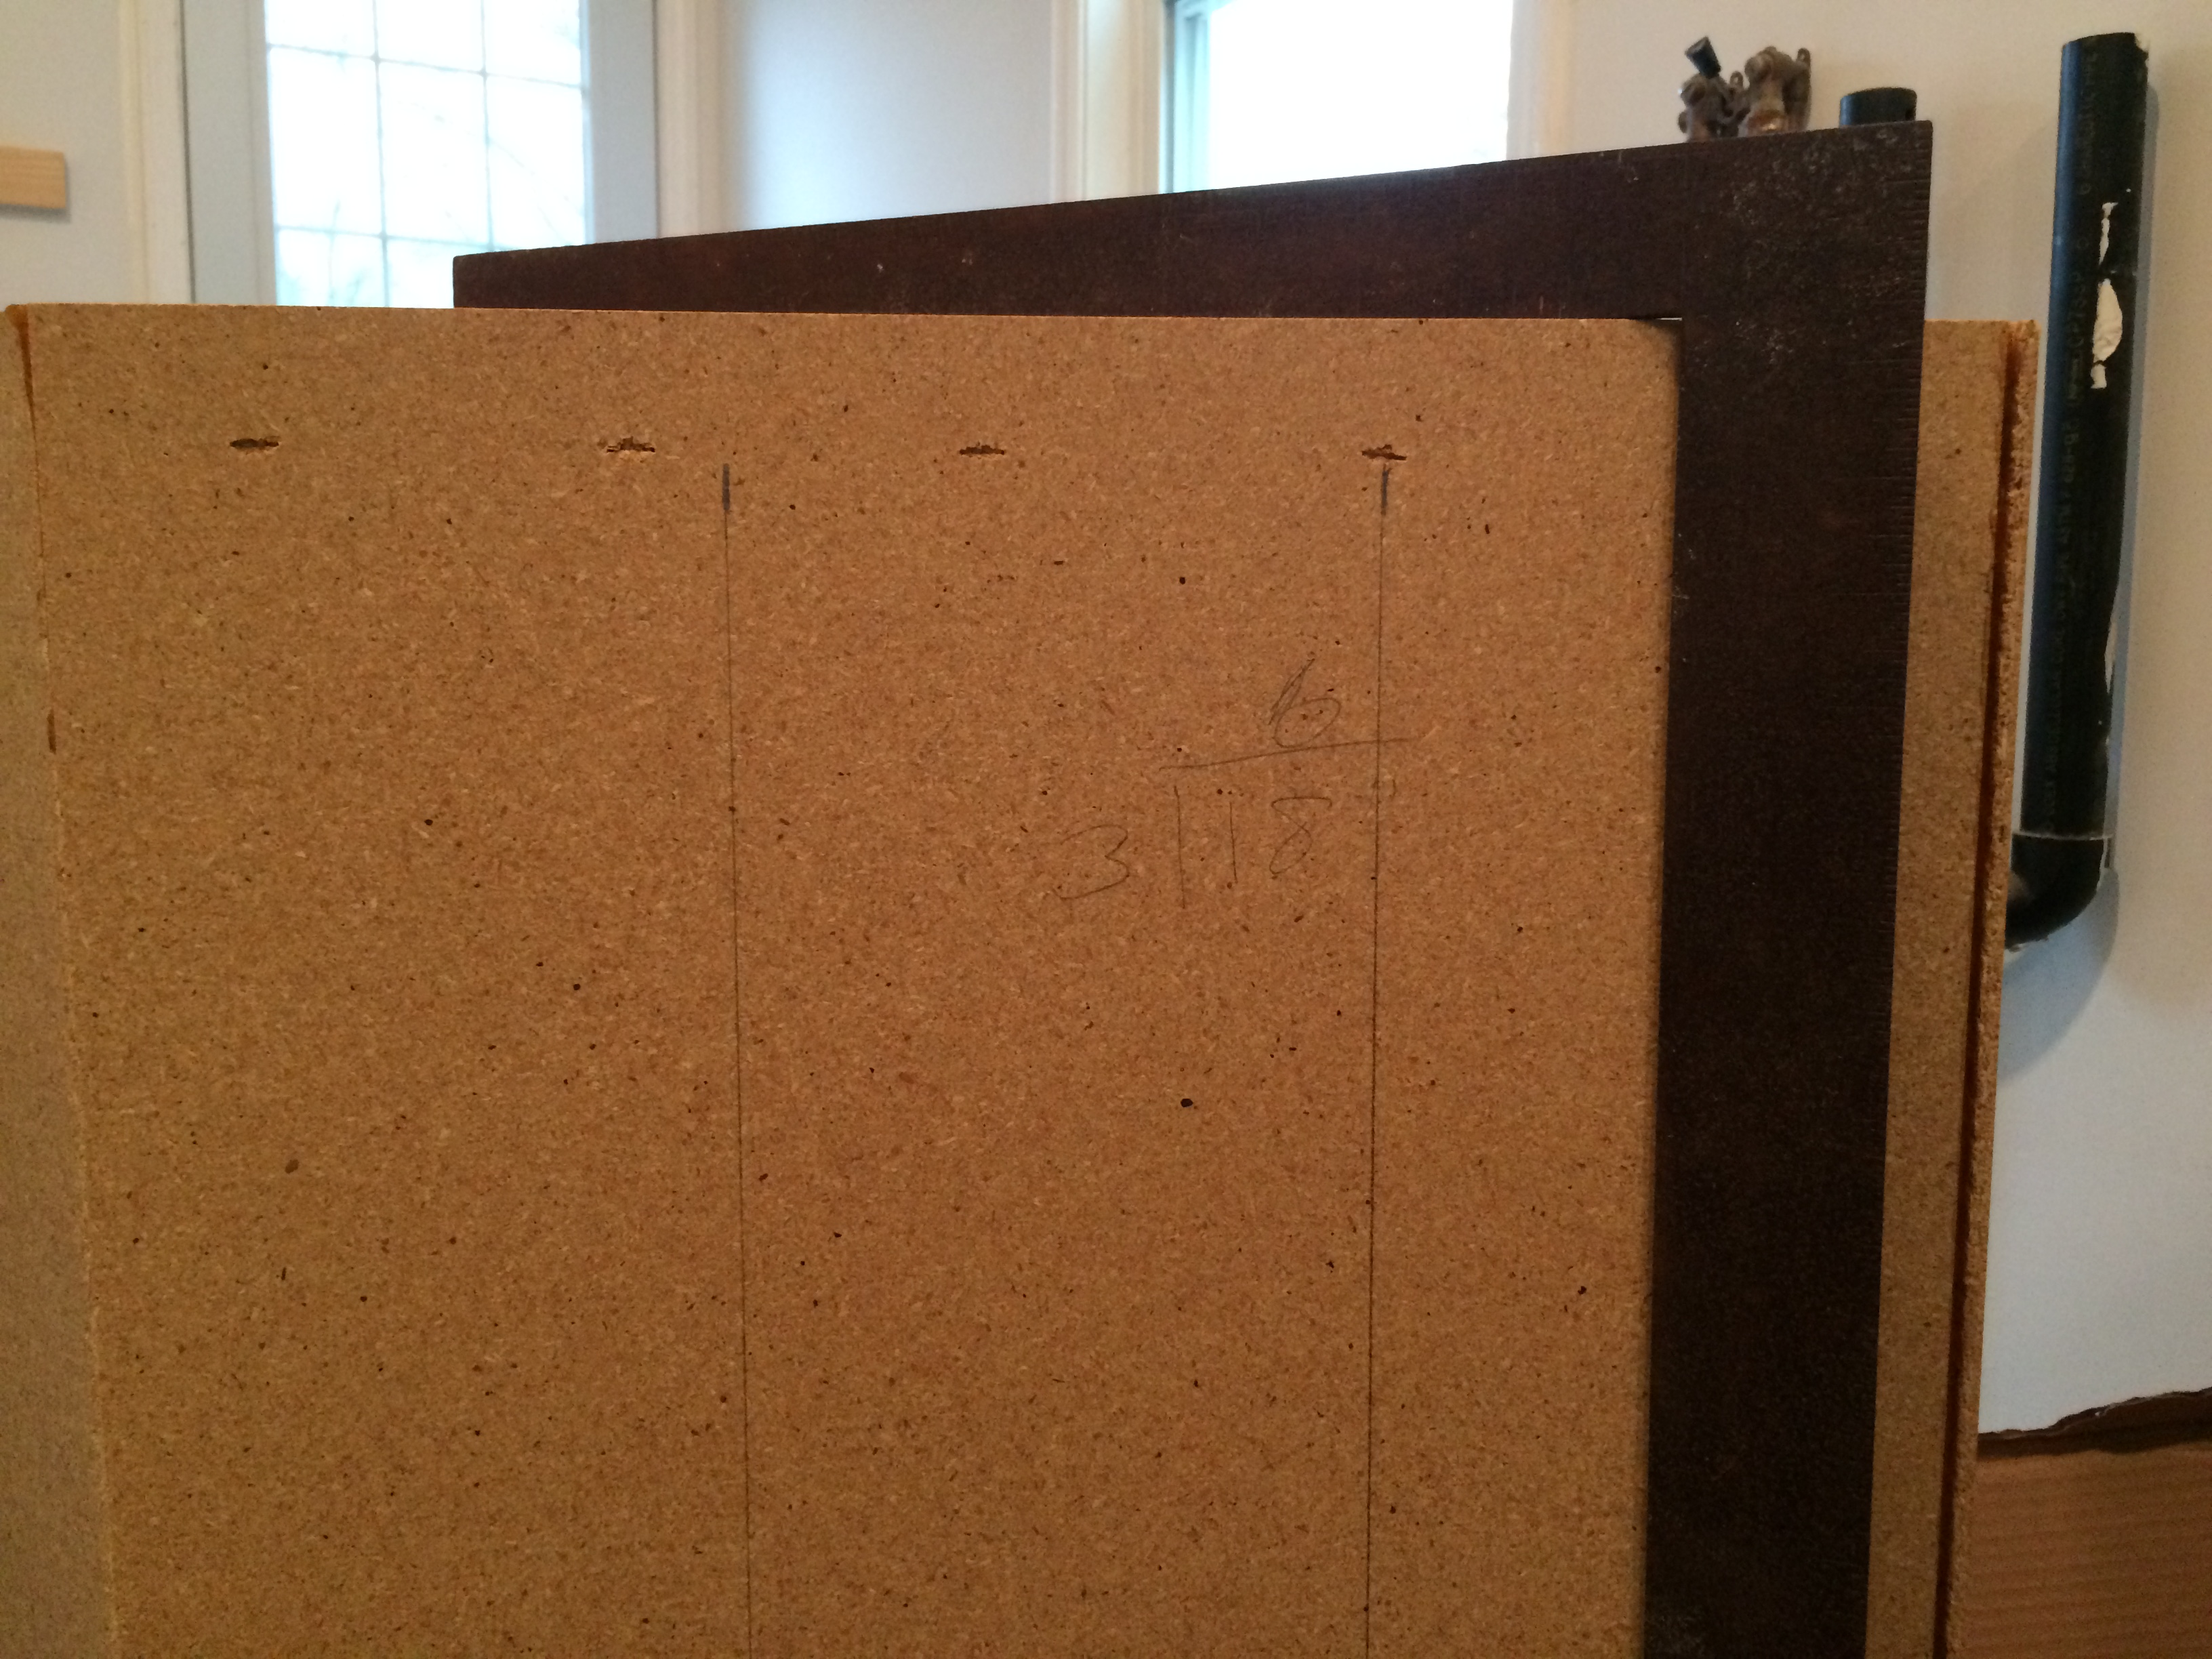
Doing my math on the back of the cabinets to pre-drill the holes for mounting:
Getting them in place with Steve's help:
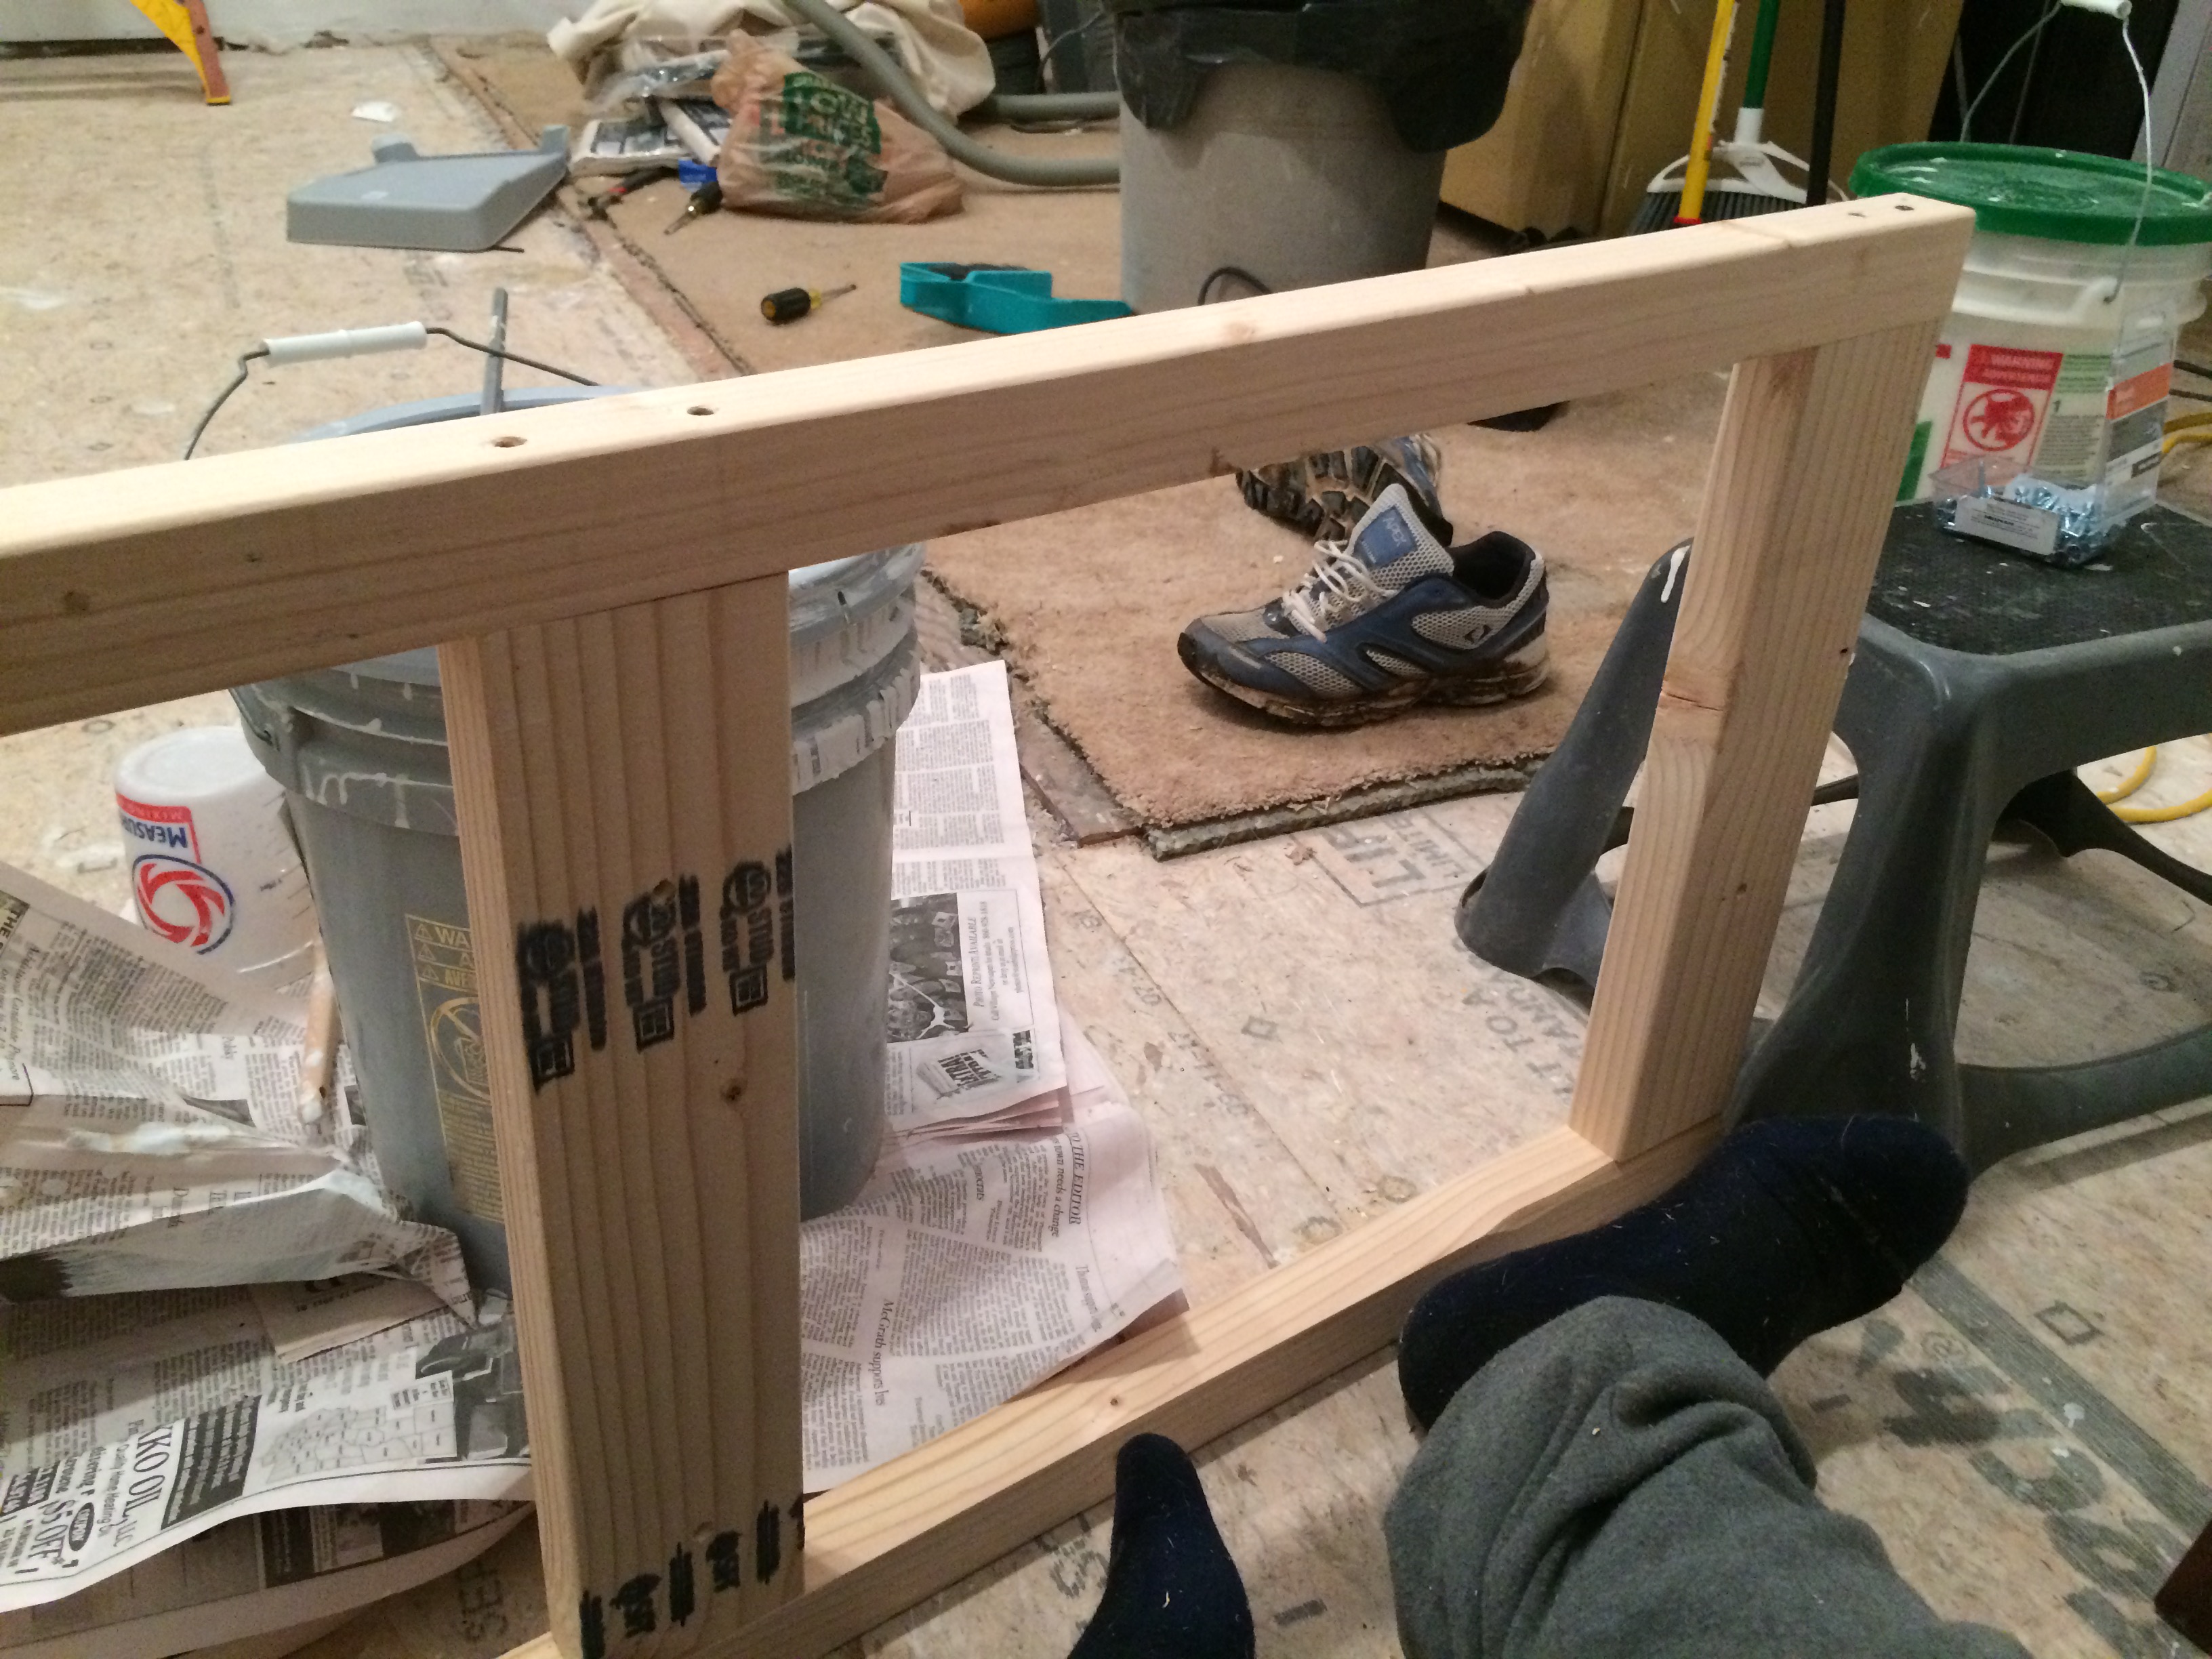
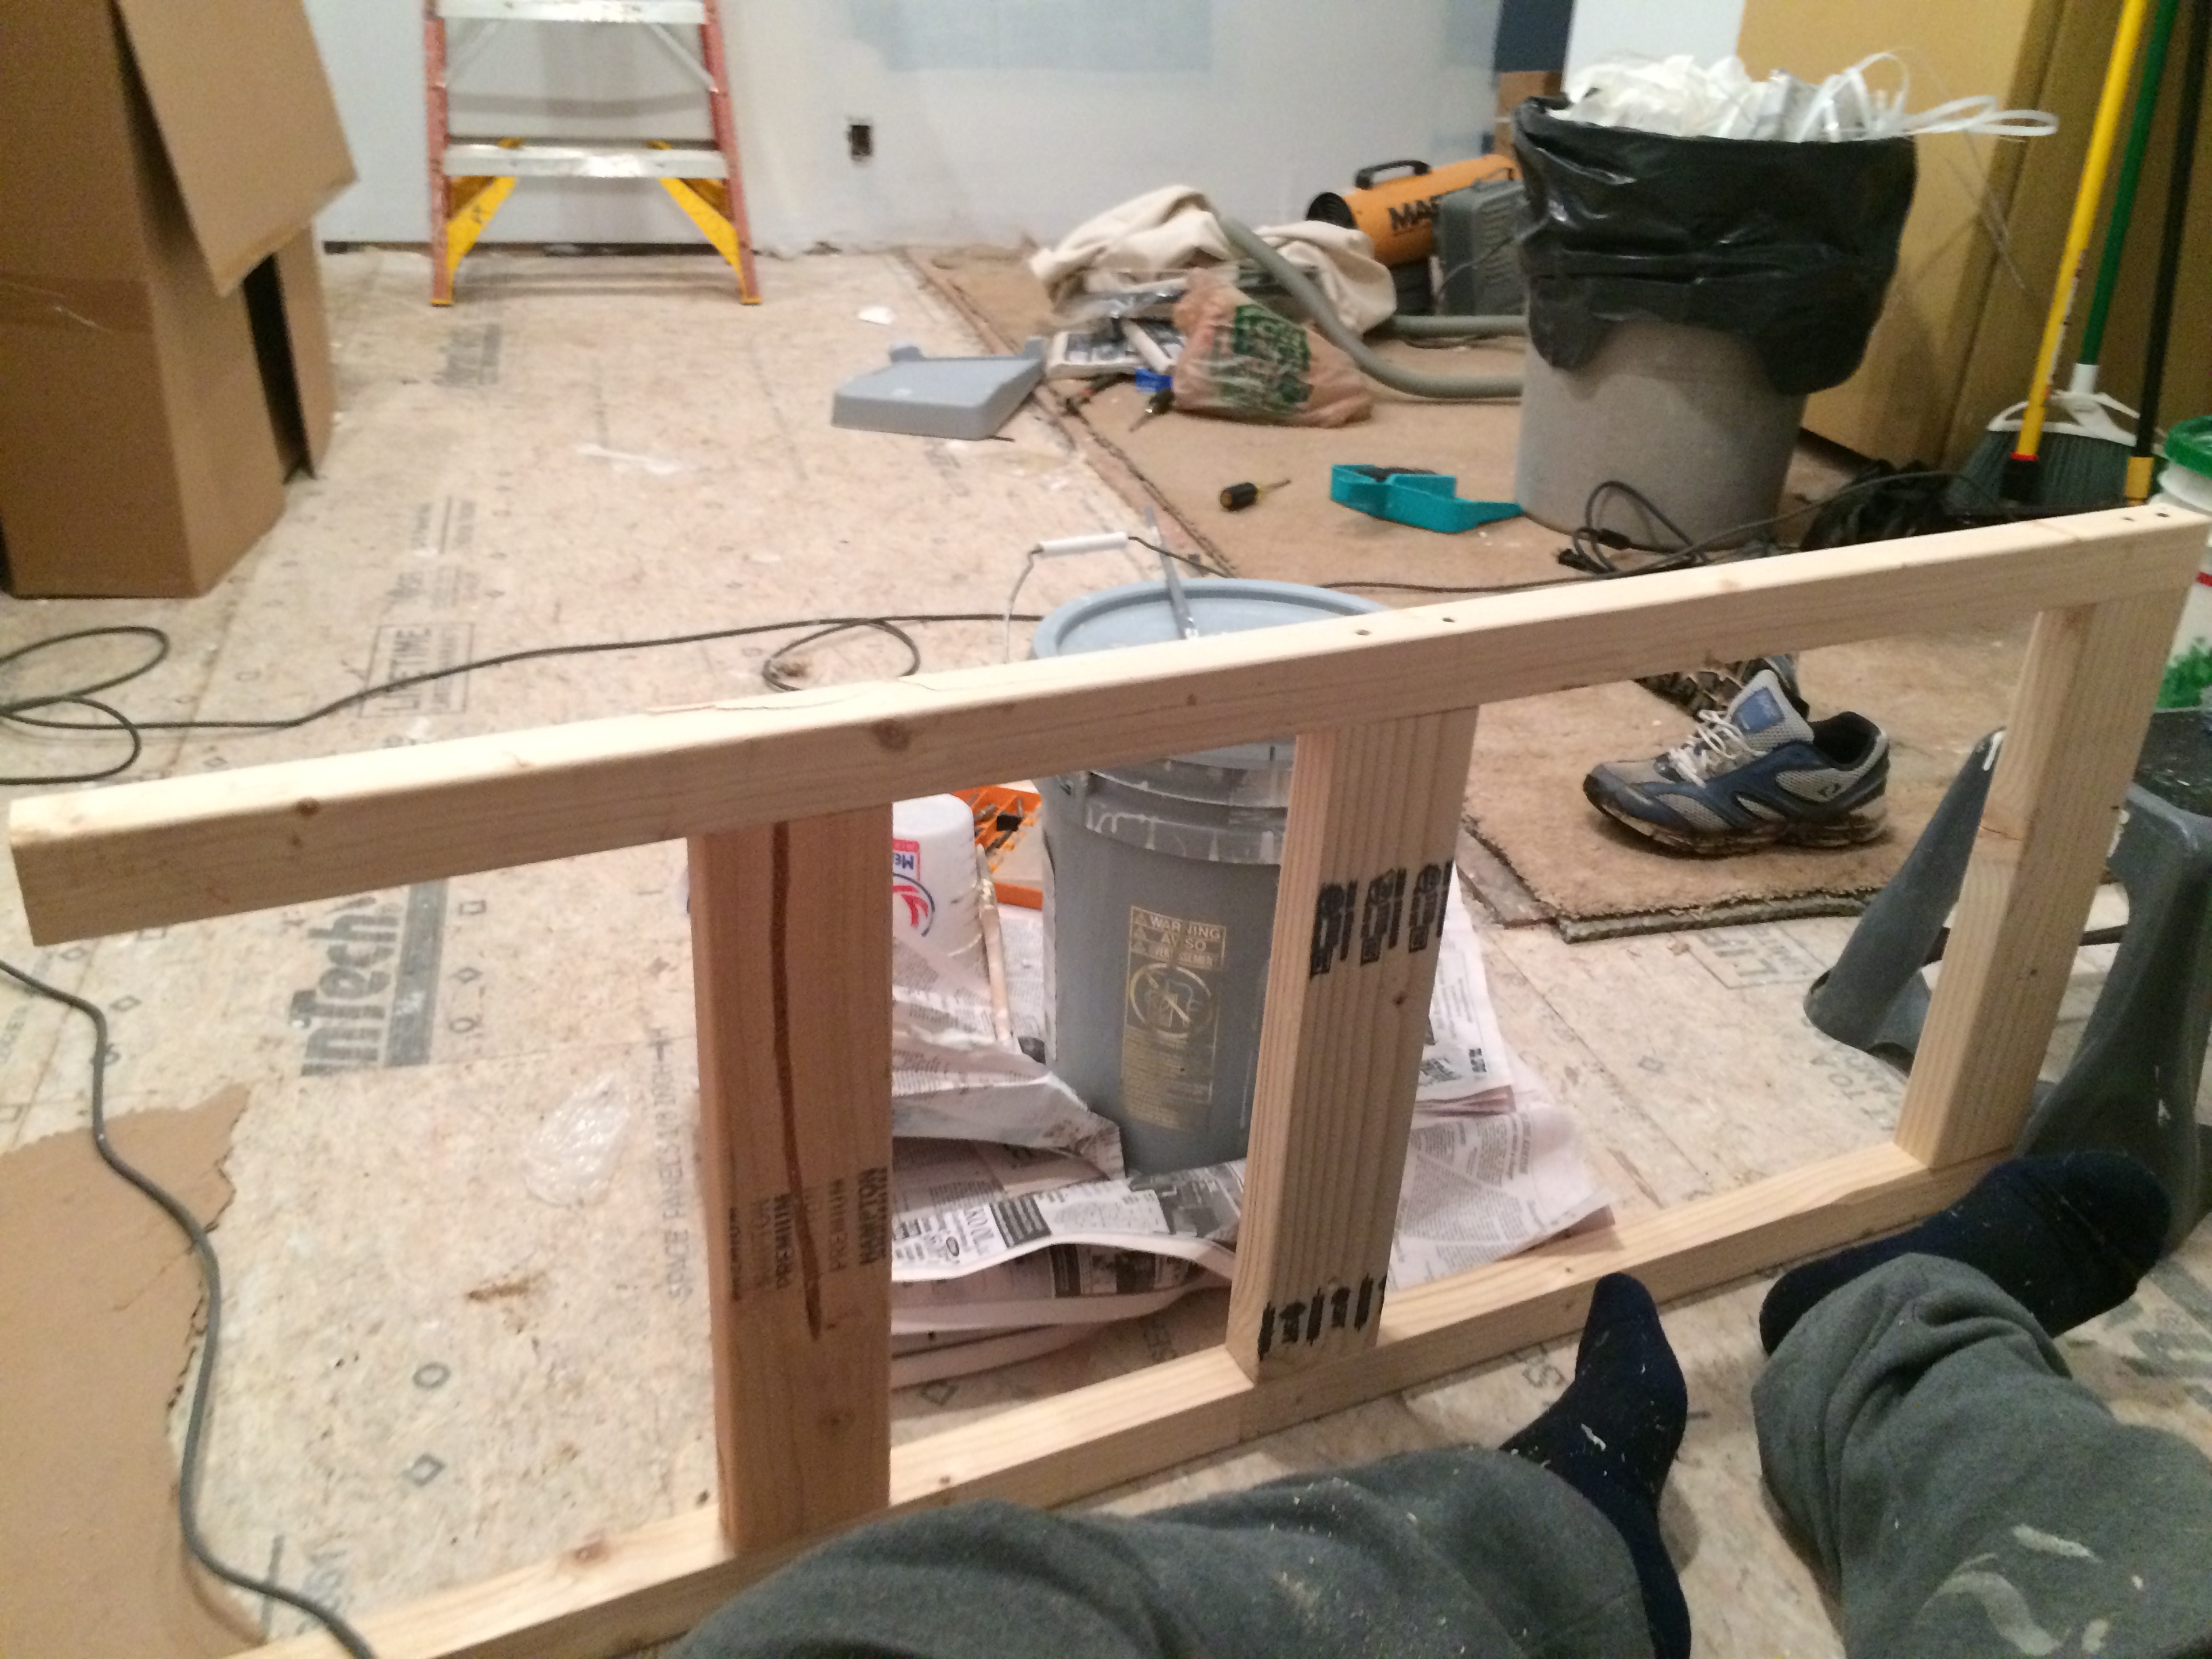
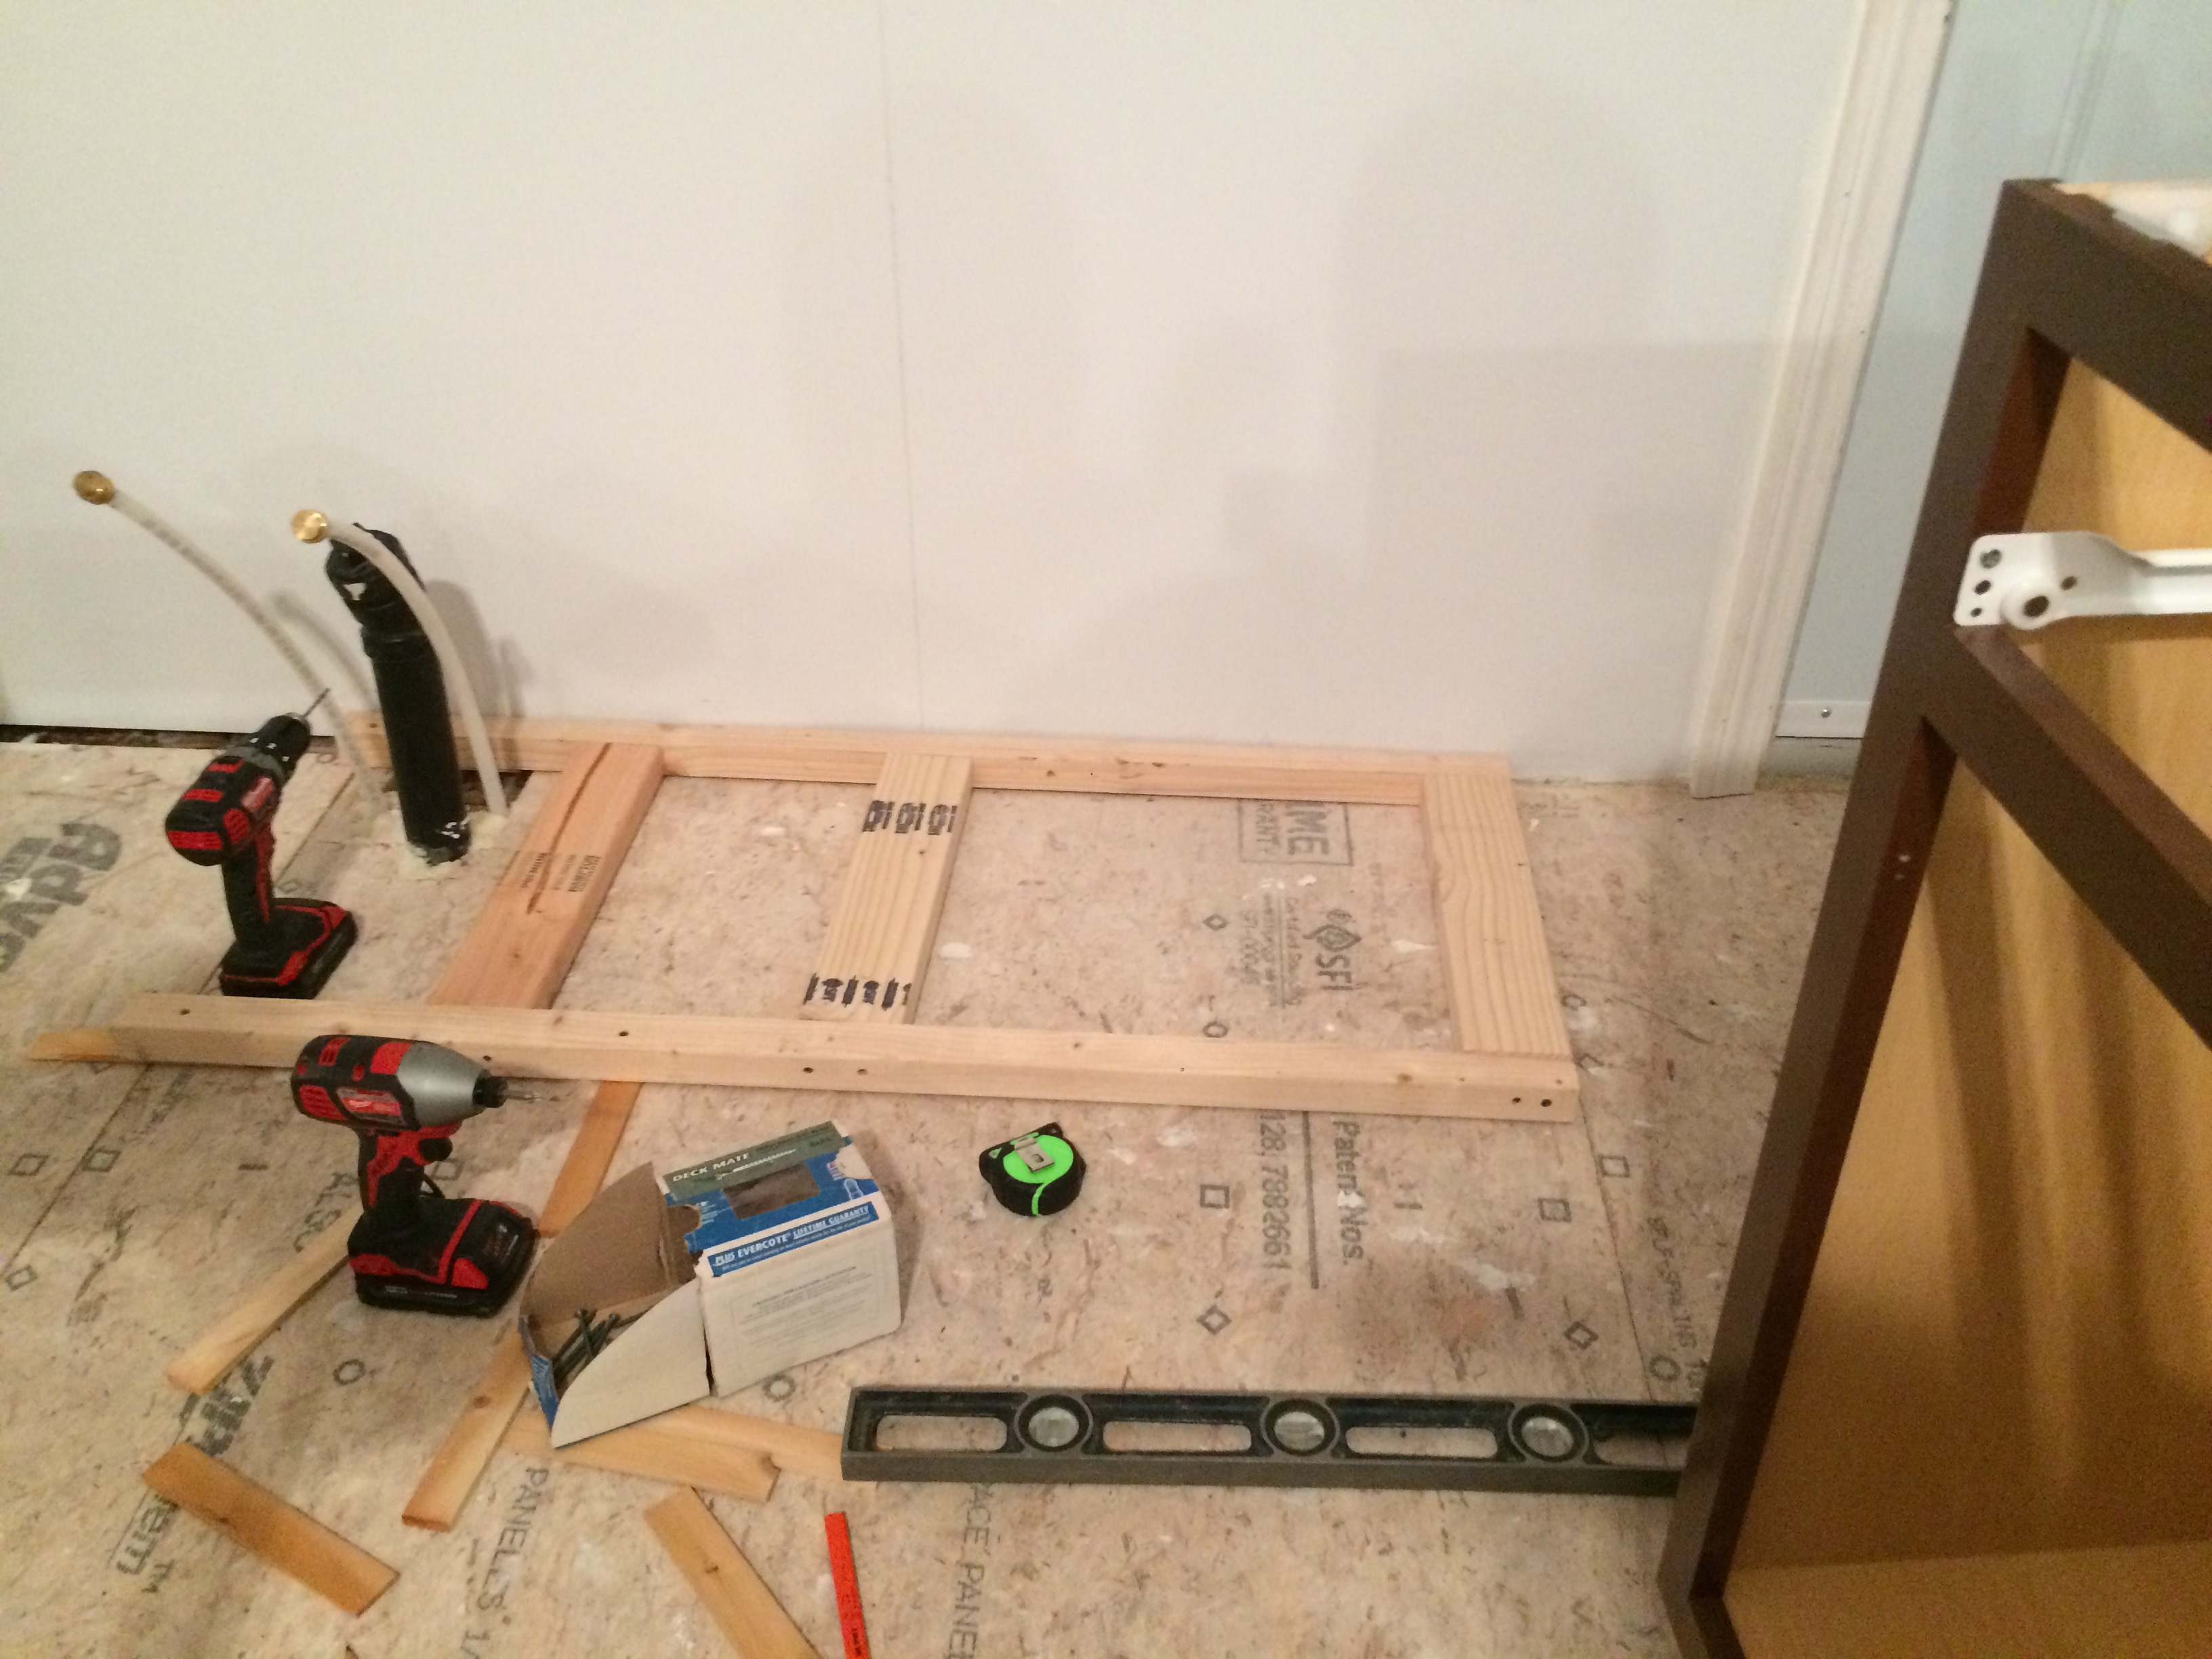
Building frames to elevate them (for the new floors) and level them:
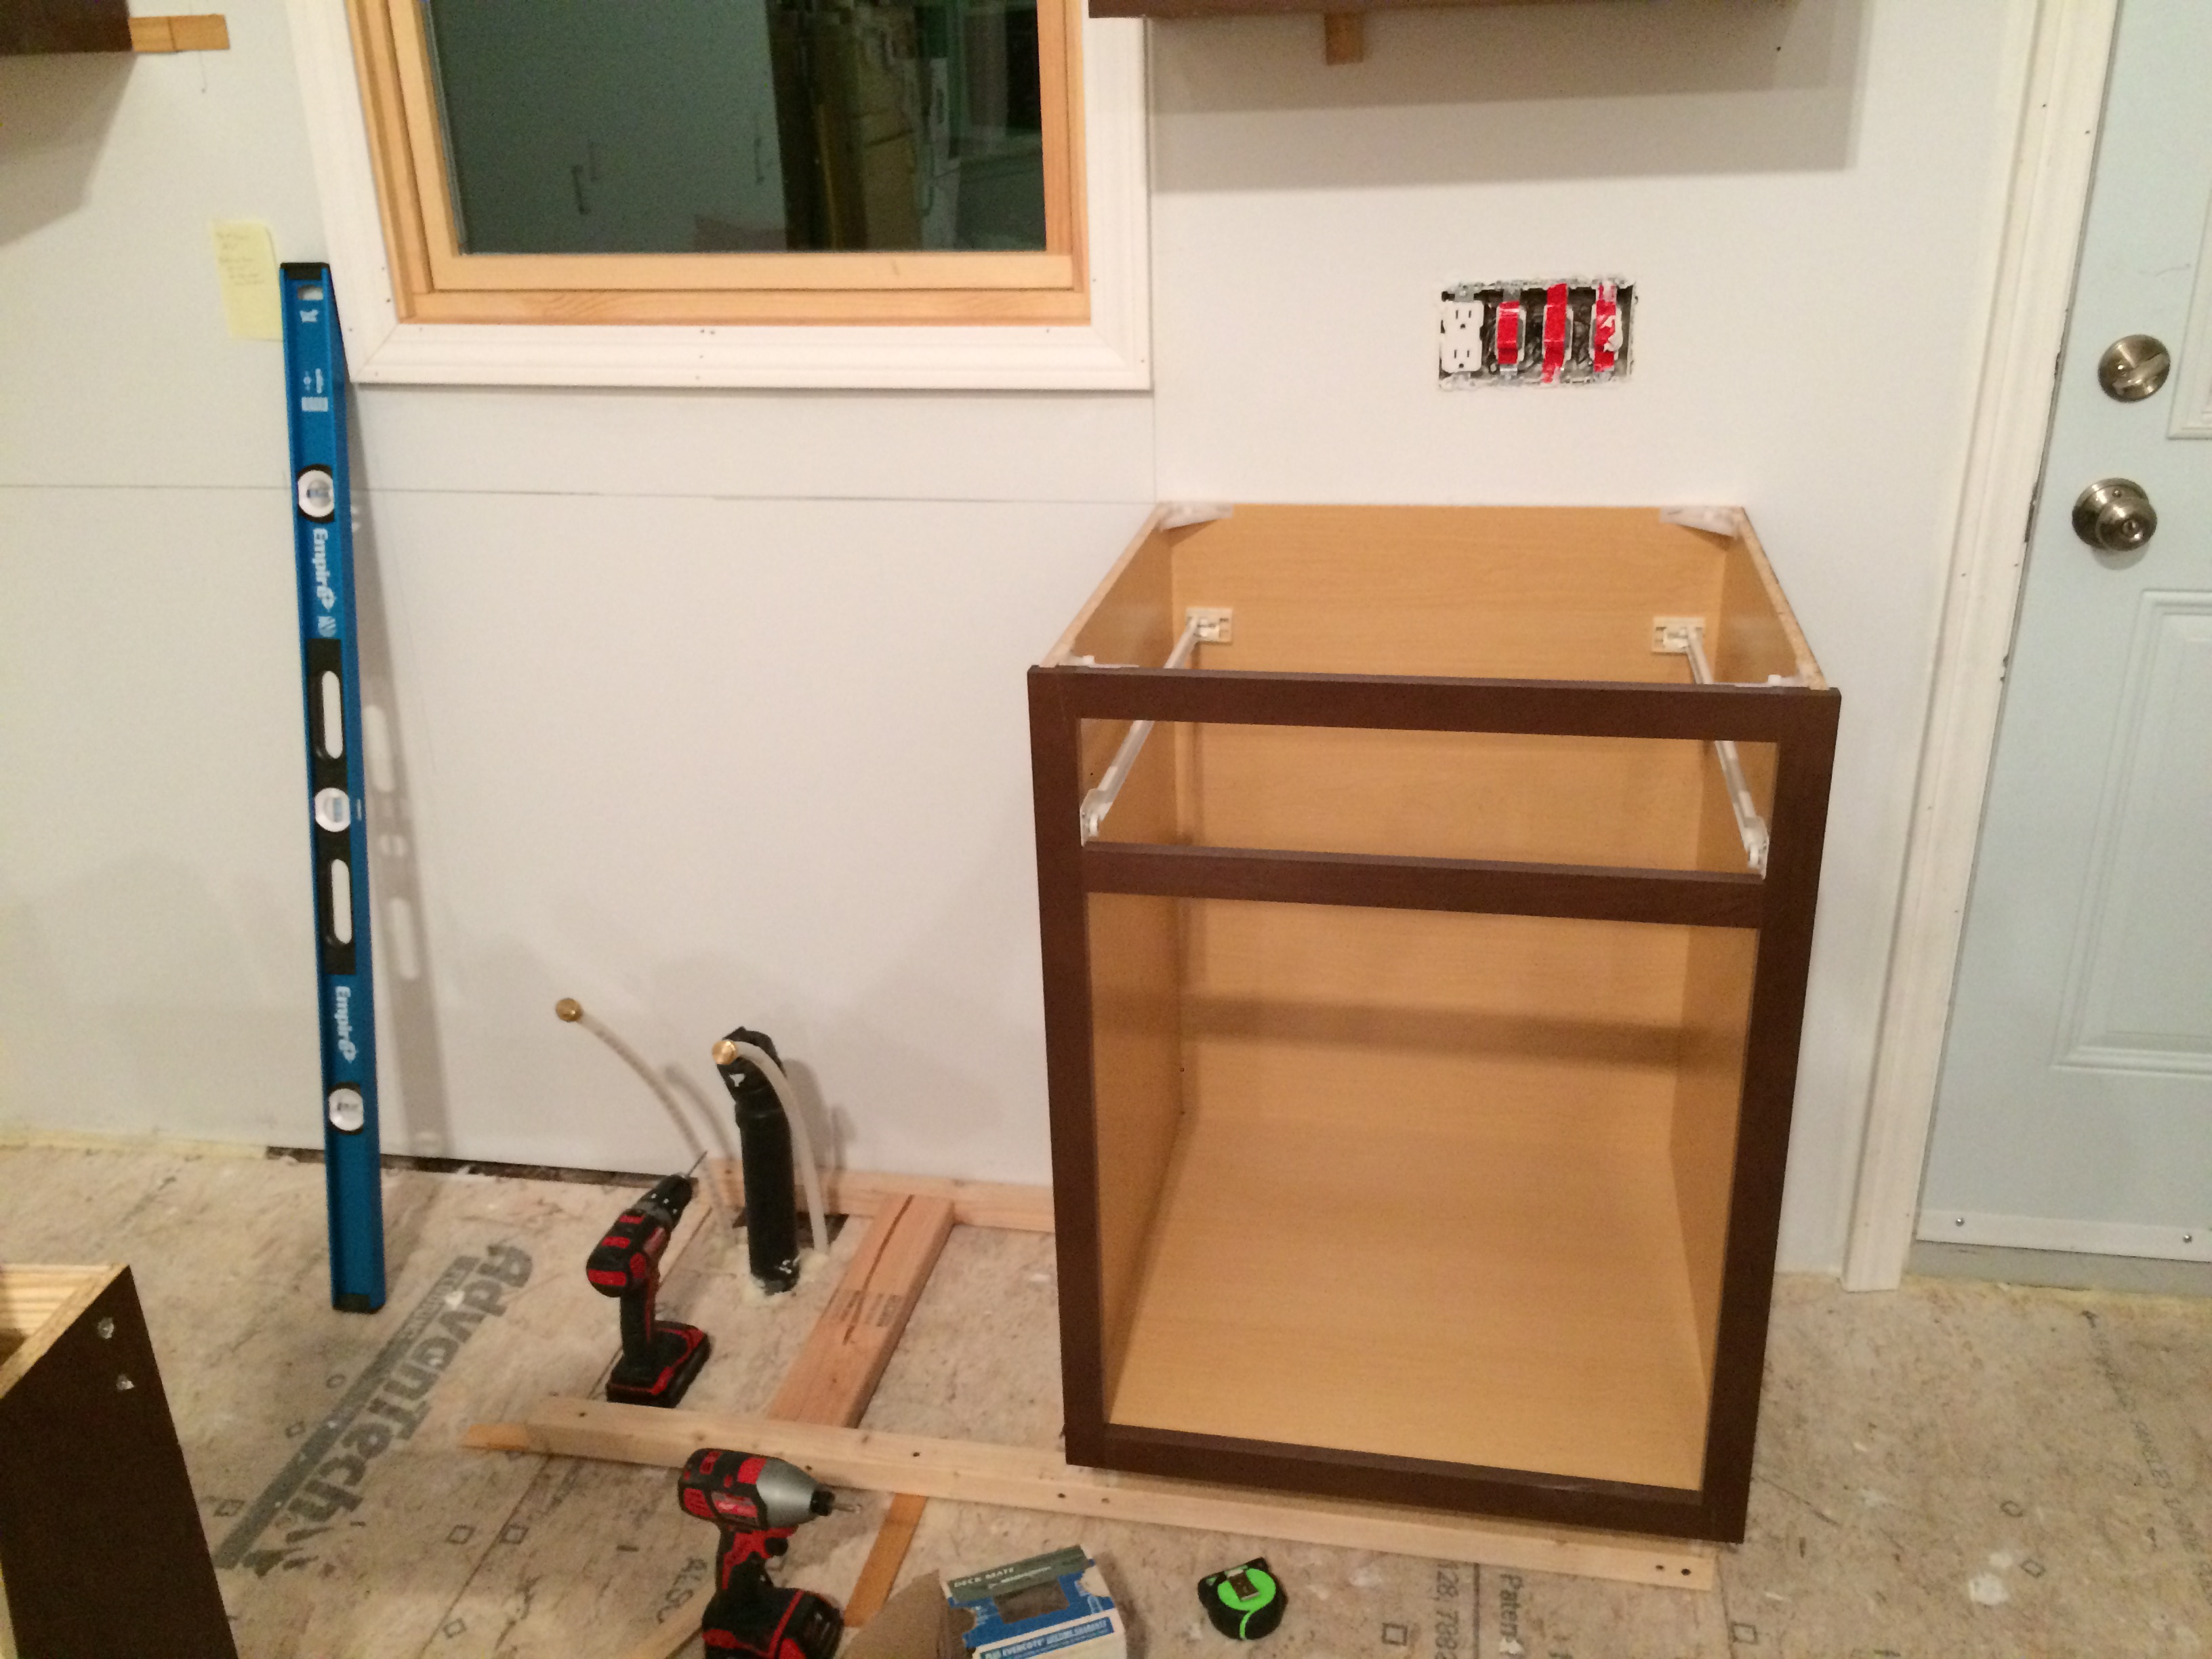
Dry fitting the first base cabinet:
Scribing to make a "big shim" to level the next section. I didn't sleep well last night (plus I have a cold), and decided that's it for the night. Tomorrow I'll need to make a jig and cut it.
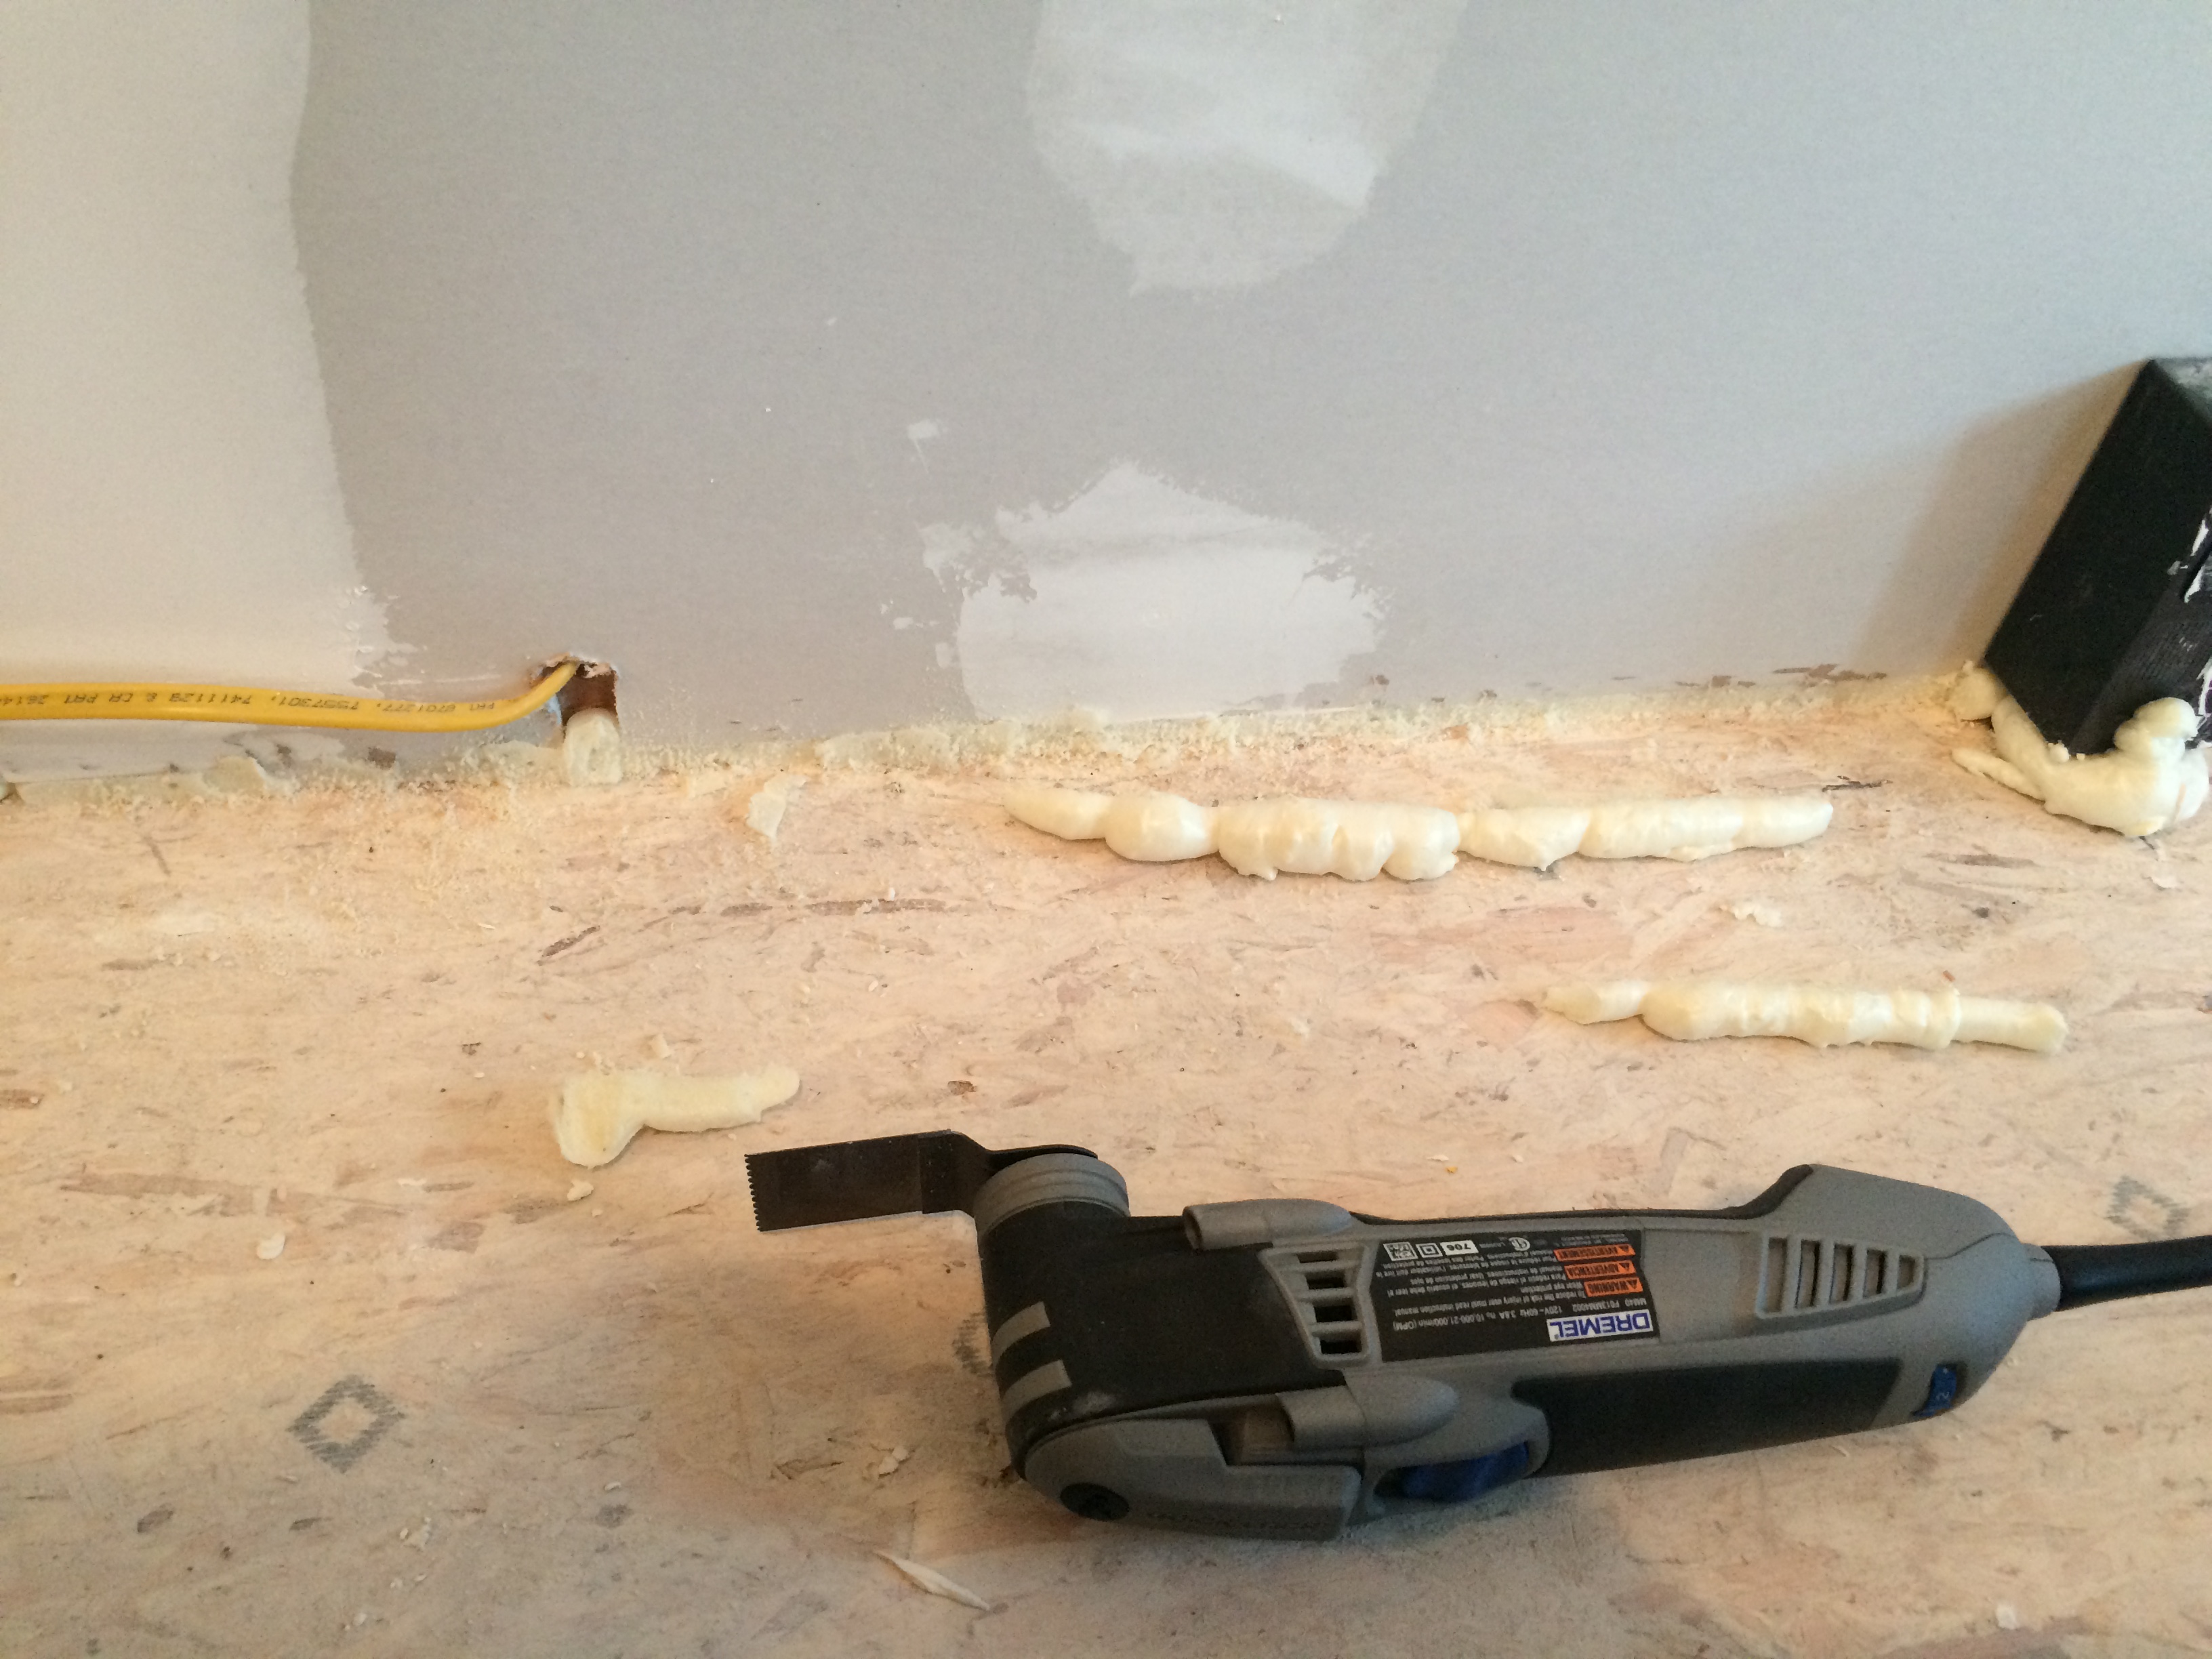
The oscillating tool sure made short work of trimming the foam.
Coming back from the first Lowe's run of the day, interesting frost pattern on the roof.
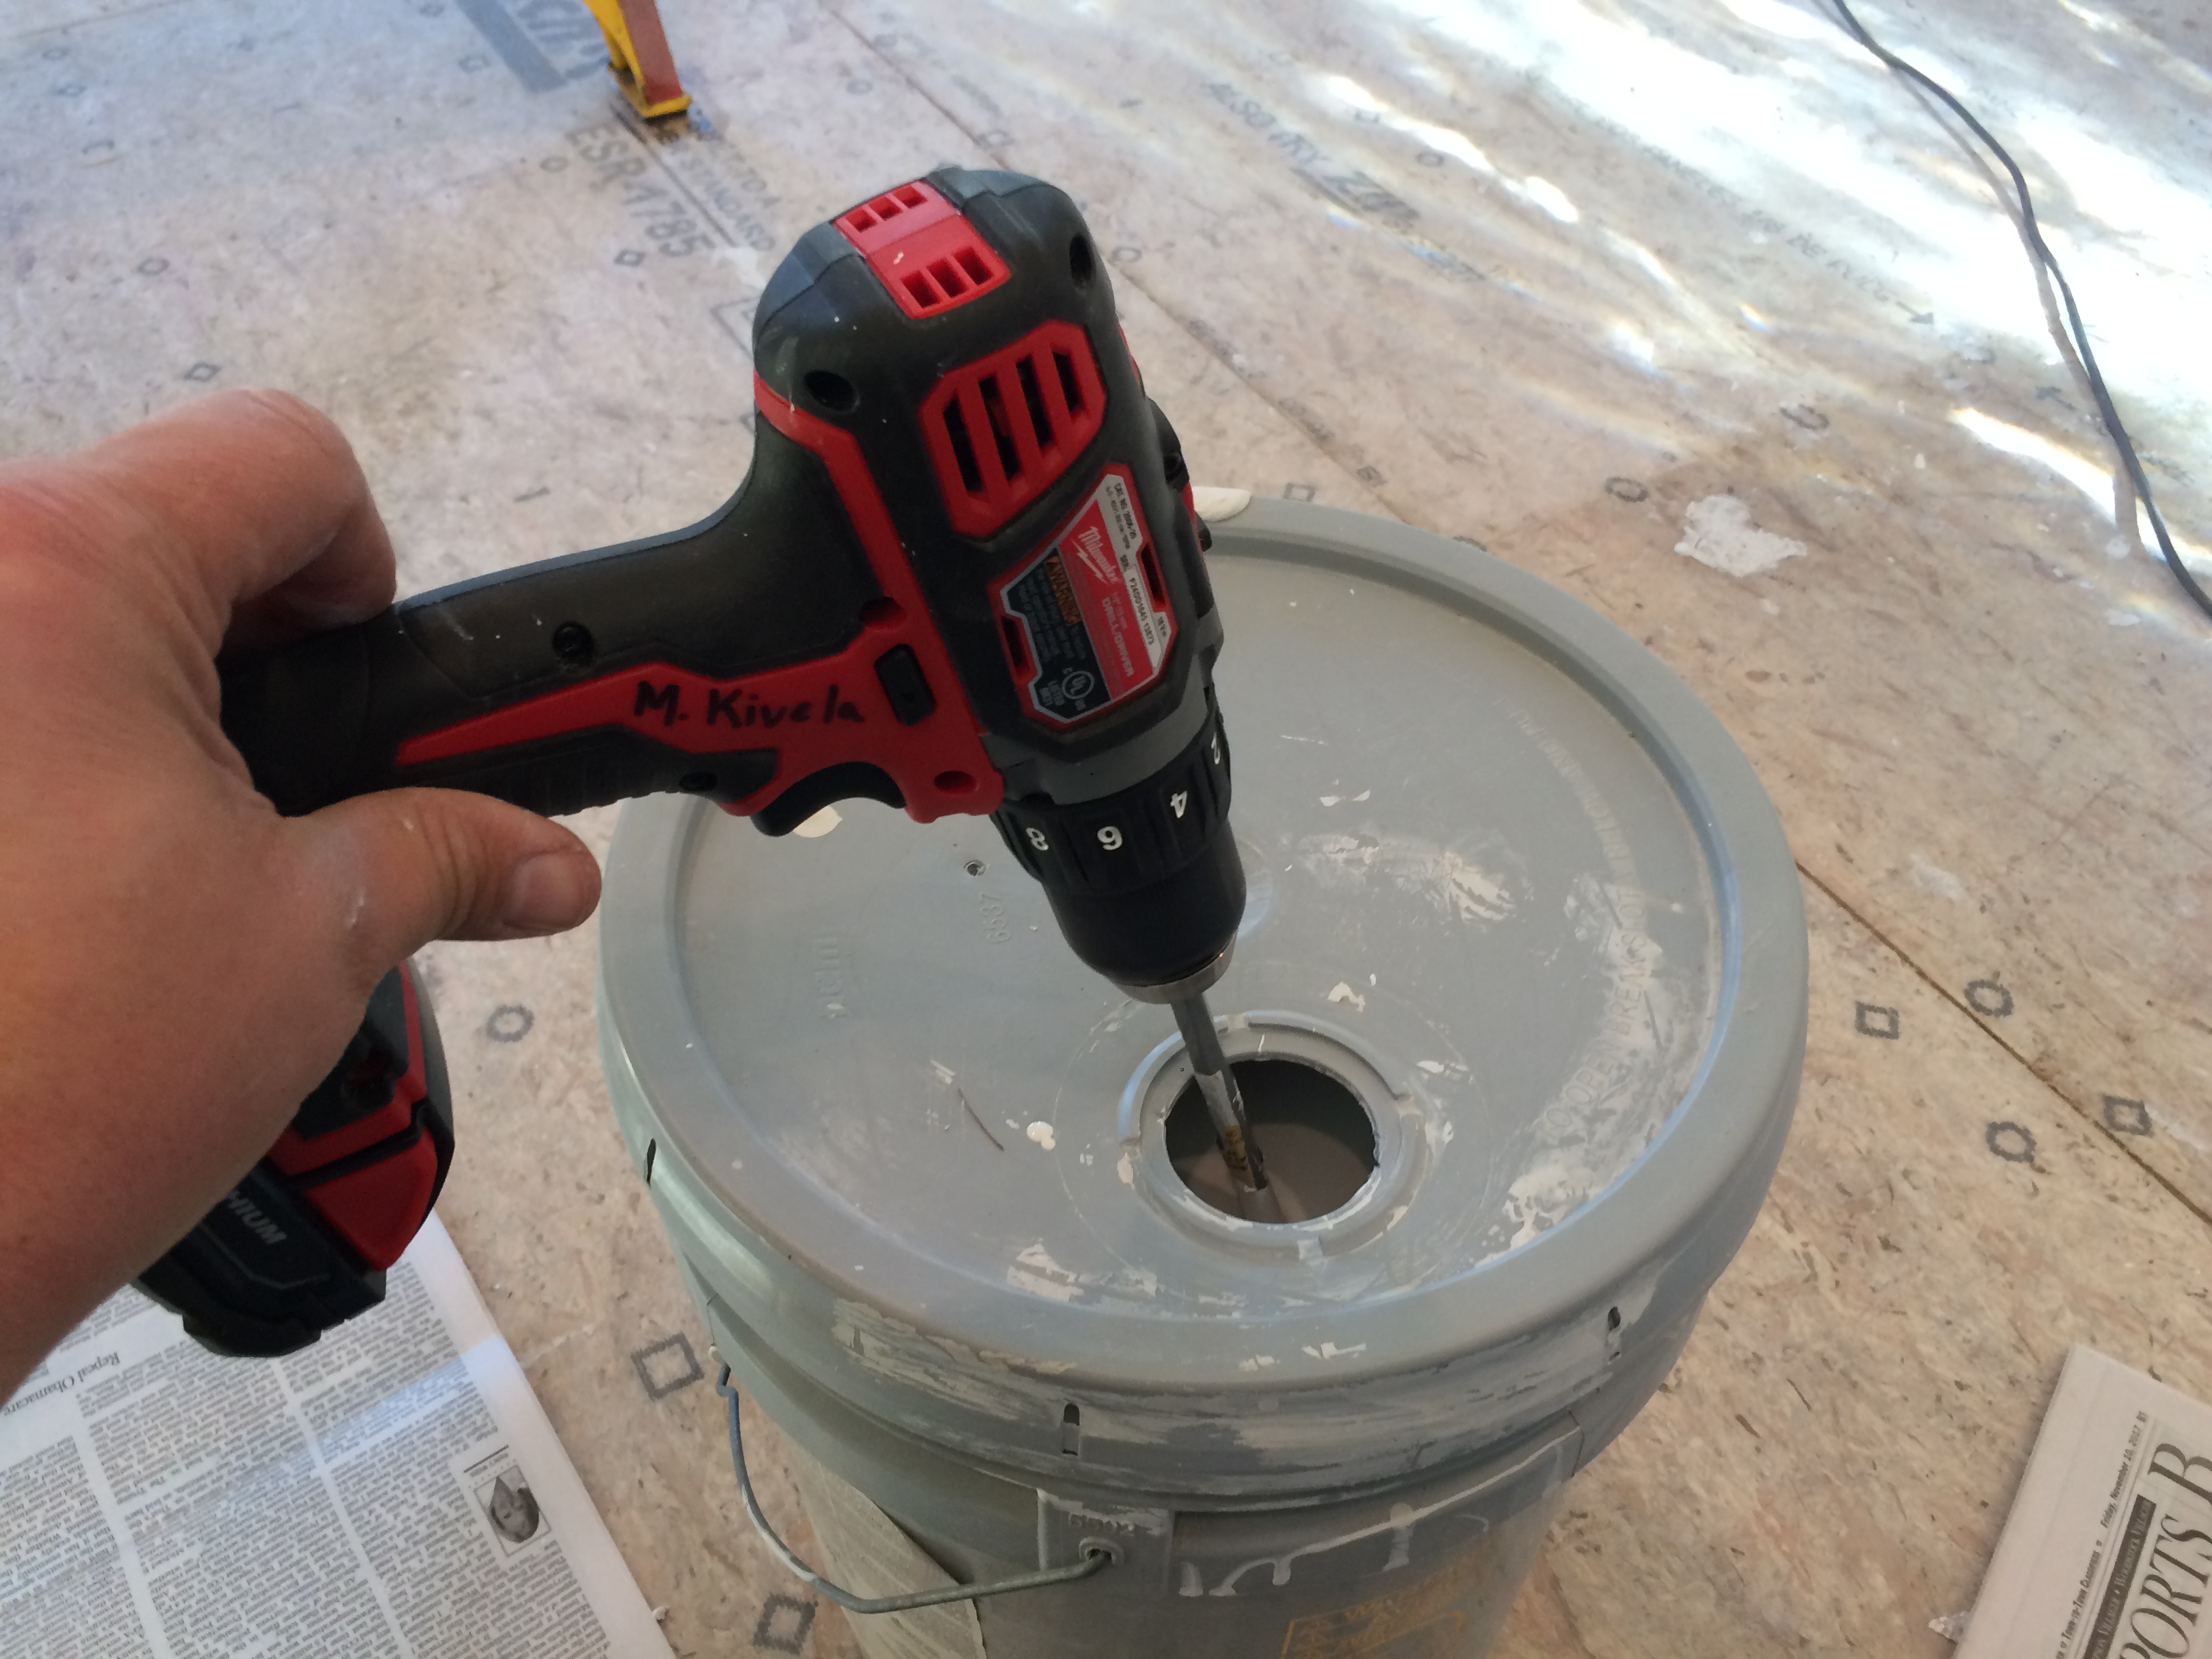
Mixing the paint, the problem being the stirrer went in through the bung hole but I wasn't able to pull it off, so I had to break the seal and take the top off the bucket.
Me and Steve easily went through two gallons pushing three primer. I put a second coat where the cabinets will be, Steve will probably put another coat on the rest while I work on the cabinets tomorrow.
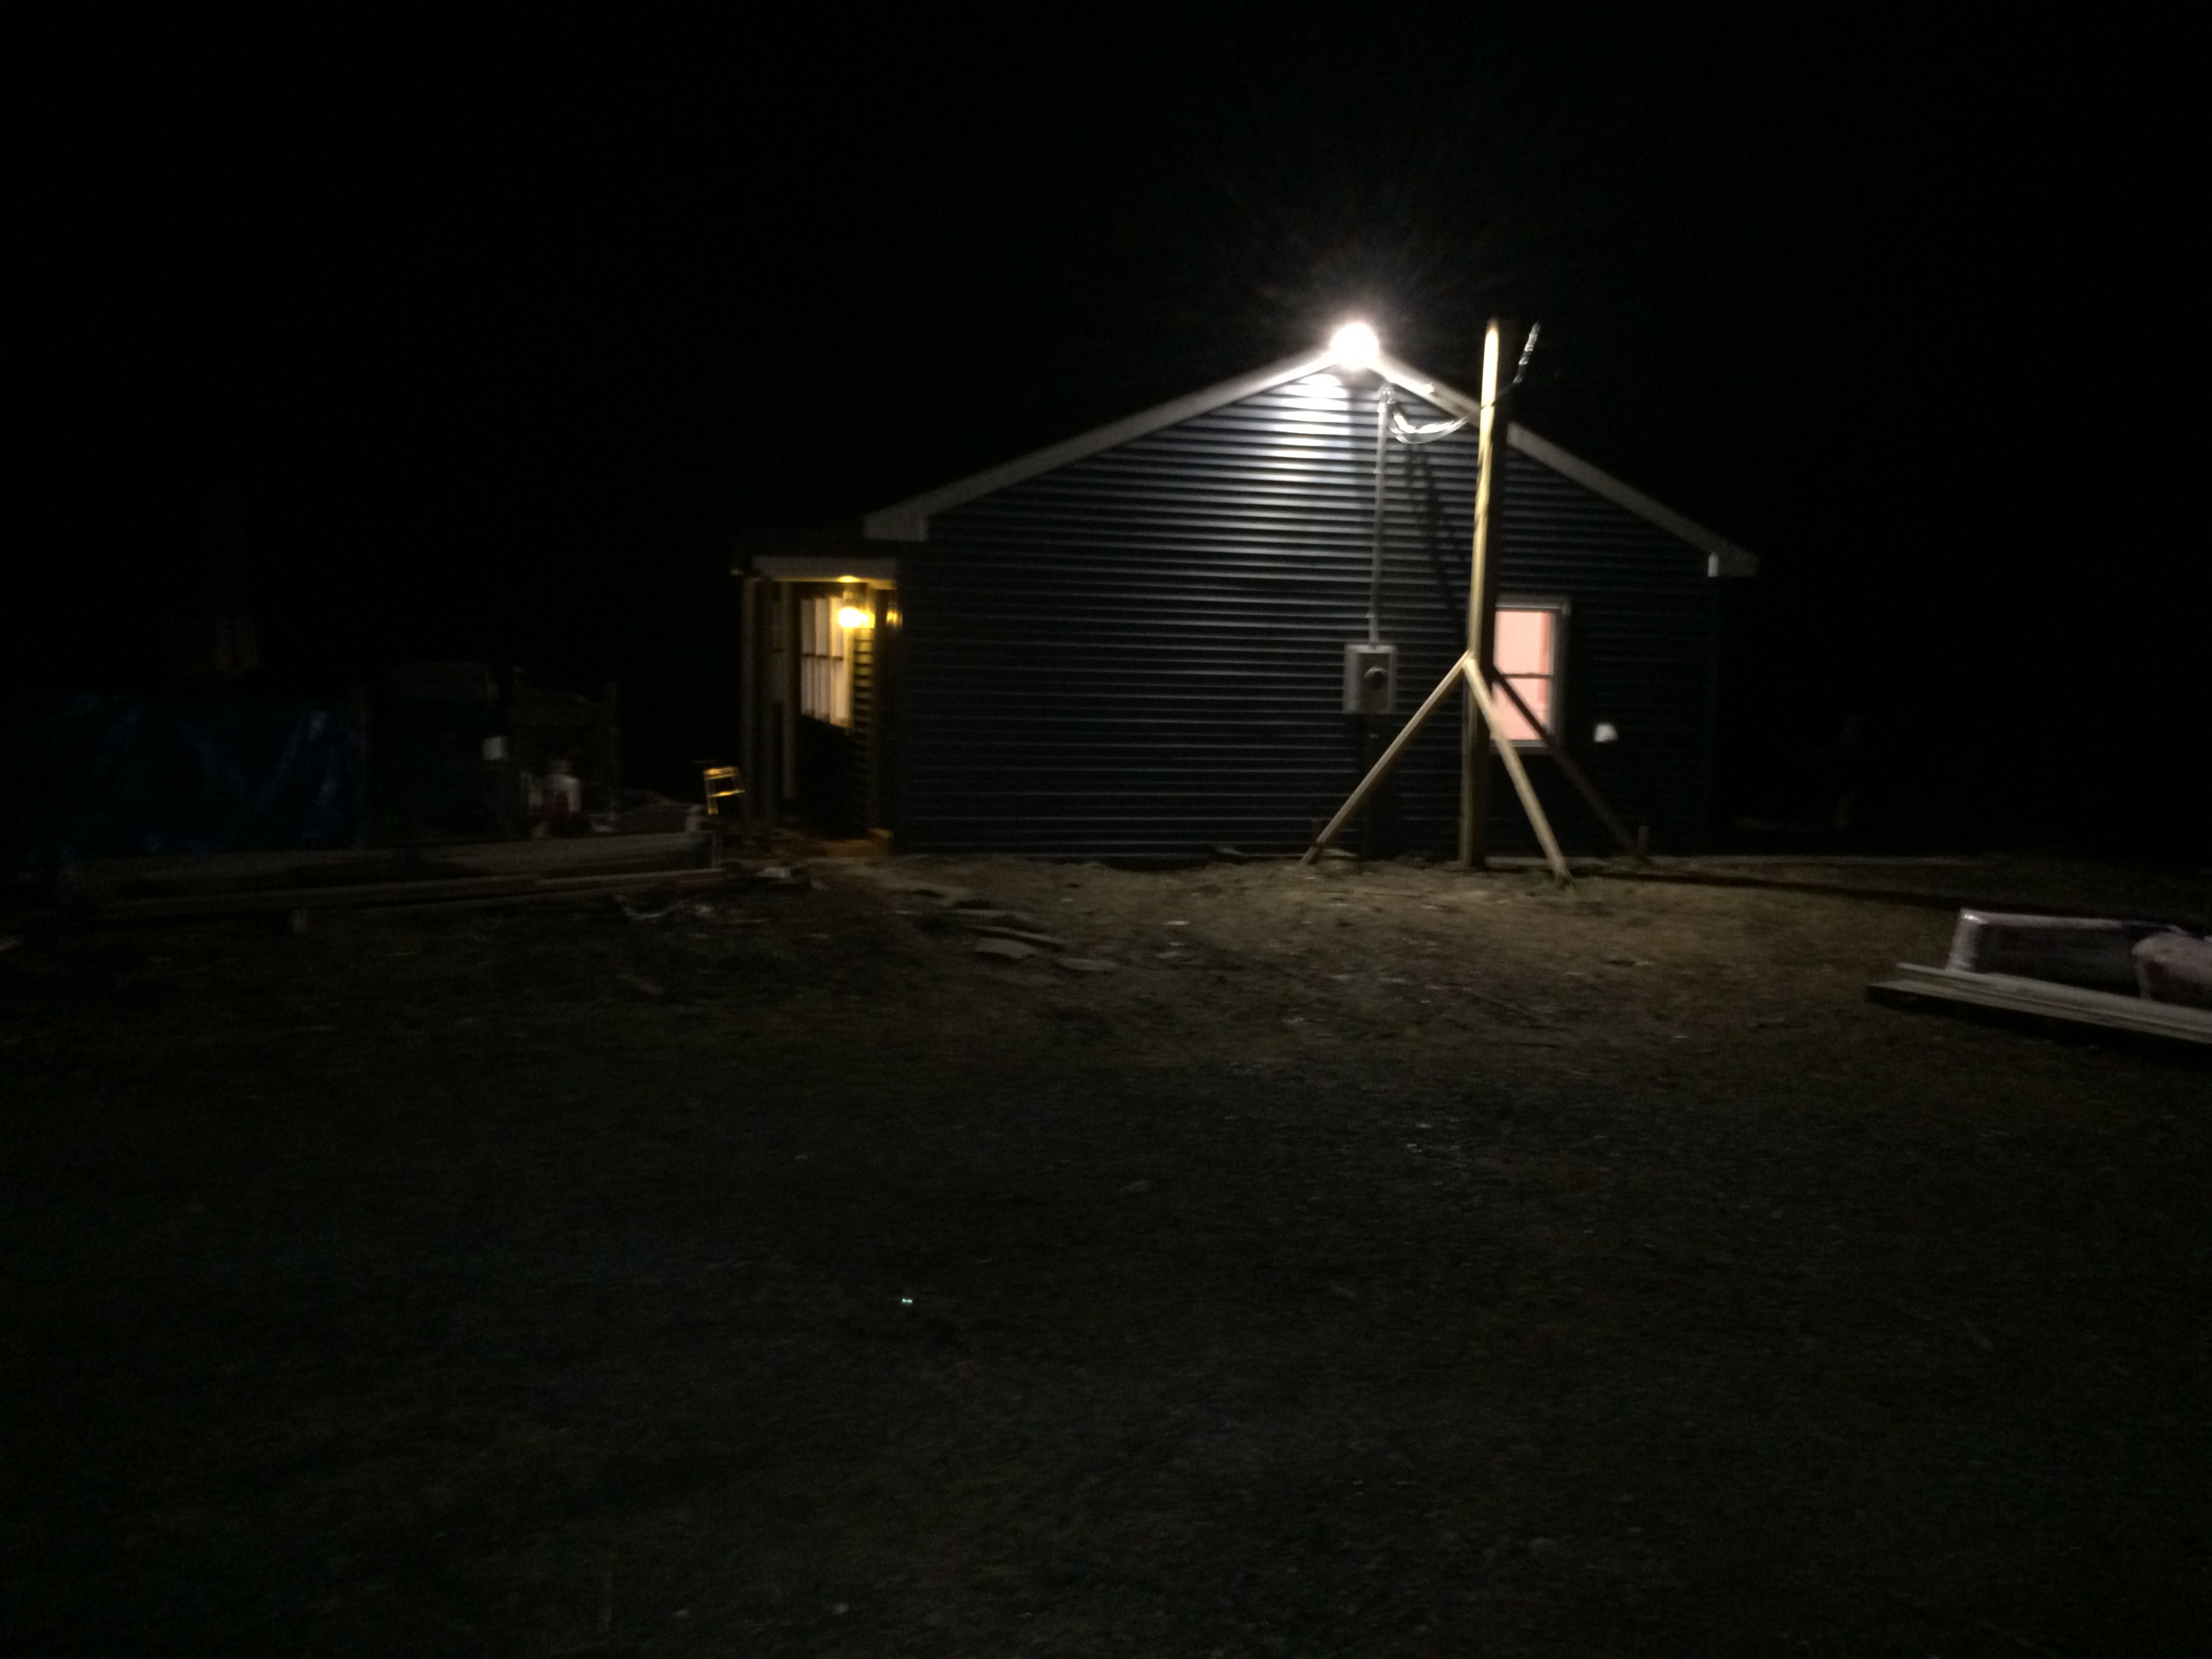
Electricians came to wrap up a couple items, and also installed my outside lights. Now it's just up to CL&P to move the service from the temporary pole to the house.
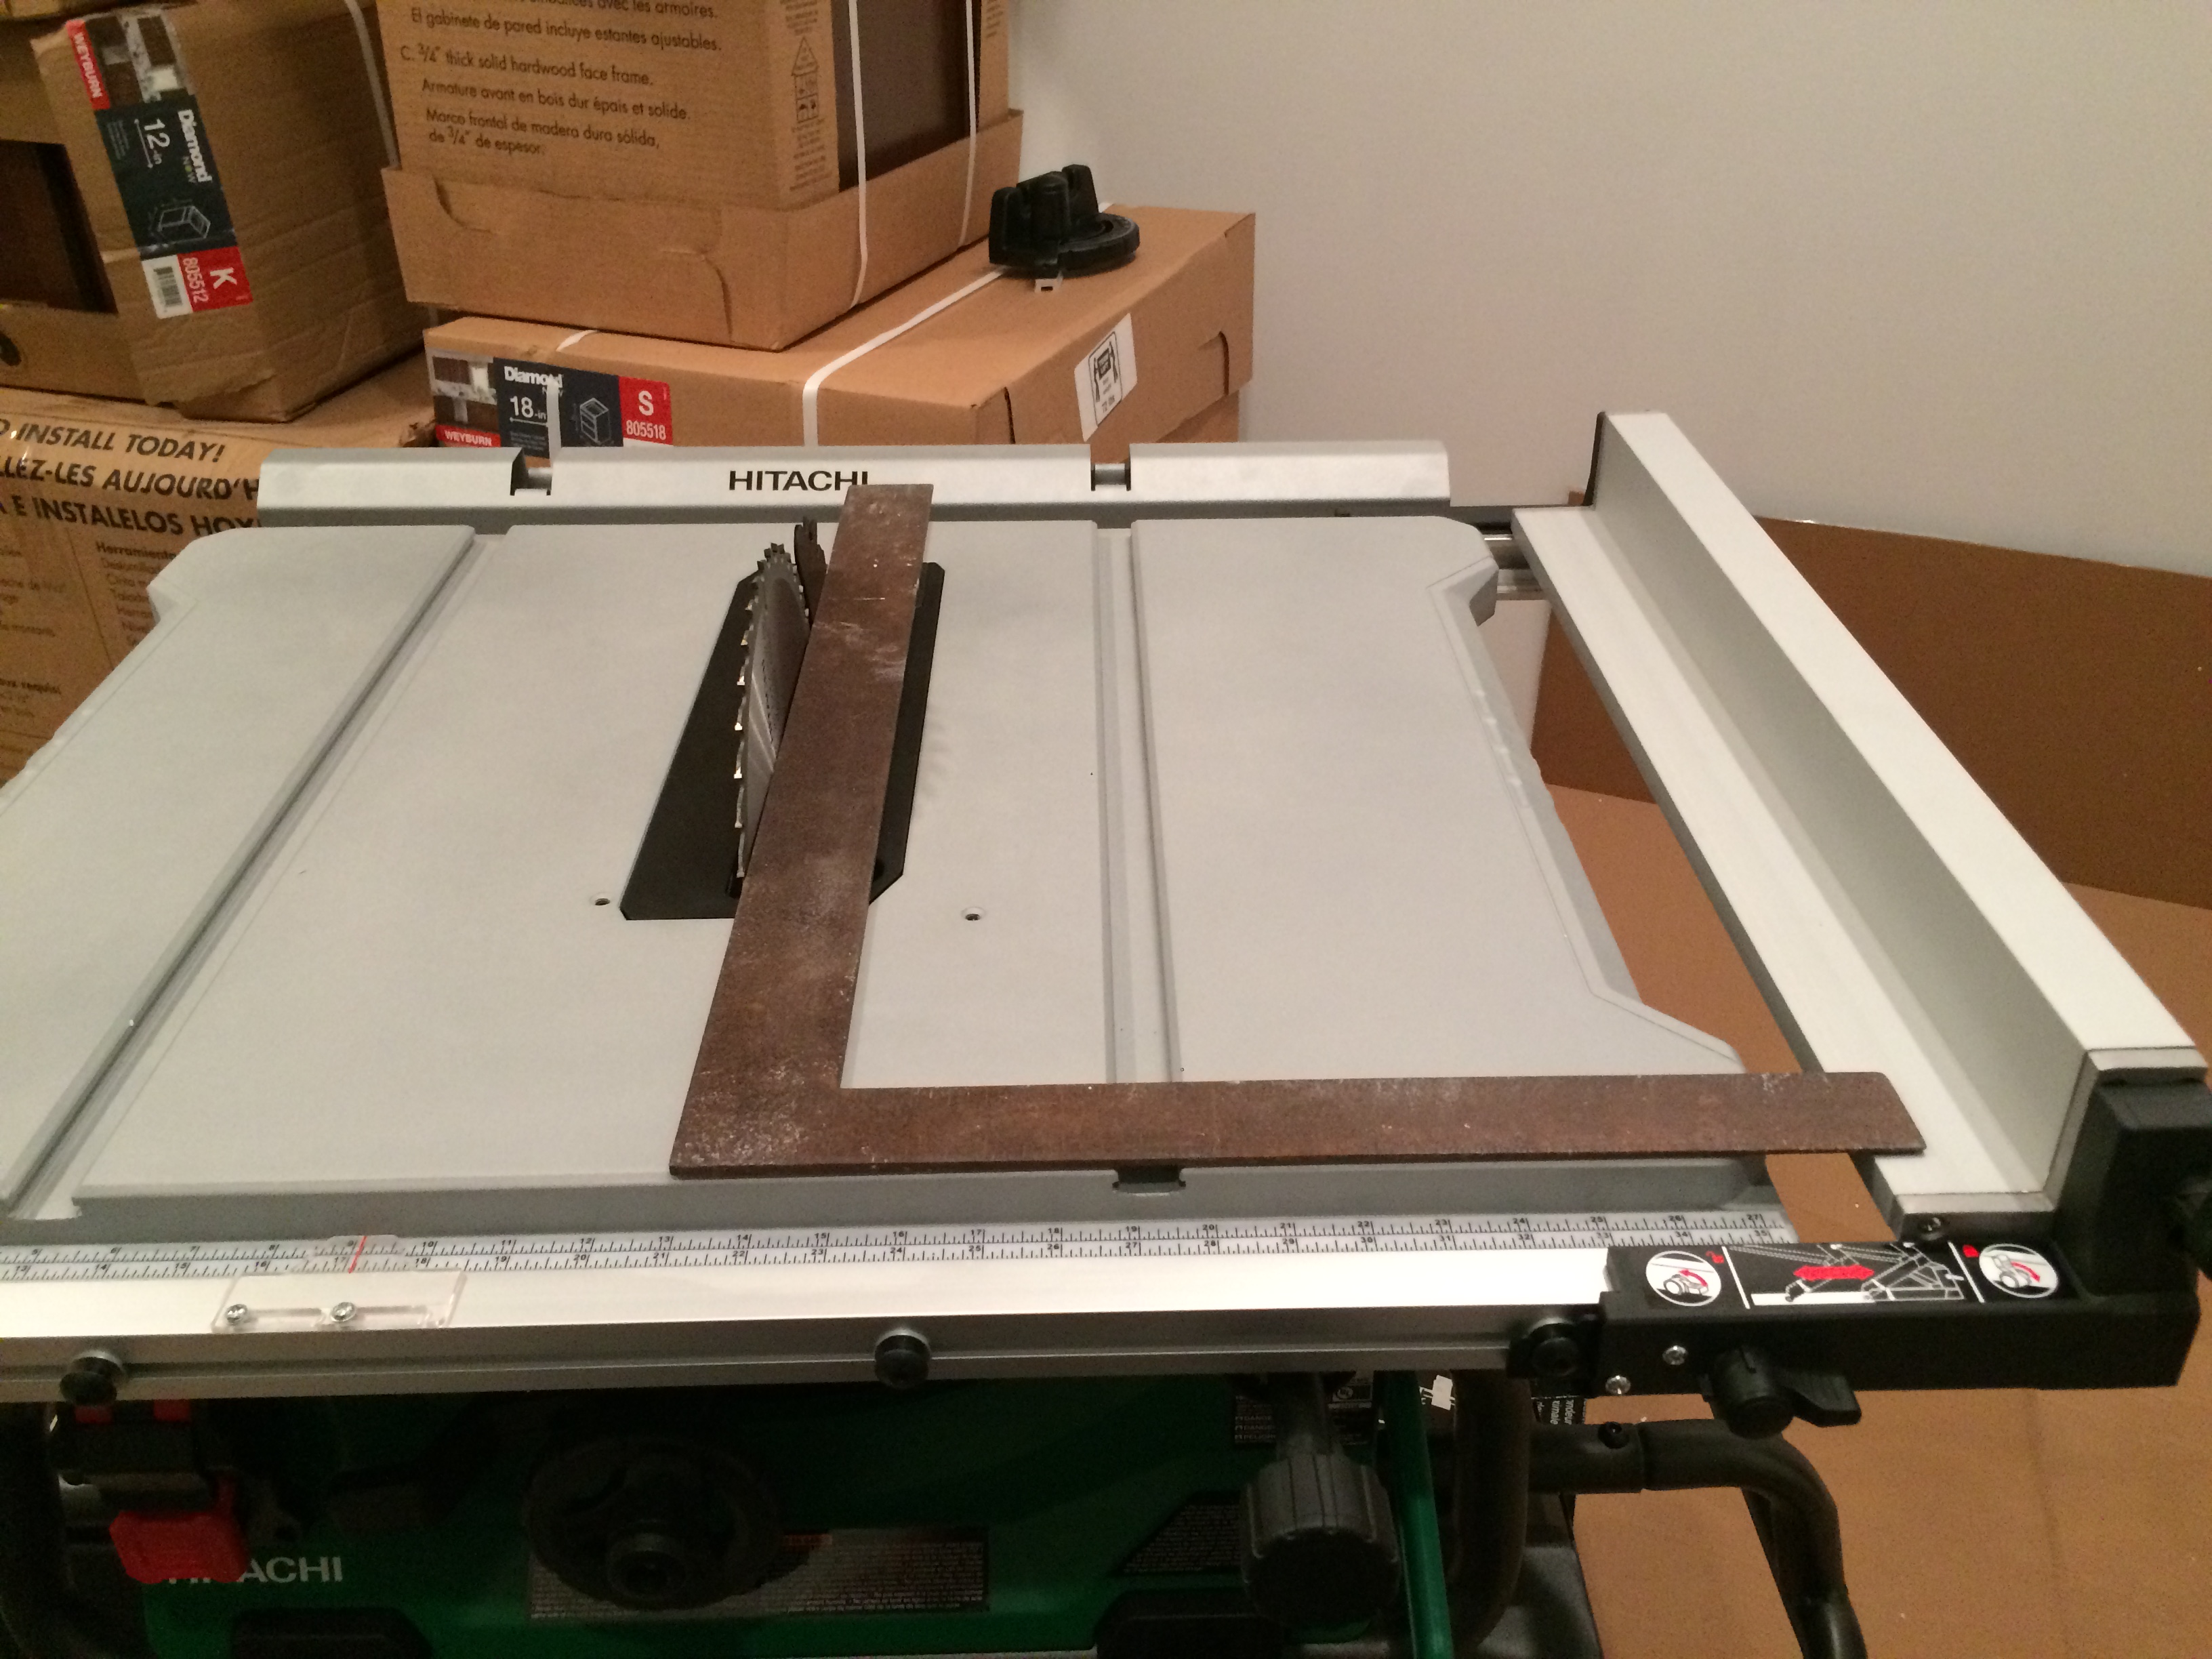
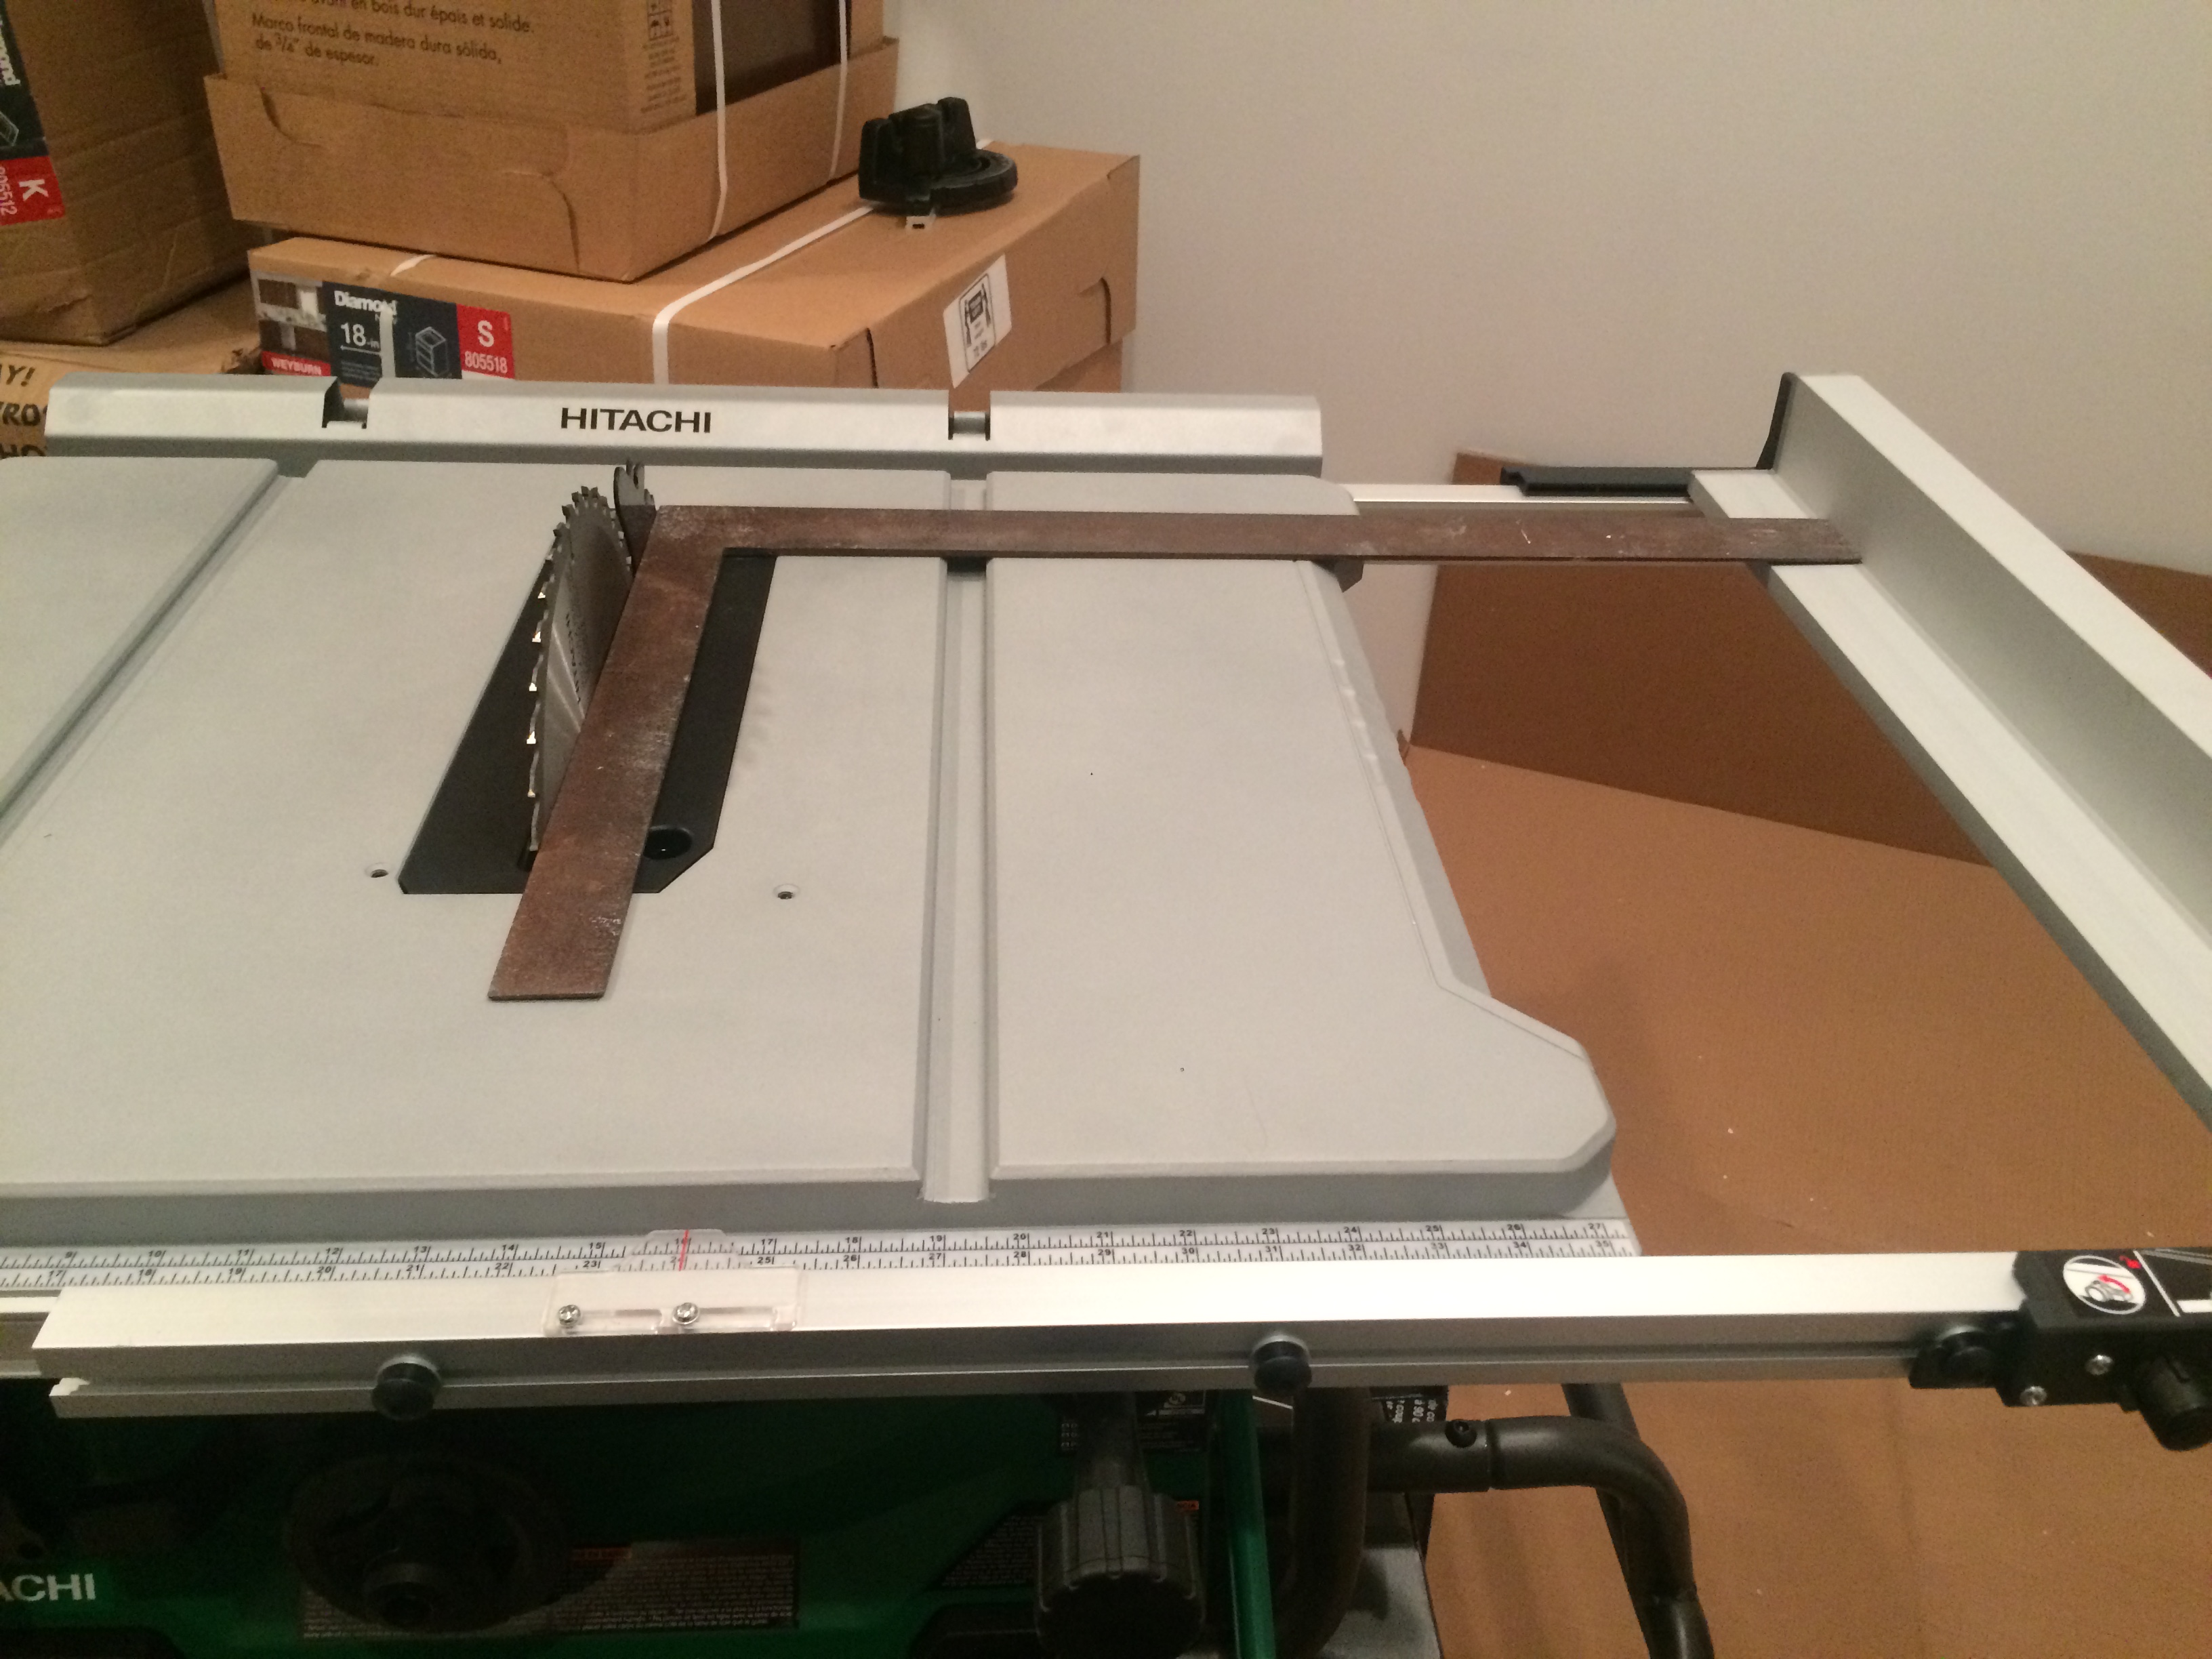
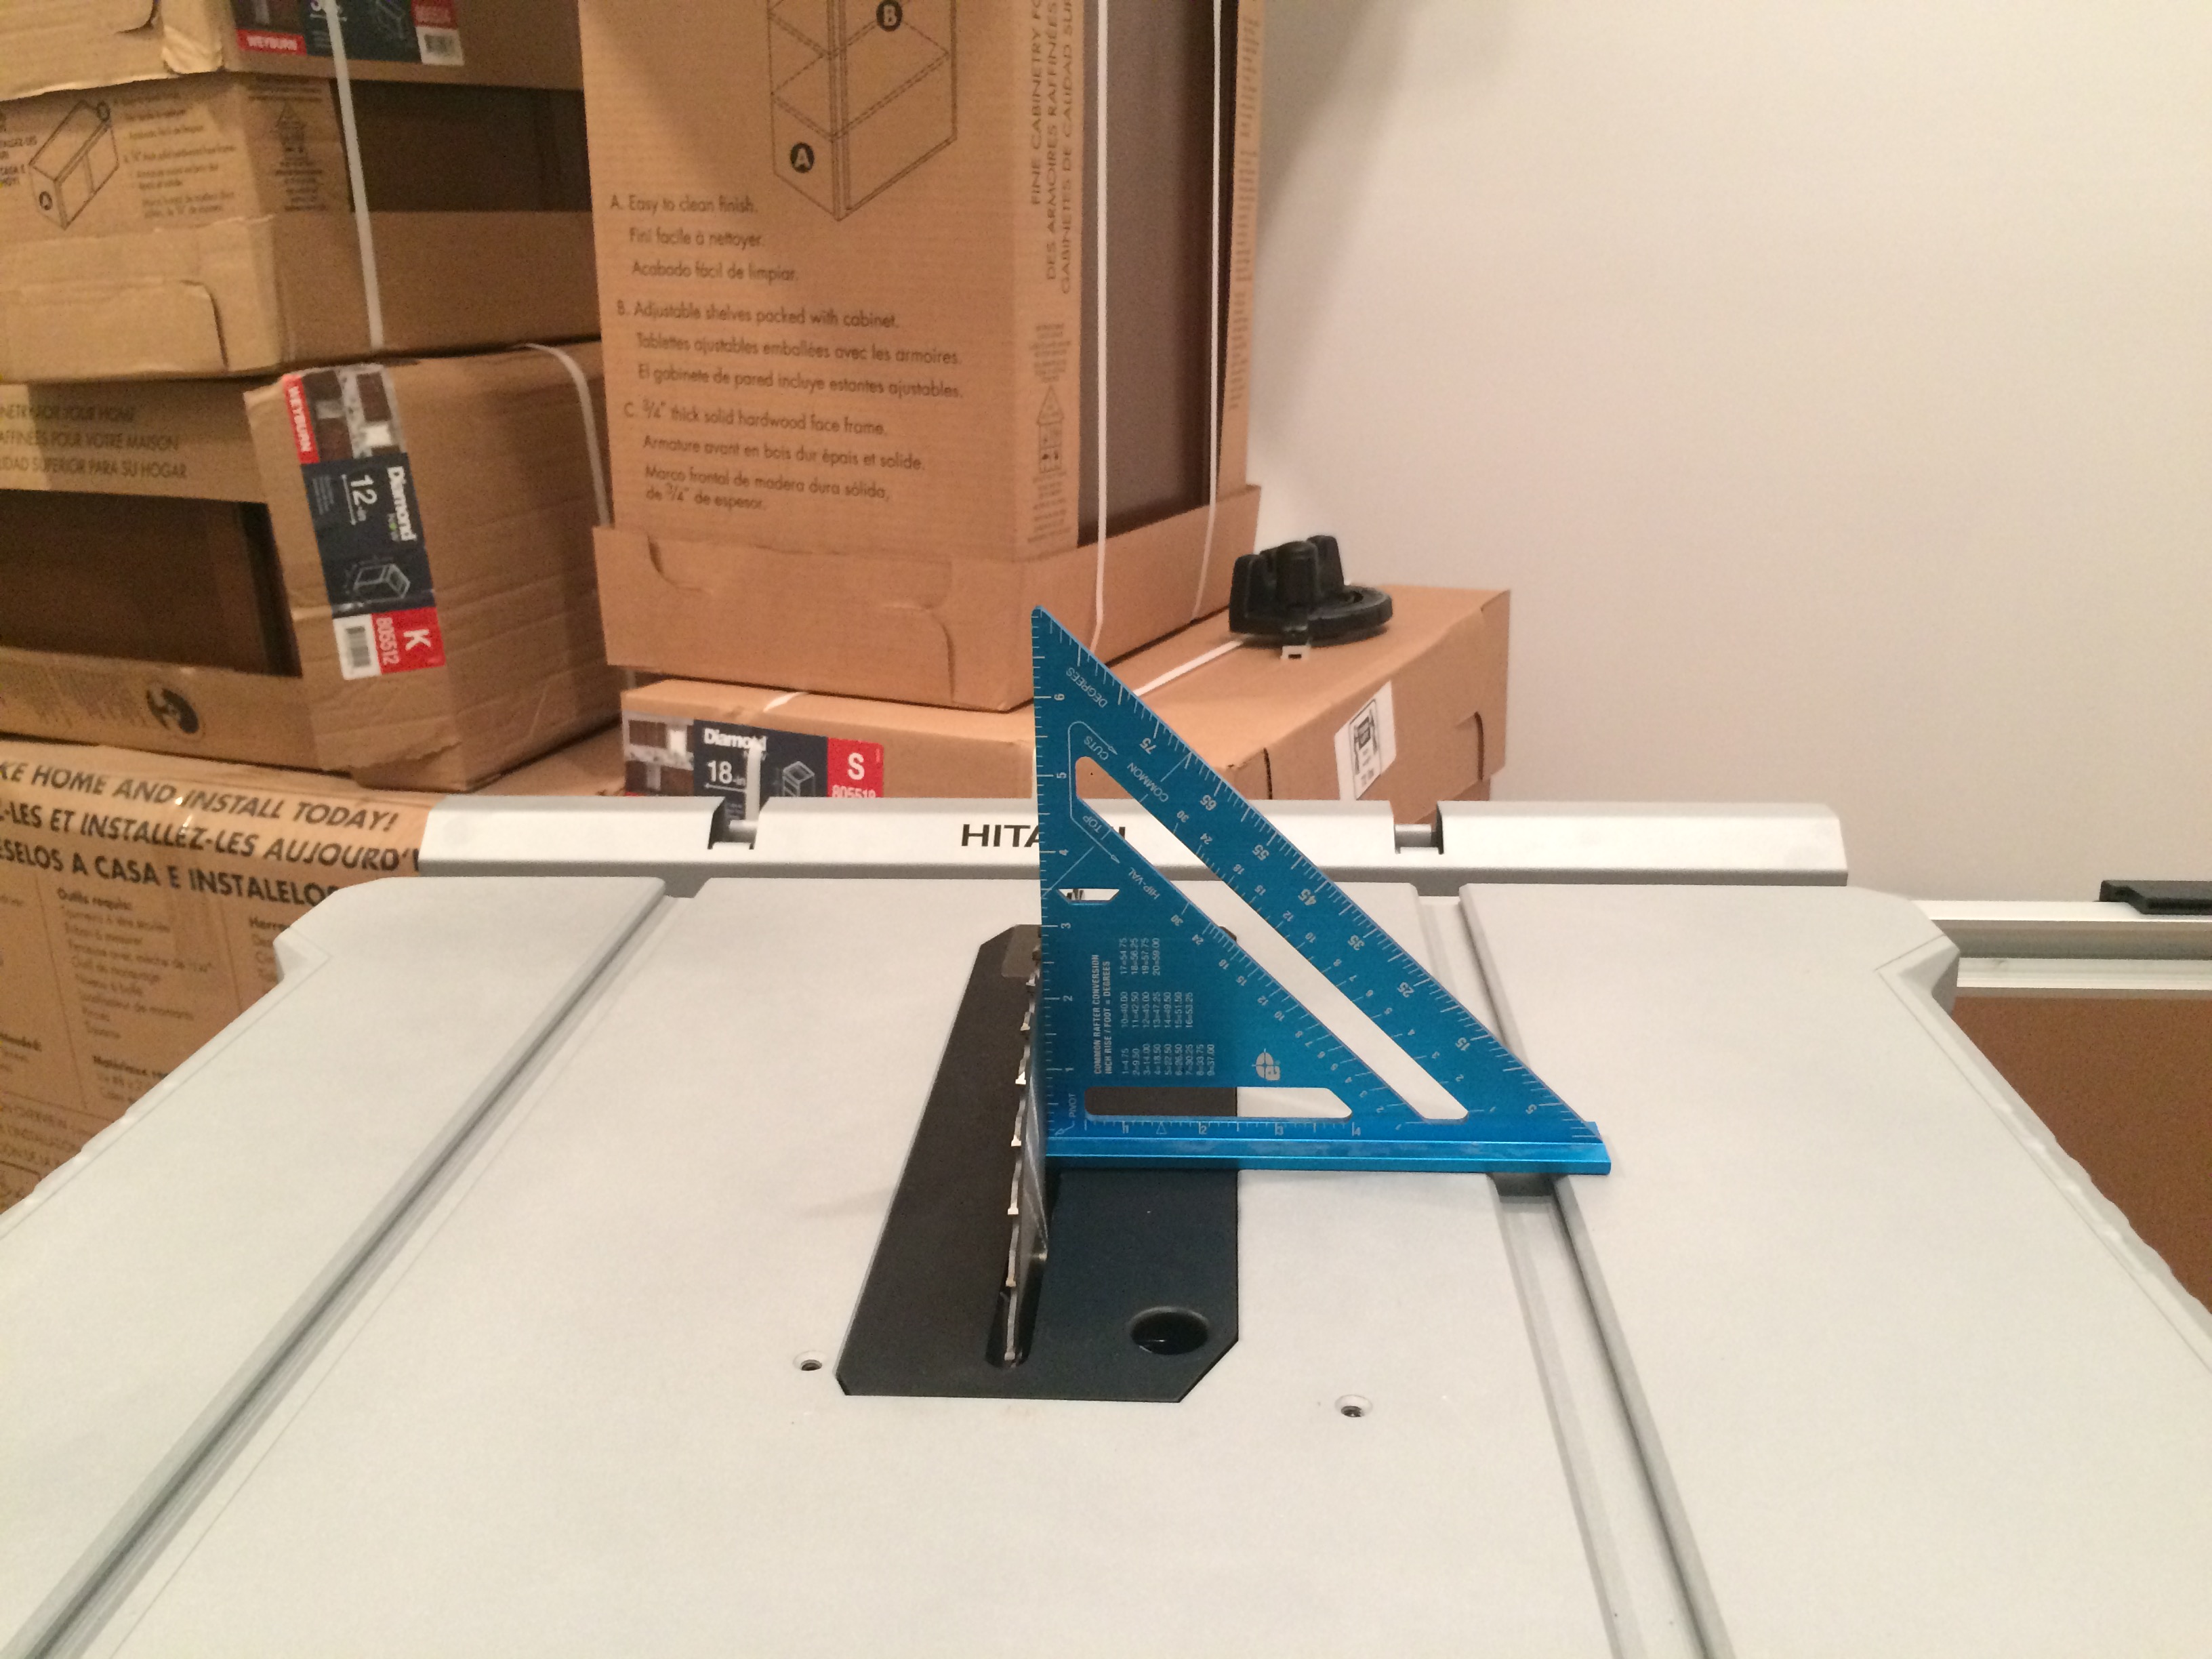
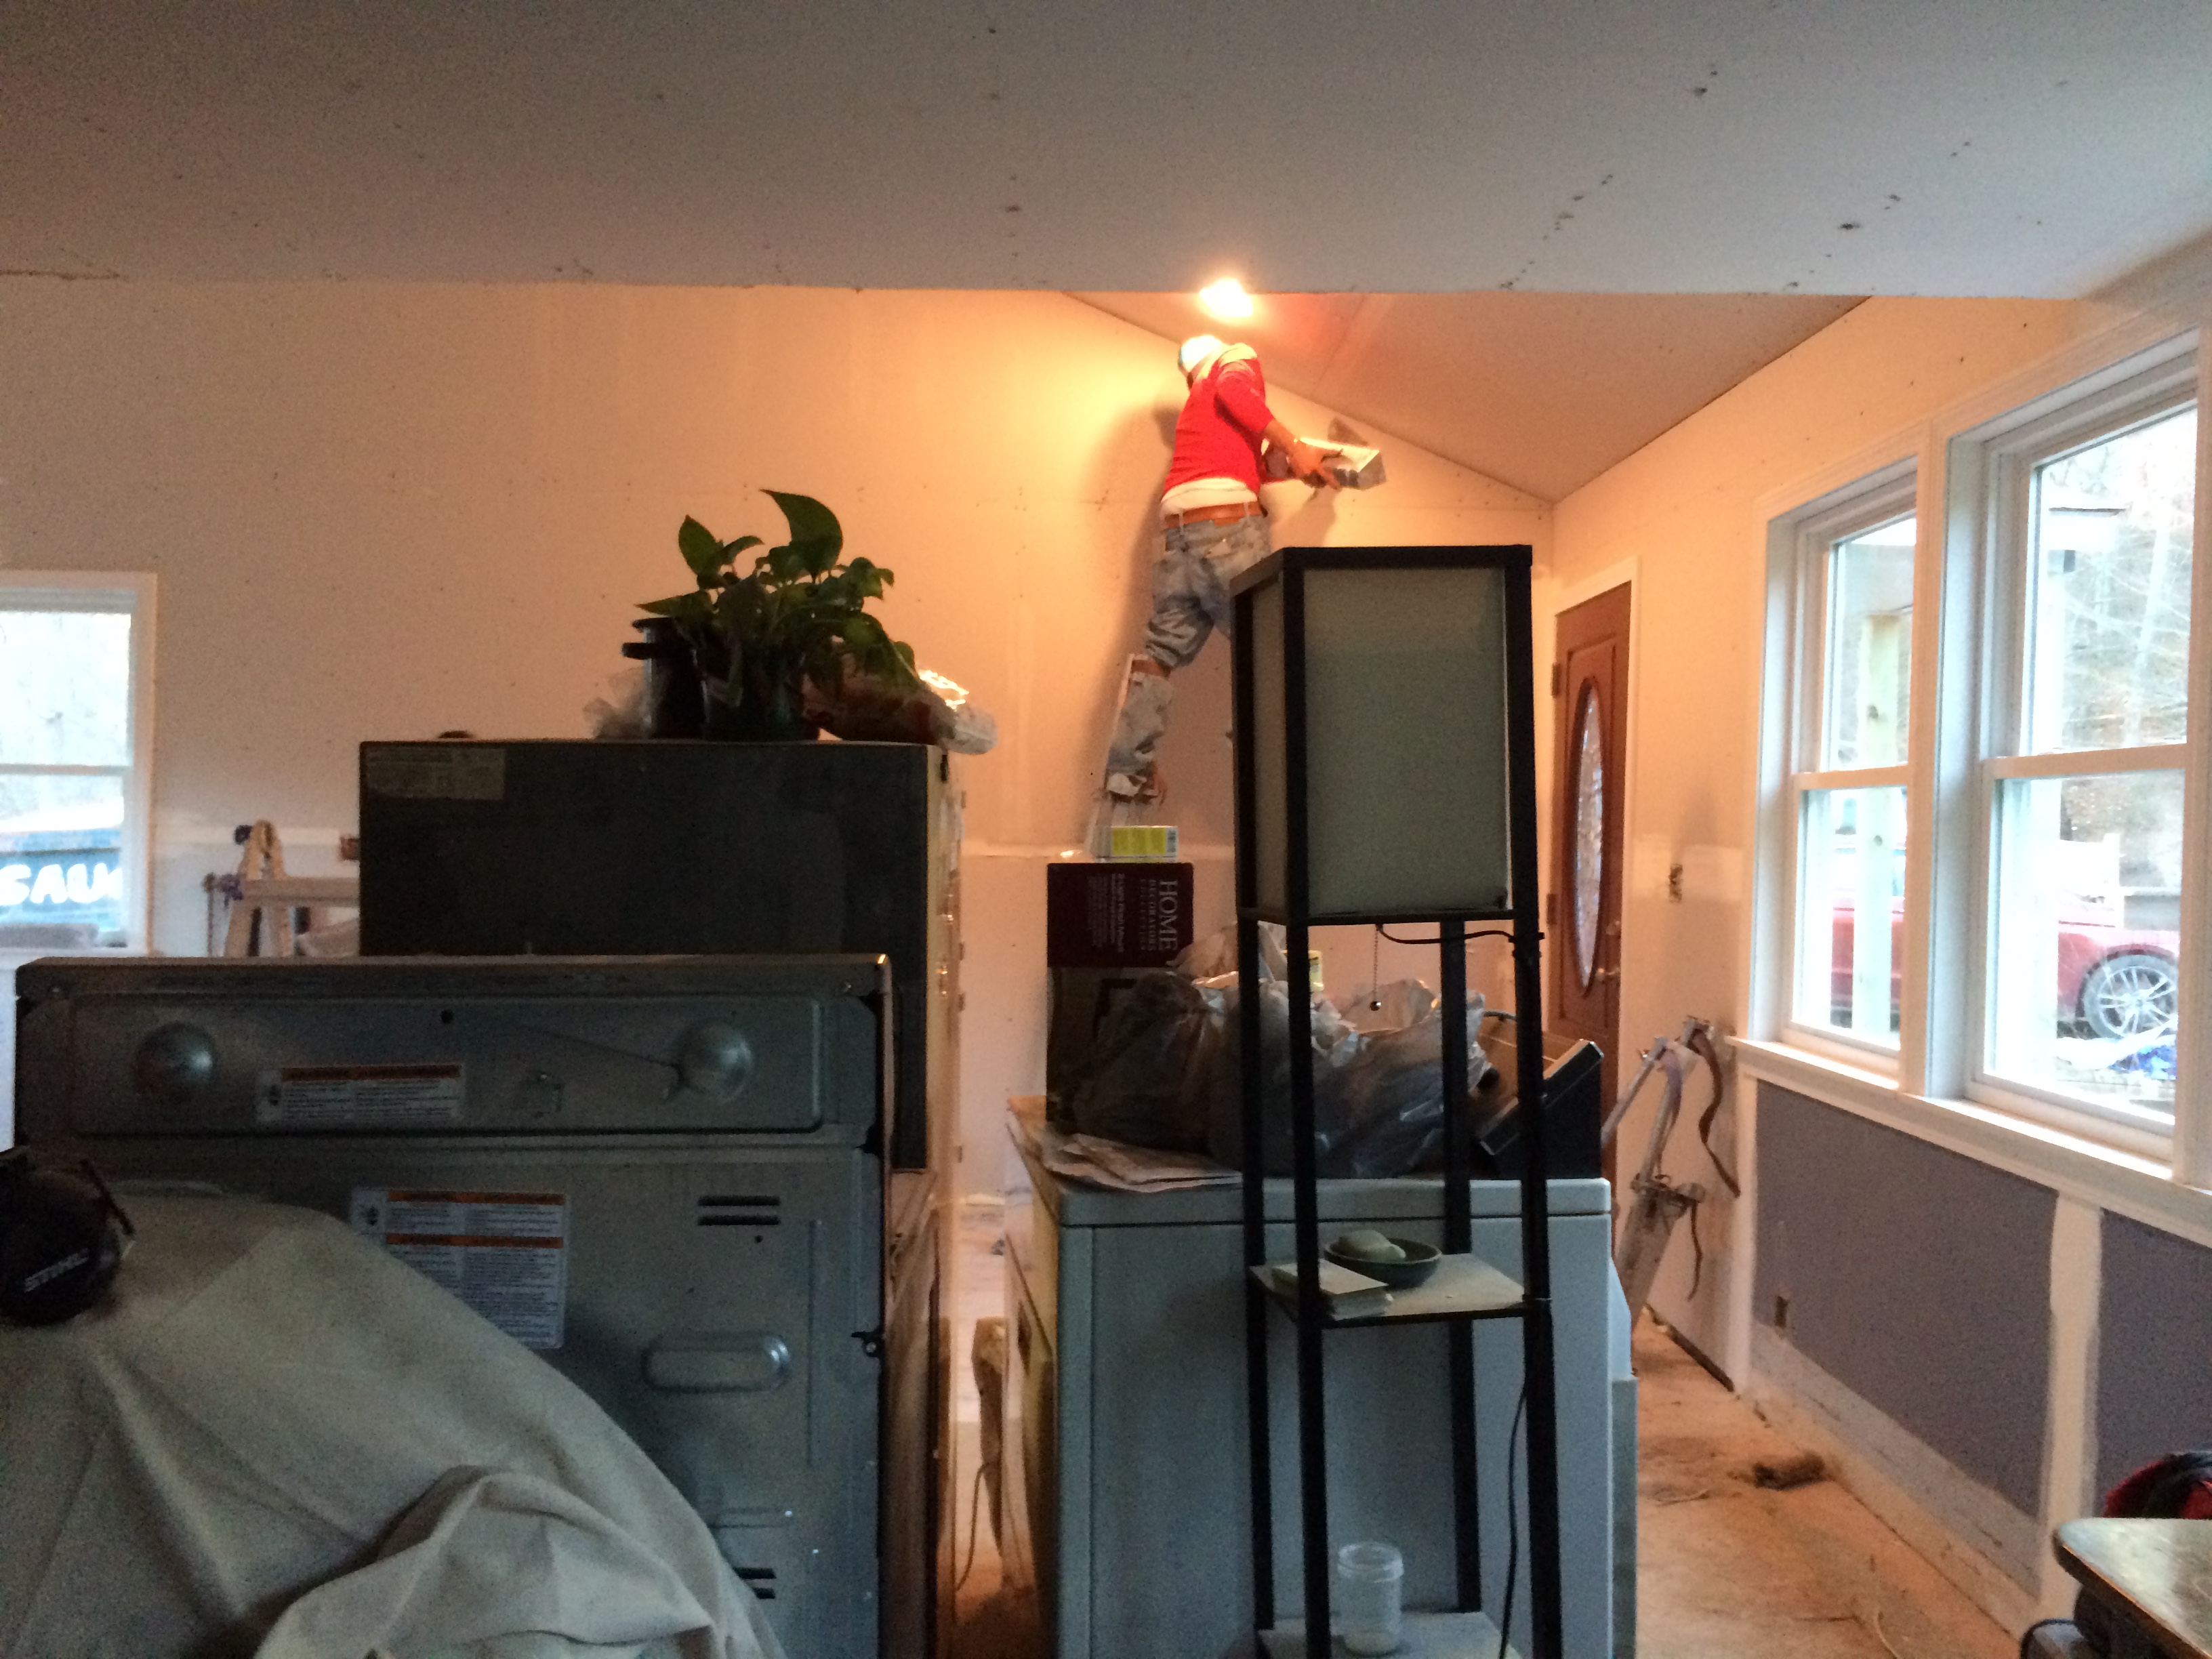
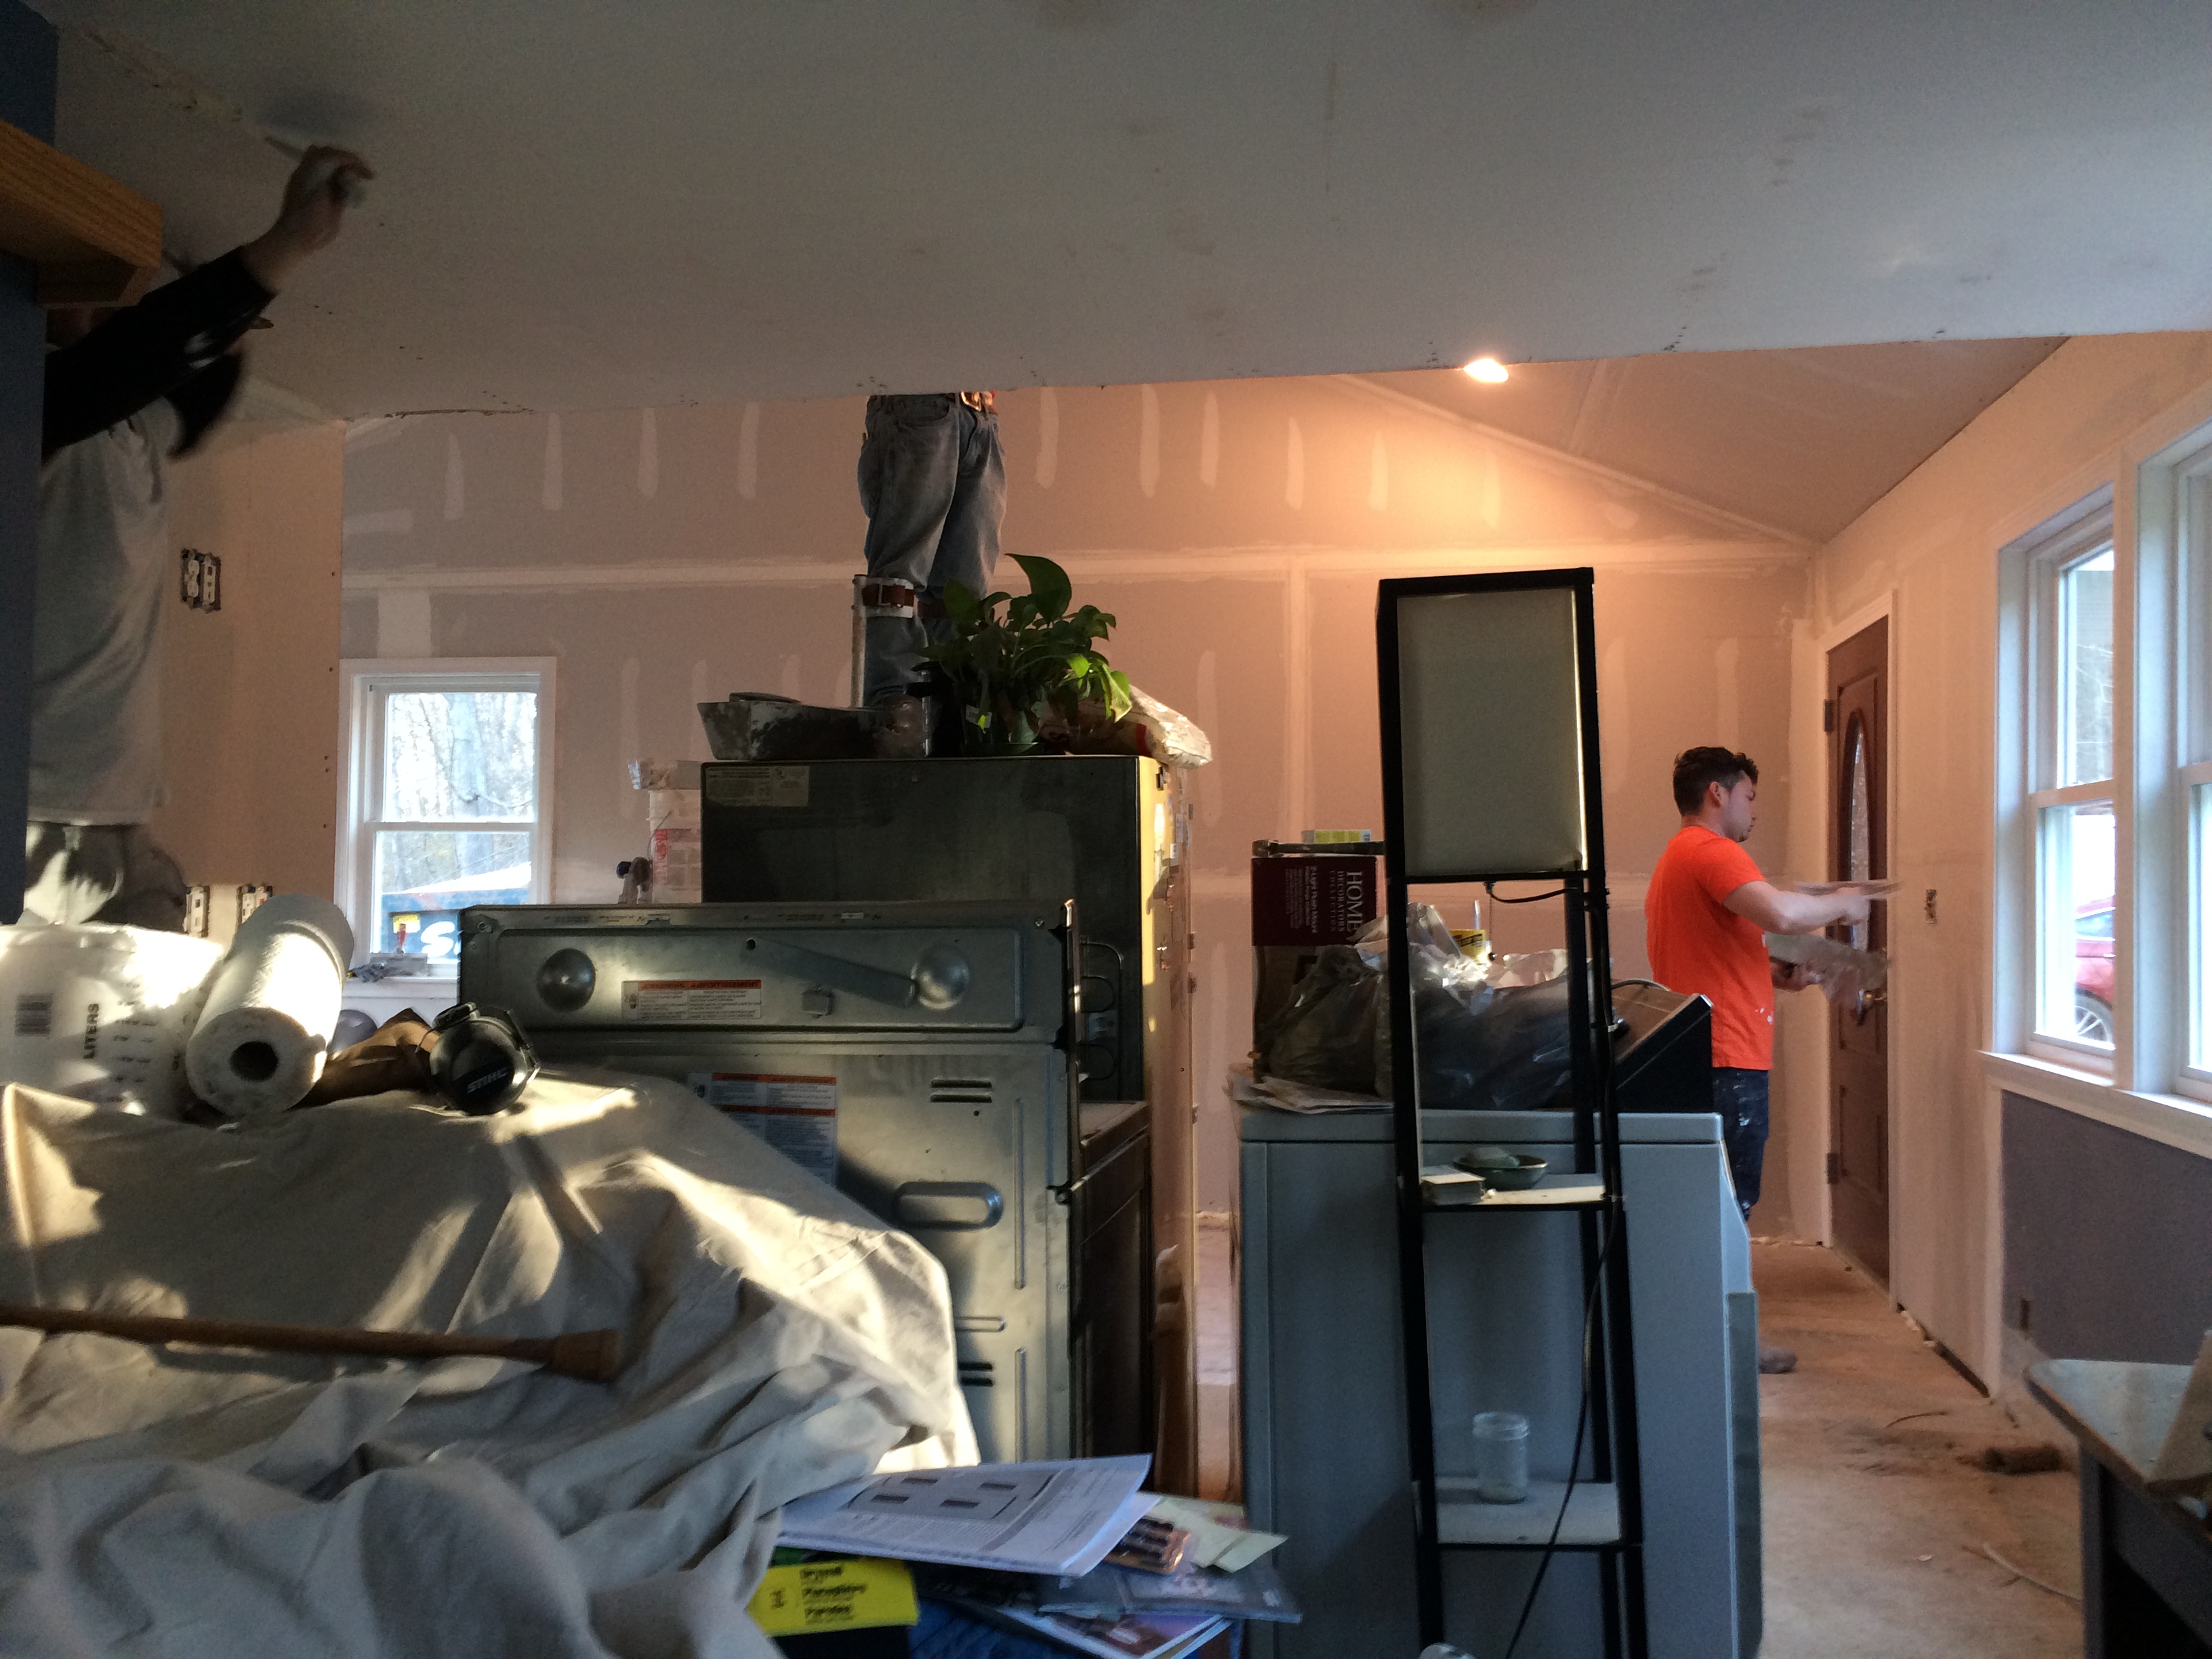
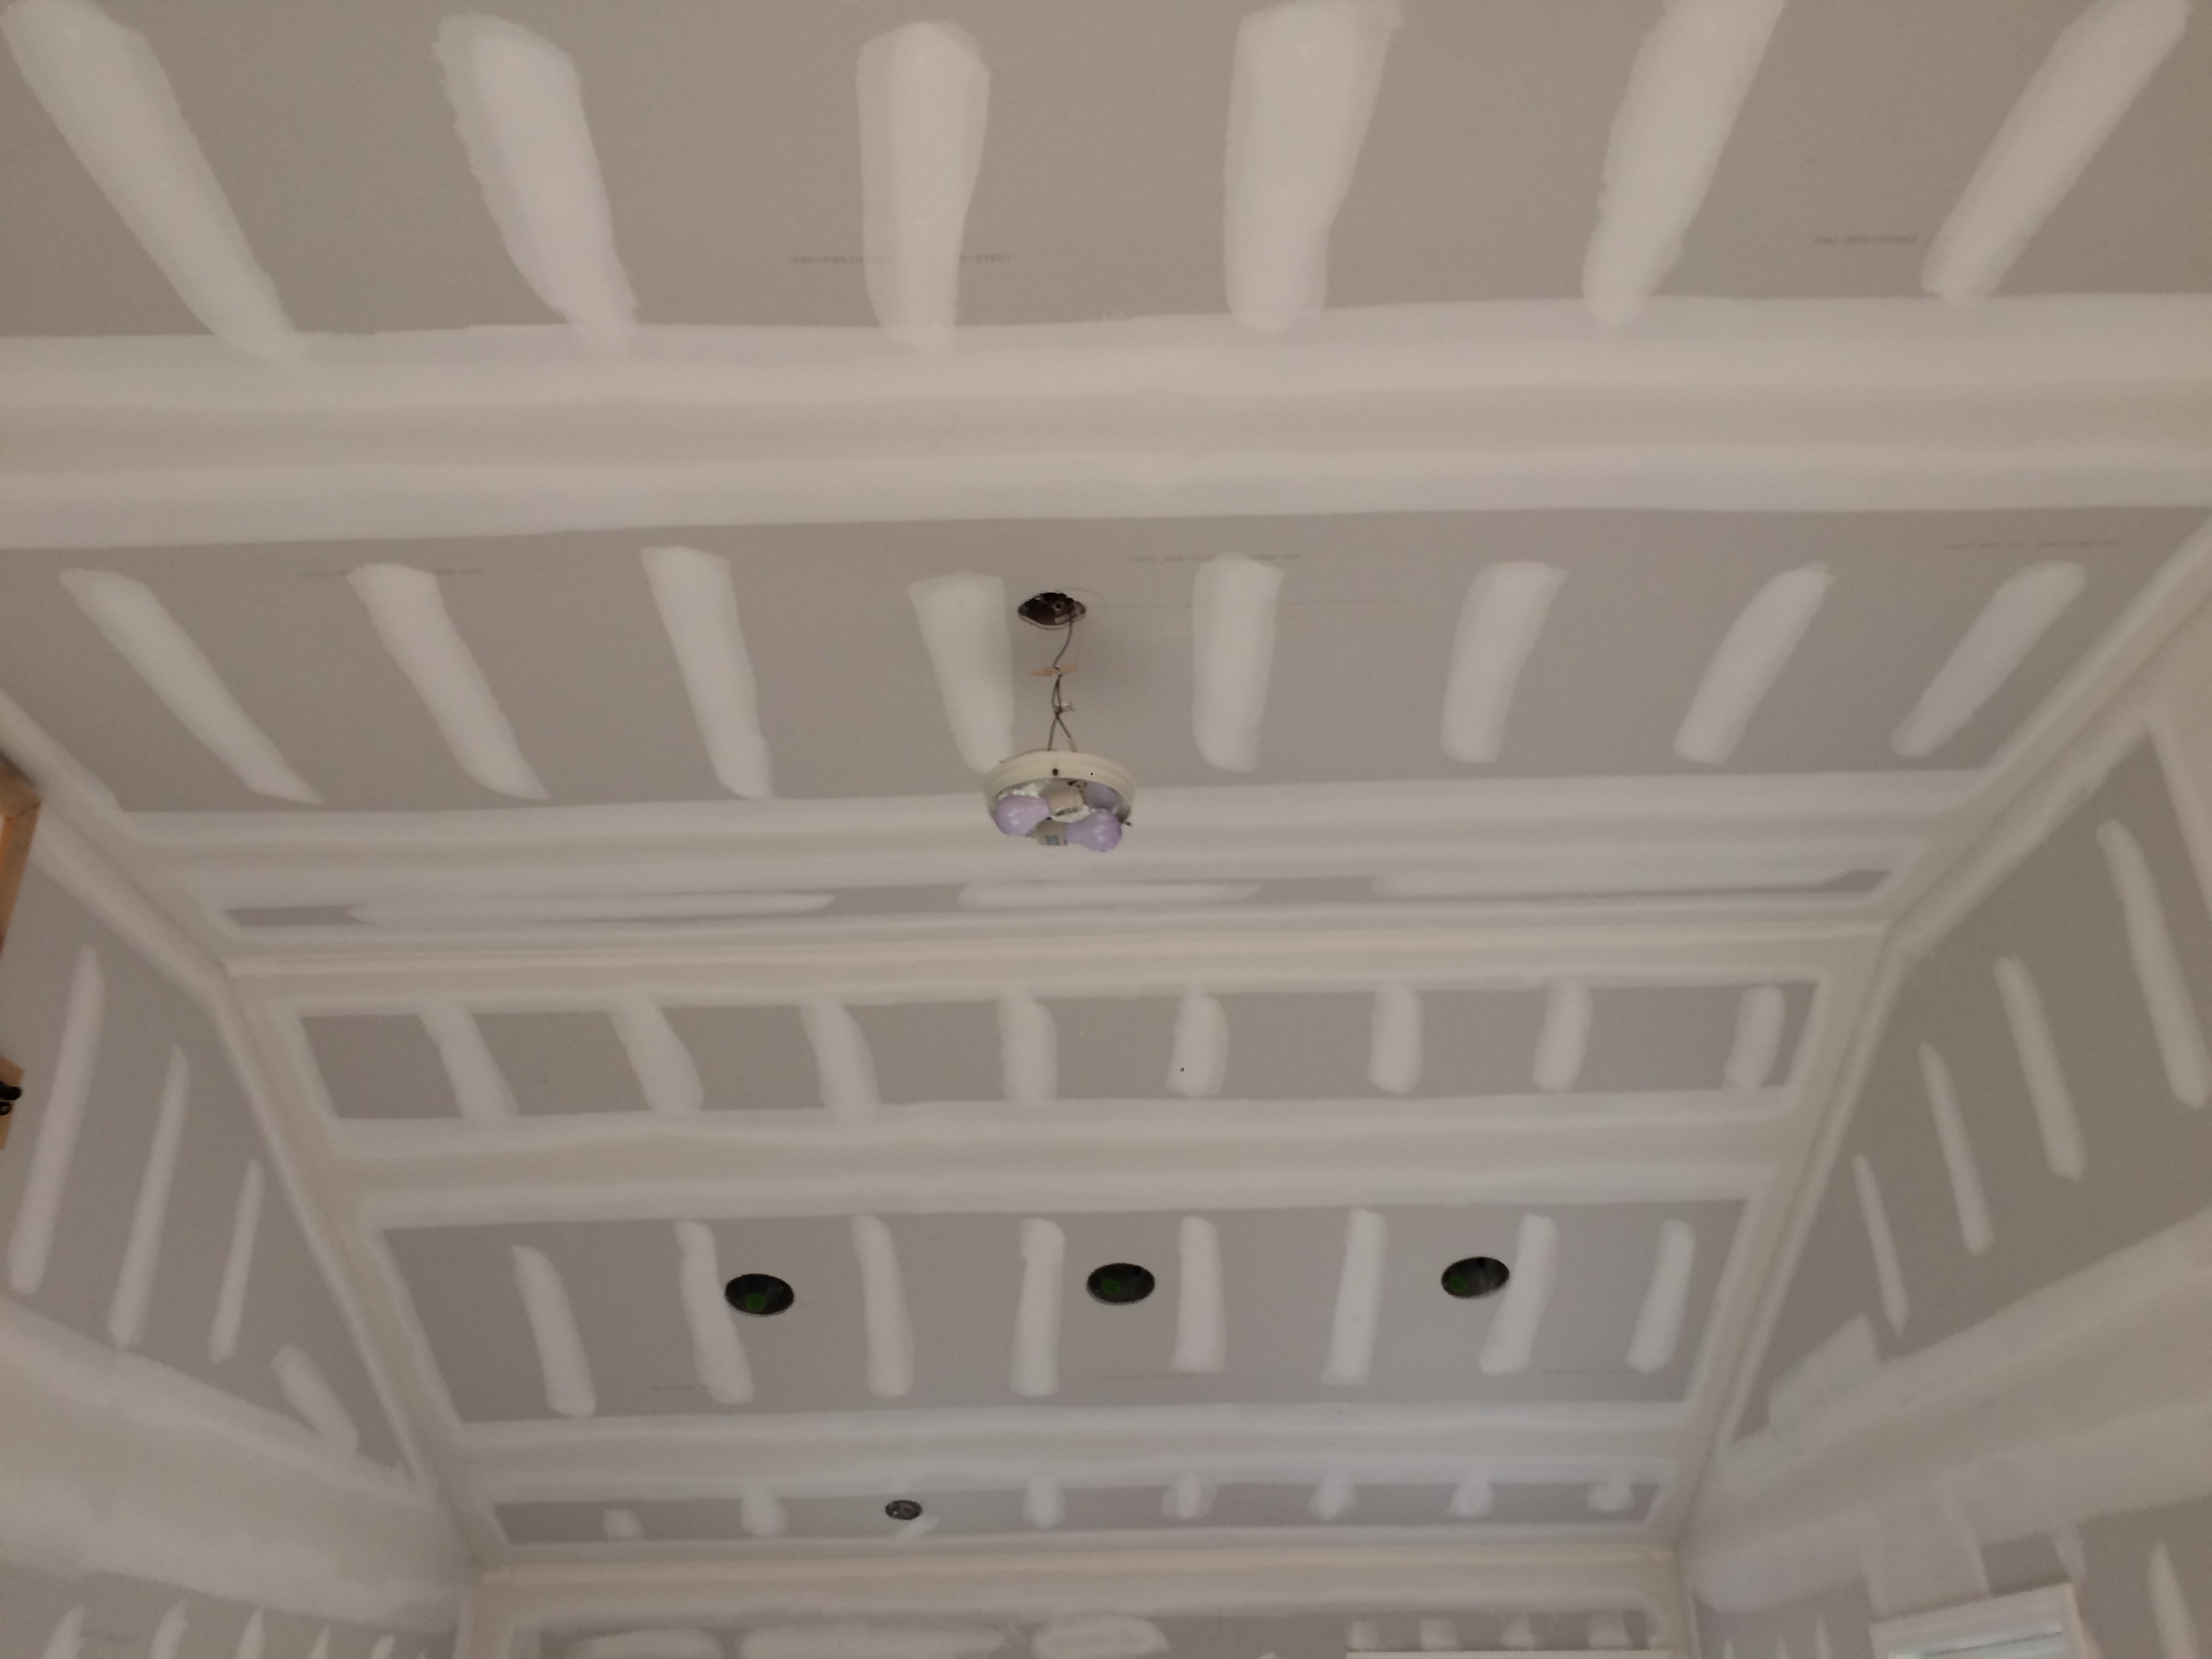
While the sheet rockers were working yesterday morning, I went out and picked up a table saw that I assembled tonight. I am going to need it to rip the lumber to build the bases for the new cabinets.
It's a good thing I checked everything for squareness...the "bevel" was off a smidge that my eye didn't see but the speed square picked up on.
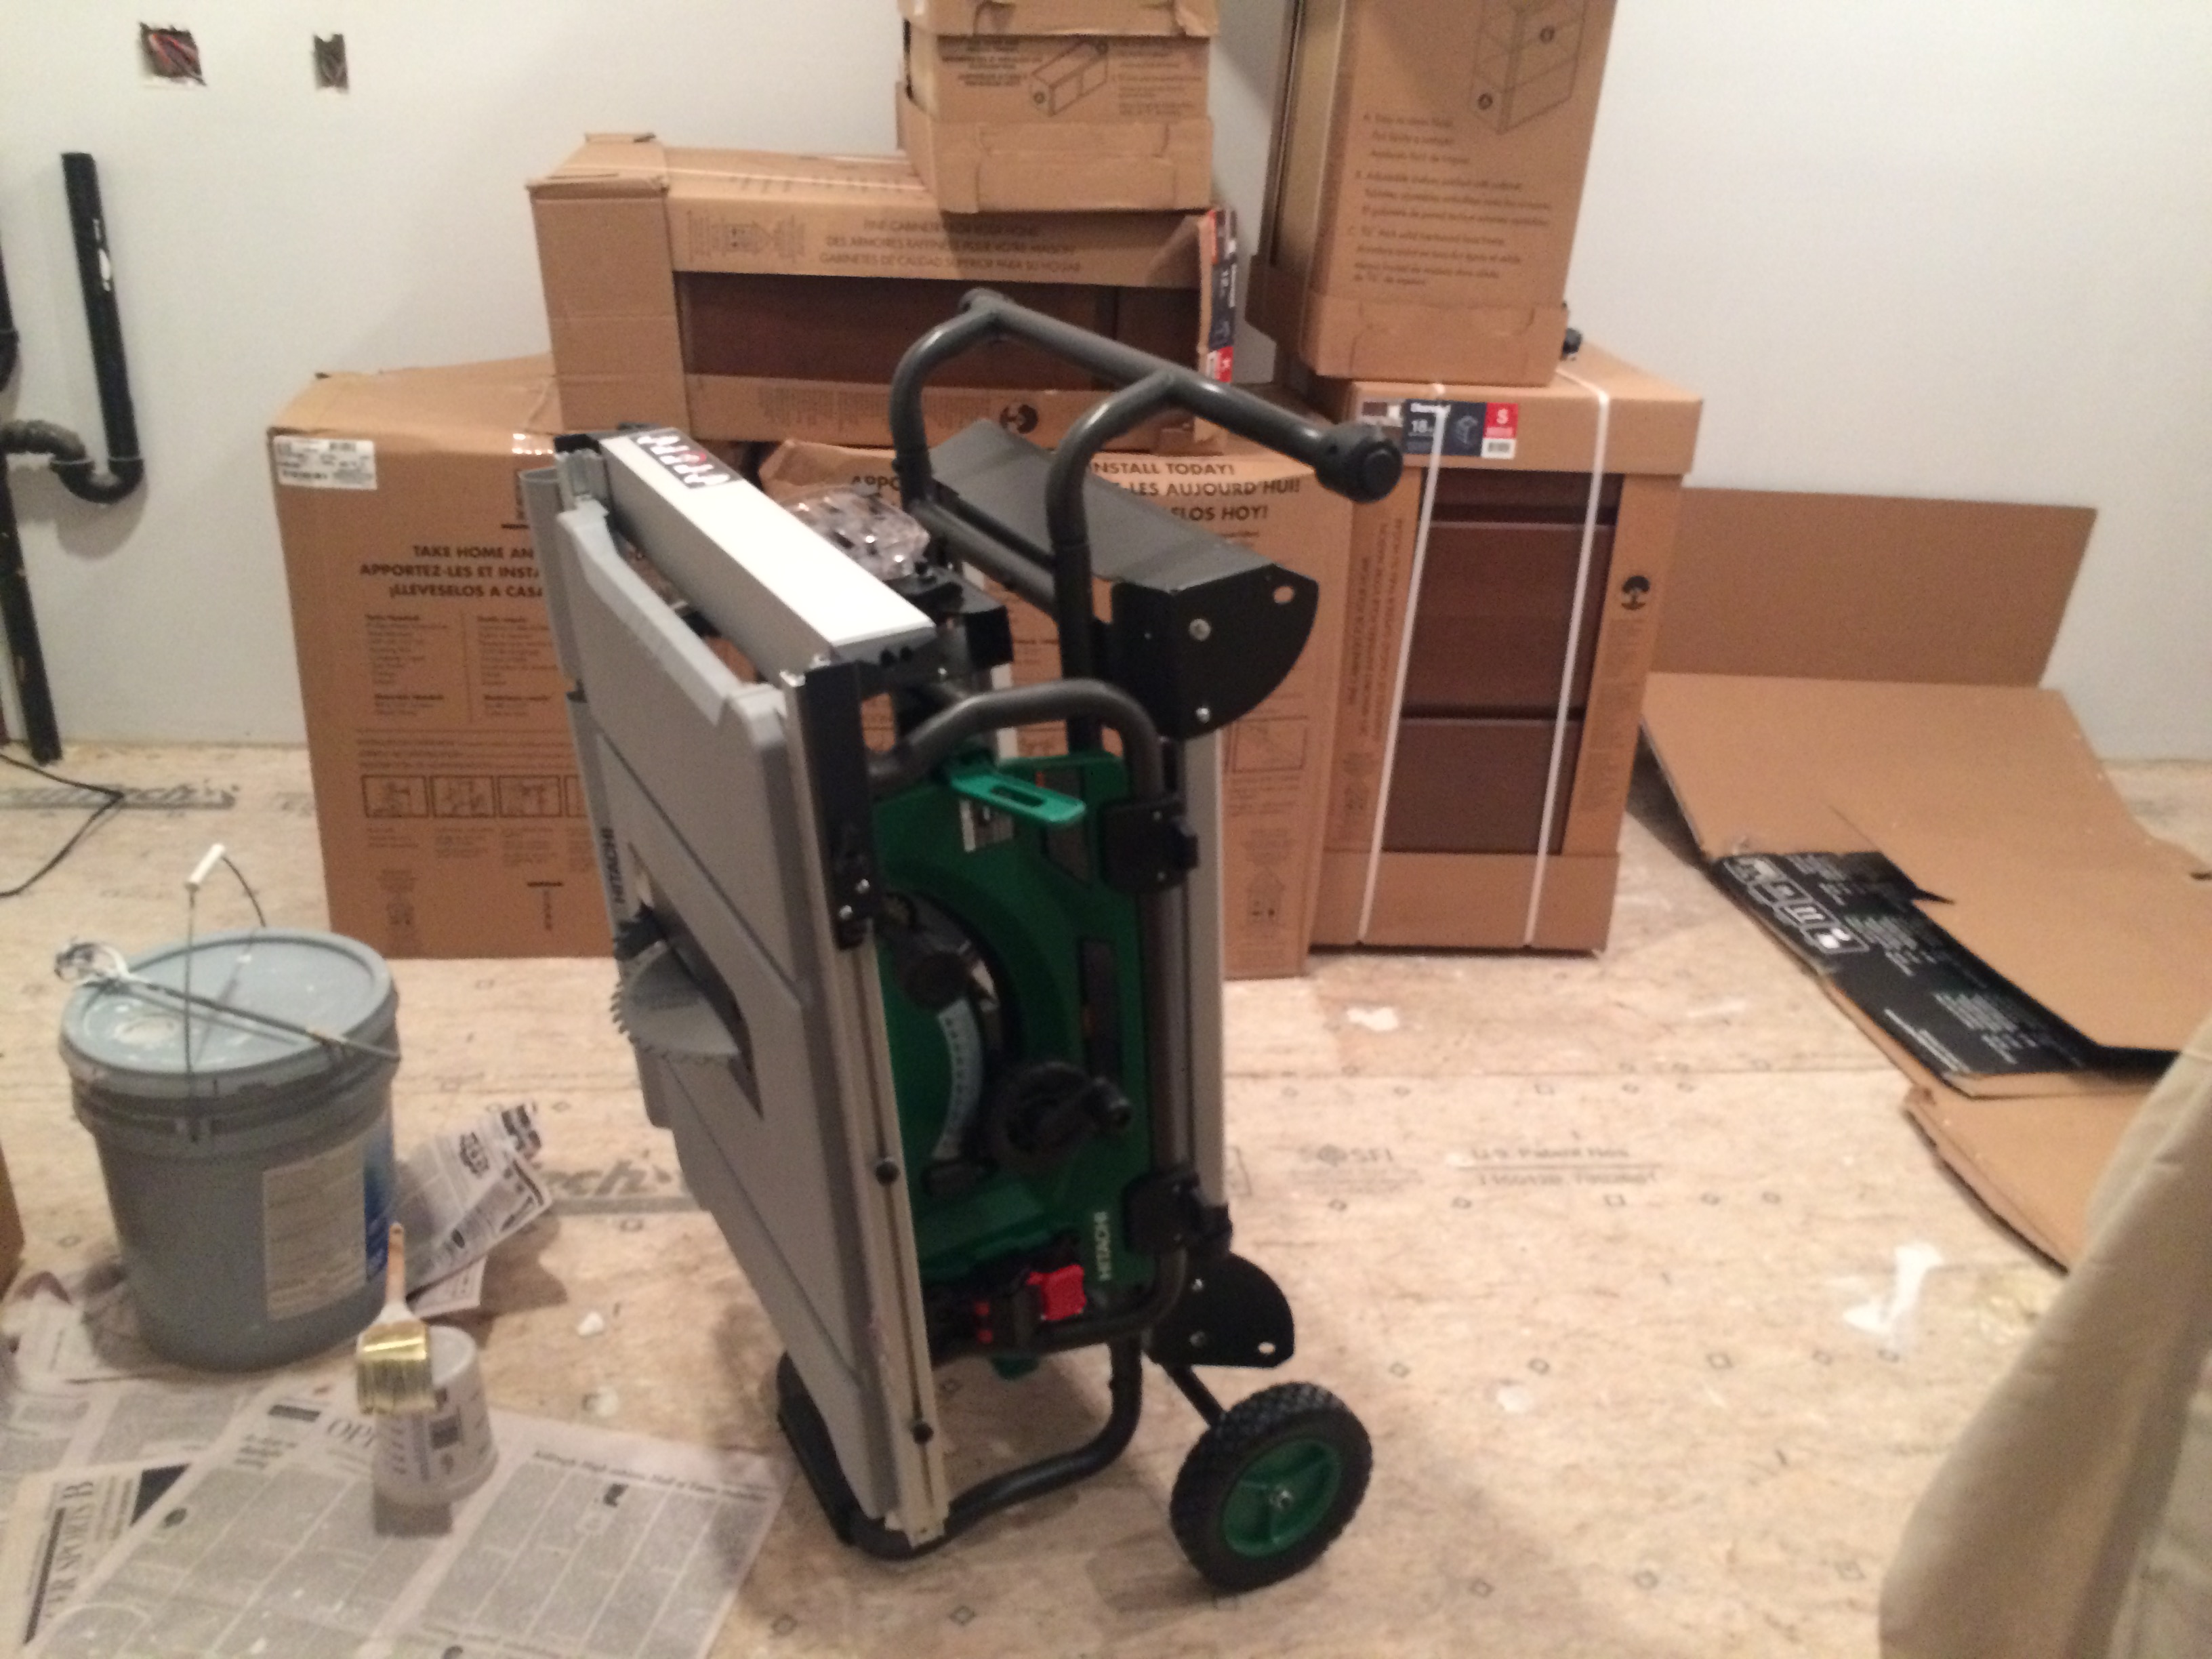
And with the cabinets moved into the house, I had room to move the saw out to the garage so tomorrow I can make the cuts without making more dust in the house.
I also caulked around the kitchen sink window. I think I'm in good shape to mount cabinets tomorrow in the following order:
Corner upper cabinet.
18" upper cabinet between corner and fridge.
**if** I have a cabinet that will fit, between corner and sink.
Sink Base (to establish position of cabinets on the right of it).
Upper Cabinet right of sink
Base Cabinet right of sink
18" Base Cabinet between corner and fridge -- there is going to be custom framing of the blind corner.v
Upper 15"(?) Cabinet between fridge and stove
Base cabinet between fridge and stove
Lazy Susan
Cabinet after the lazy susan
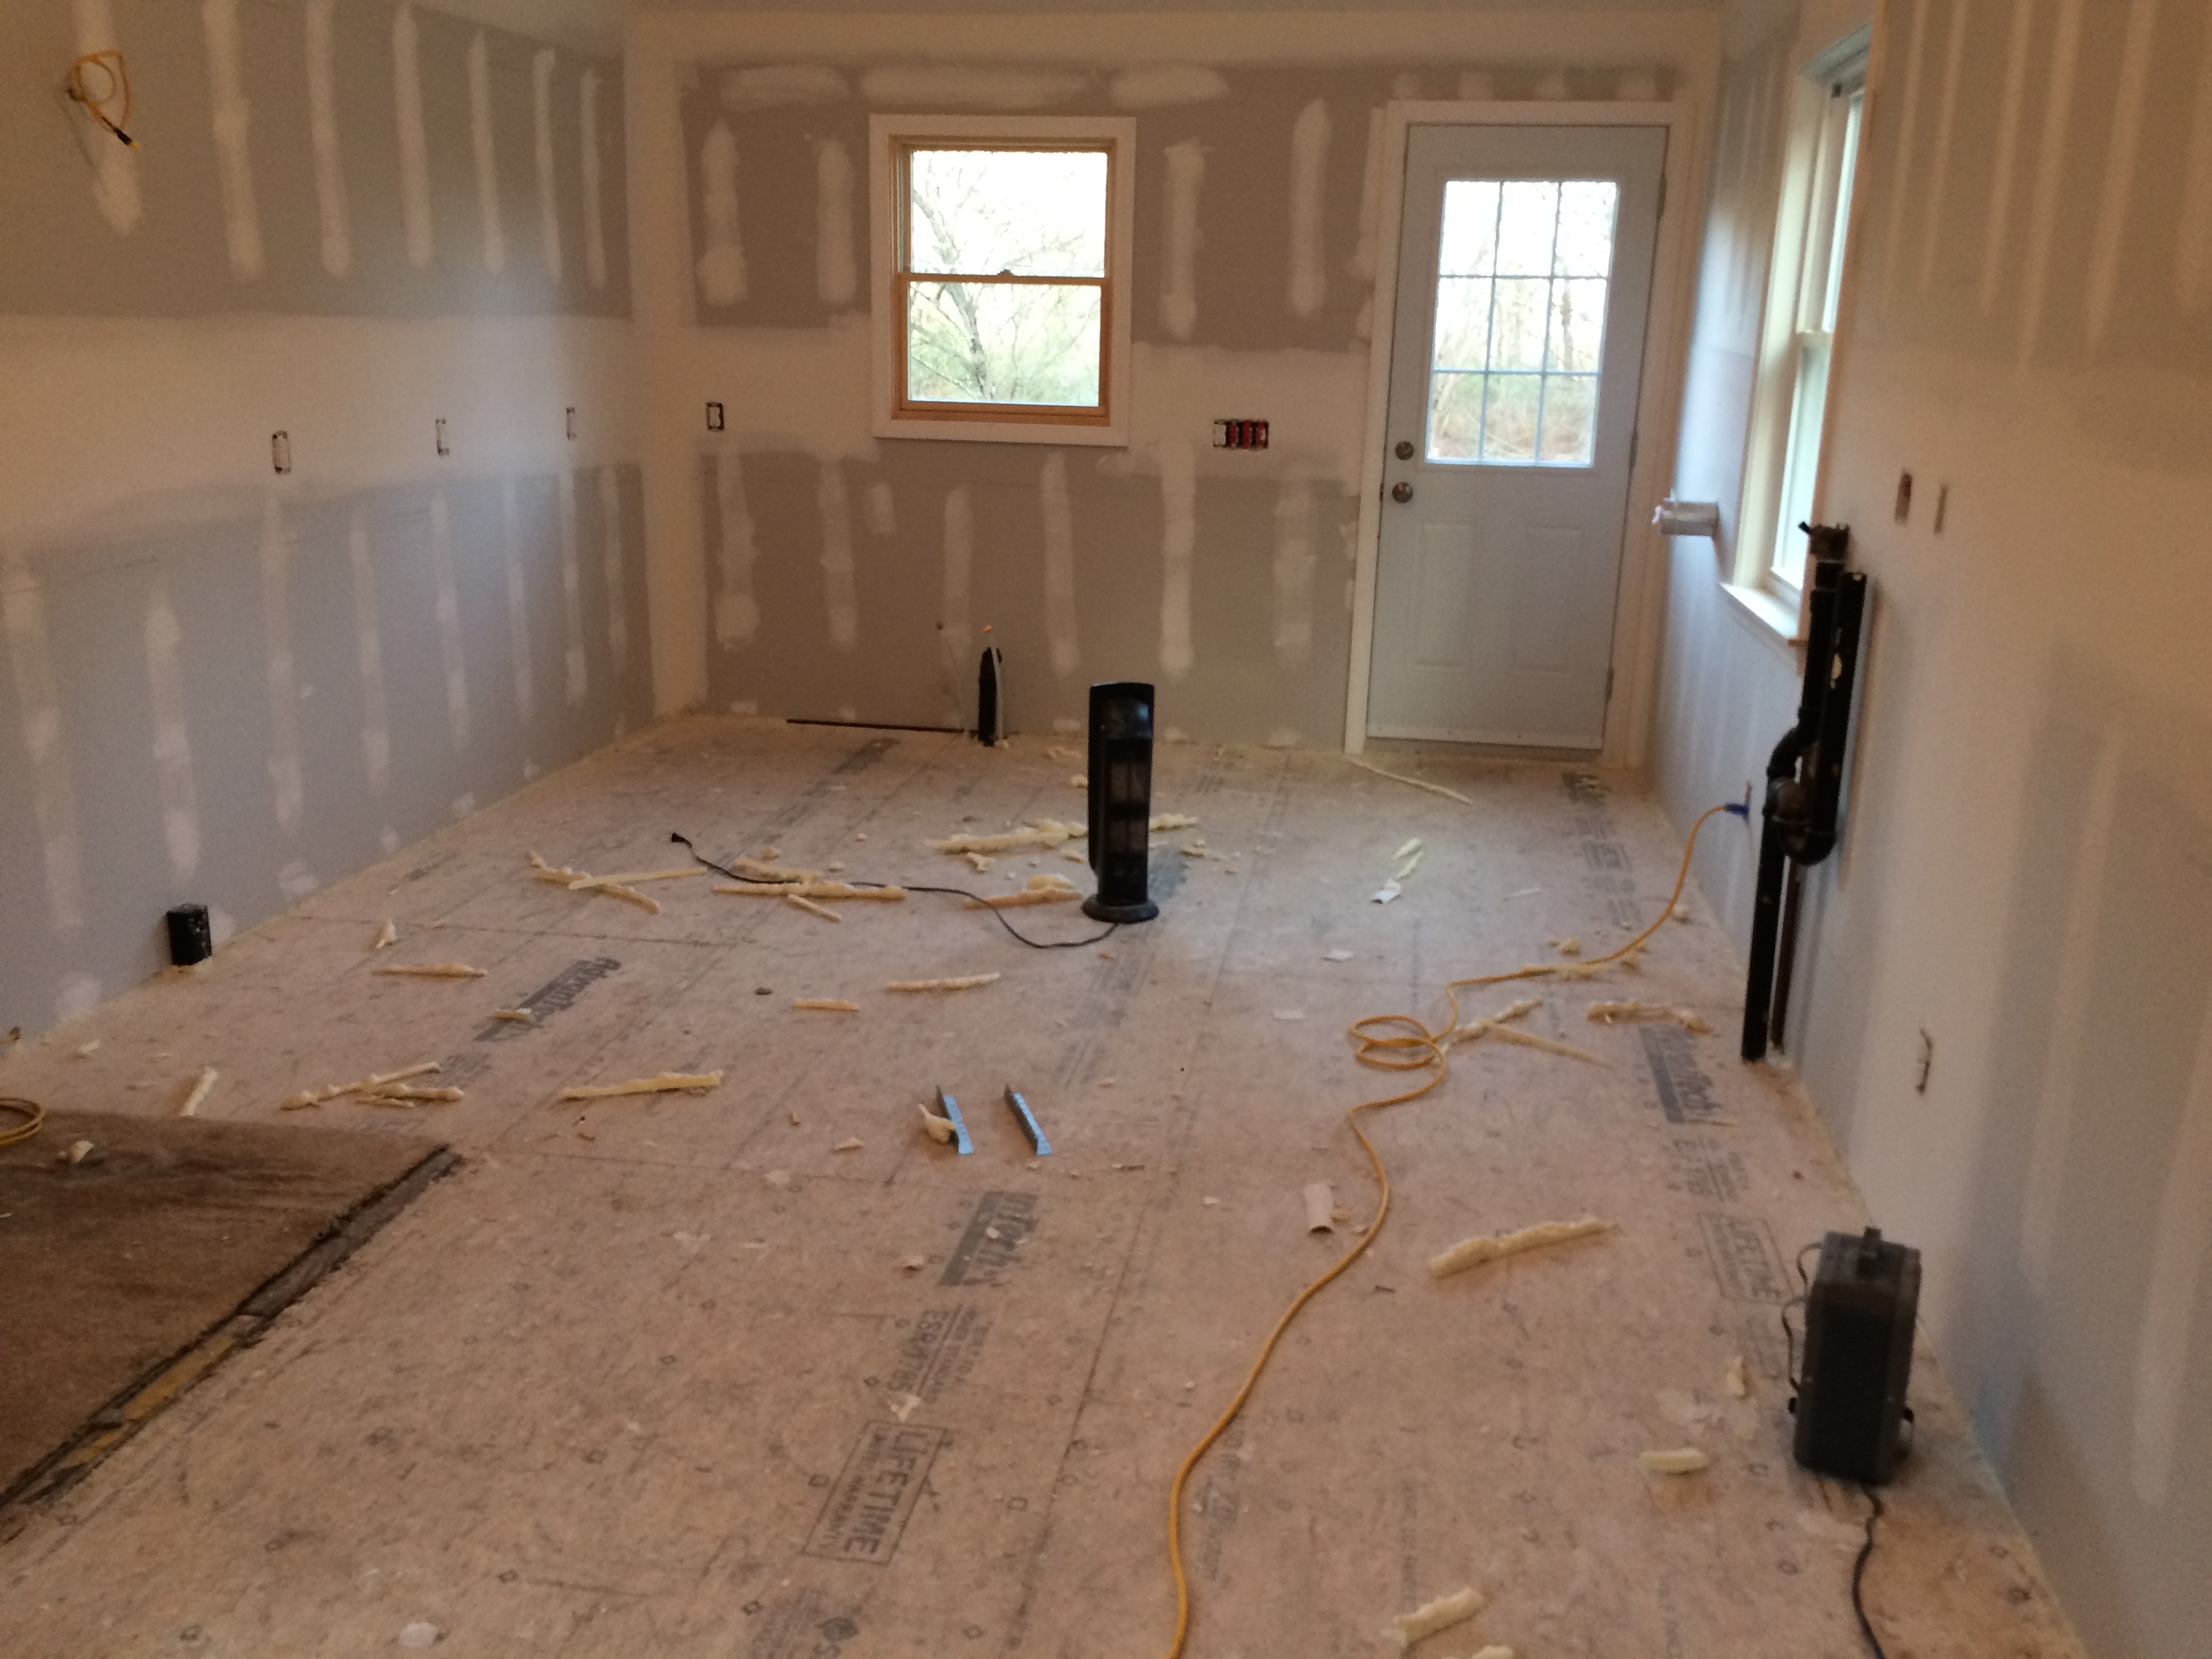
The new sub-floors are straight, but not level (which would take considerable more structural work, and potentially started messing up already finished areas like the adjacent bathroom had they tried to level things further).
So time to find the high spot -- which was by the door:
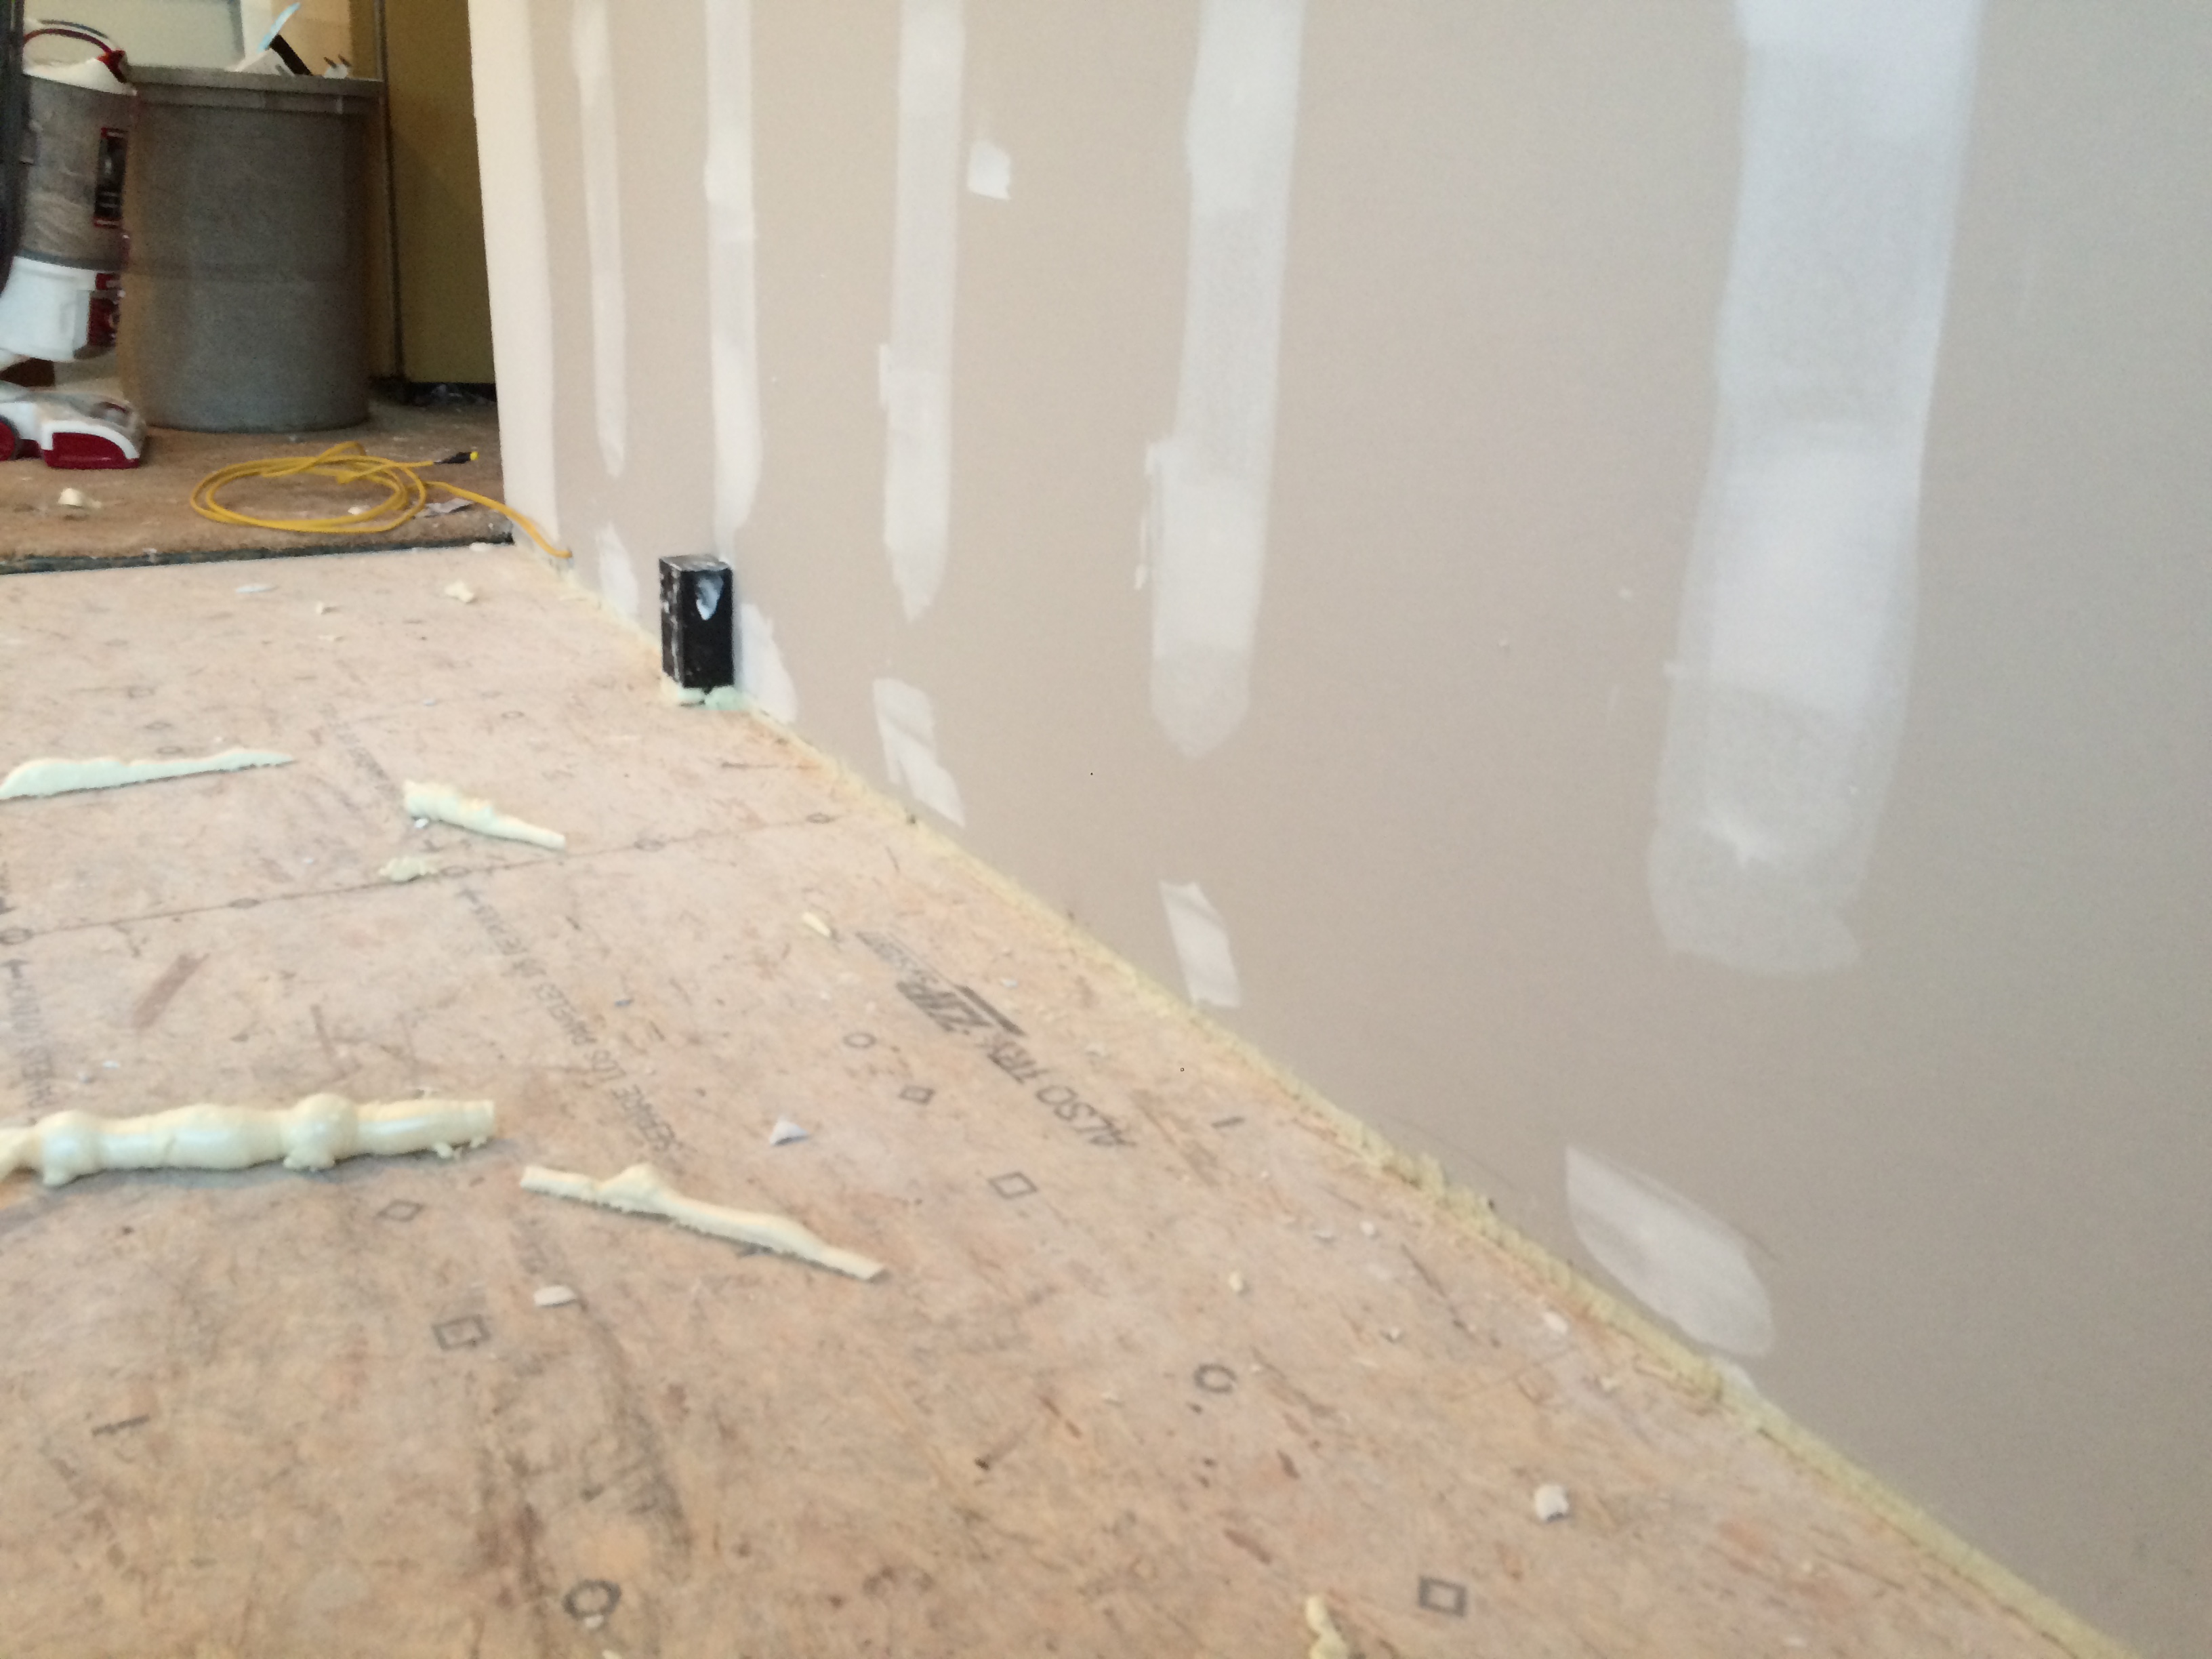
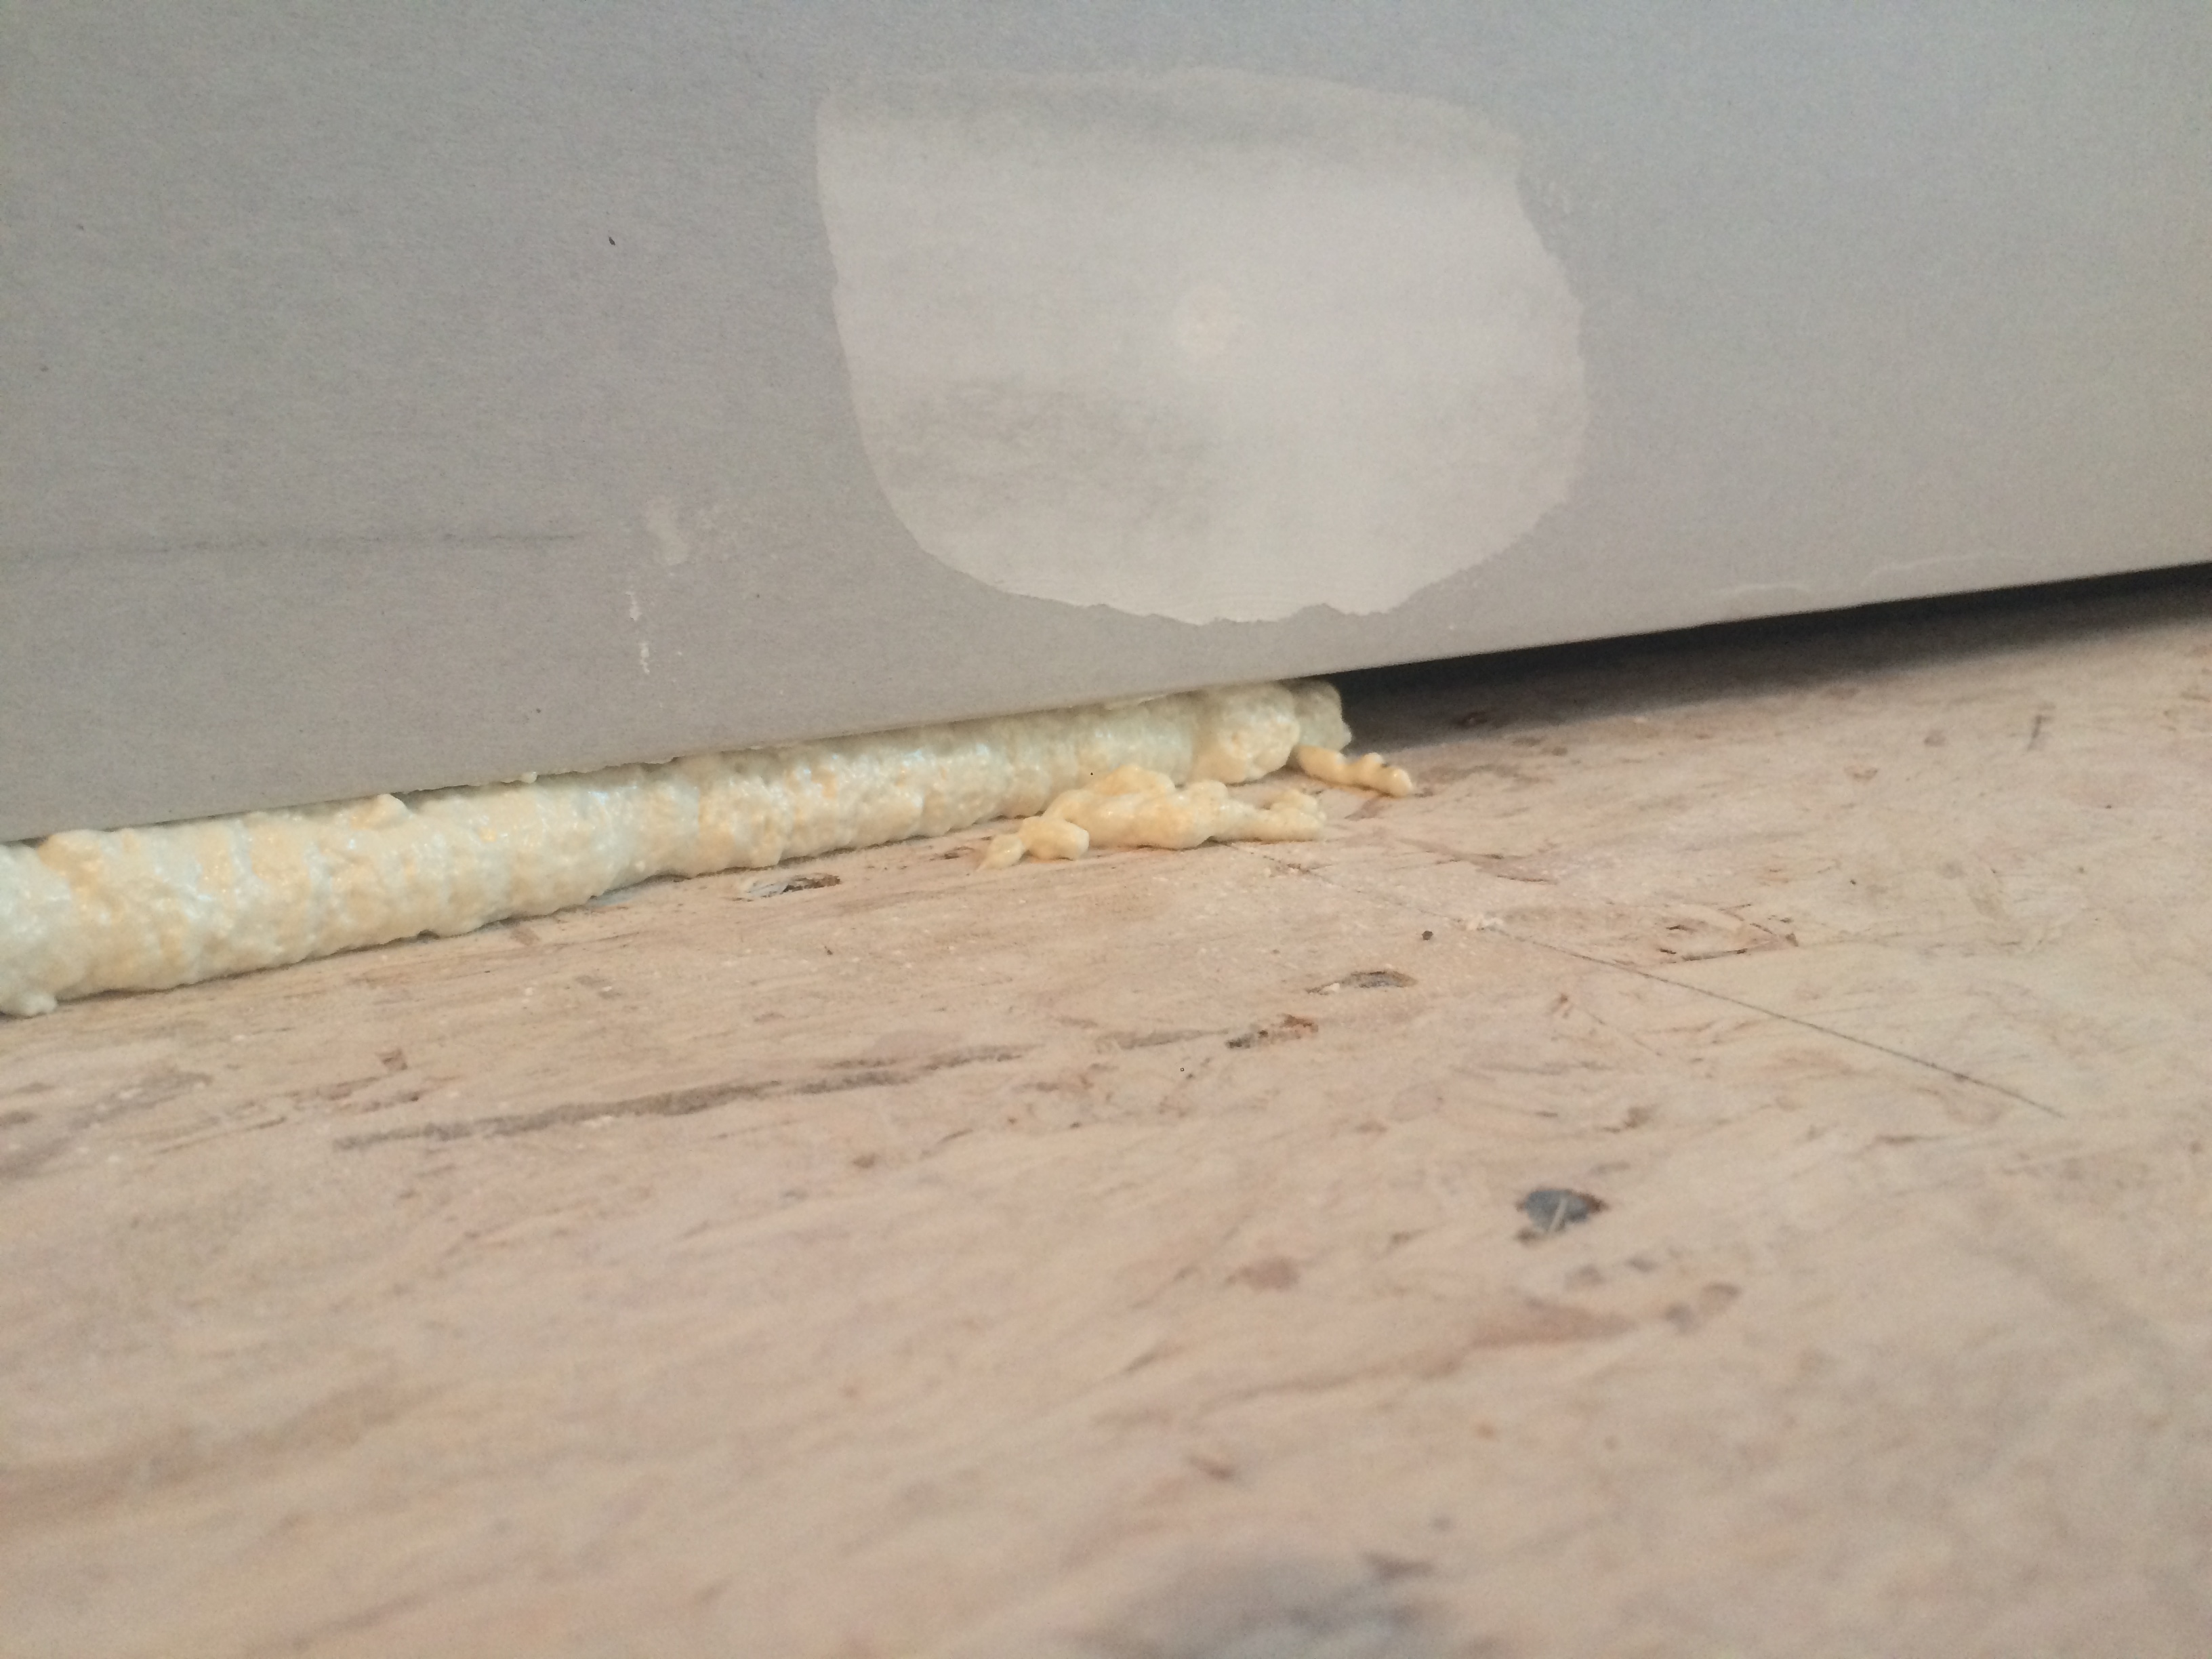
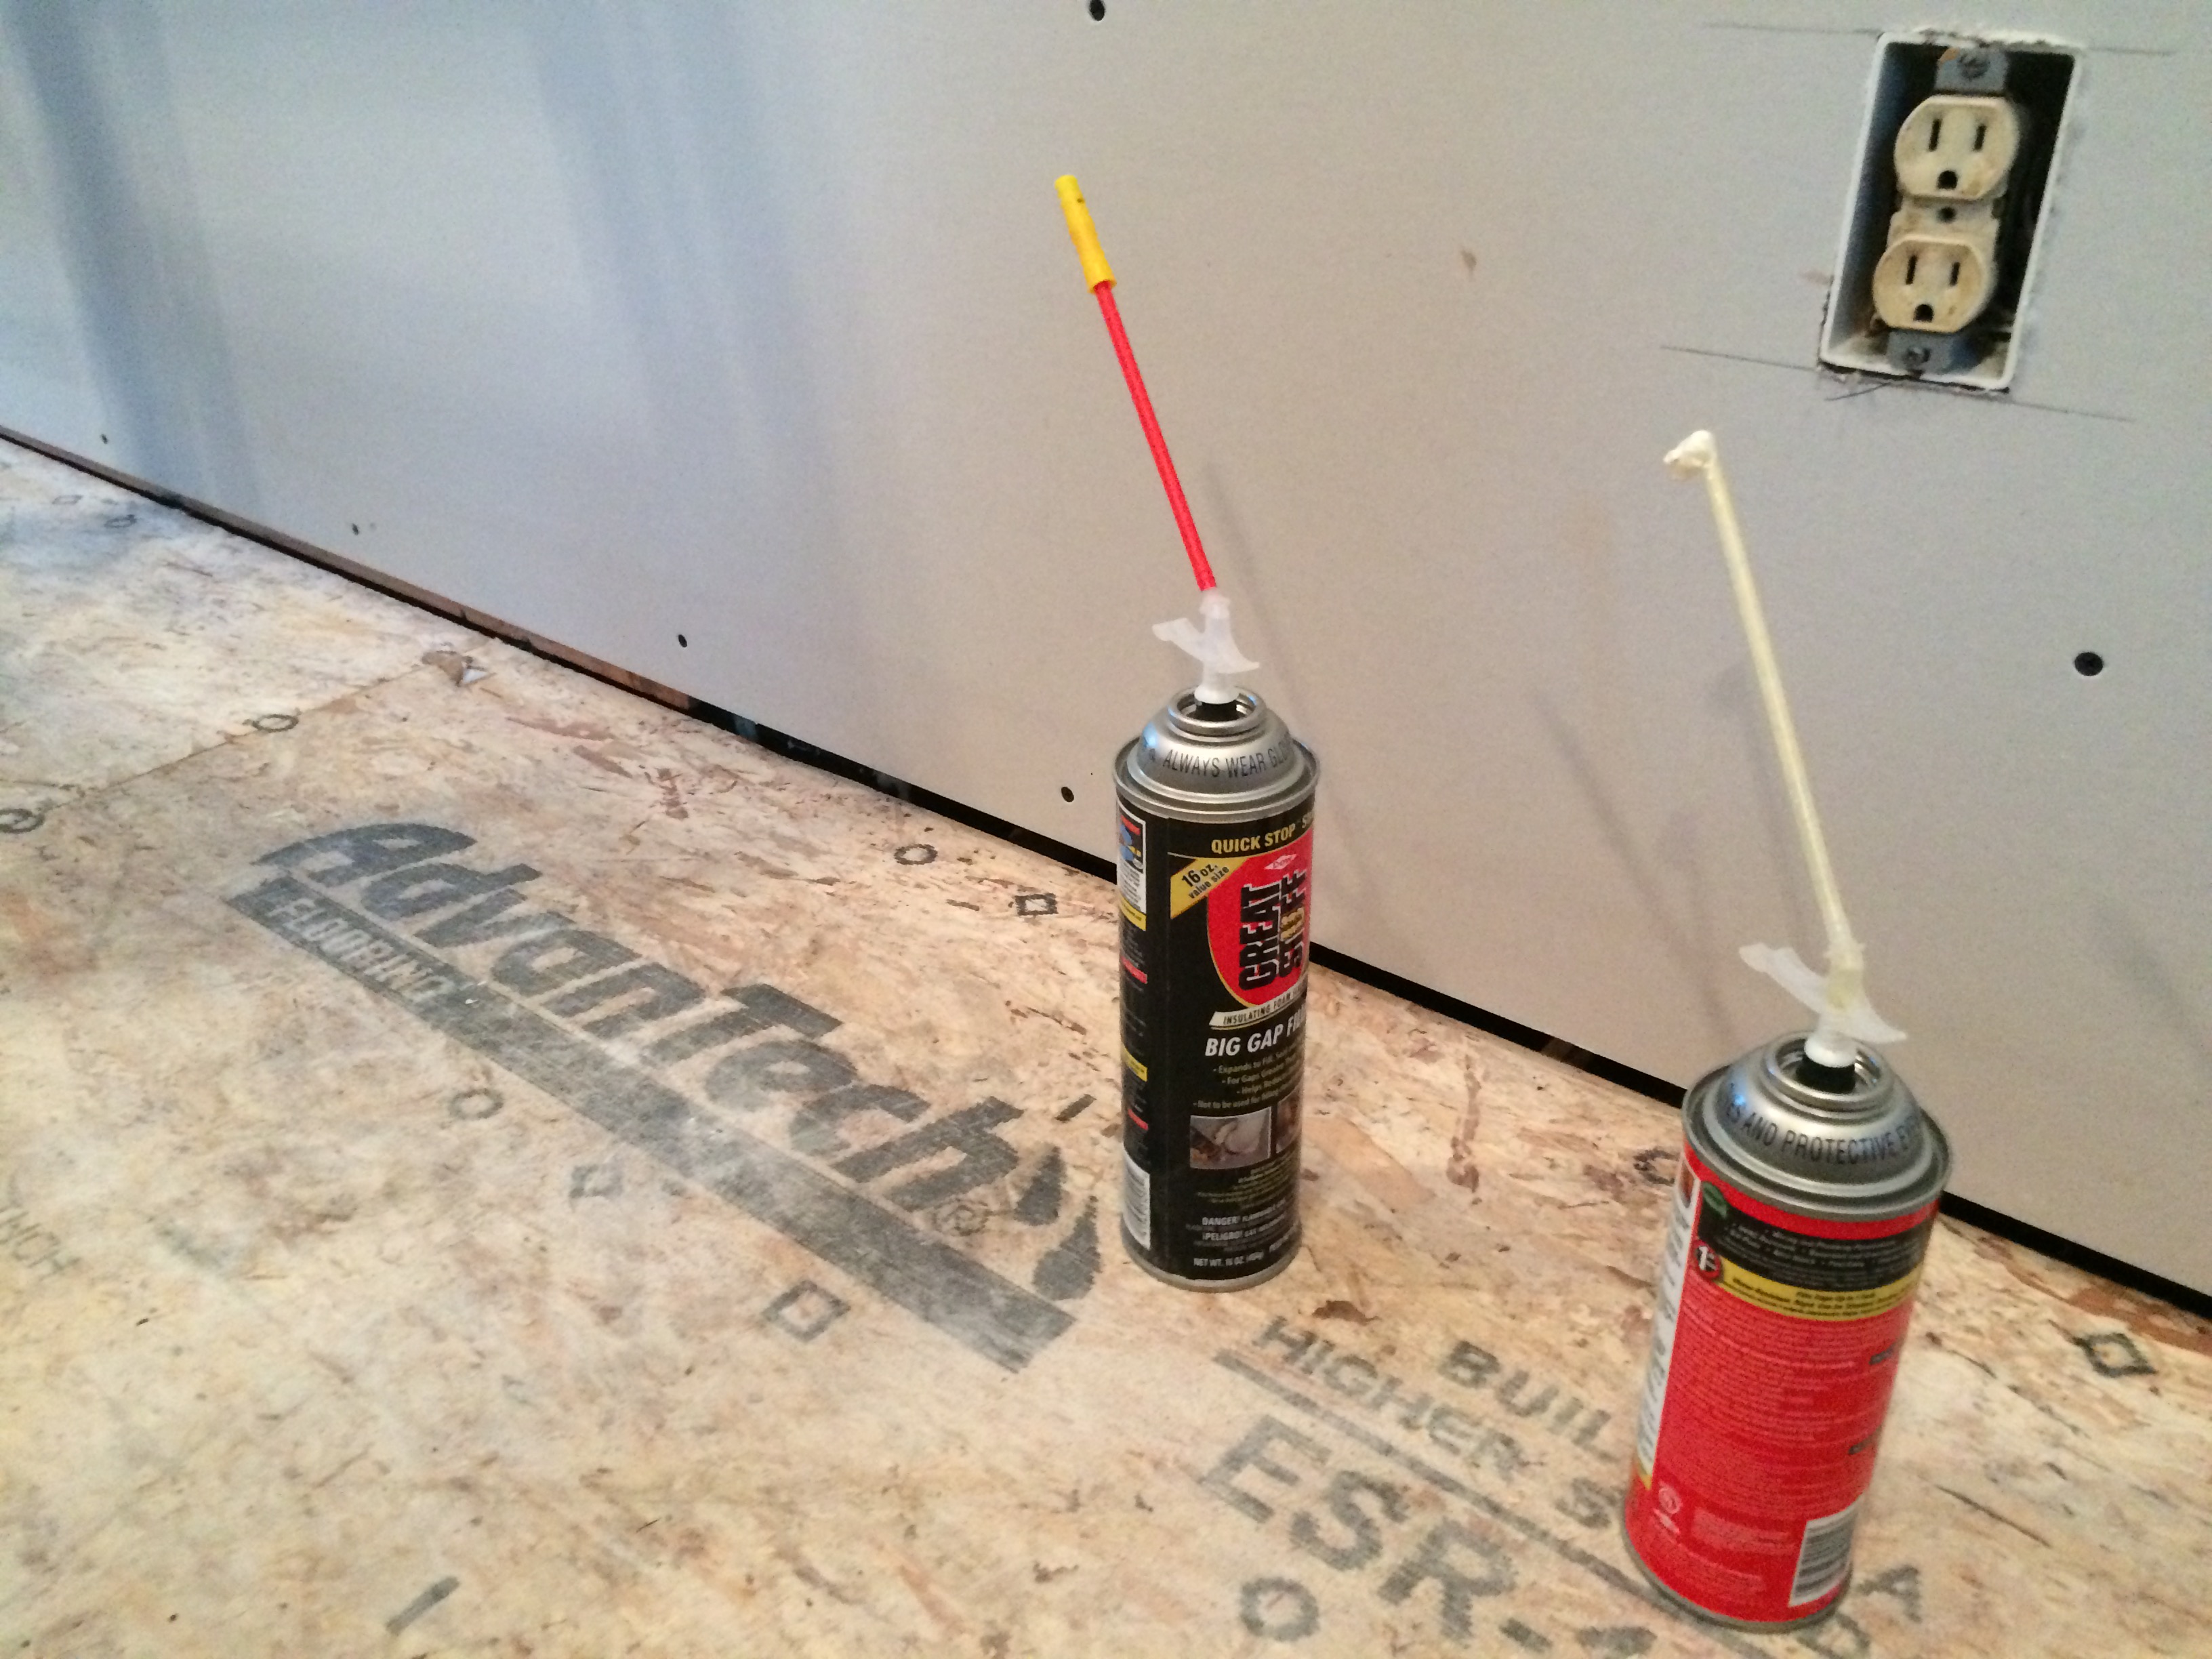
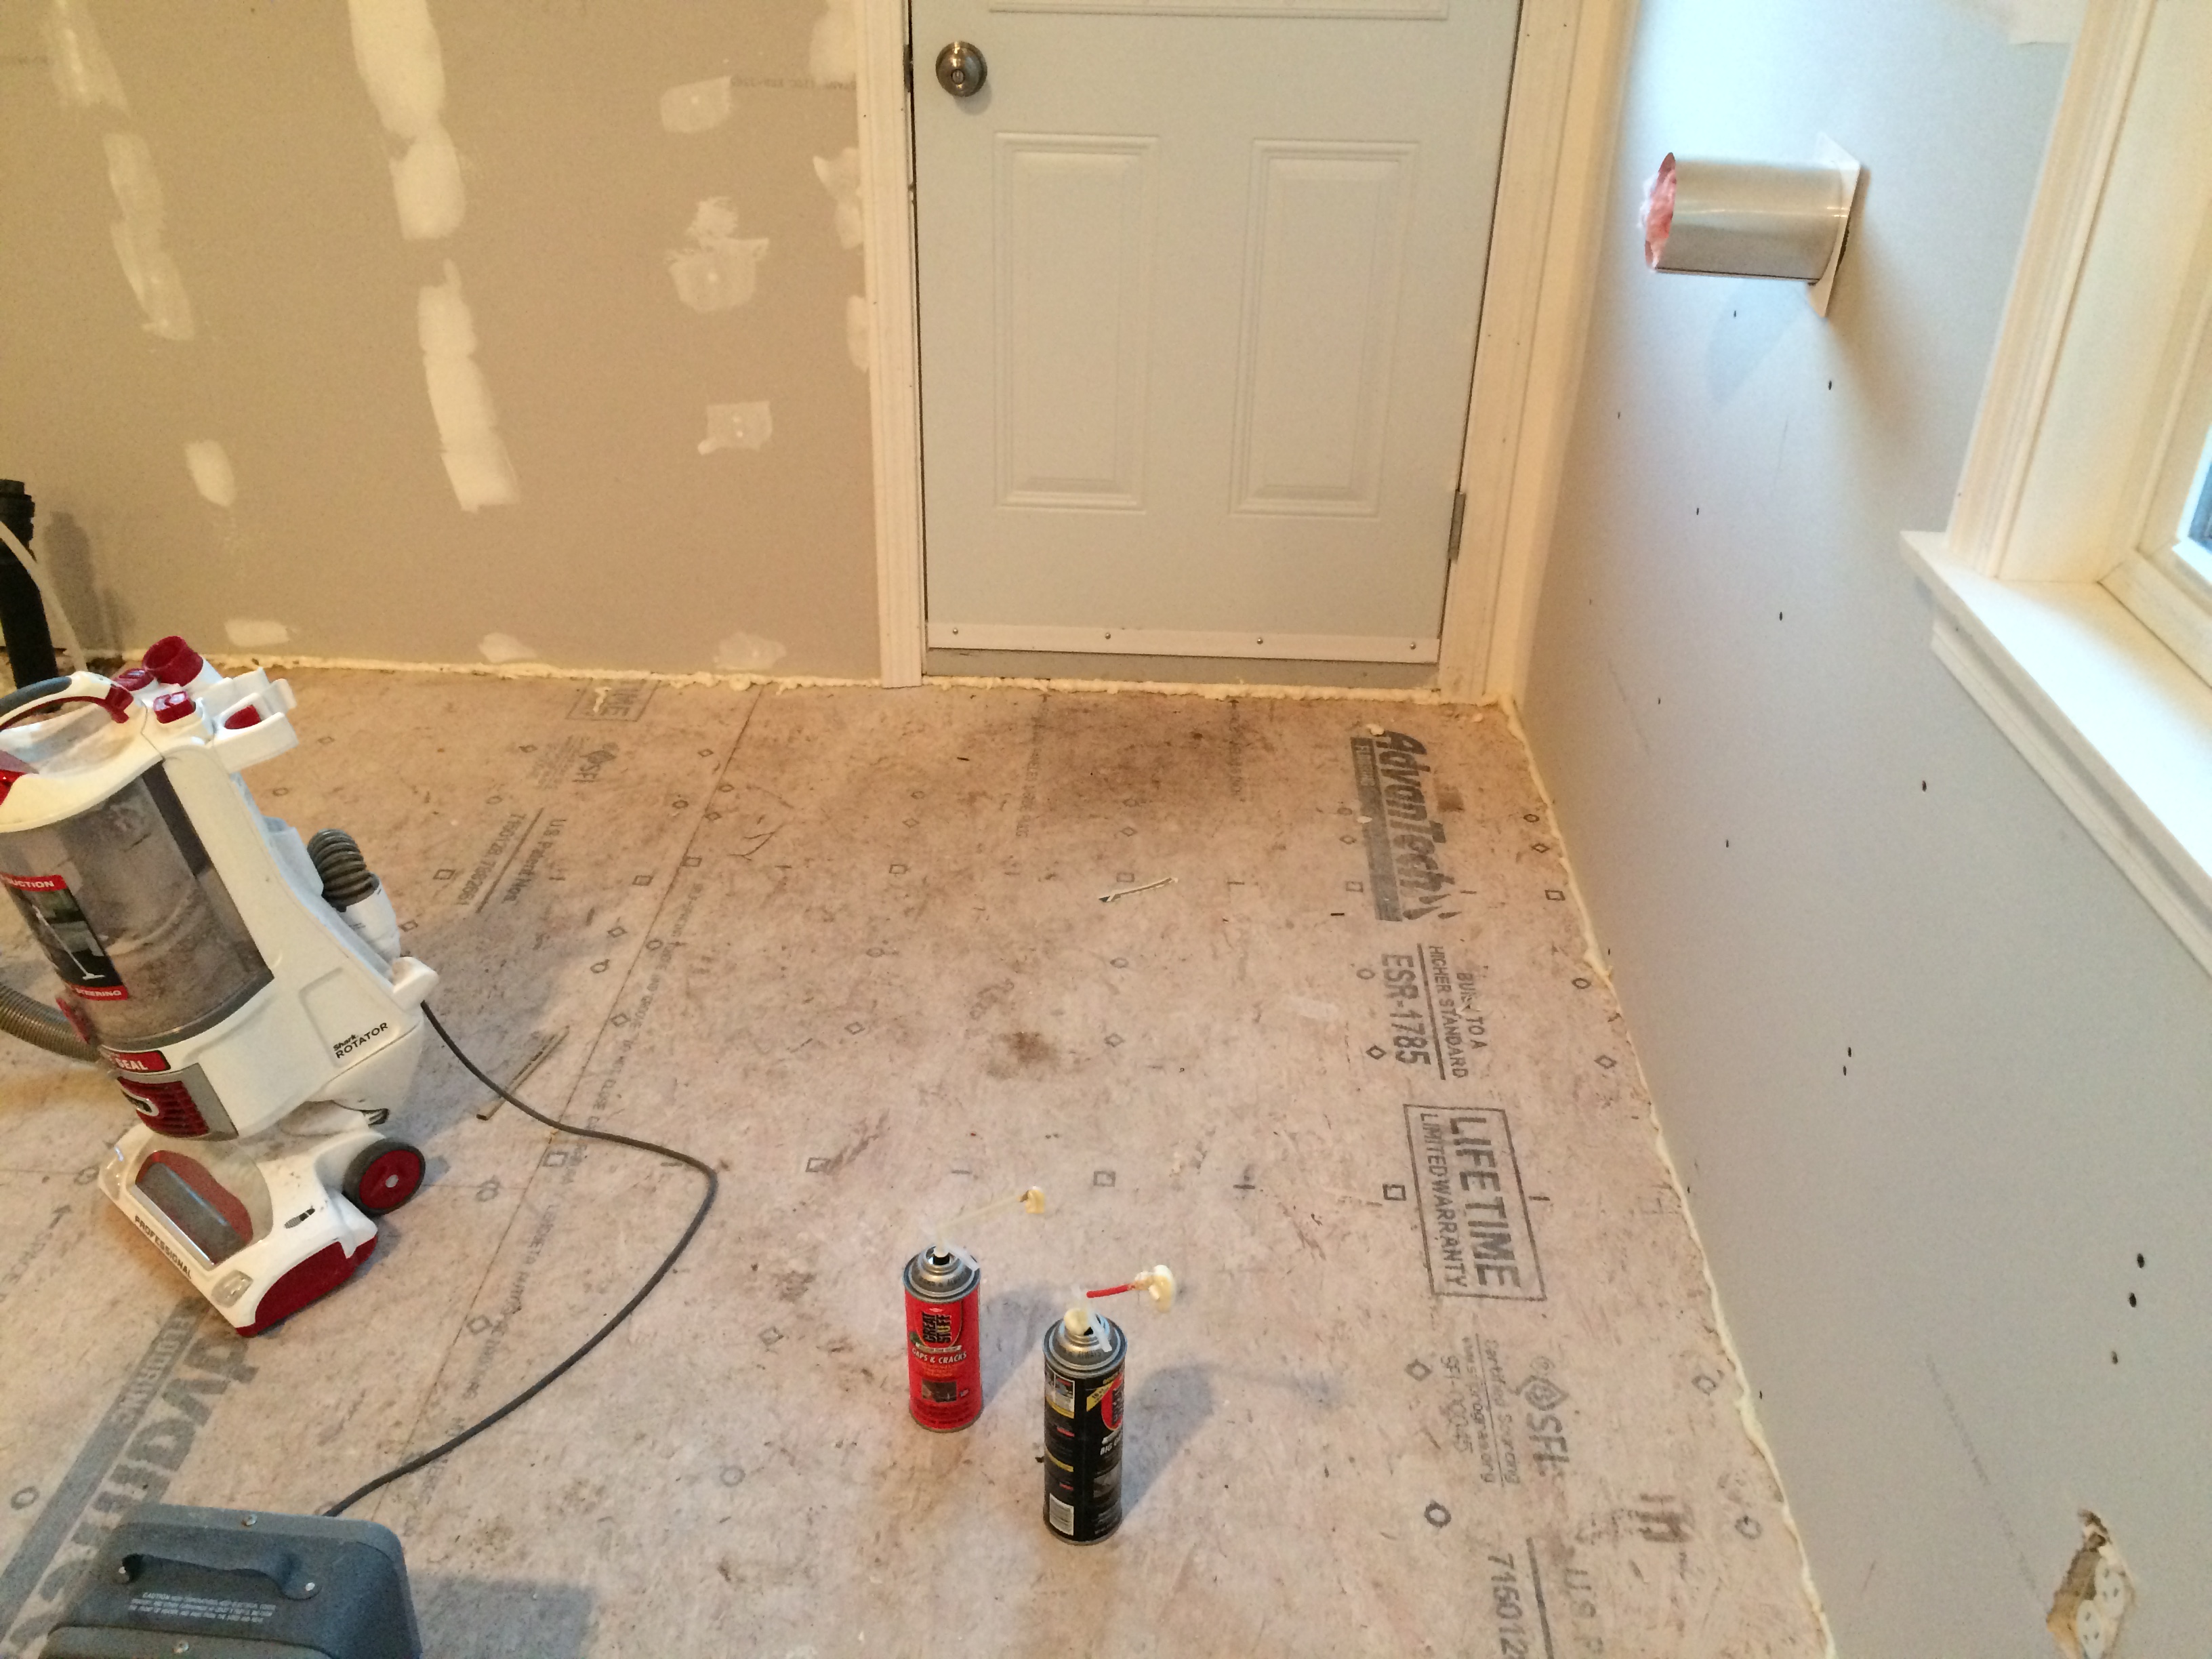
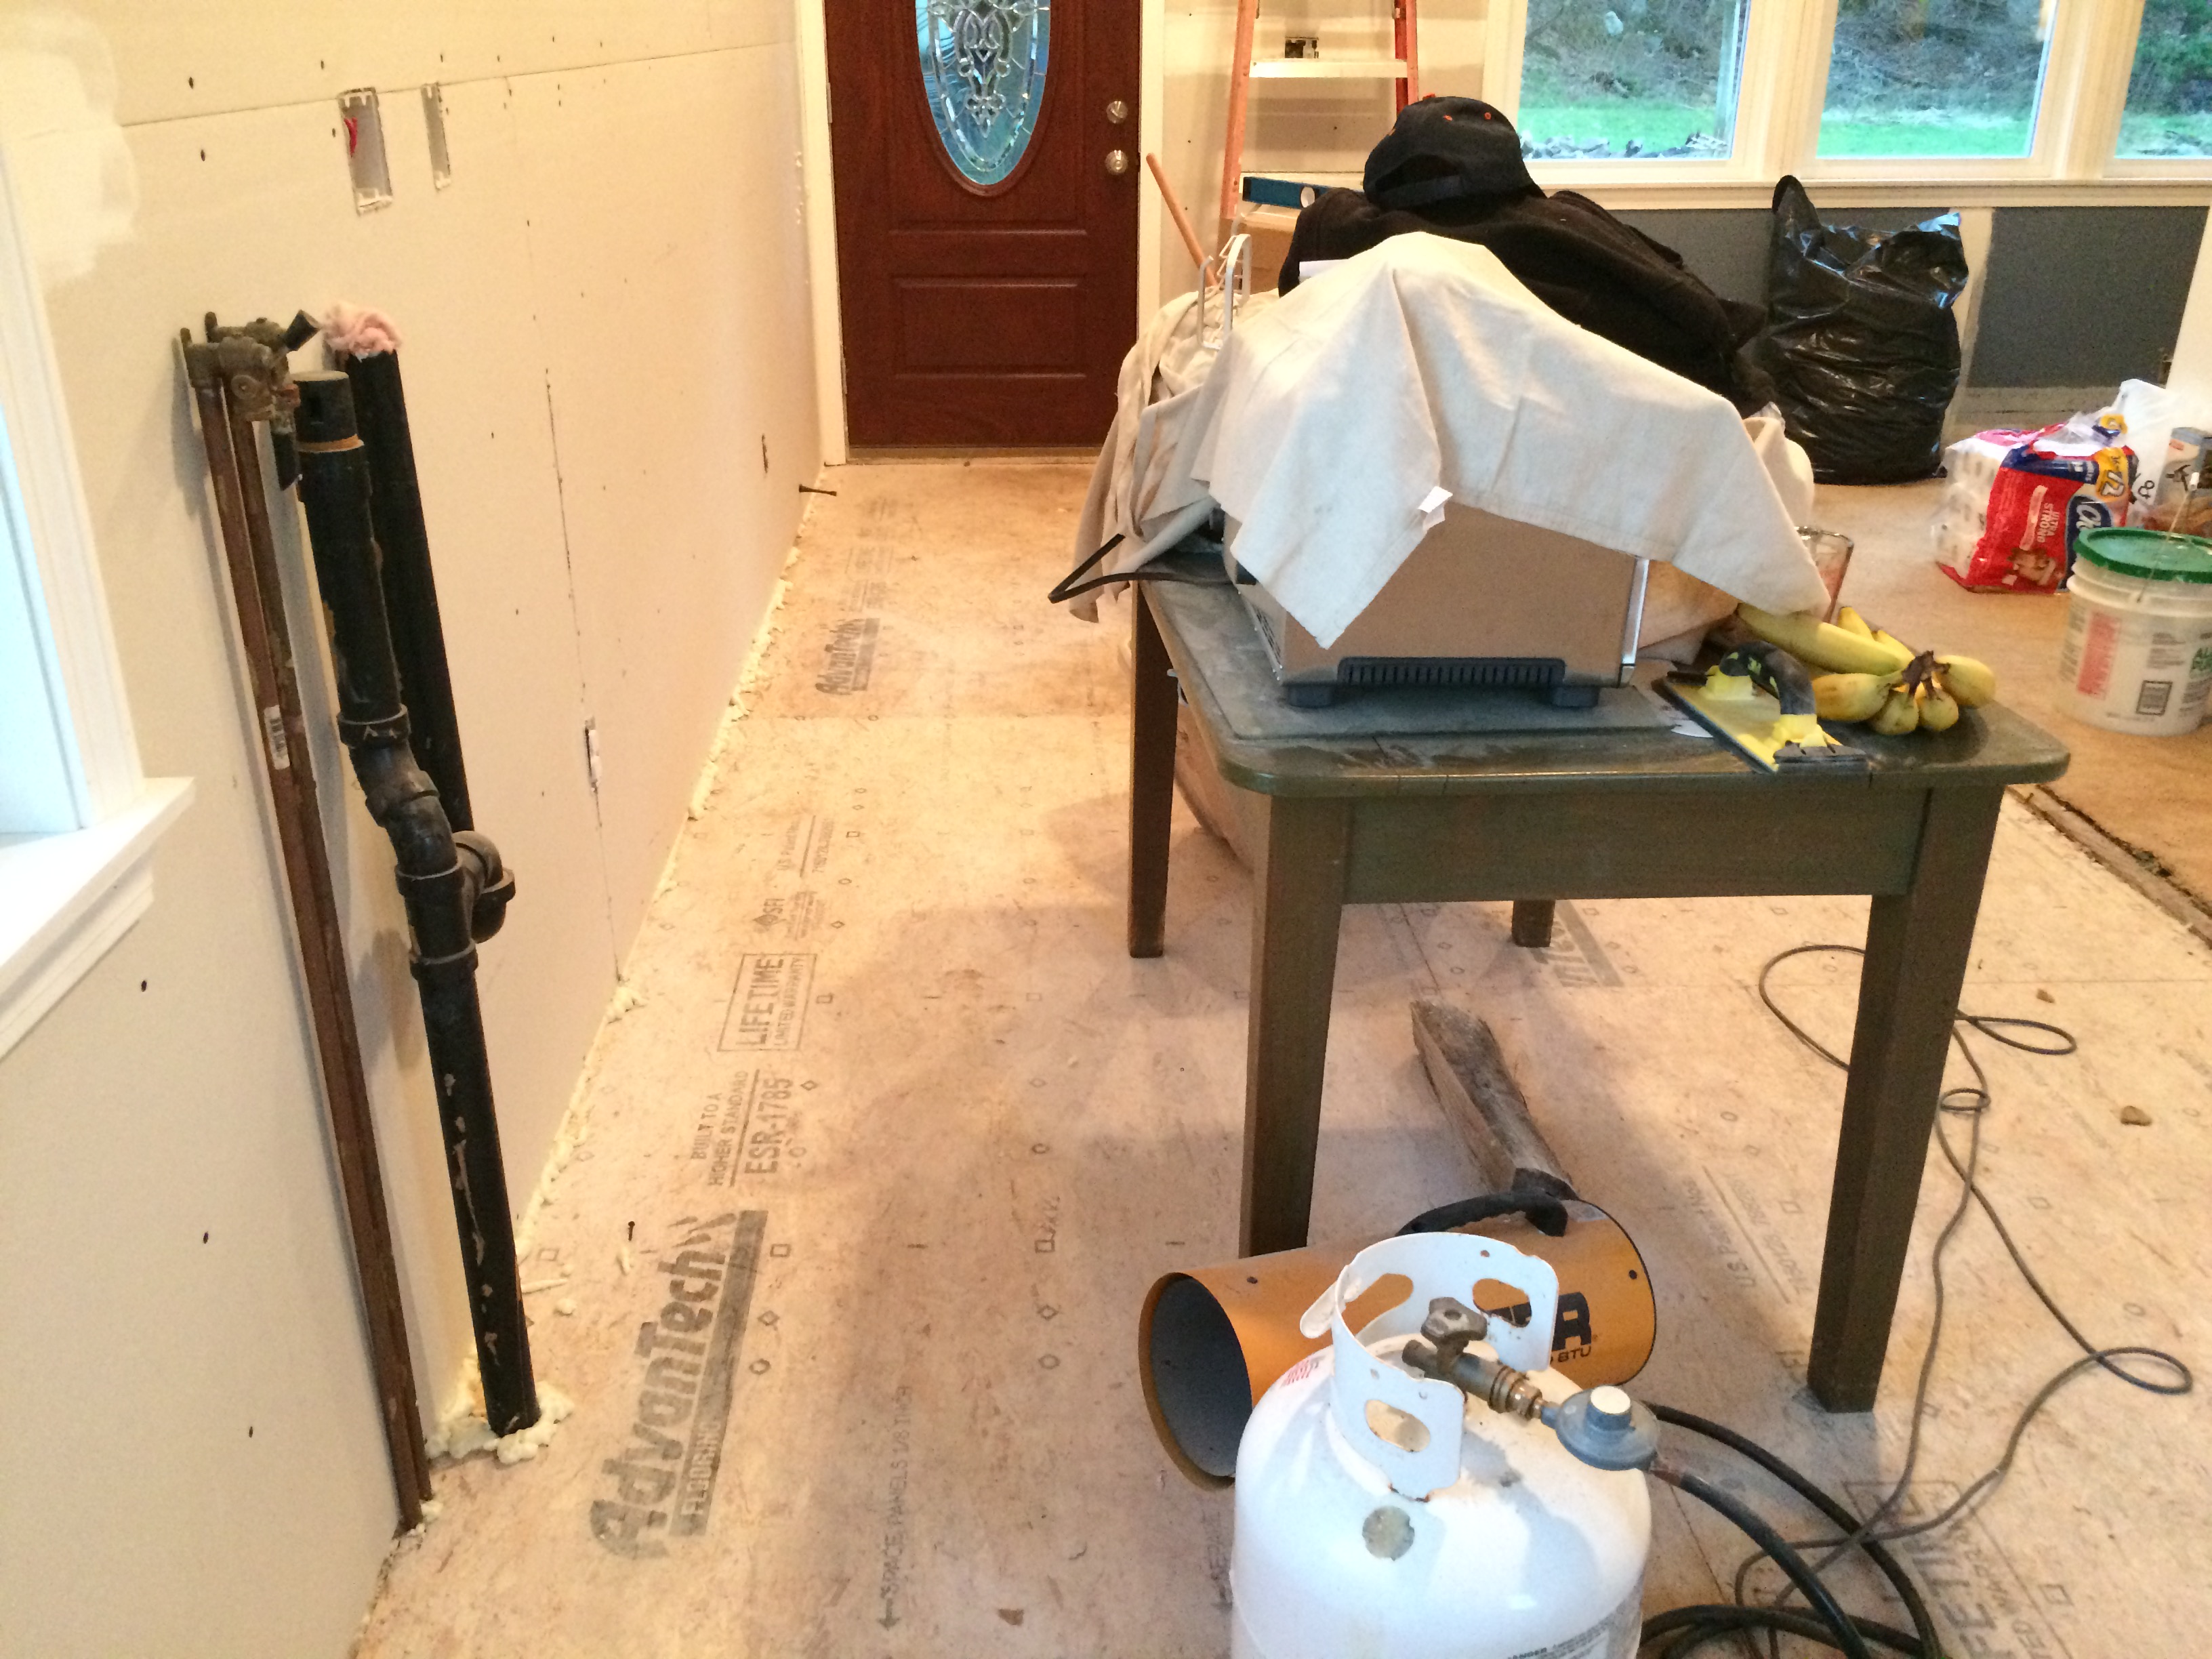
It was a very windy day, and noticed a lot of air flow. Went to town with spray foam:
One section was just a black hole so I had to break out the "Big Gap" version:
After this cures, and the sheet rockers are out of the way tomorrow, I'll go around with oscillating tool to trim this stuff up. I've cut this by hand in the past and this project alone will have been worth the cost of that tool :D
Spent basically the whole Patriots game tonight and then some just doing math and figuring out techniques to make the cabinets level since they need to be even if the floor isn't. (I suspect Wes will use floor leveler before putting down the cement board the tiles go on top of.)
I suspect I'll need more than standard shims to set the cabinets properly, found this video on how to make the necessary jig:
So it is 35-5/8" wide, and per the installation manual takes a 36" even opening.
Counter Math:
Base Height: 35"
Laminate Thickness: 3/4"
Butcher Block: 1-1/2"
Tile Floor, w/ Backerboard: 15/16"
By the time we get to the stove (Butcher Block), the floor is 7/8" of an inch lower.
Stove is 35-1/2" (on carpet when I measured it)
Standard Counter Top height is 36"
I can rip 2x4 into 2x2 (1-1/2" thickness) as a base under the cabinets to raise them up:
35"+ 1-1/2" = 36-1/2"
36-1/2" + 3/4" Laminate Counter = 37-1/4"
To adjust for the tile floor, rounding:
37-1/4 - 1" = 36-1/4" Final Height
As for the butcher block where the floor is 7/8" lower:
36-4/8" + 12/8" - 7/8" = 37-1/8"
Less the tile:
37-1/8" - 1" = 36-1/8"
Which works, because I can shim out that final 1/8" to make them match the others.
Now if the base cabinets, with the 3/4" laminate, will be at 37-1/4" from the underlayment, I need the bottom of the top cabinets to be 18" higher:
37-1/4" + 18" = 55-1/4".
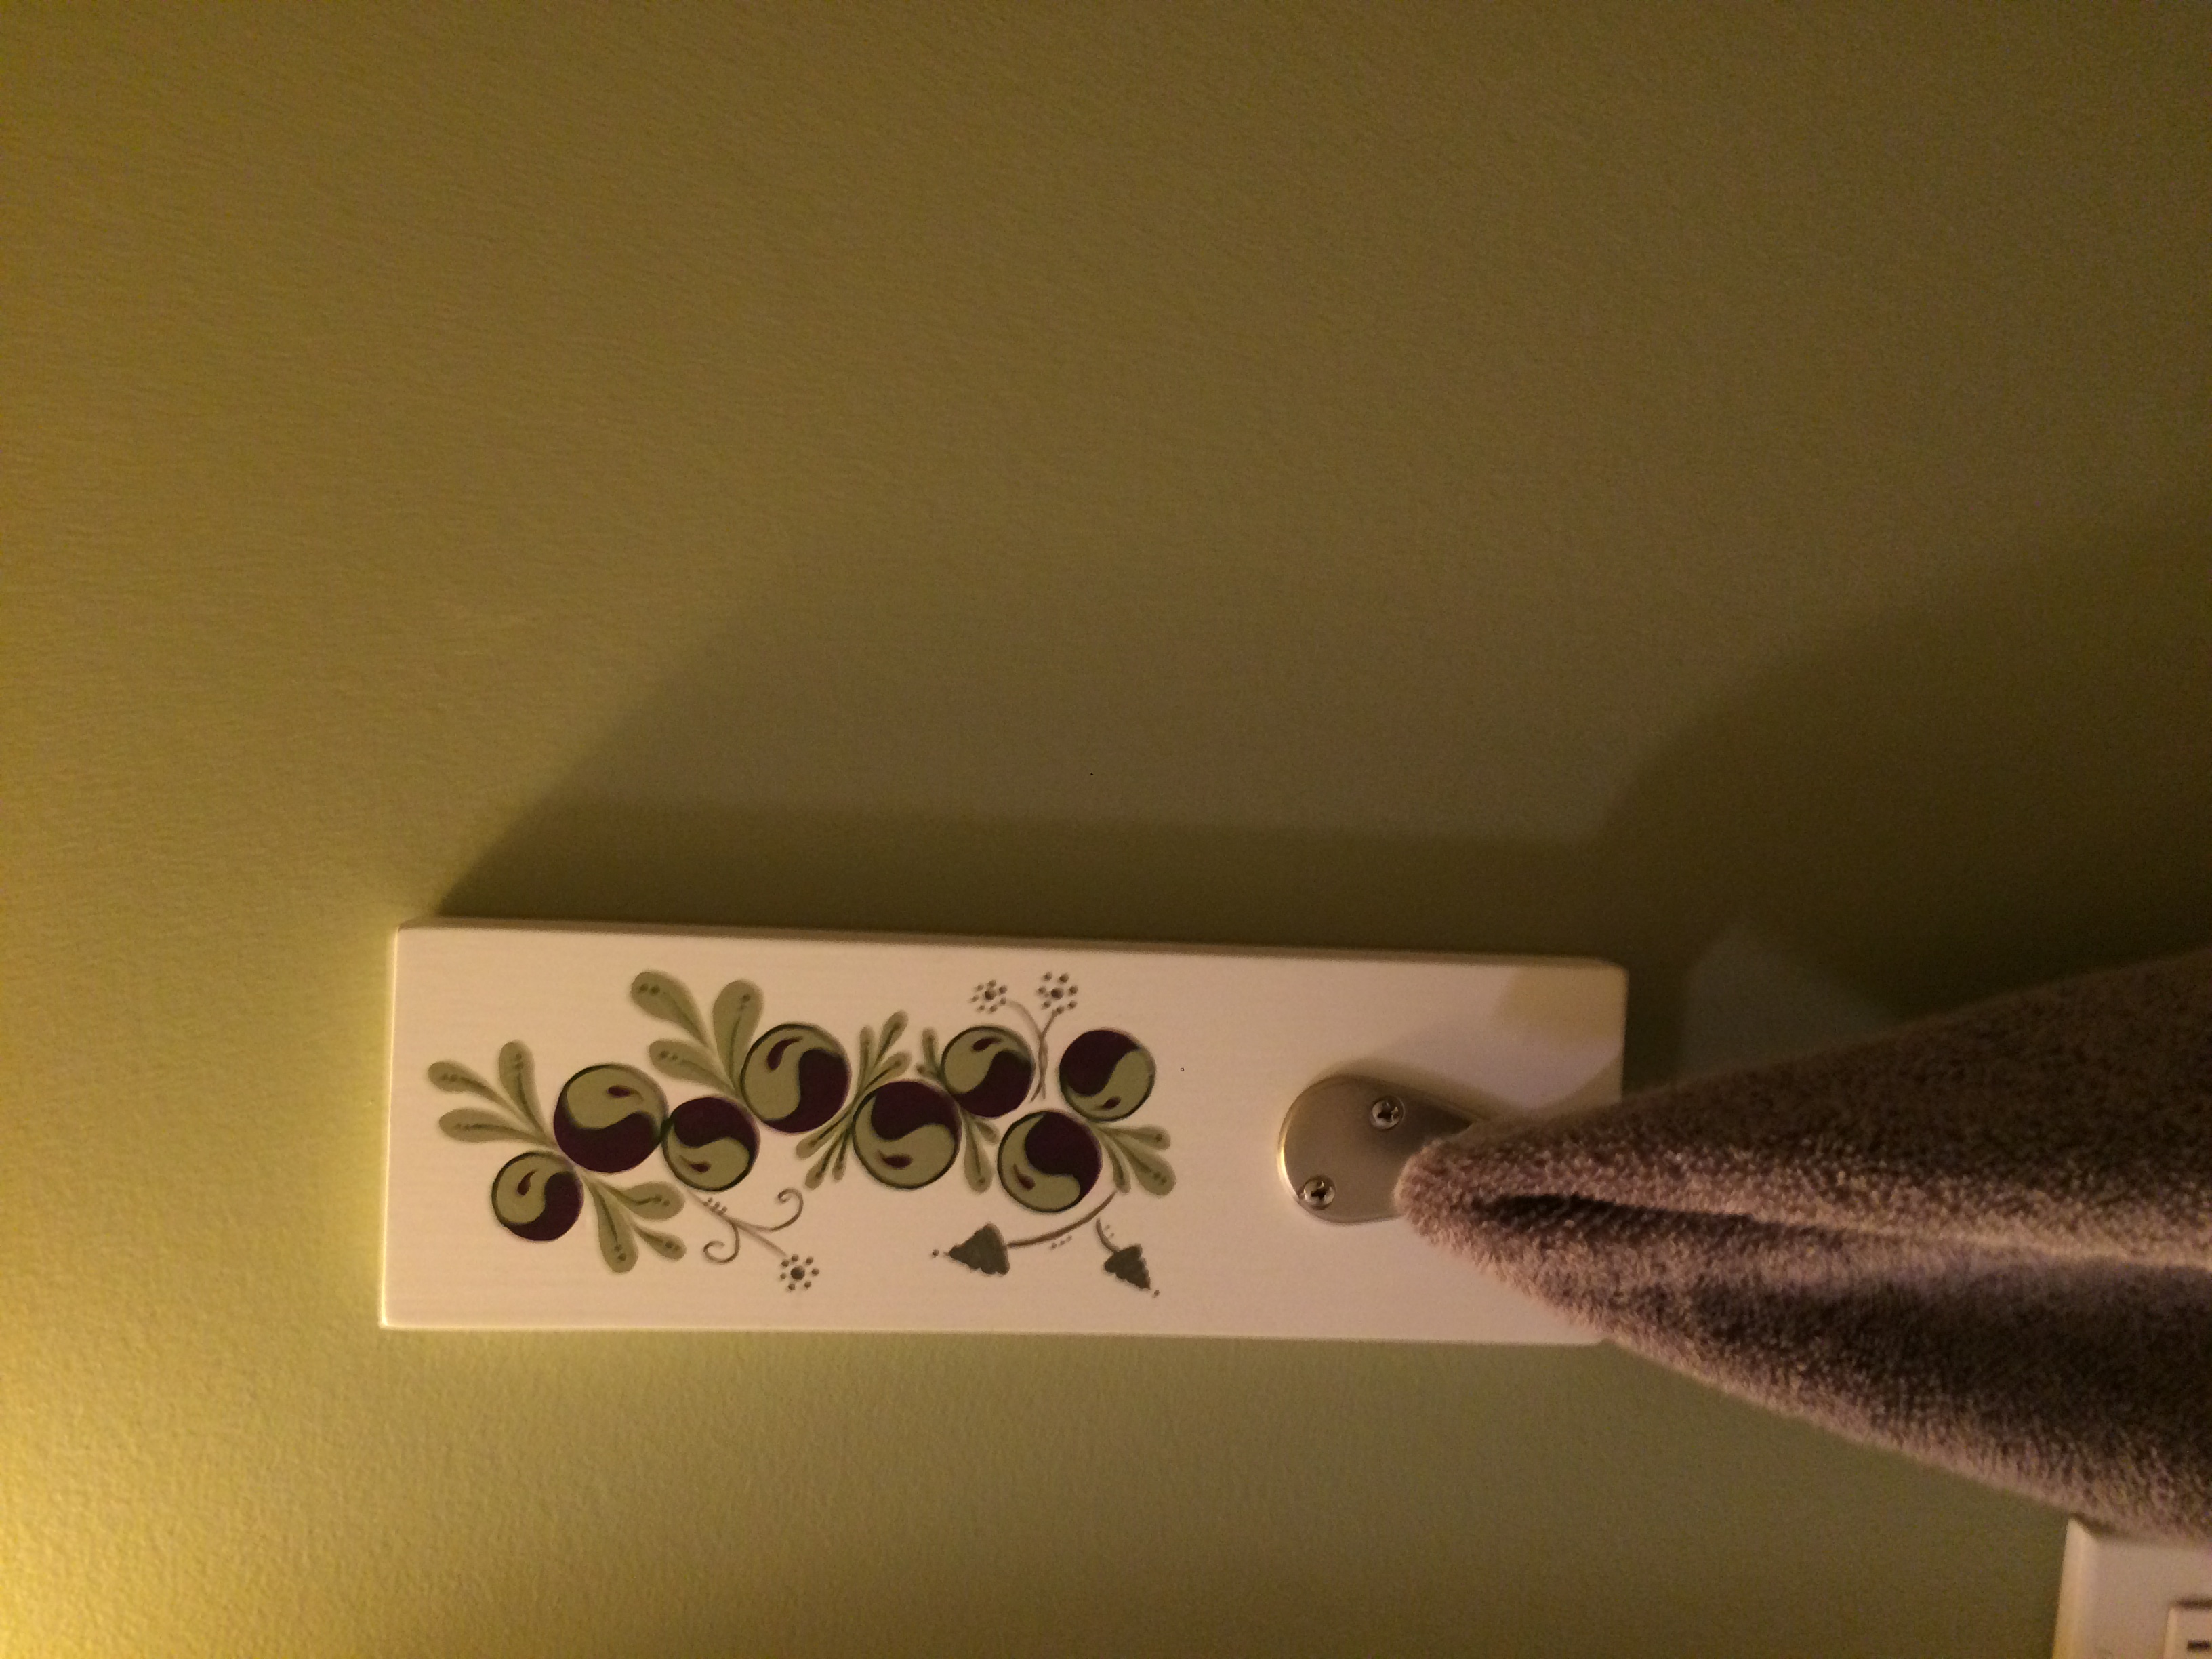
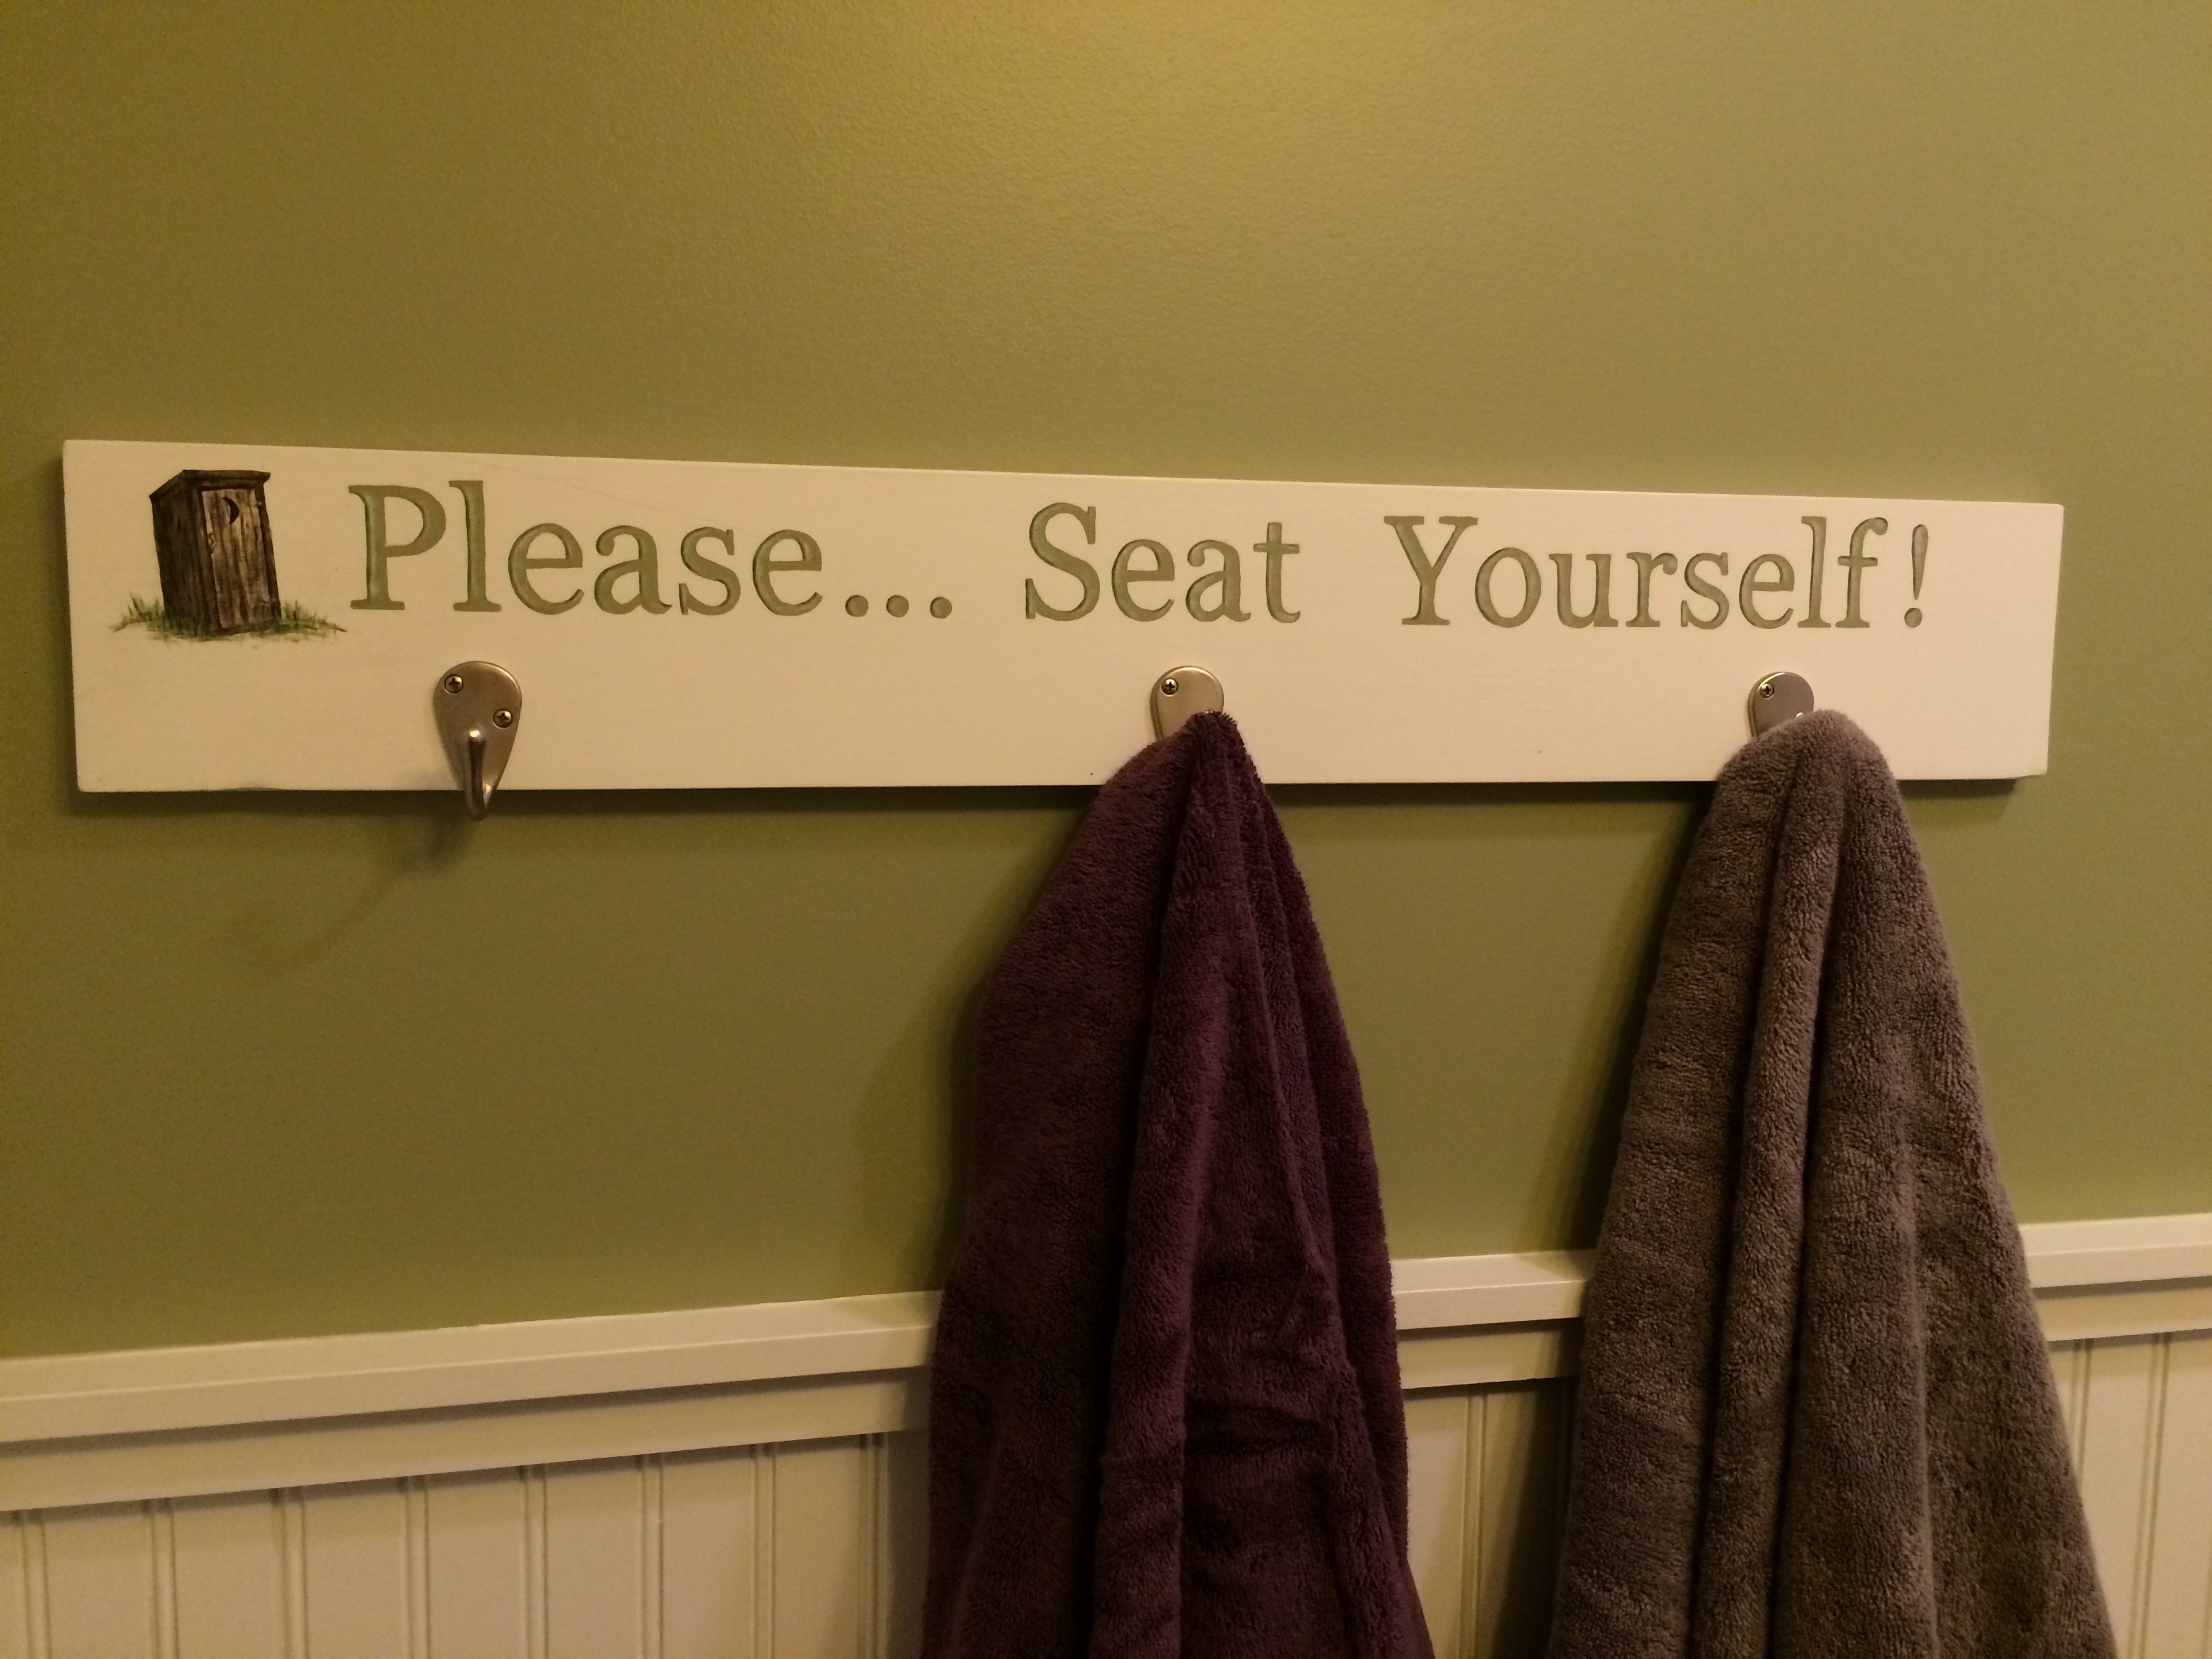
Well except for hooking up the sink faucet, knobs on the vanity, and painting the duck box :D
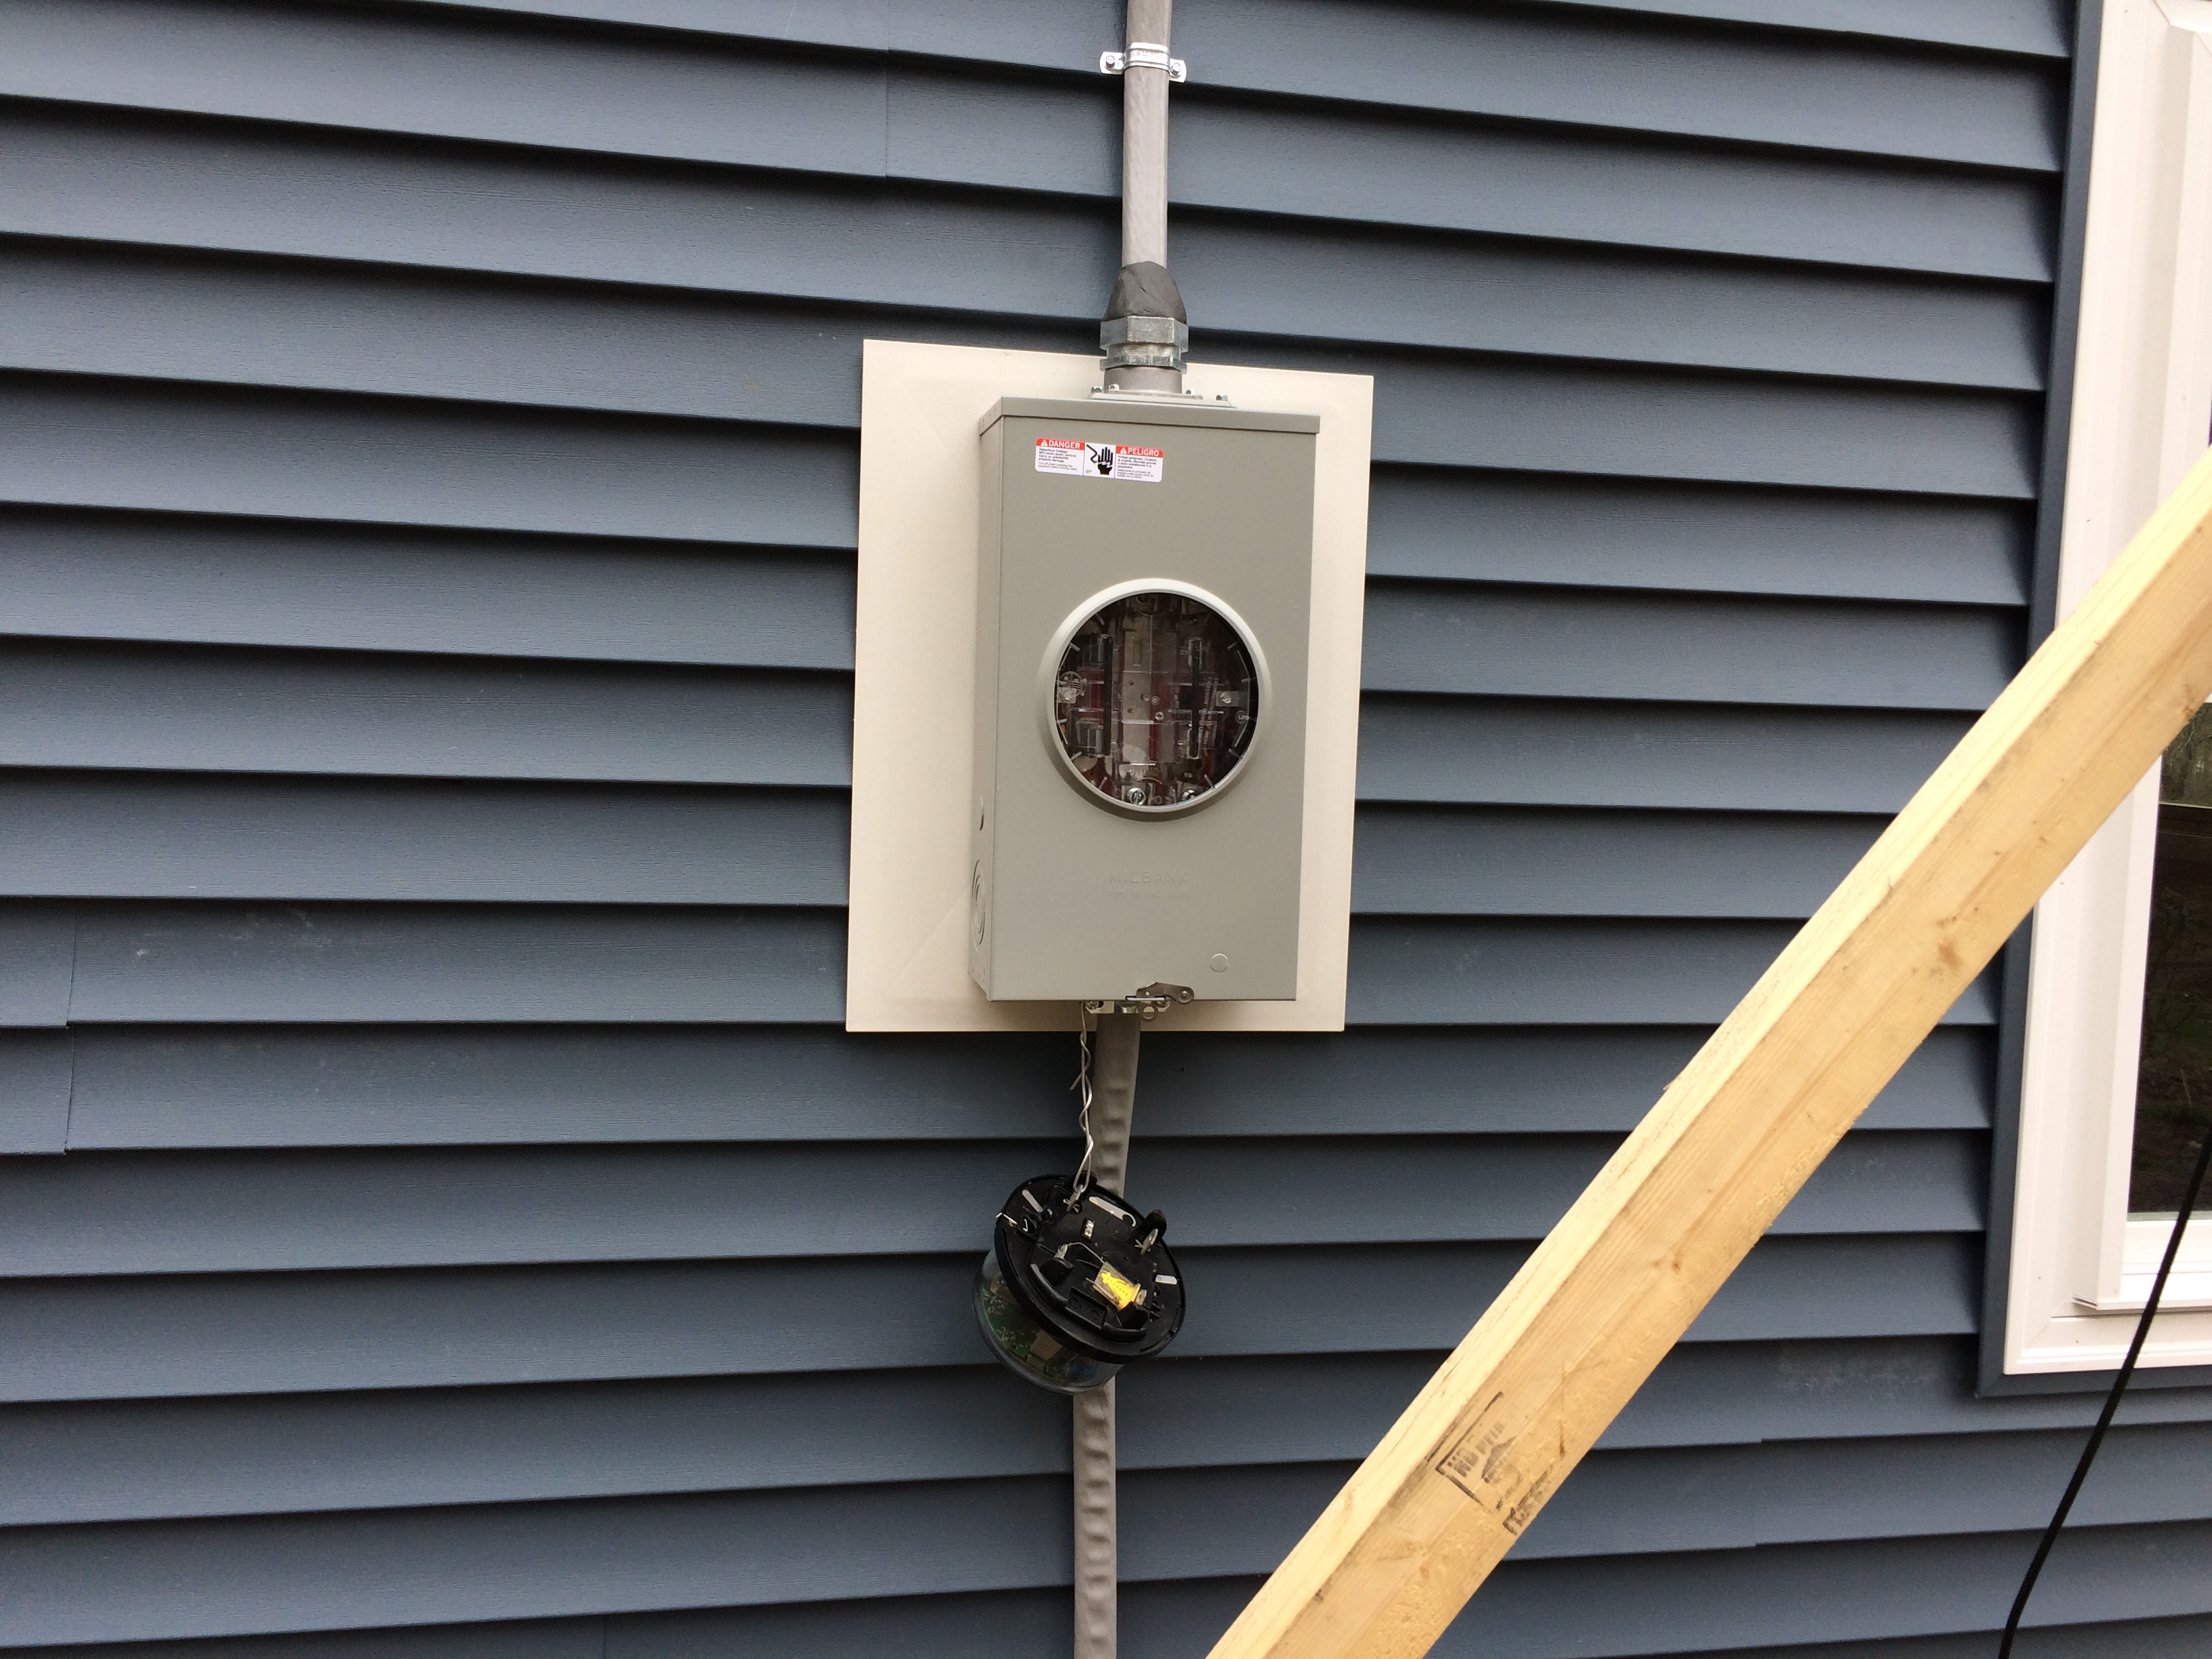
Free power! No meter hooked up this weekend :)
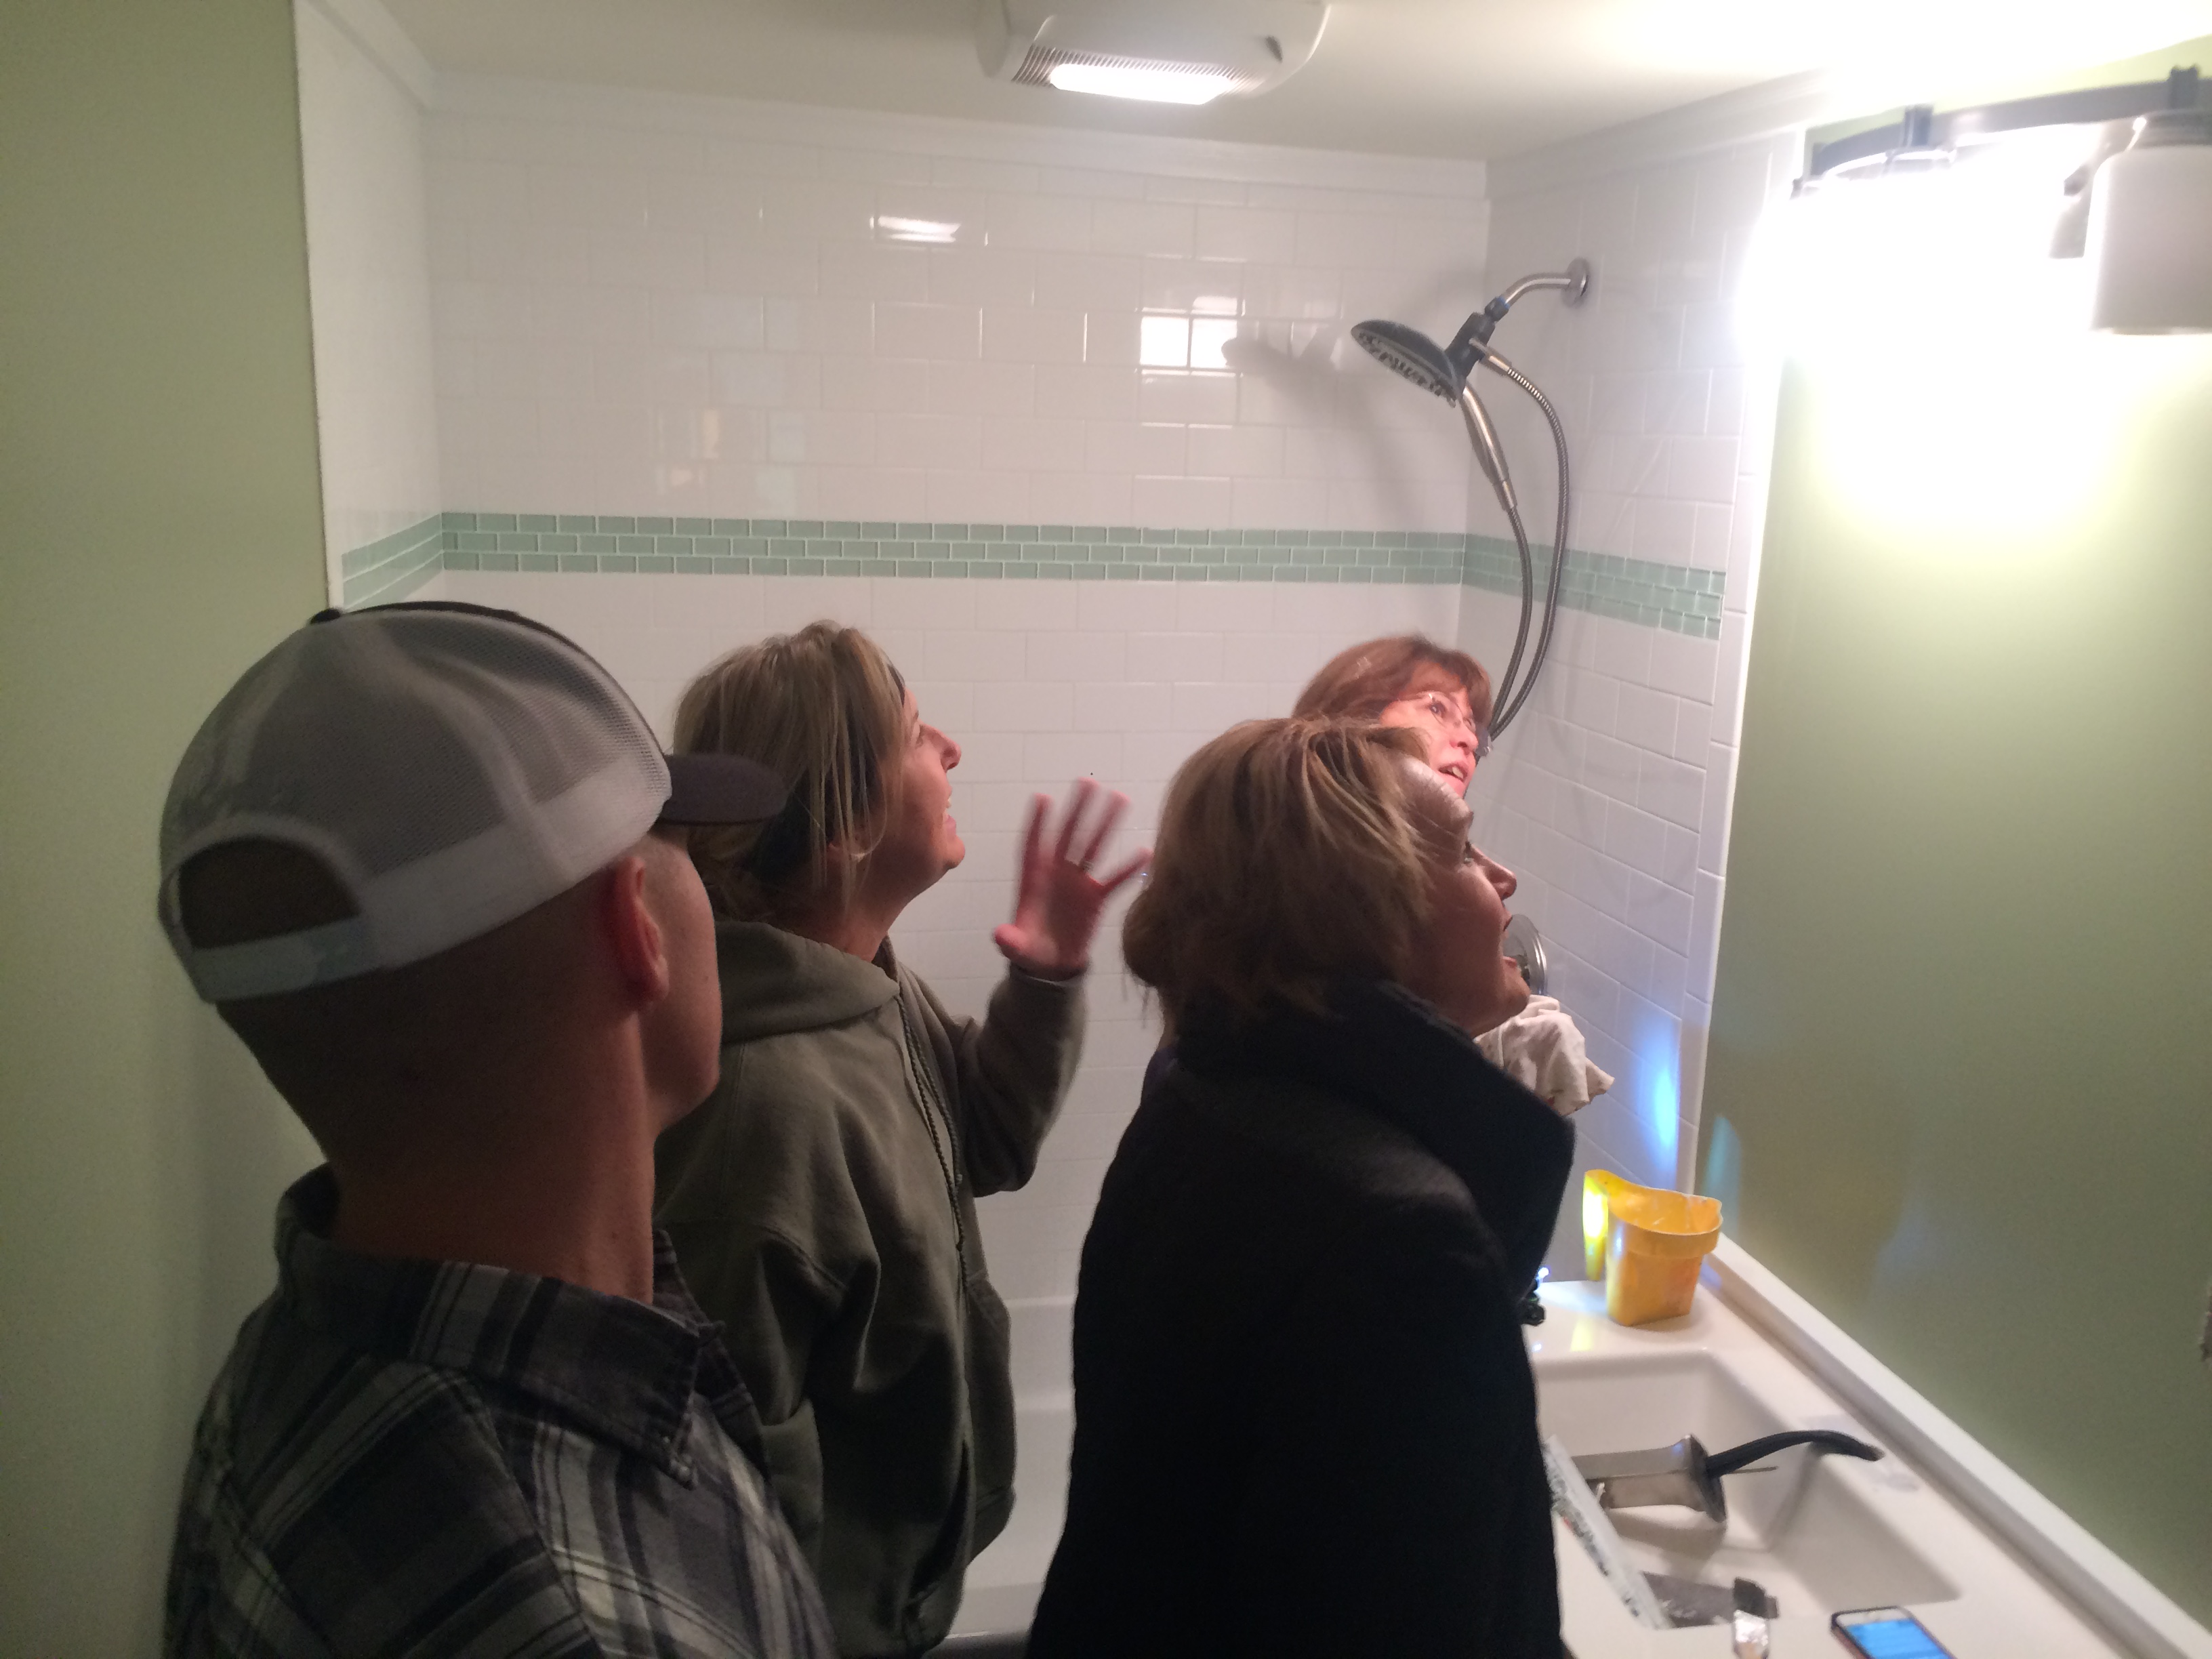
I worked on installing the outlets and switches in the kitchen this morning as Kiya & Liz went to town in the bathroom, until people started to show up. Went out to lunch with Pat, AJ, Mom, and Ed.
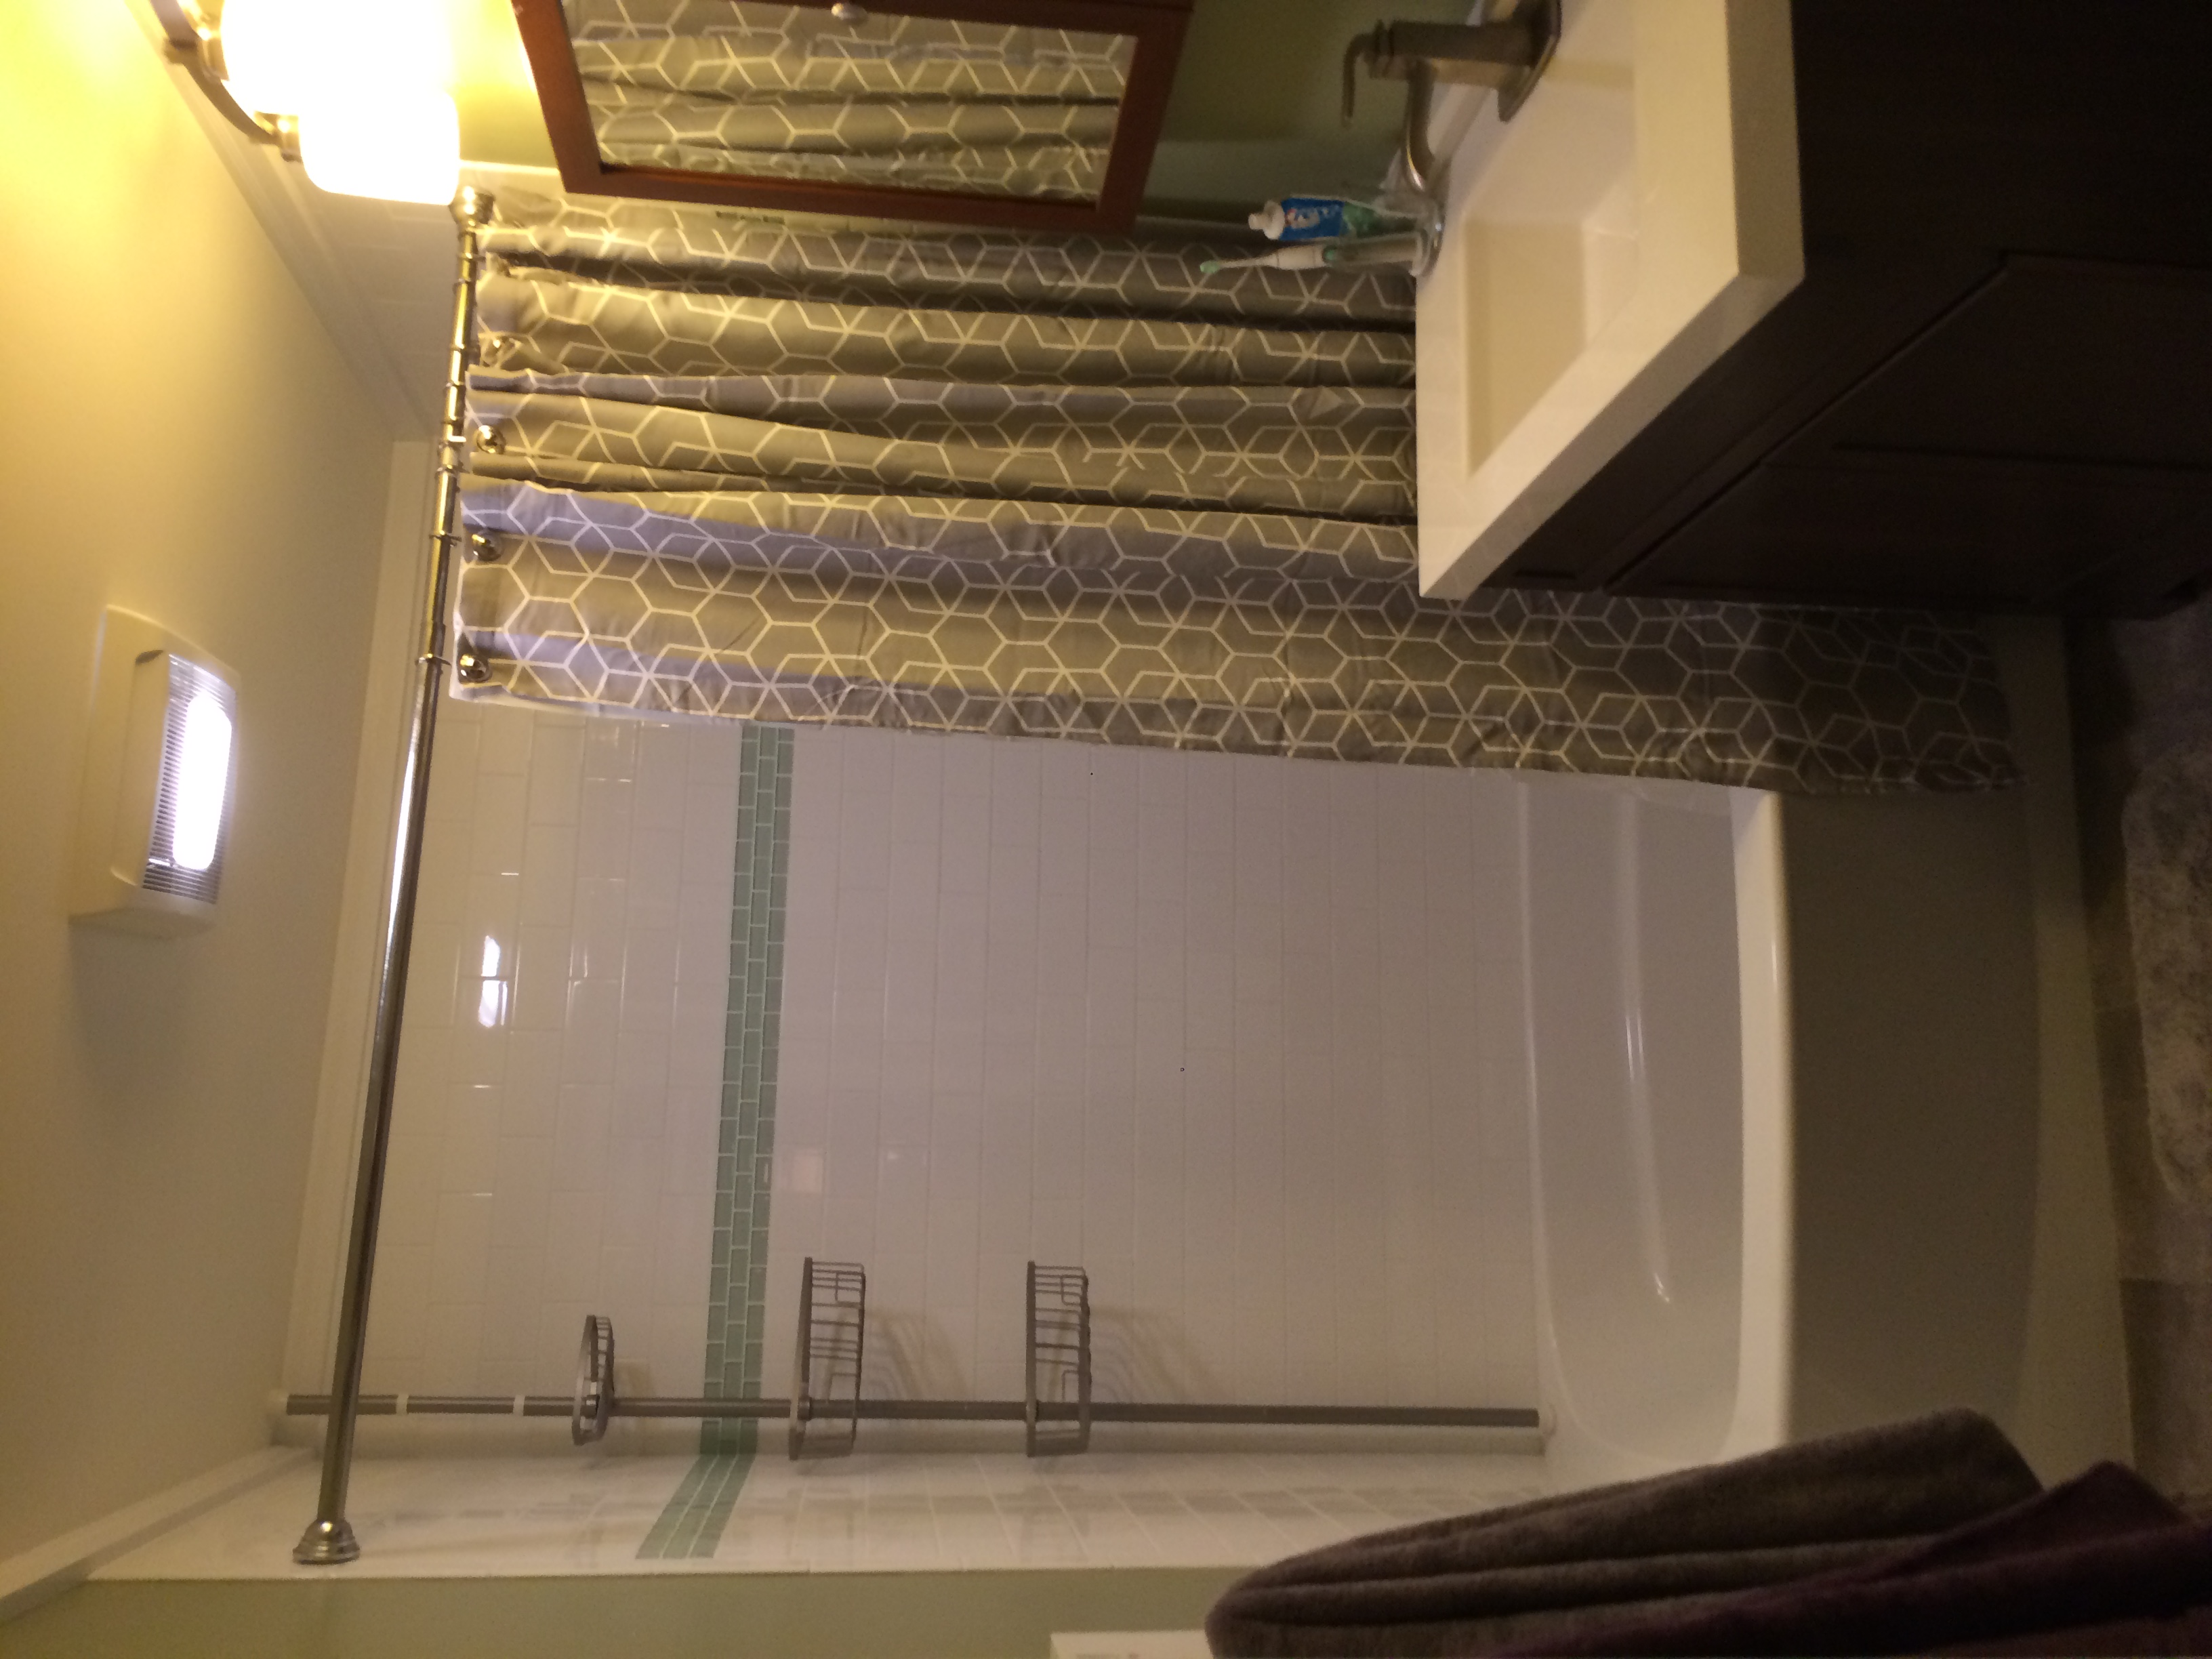
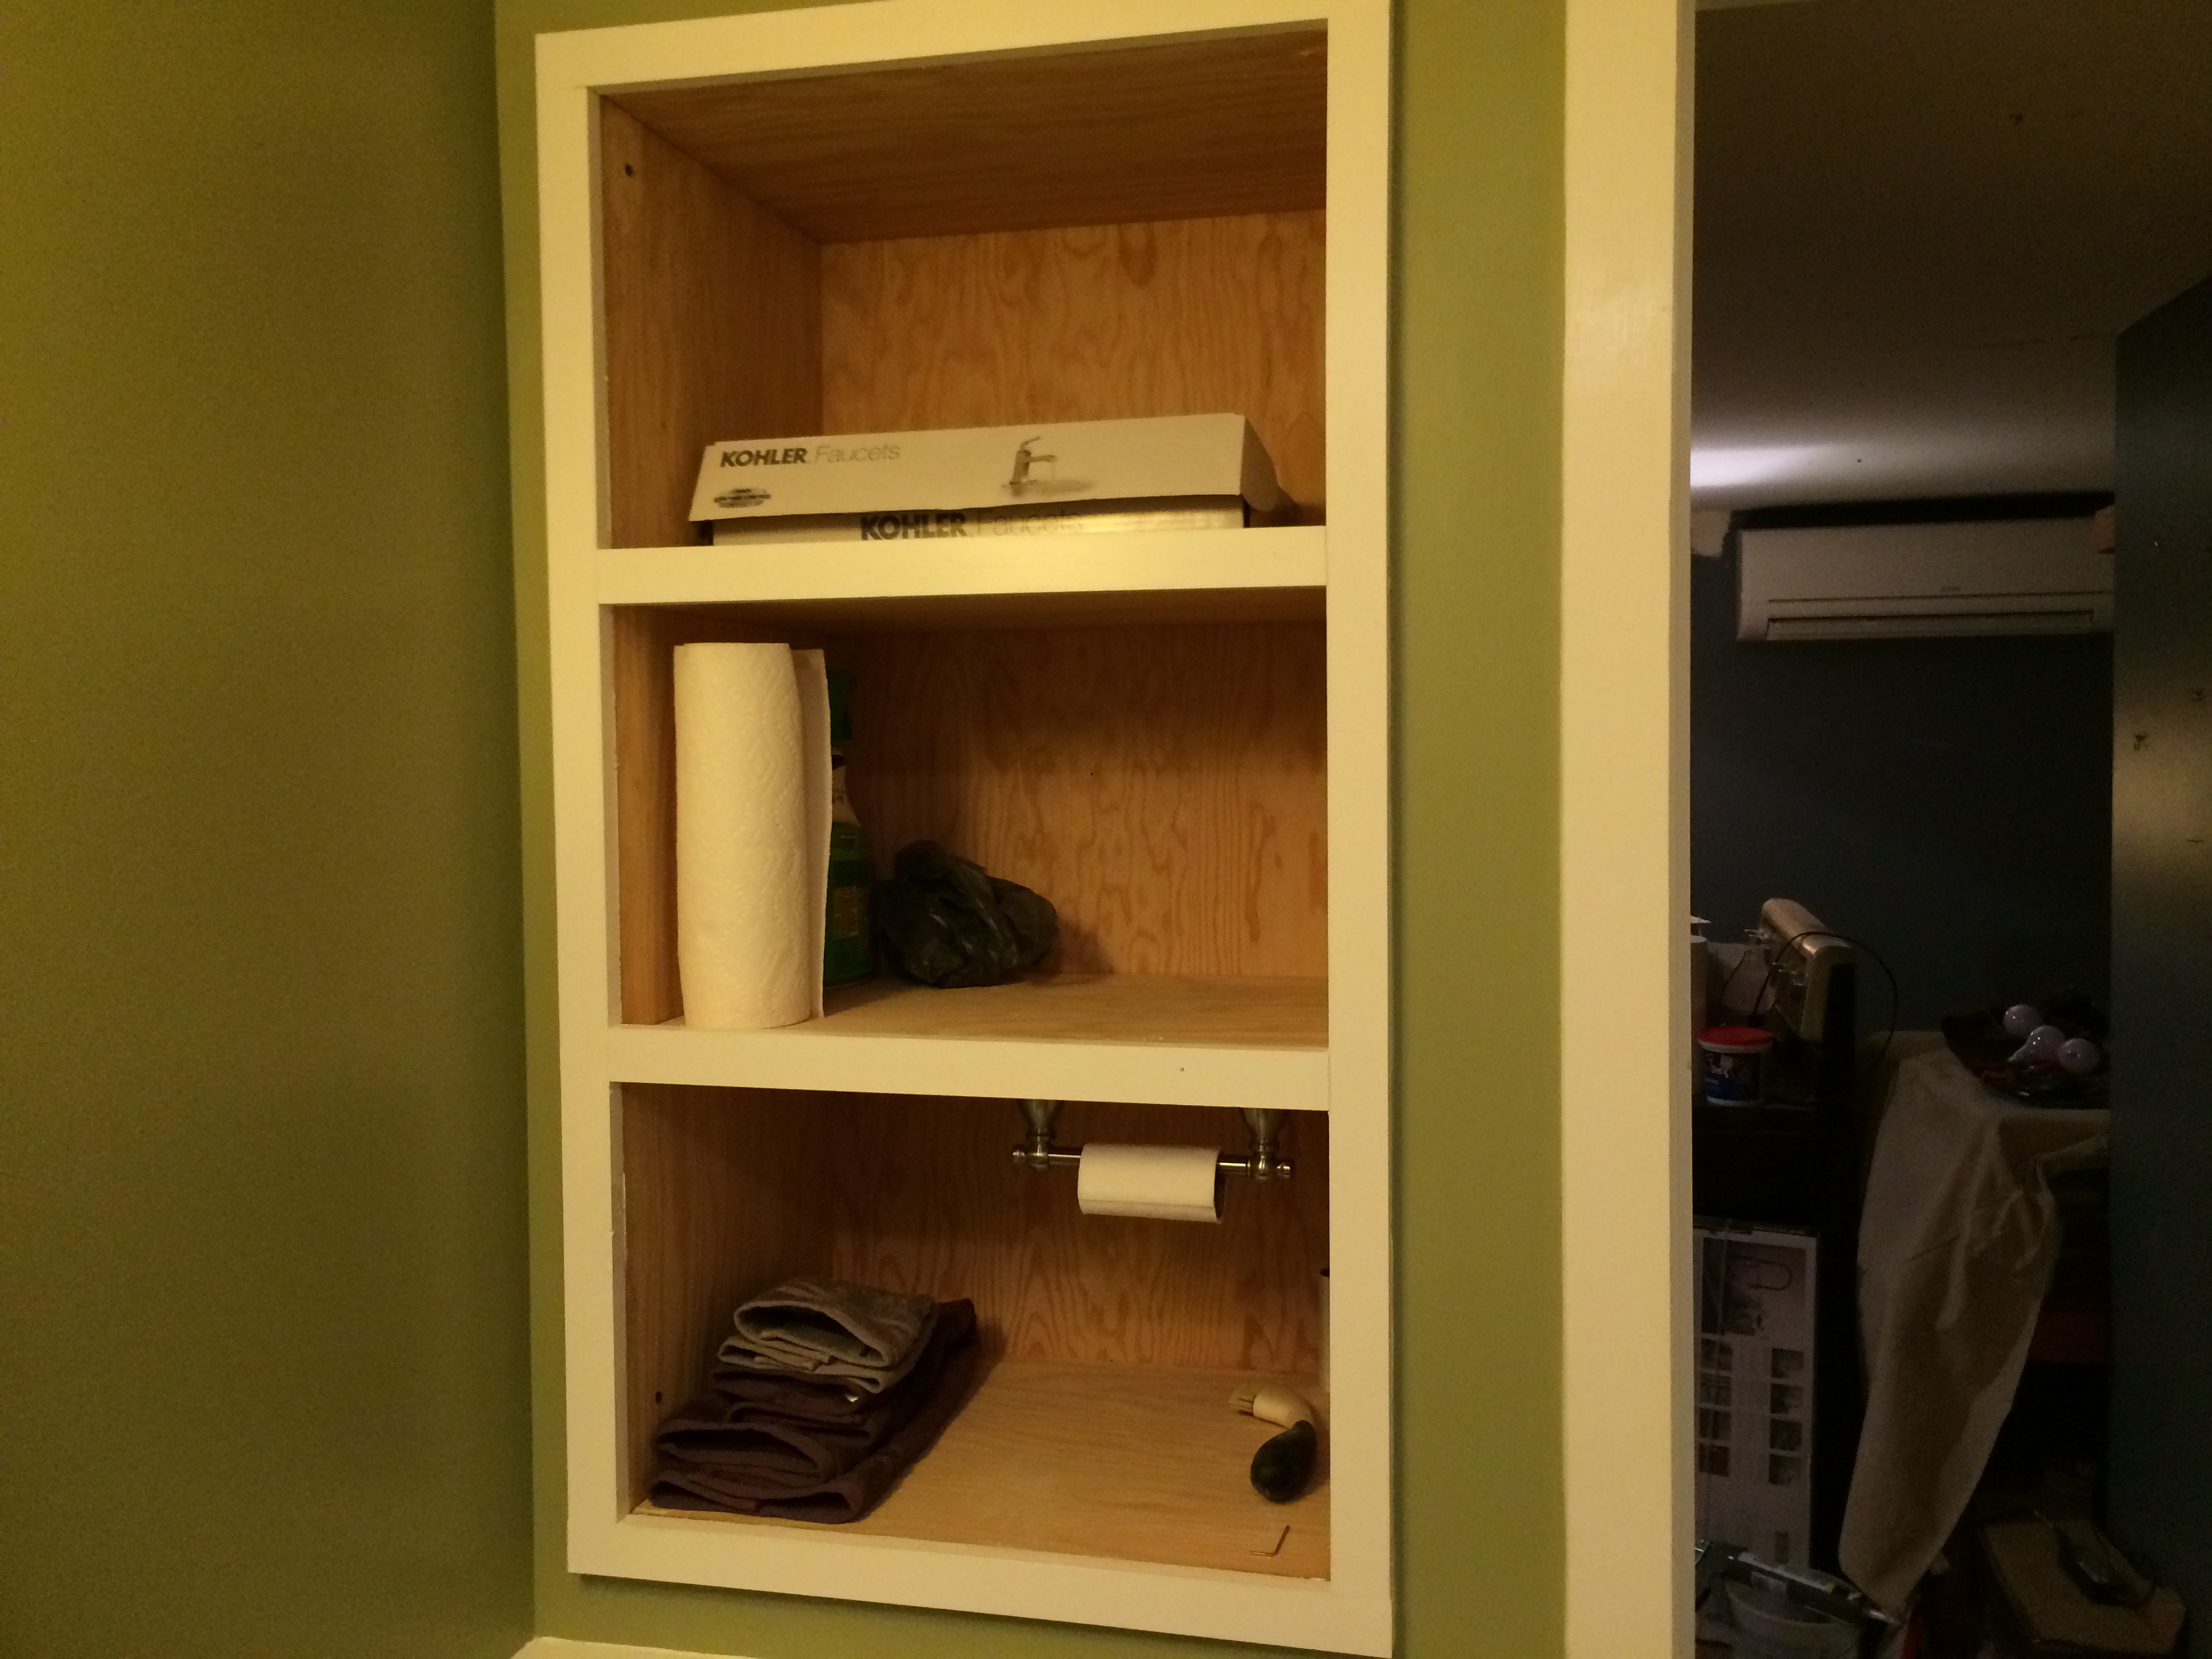
Came home to find an amazingly finished up bathroom! Even Josie approves.
I do need to change the light bulbs, again. The original 100 watt ones above the vanity were way too bright for the small room. These LED ones I tried are way to warm (yellow) but probably right wattage (60 watt equivalent).