Tuesday, September 8, 2020

08 September 2020 -- It moved!

Took most of the day off from work, except for a couple meetings I had previously accepted.

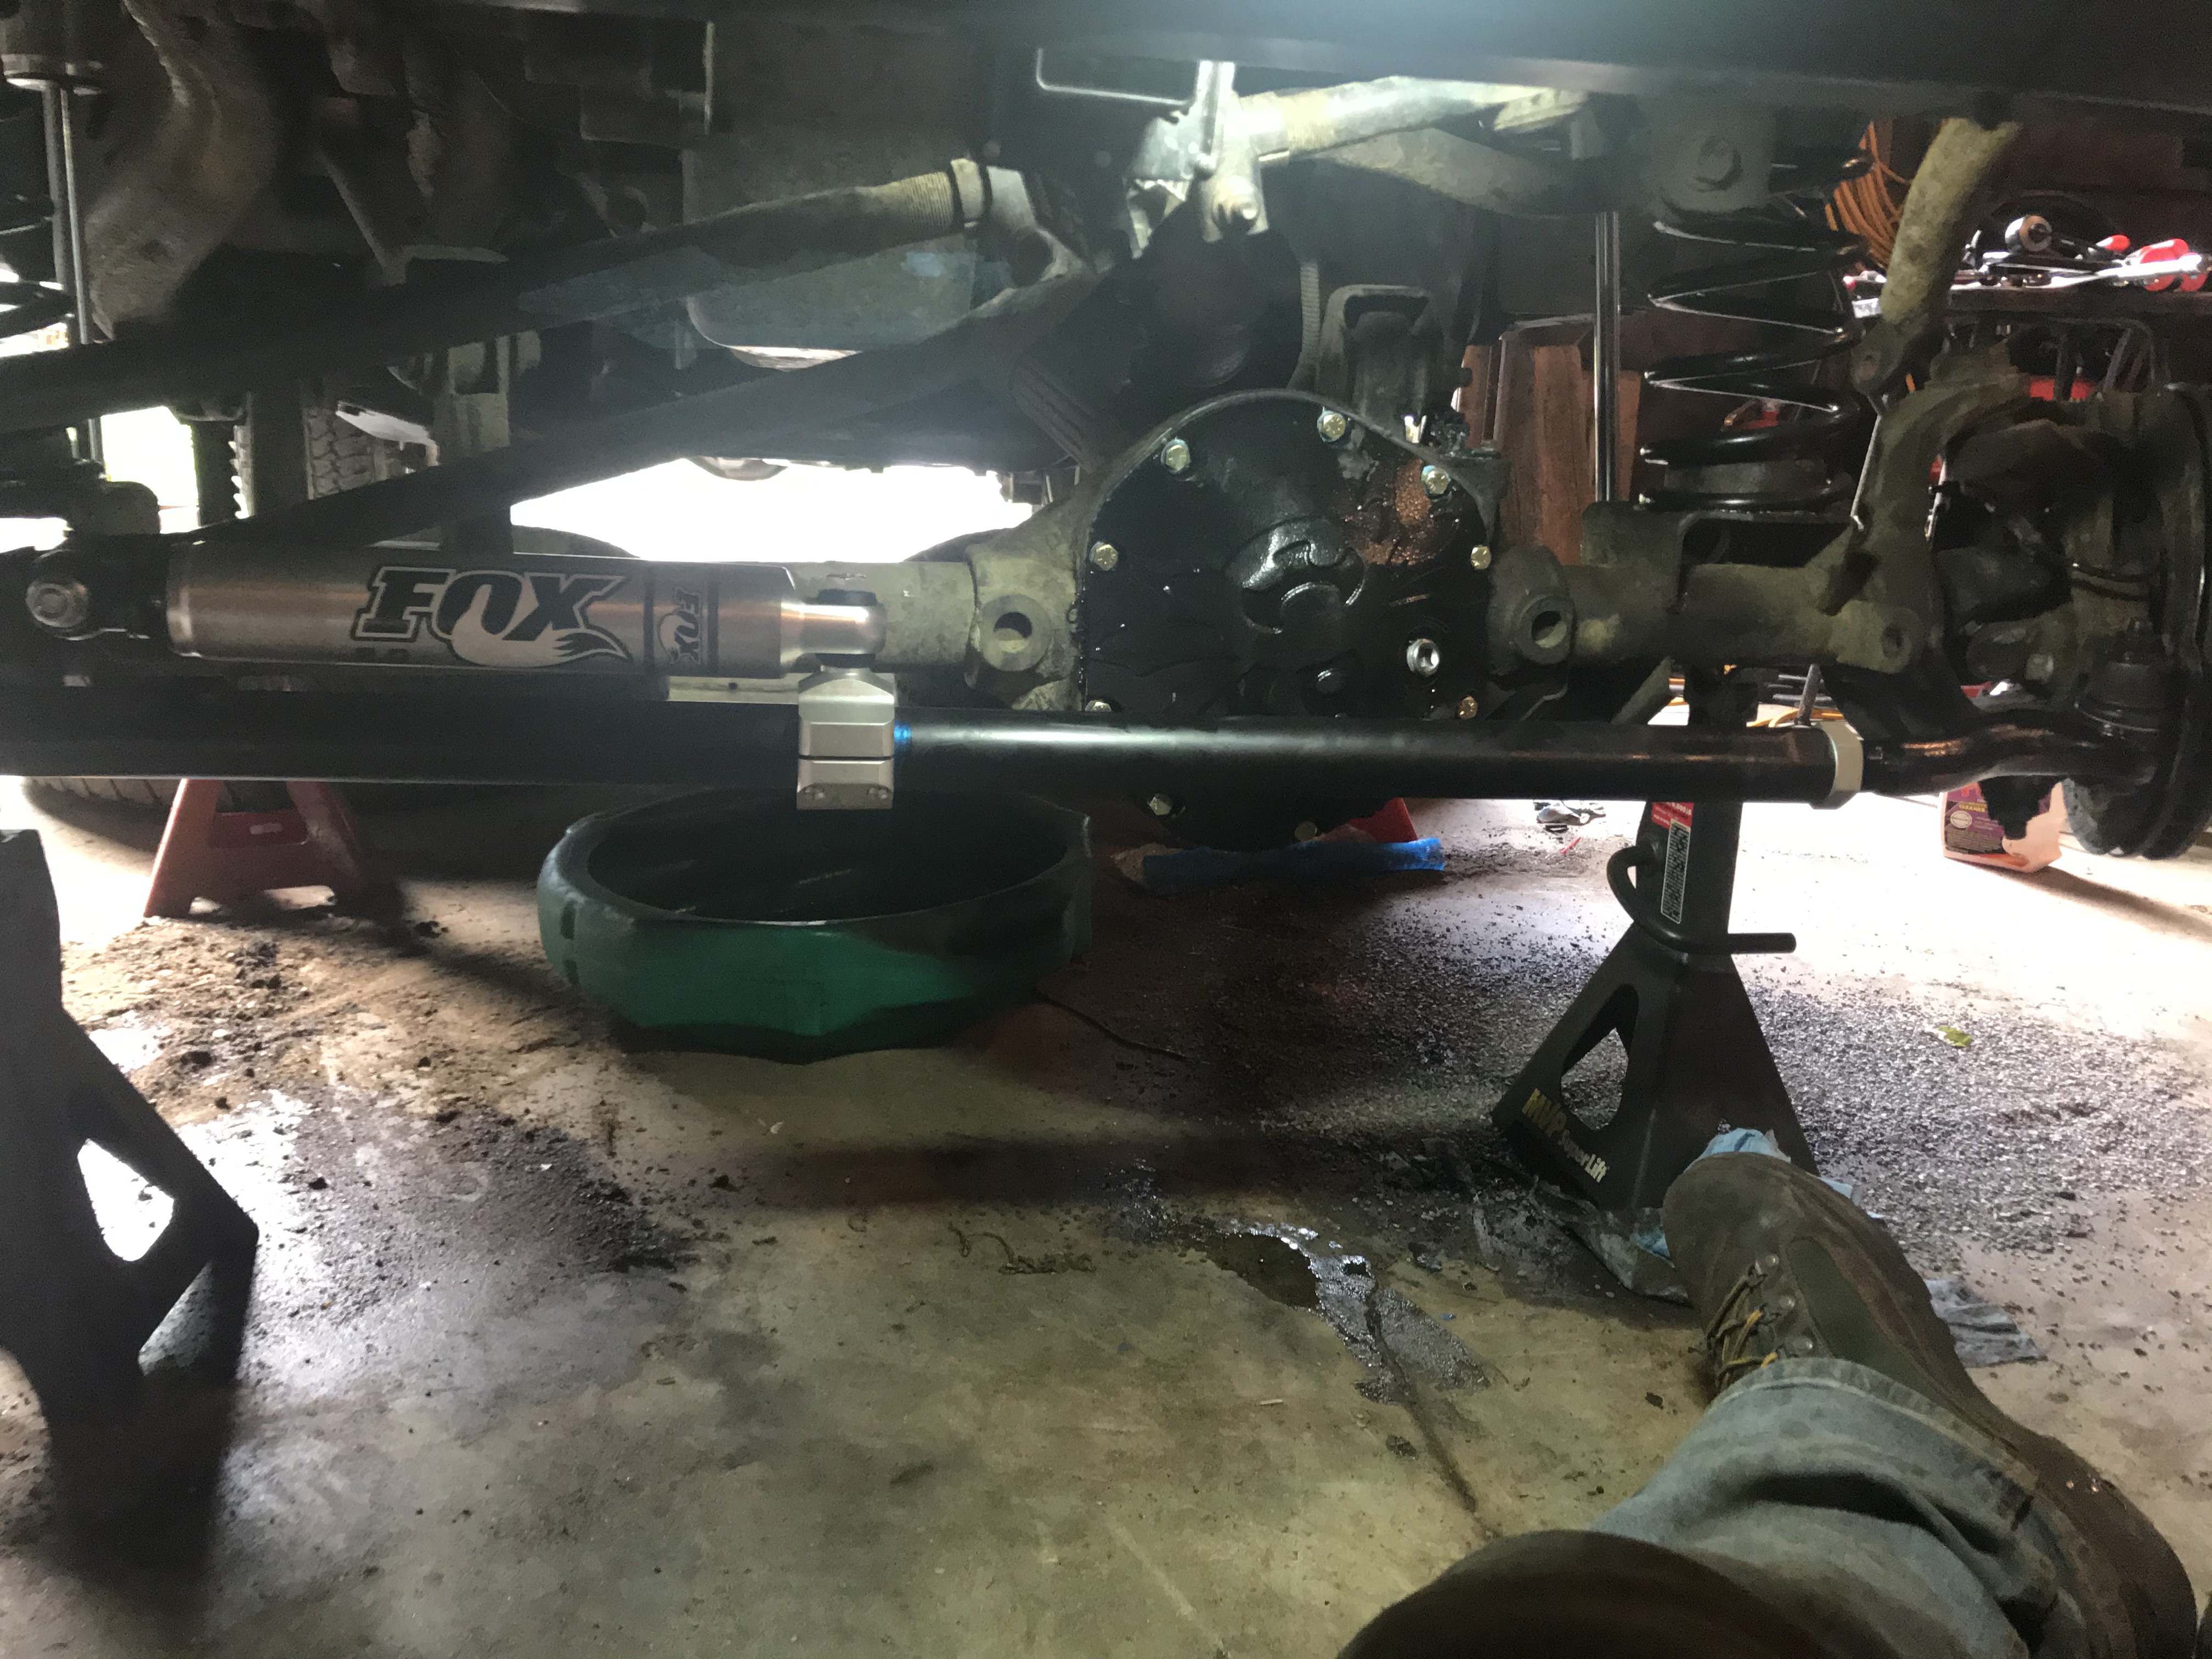
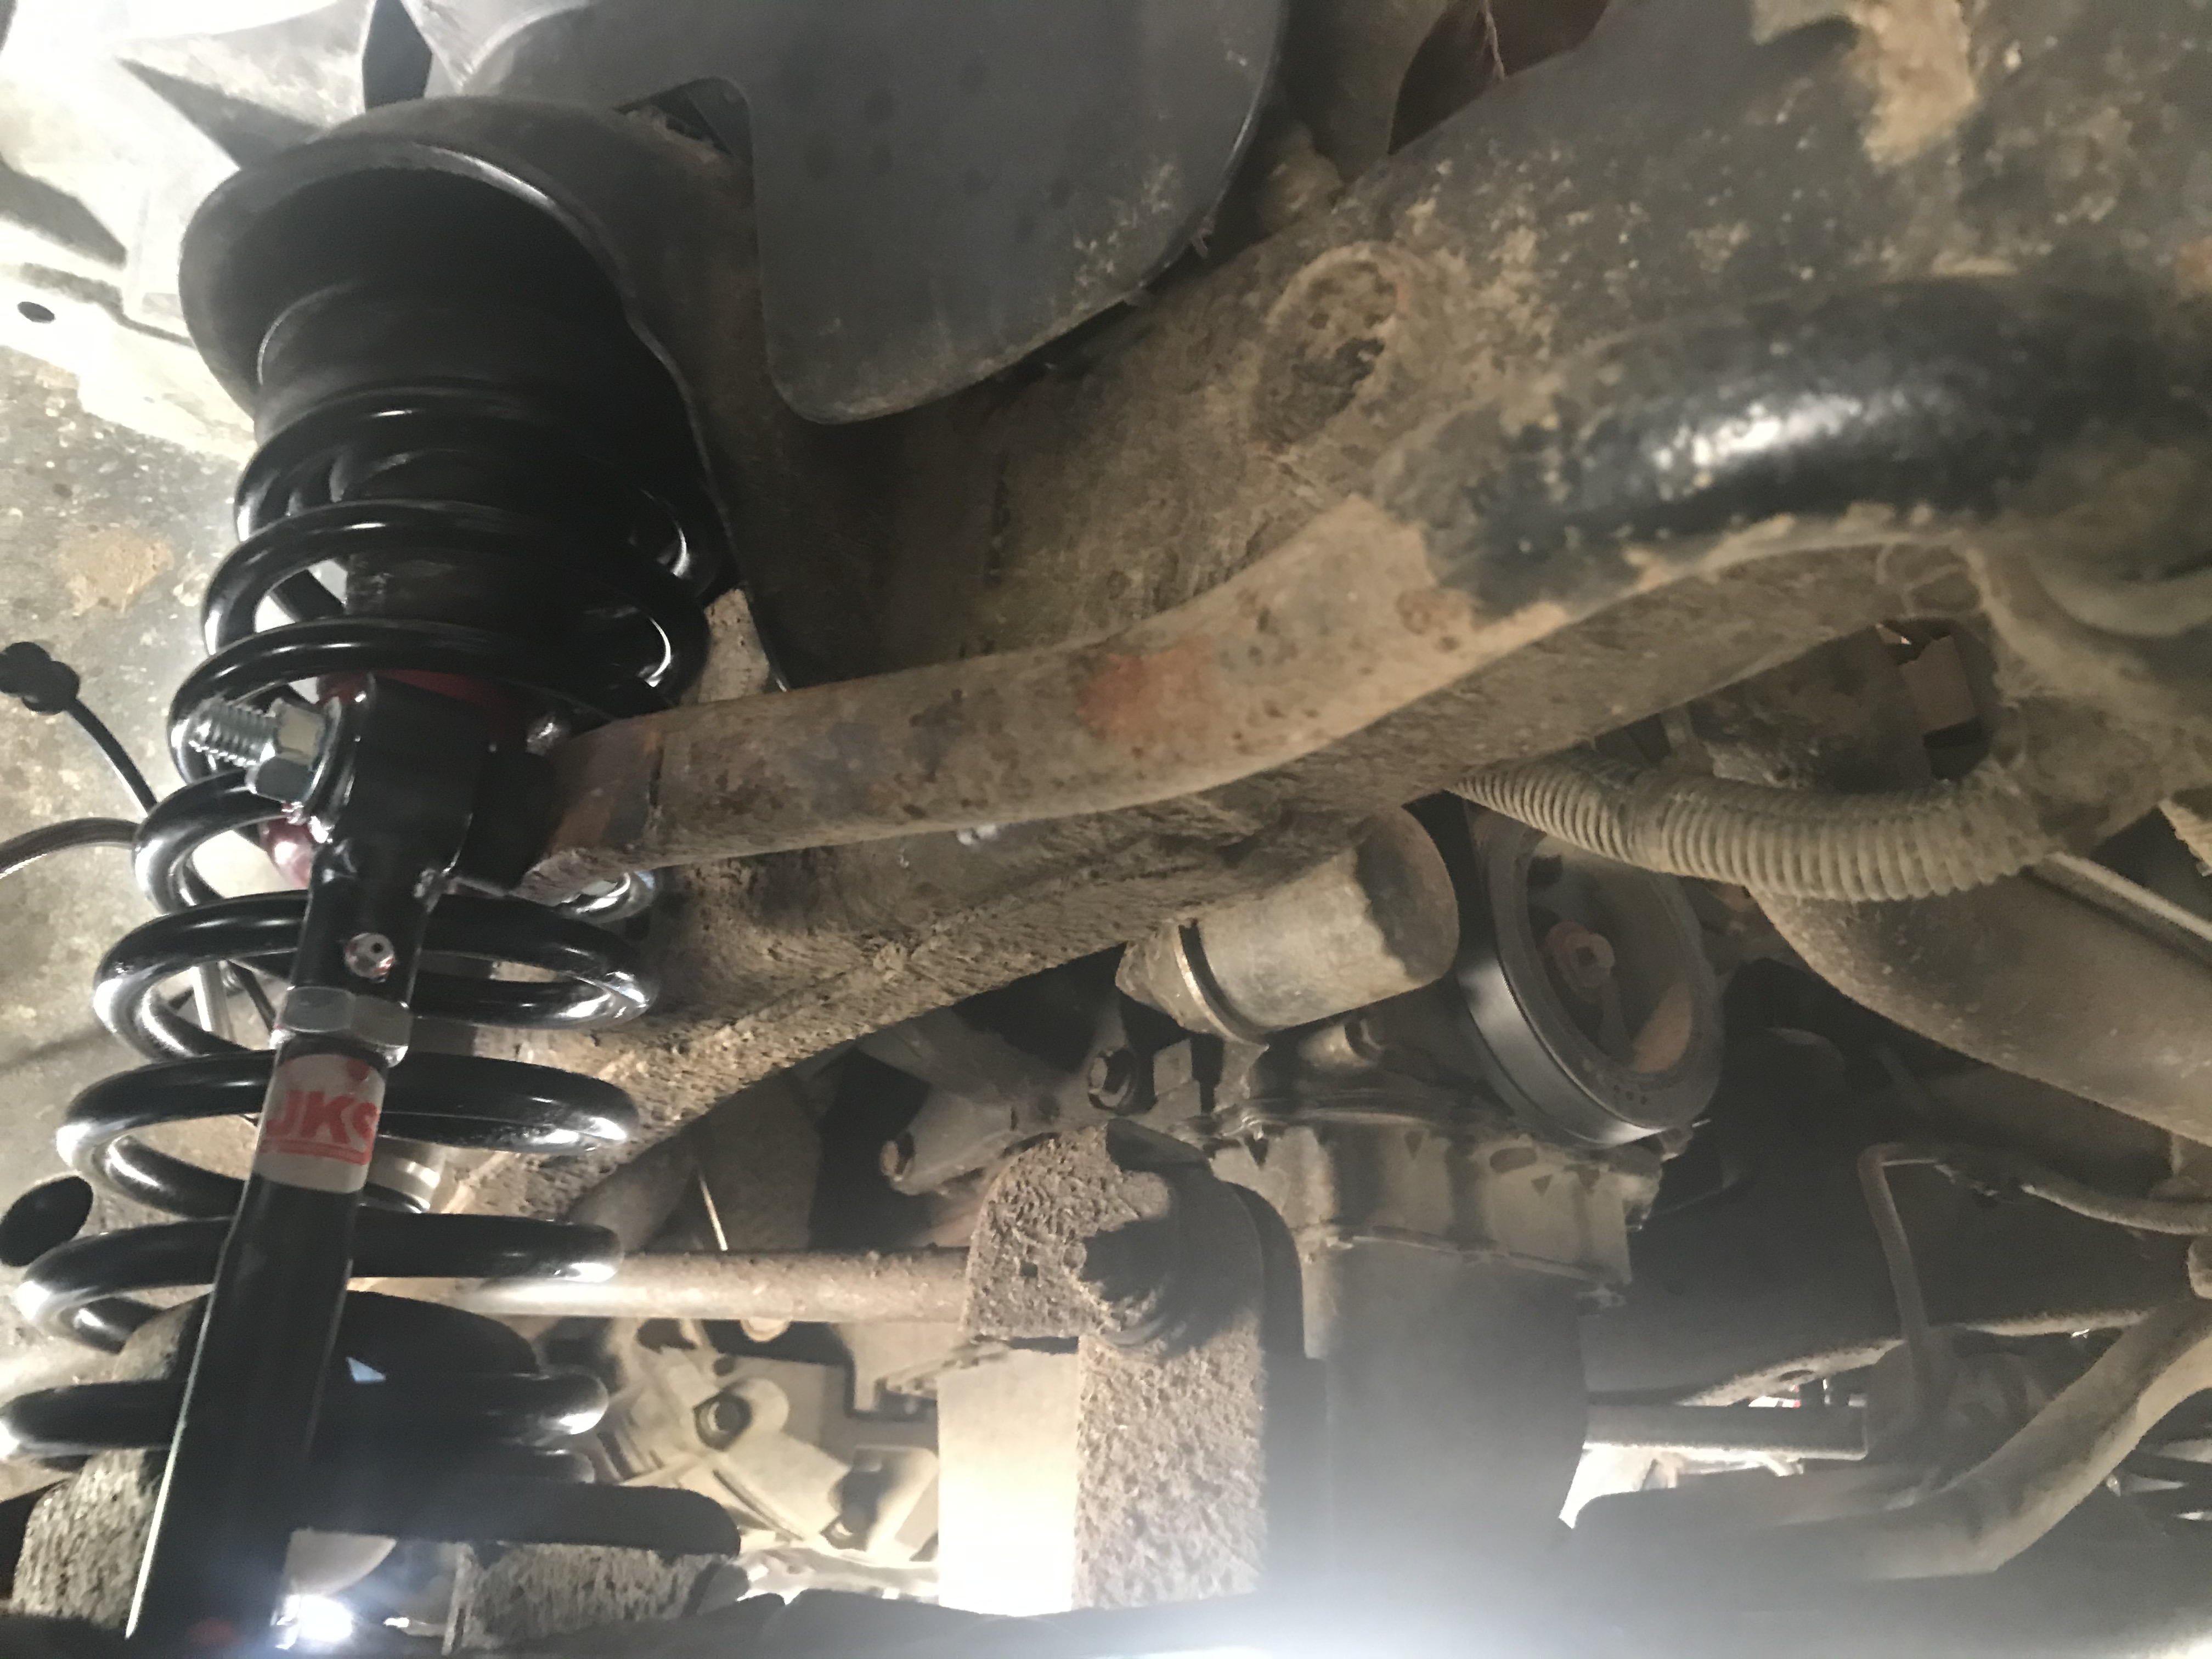
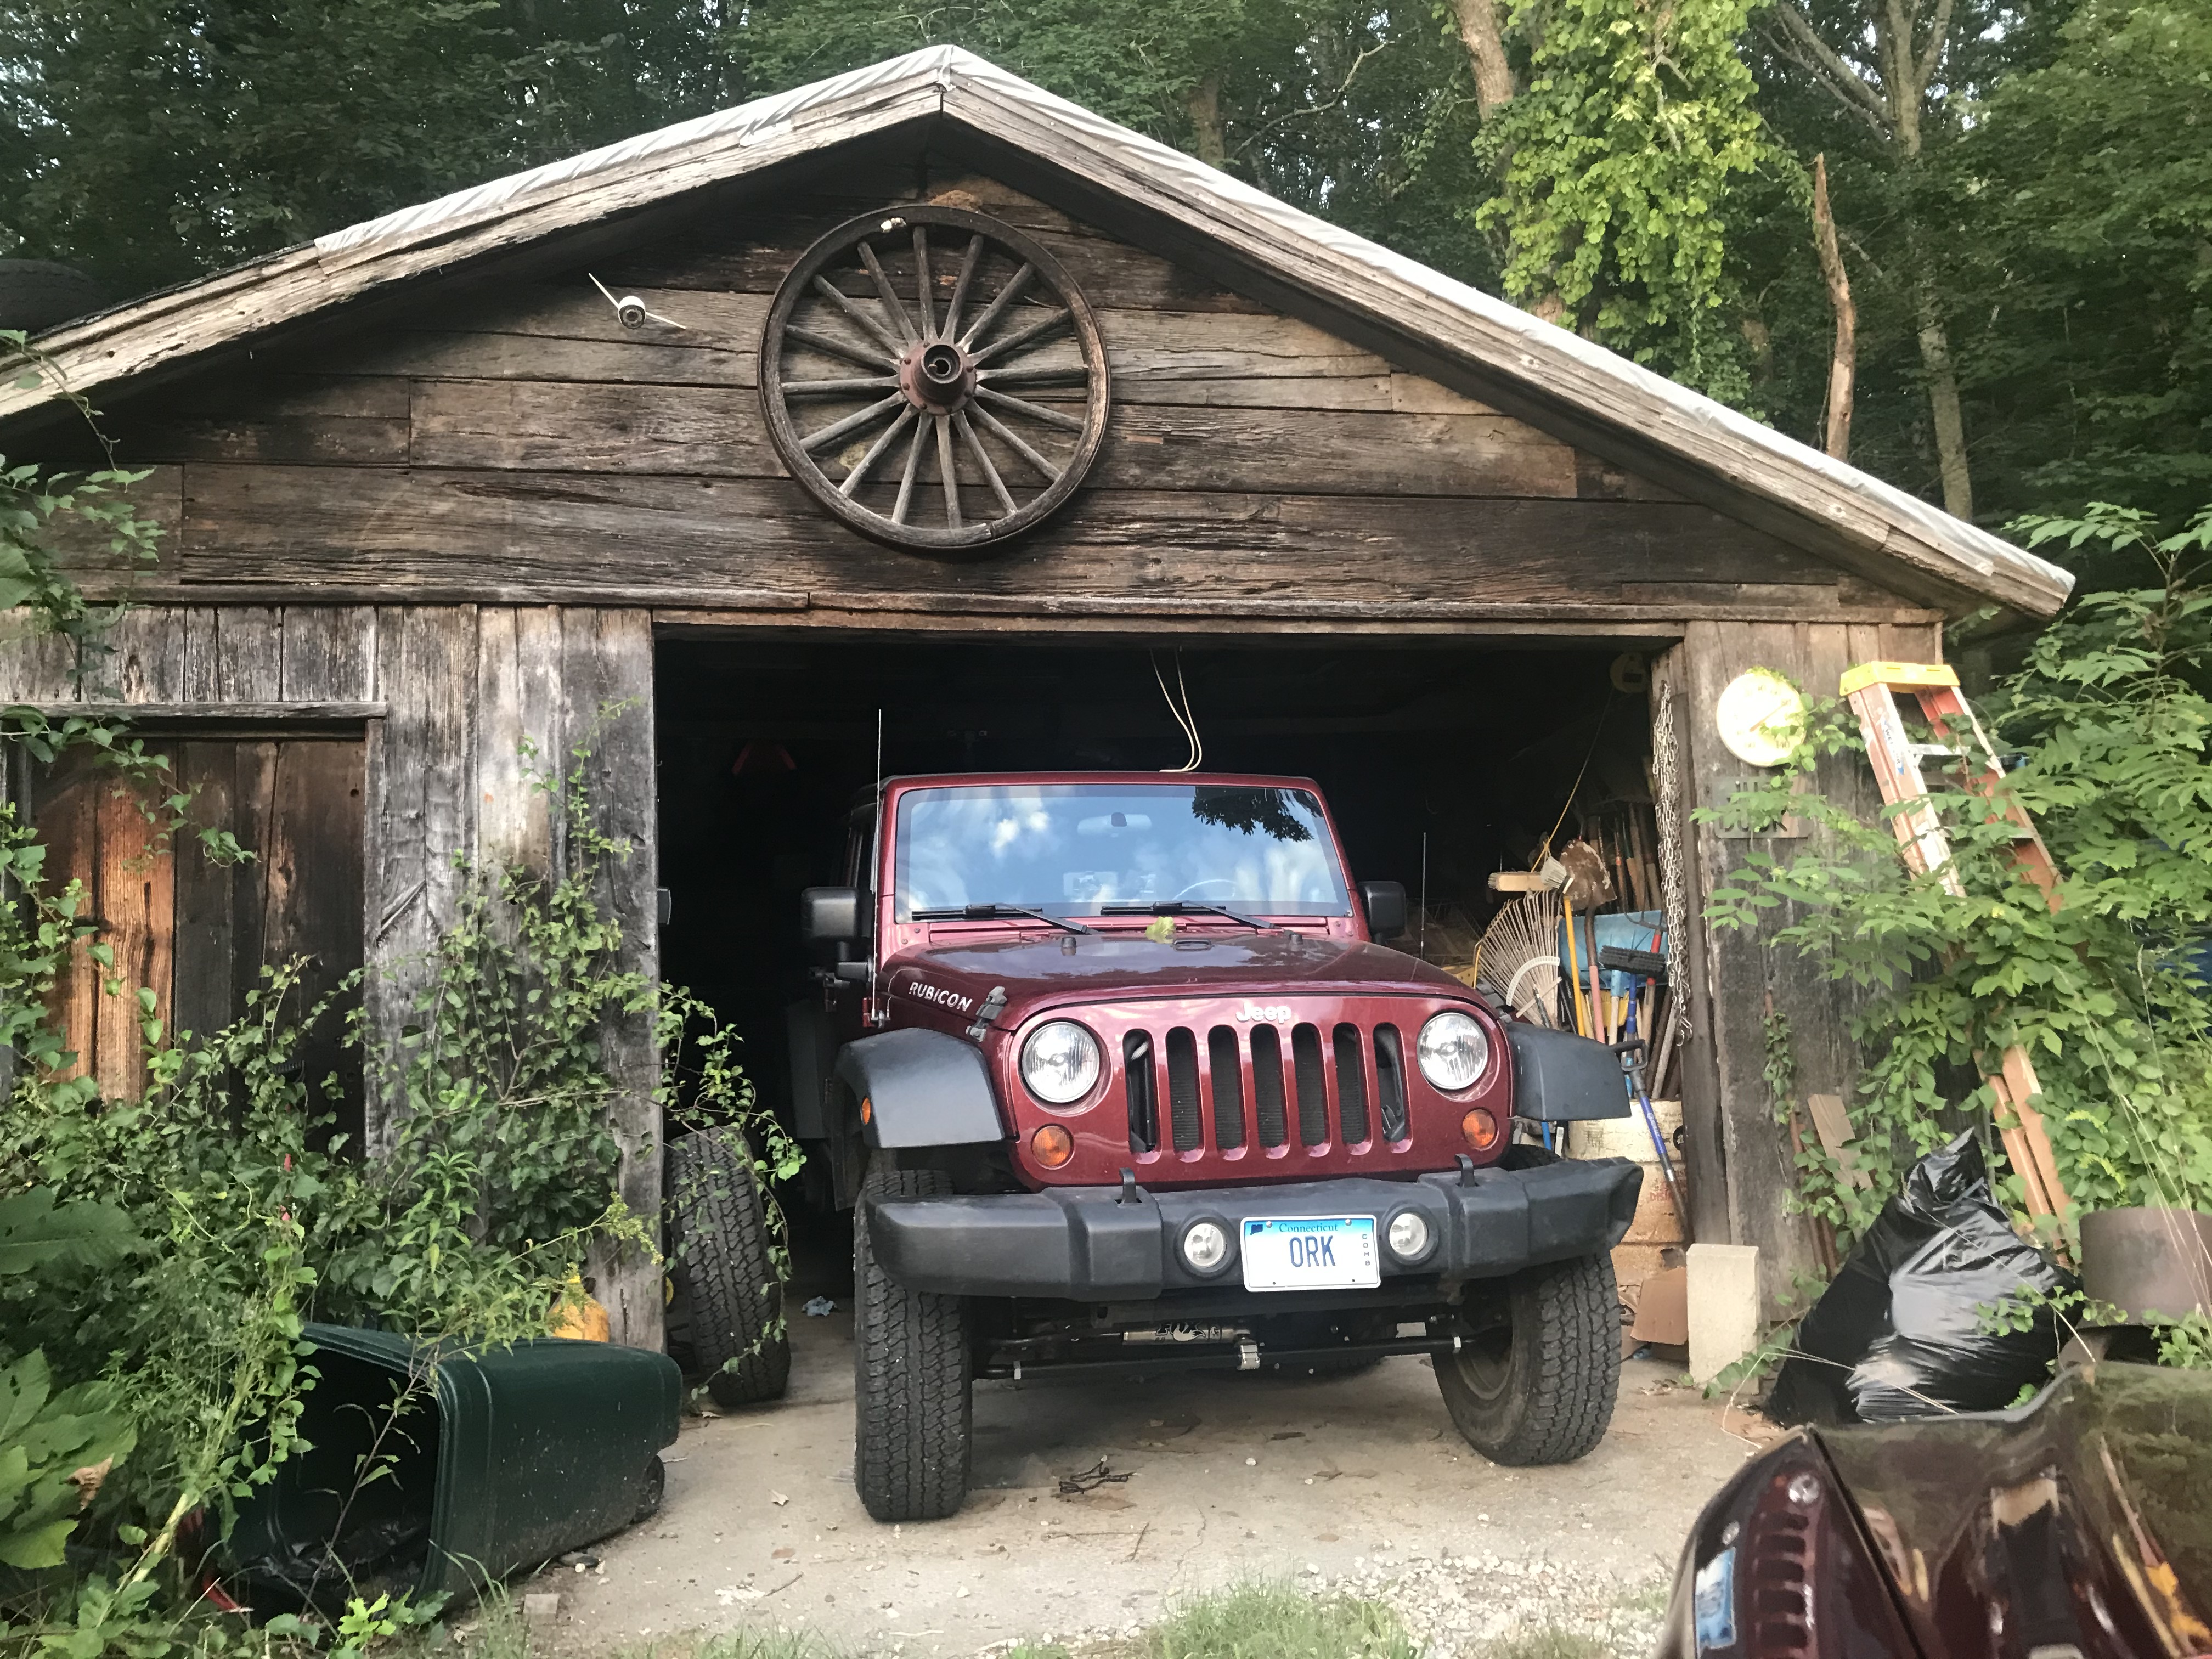
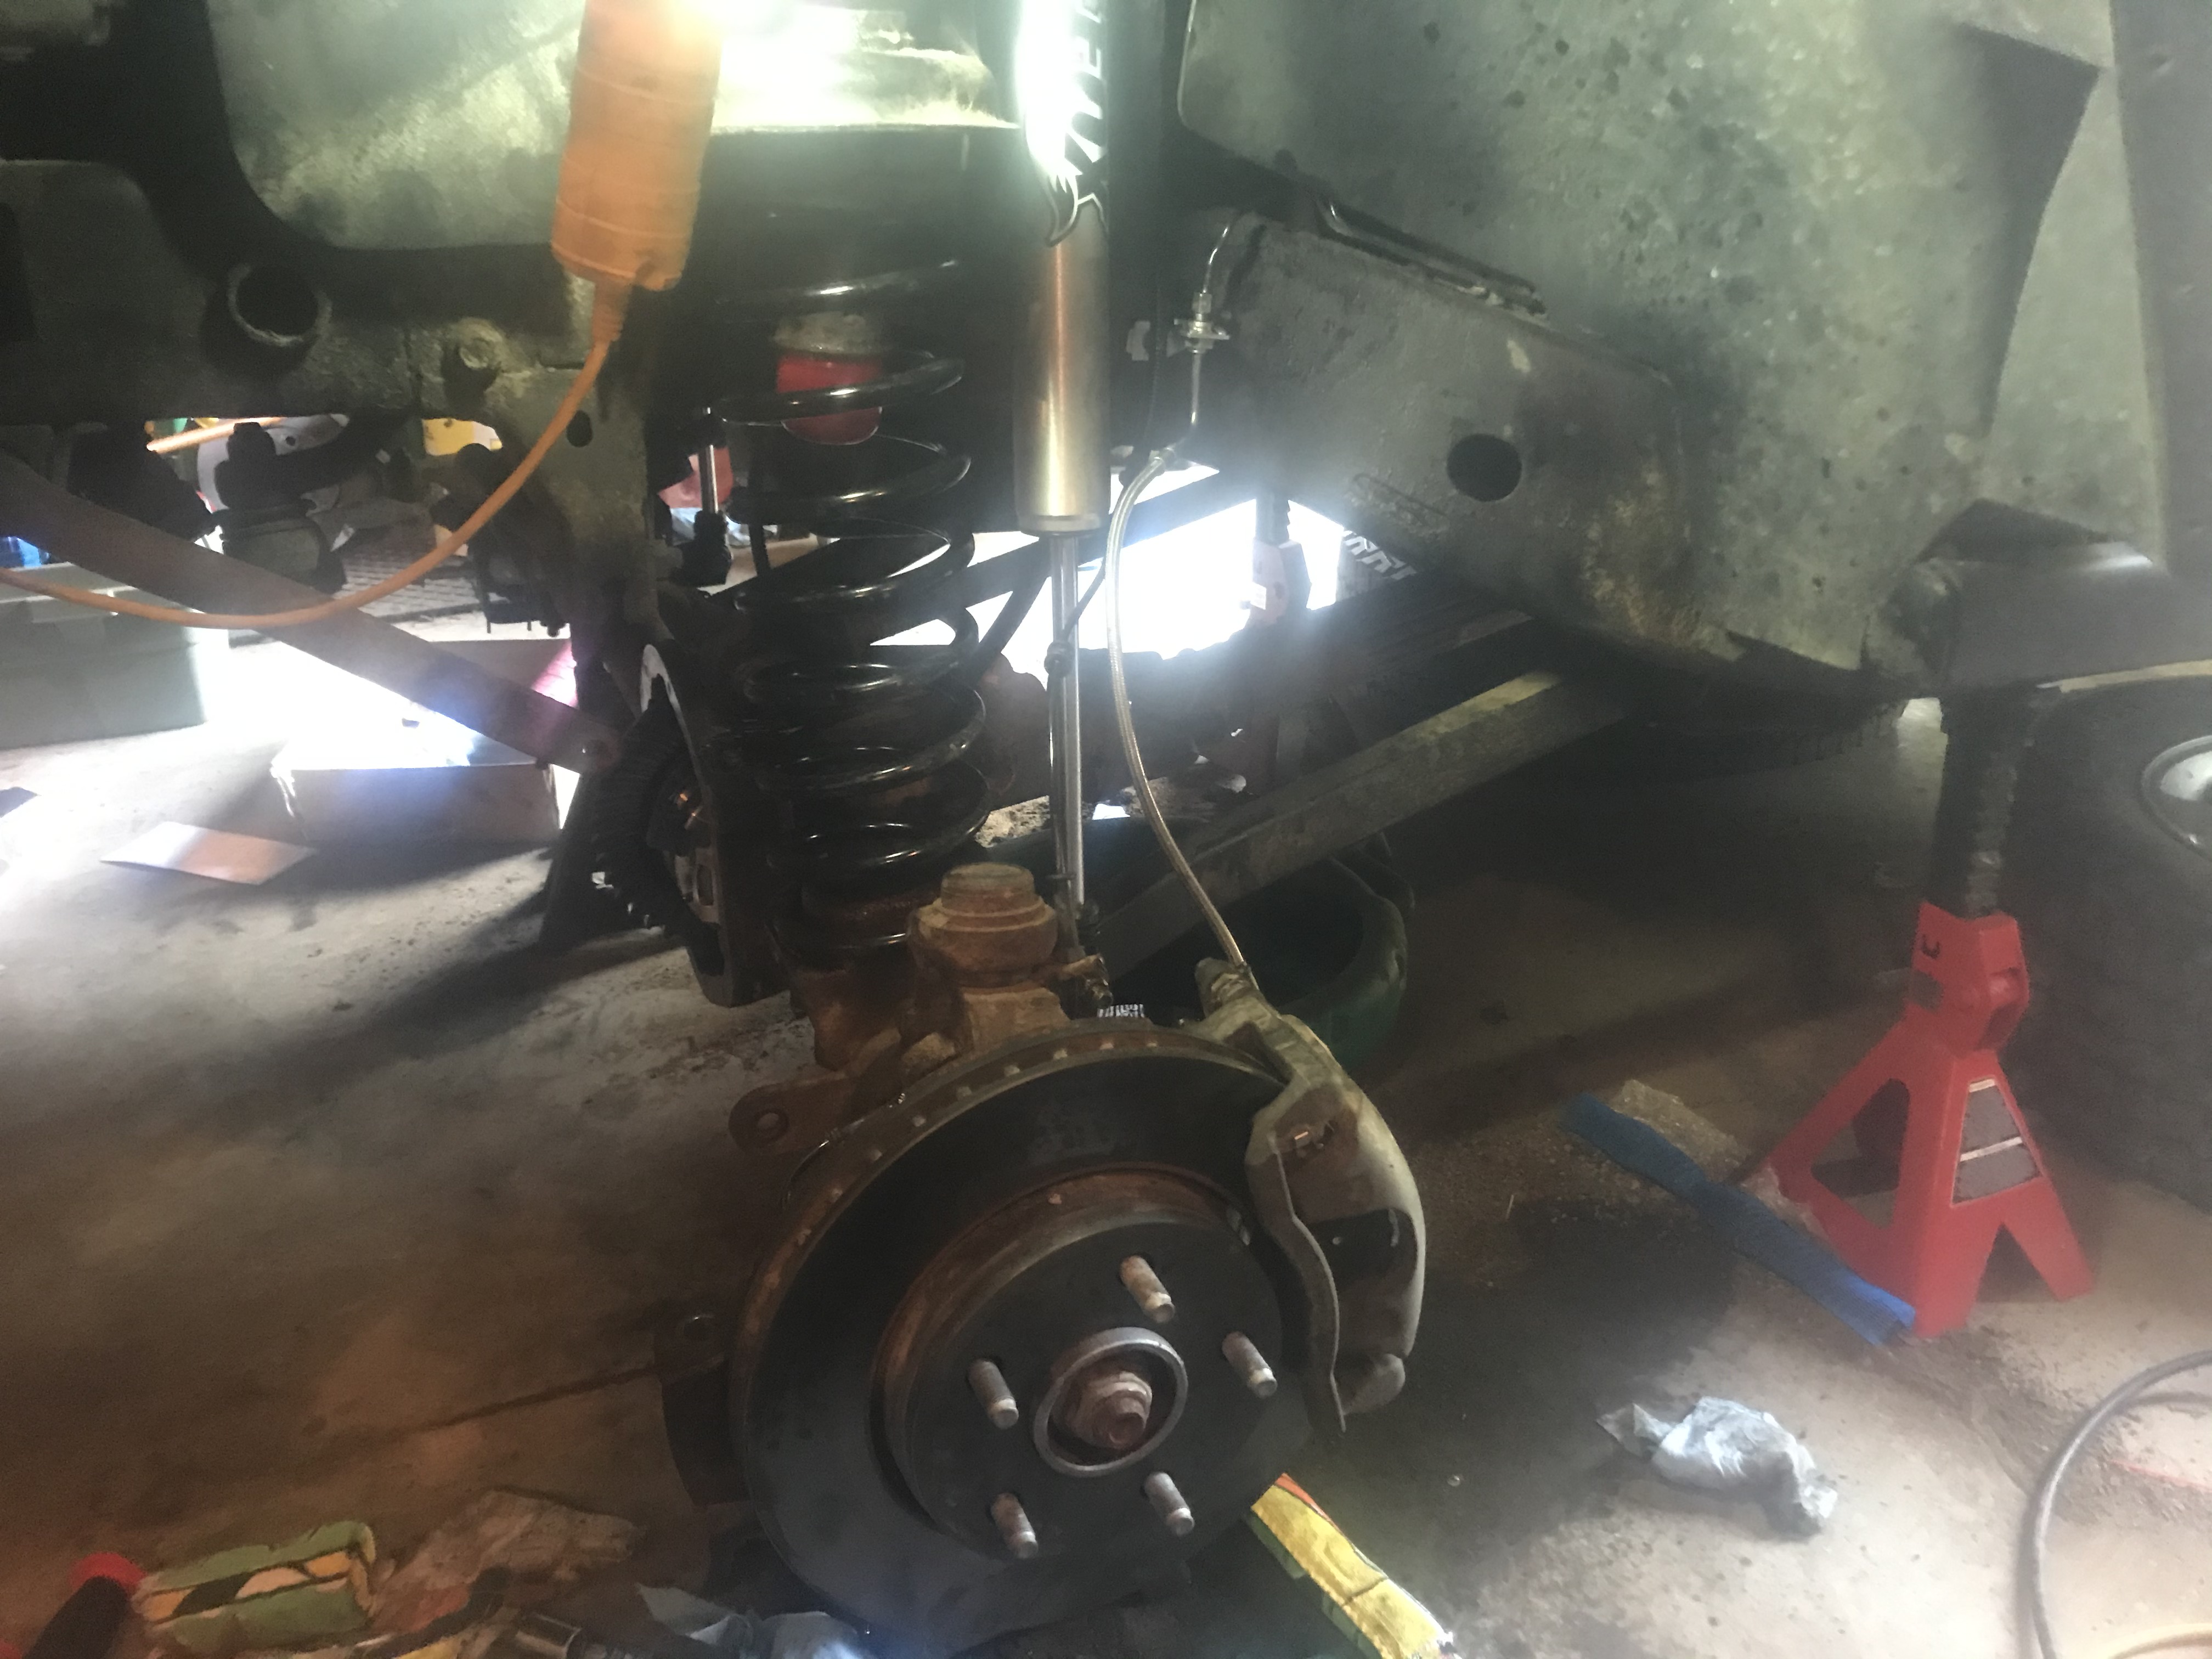
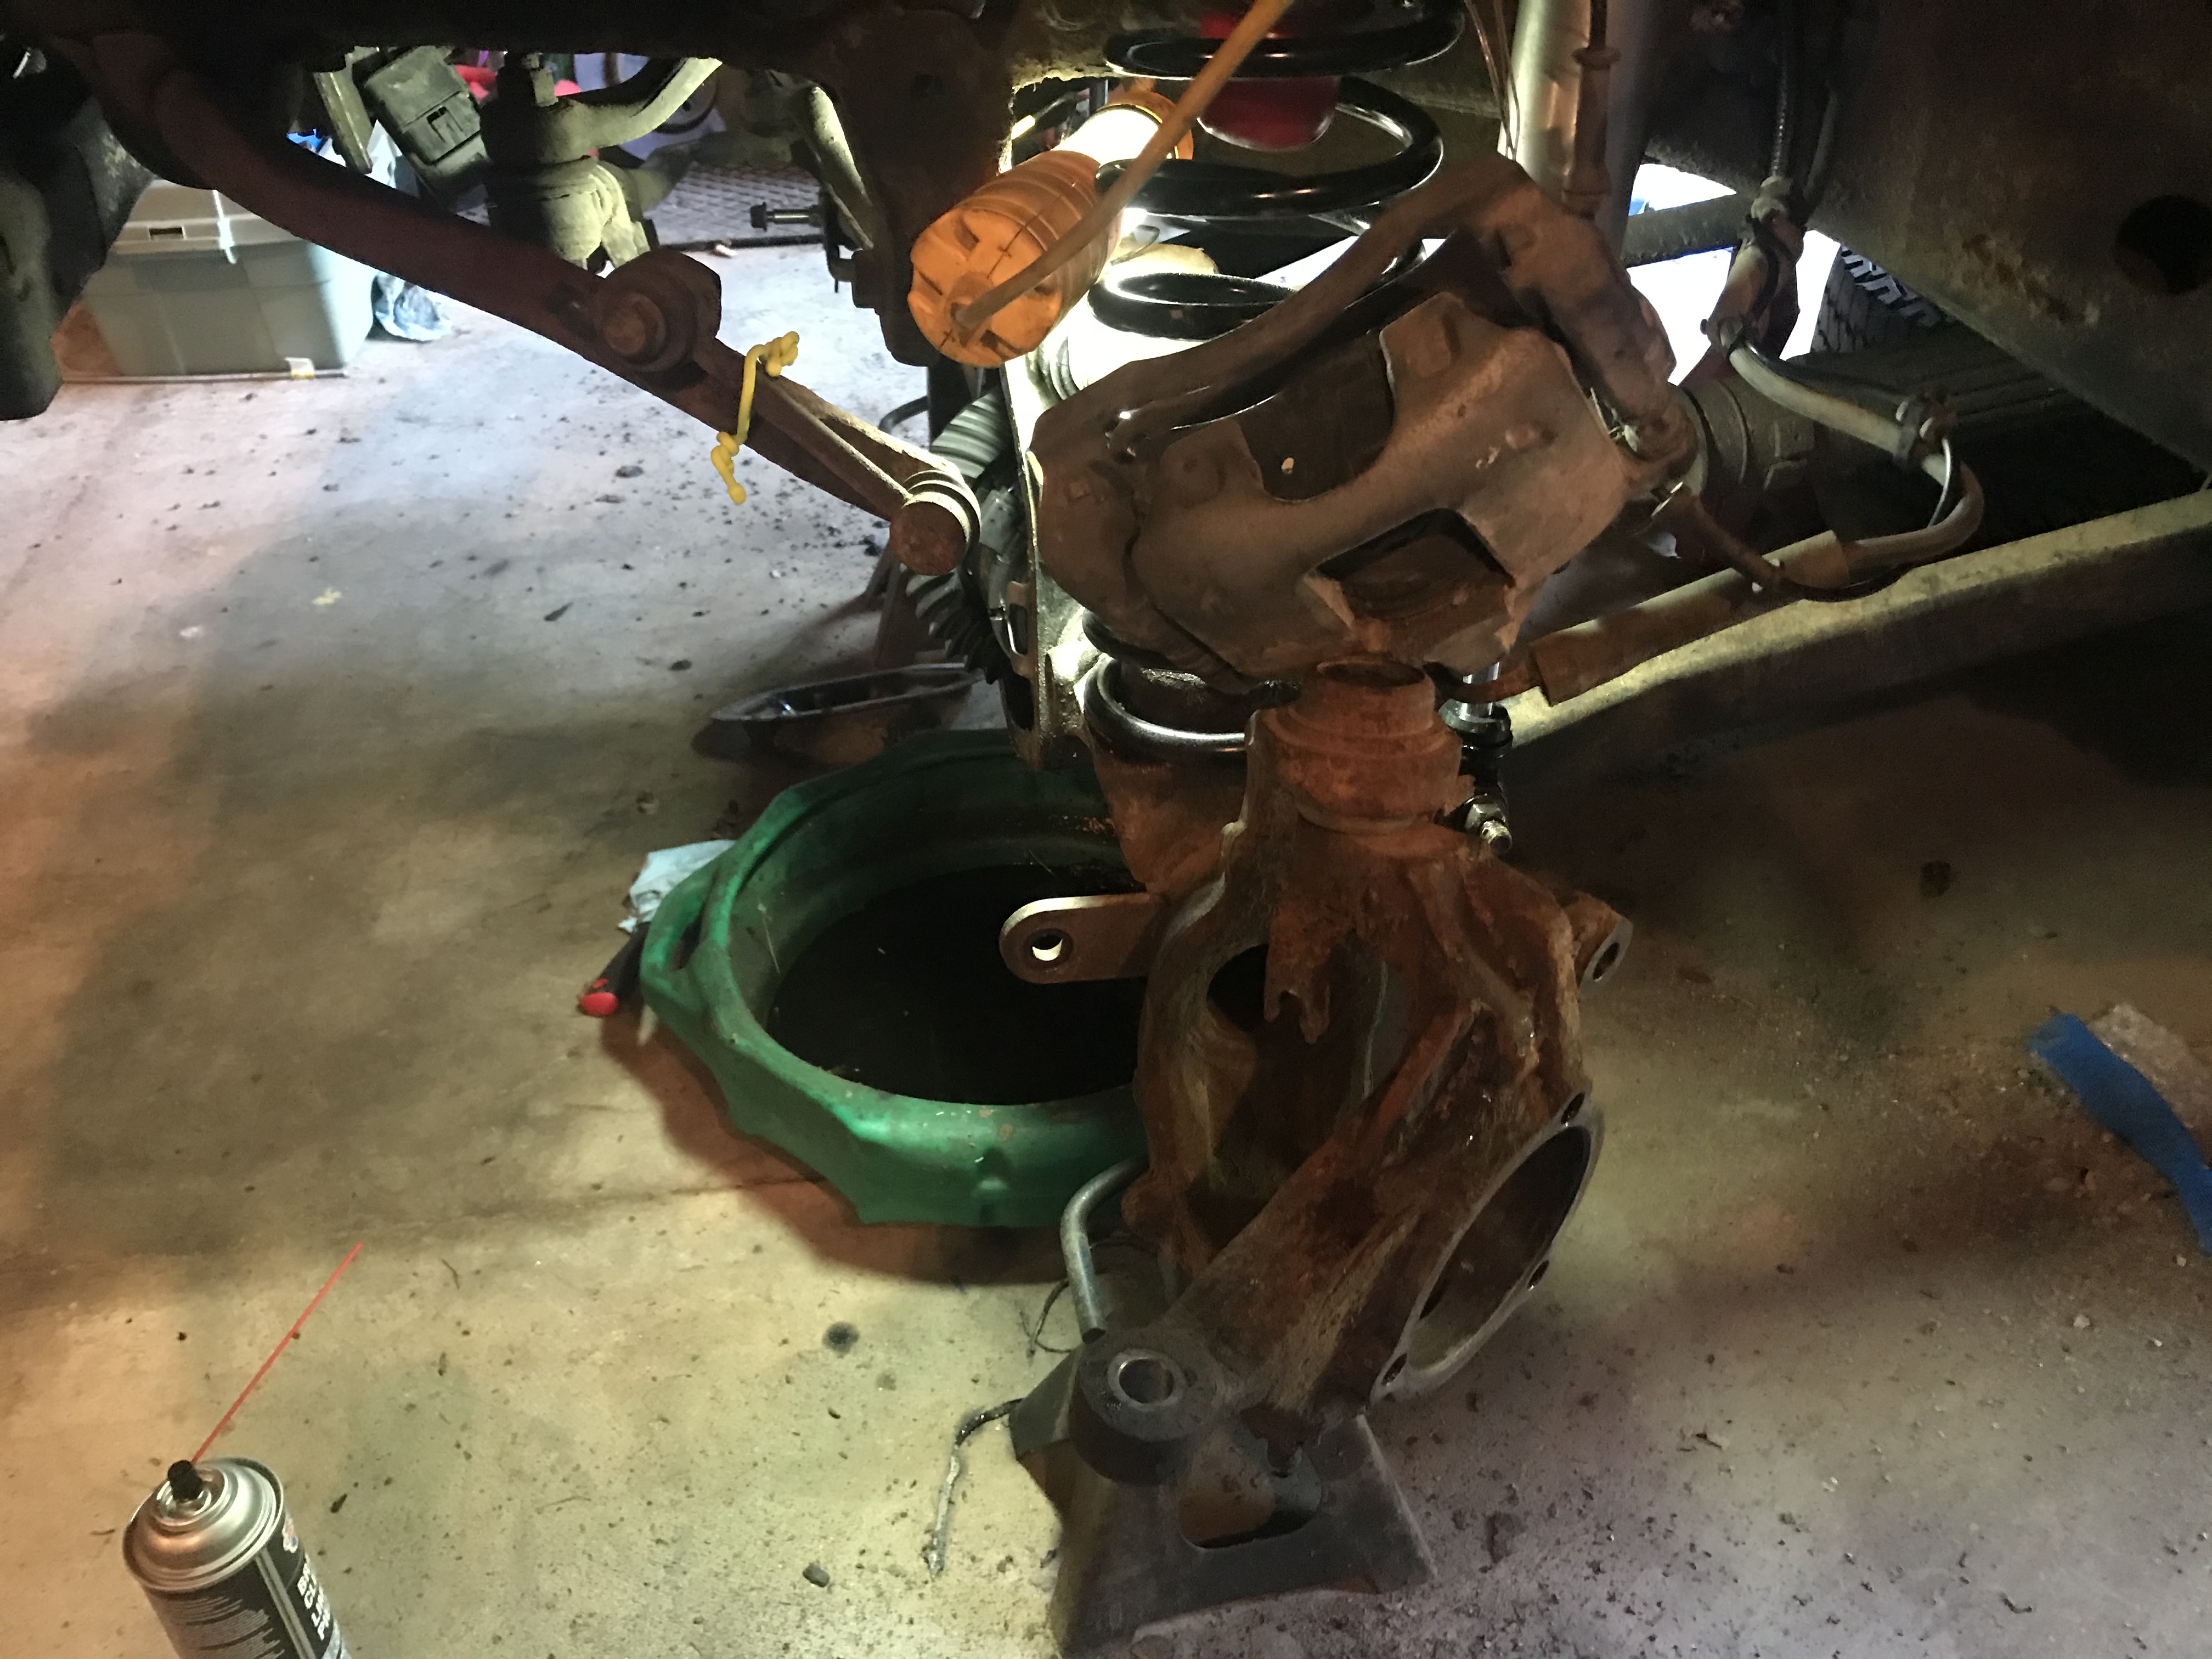
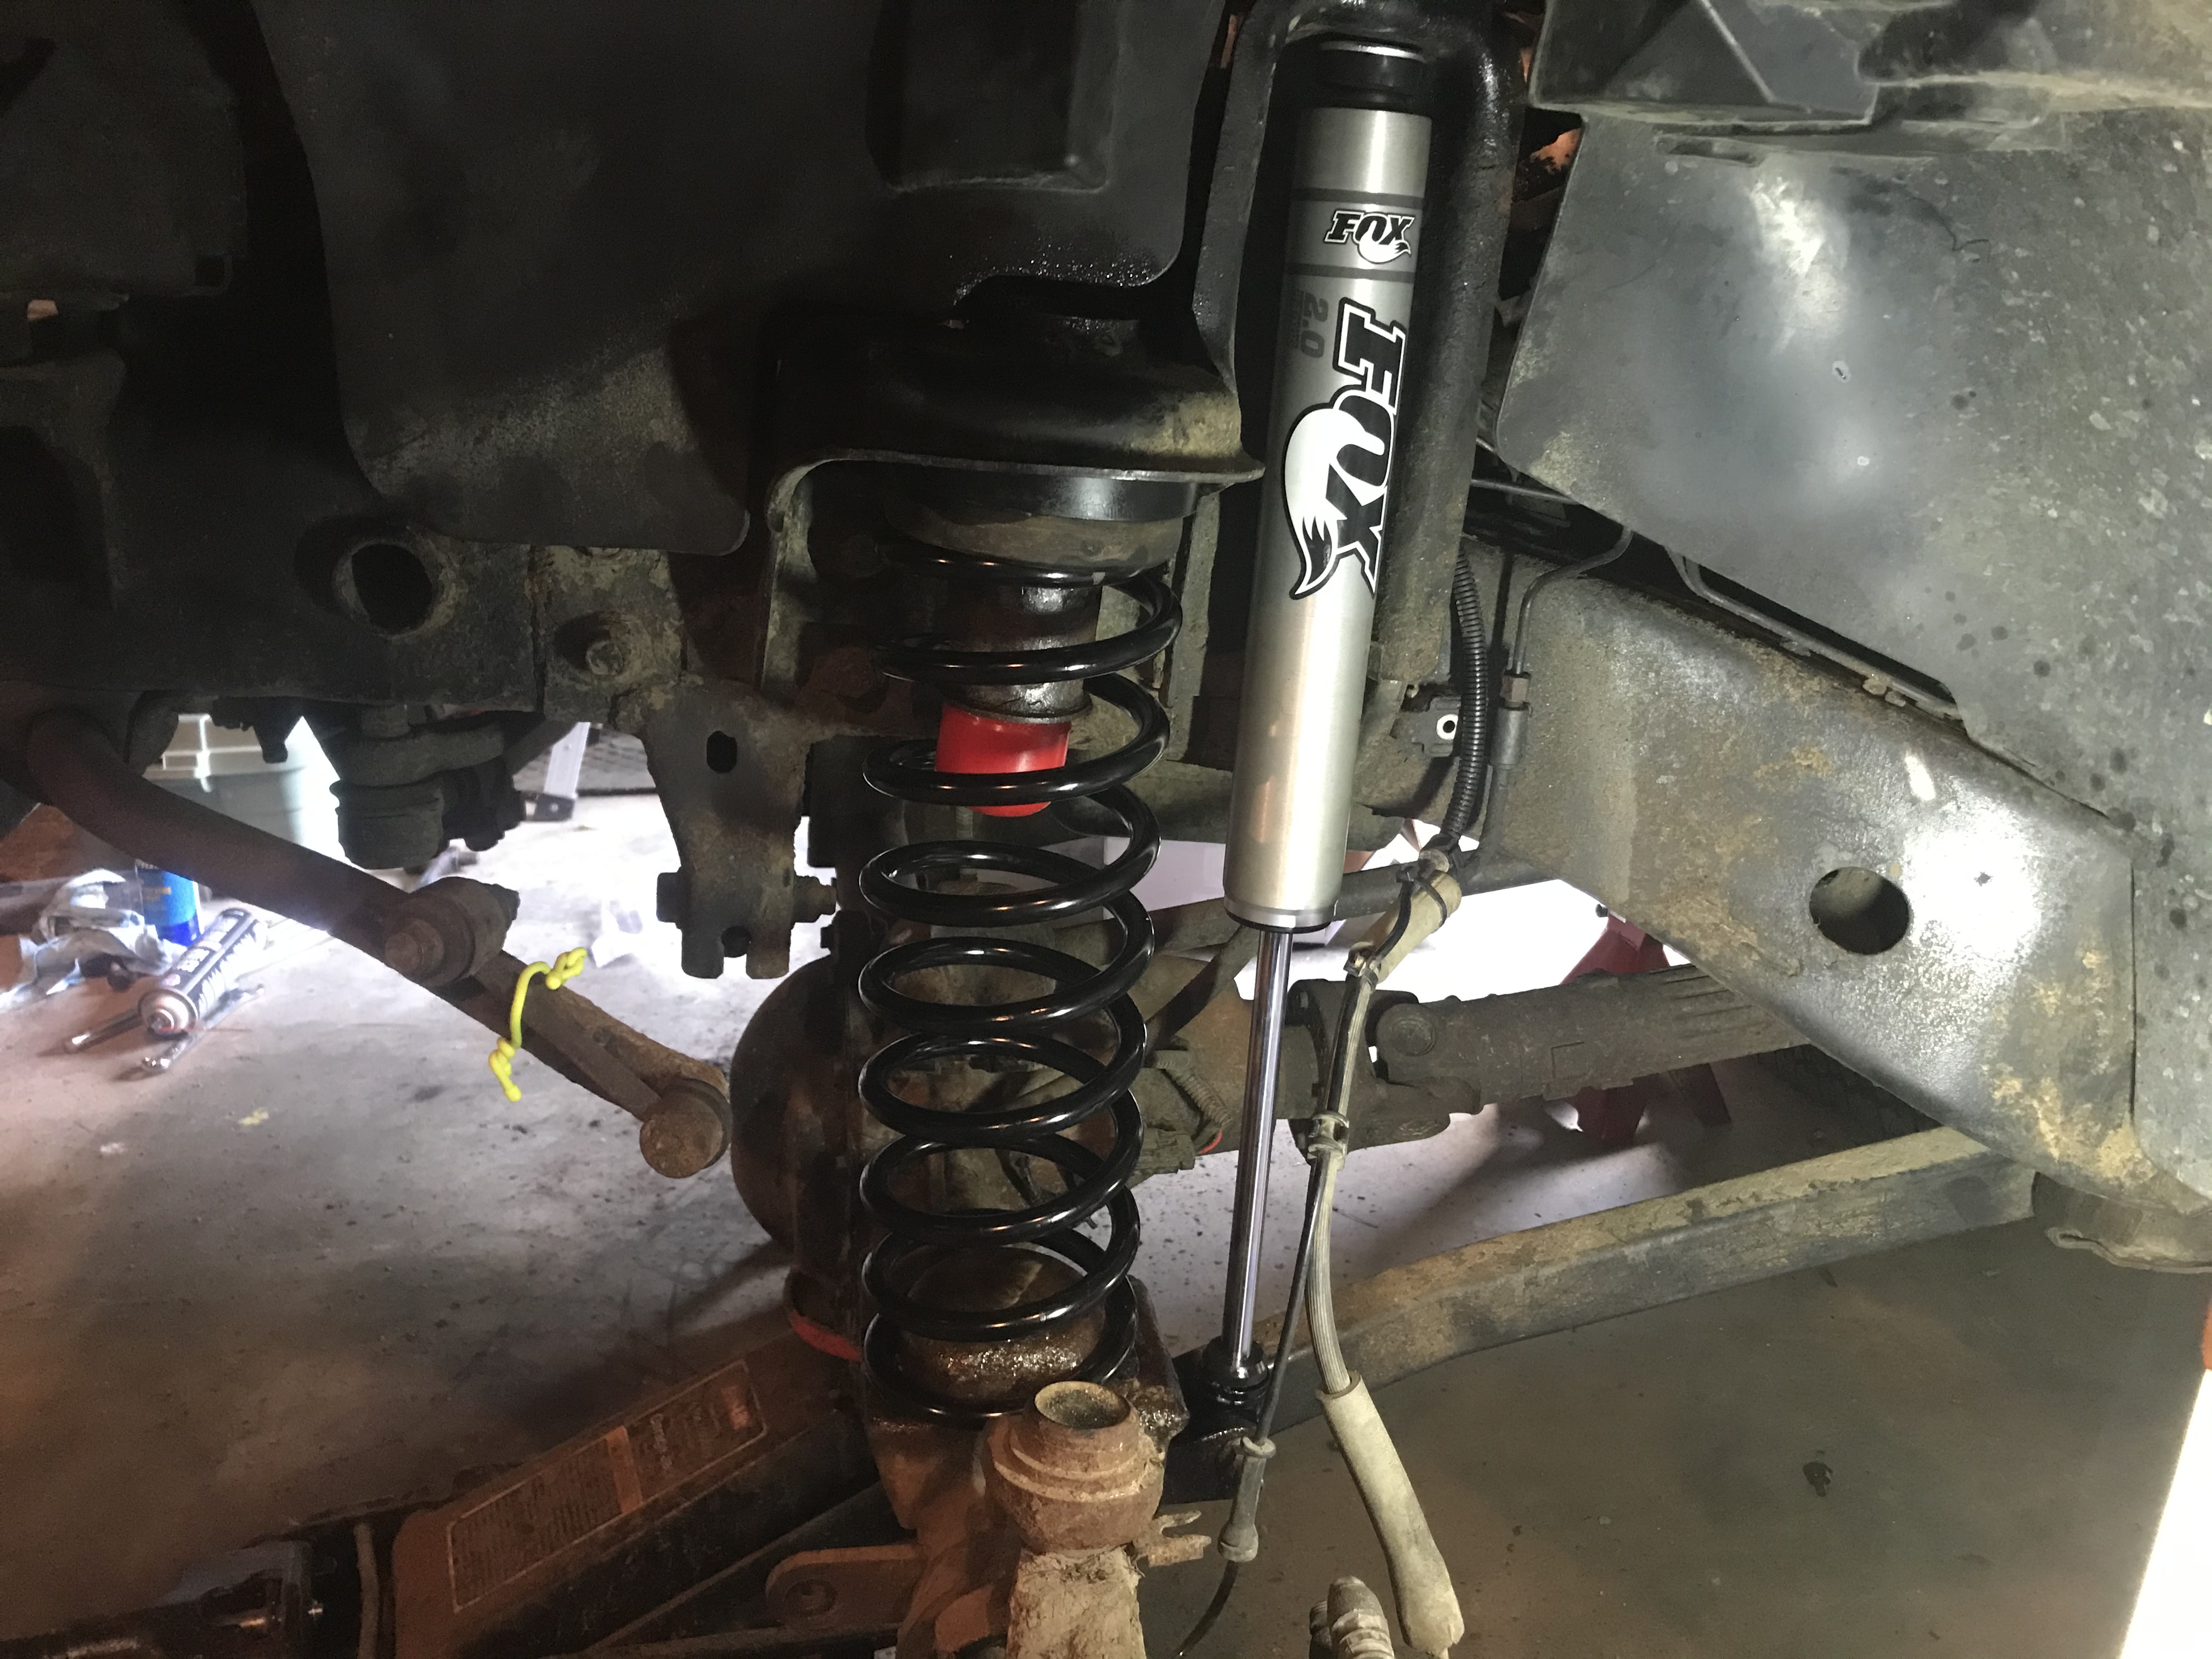
Got the front end finished, turned it around (felt like a whole different vehicle just turning around in the yard!), got about half the back undone and letting other stuff soak in penetrant overnight.

I think between taking stuff apart first thing in the AM and at least doing the spacer lift and brake lines after work we're in shape to get the alignment done.

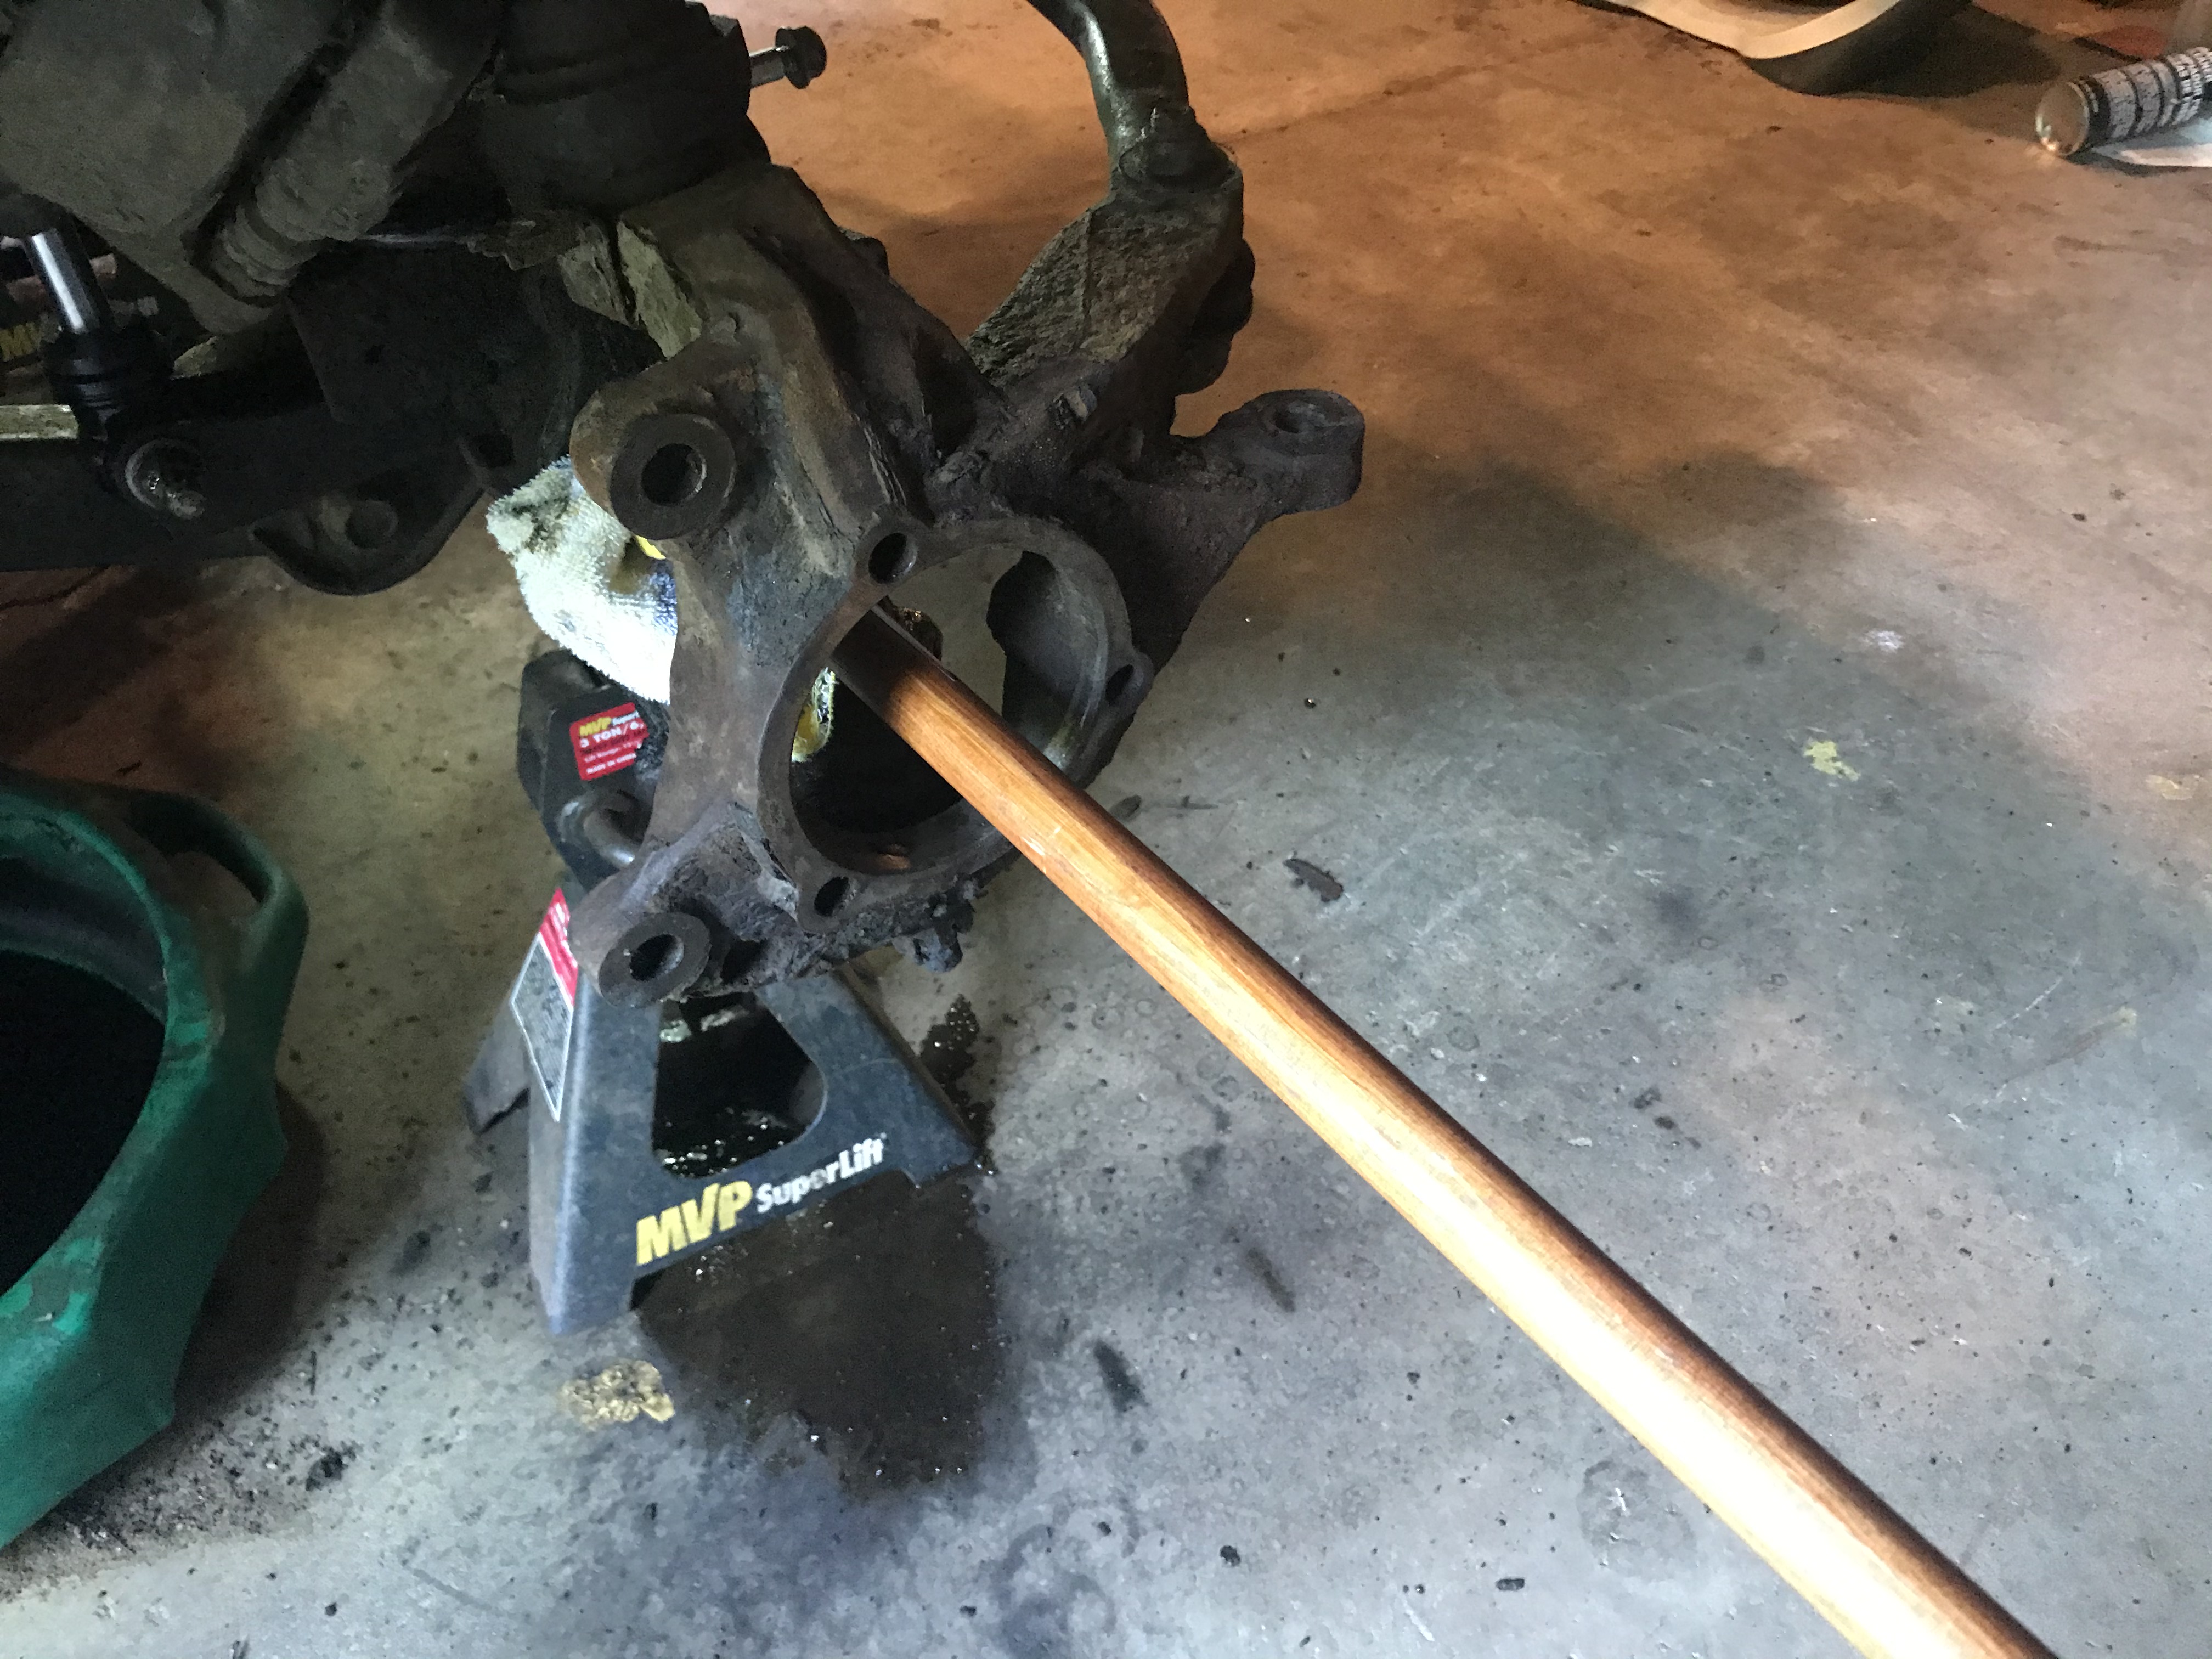
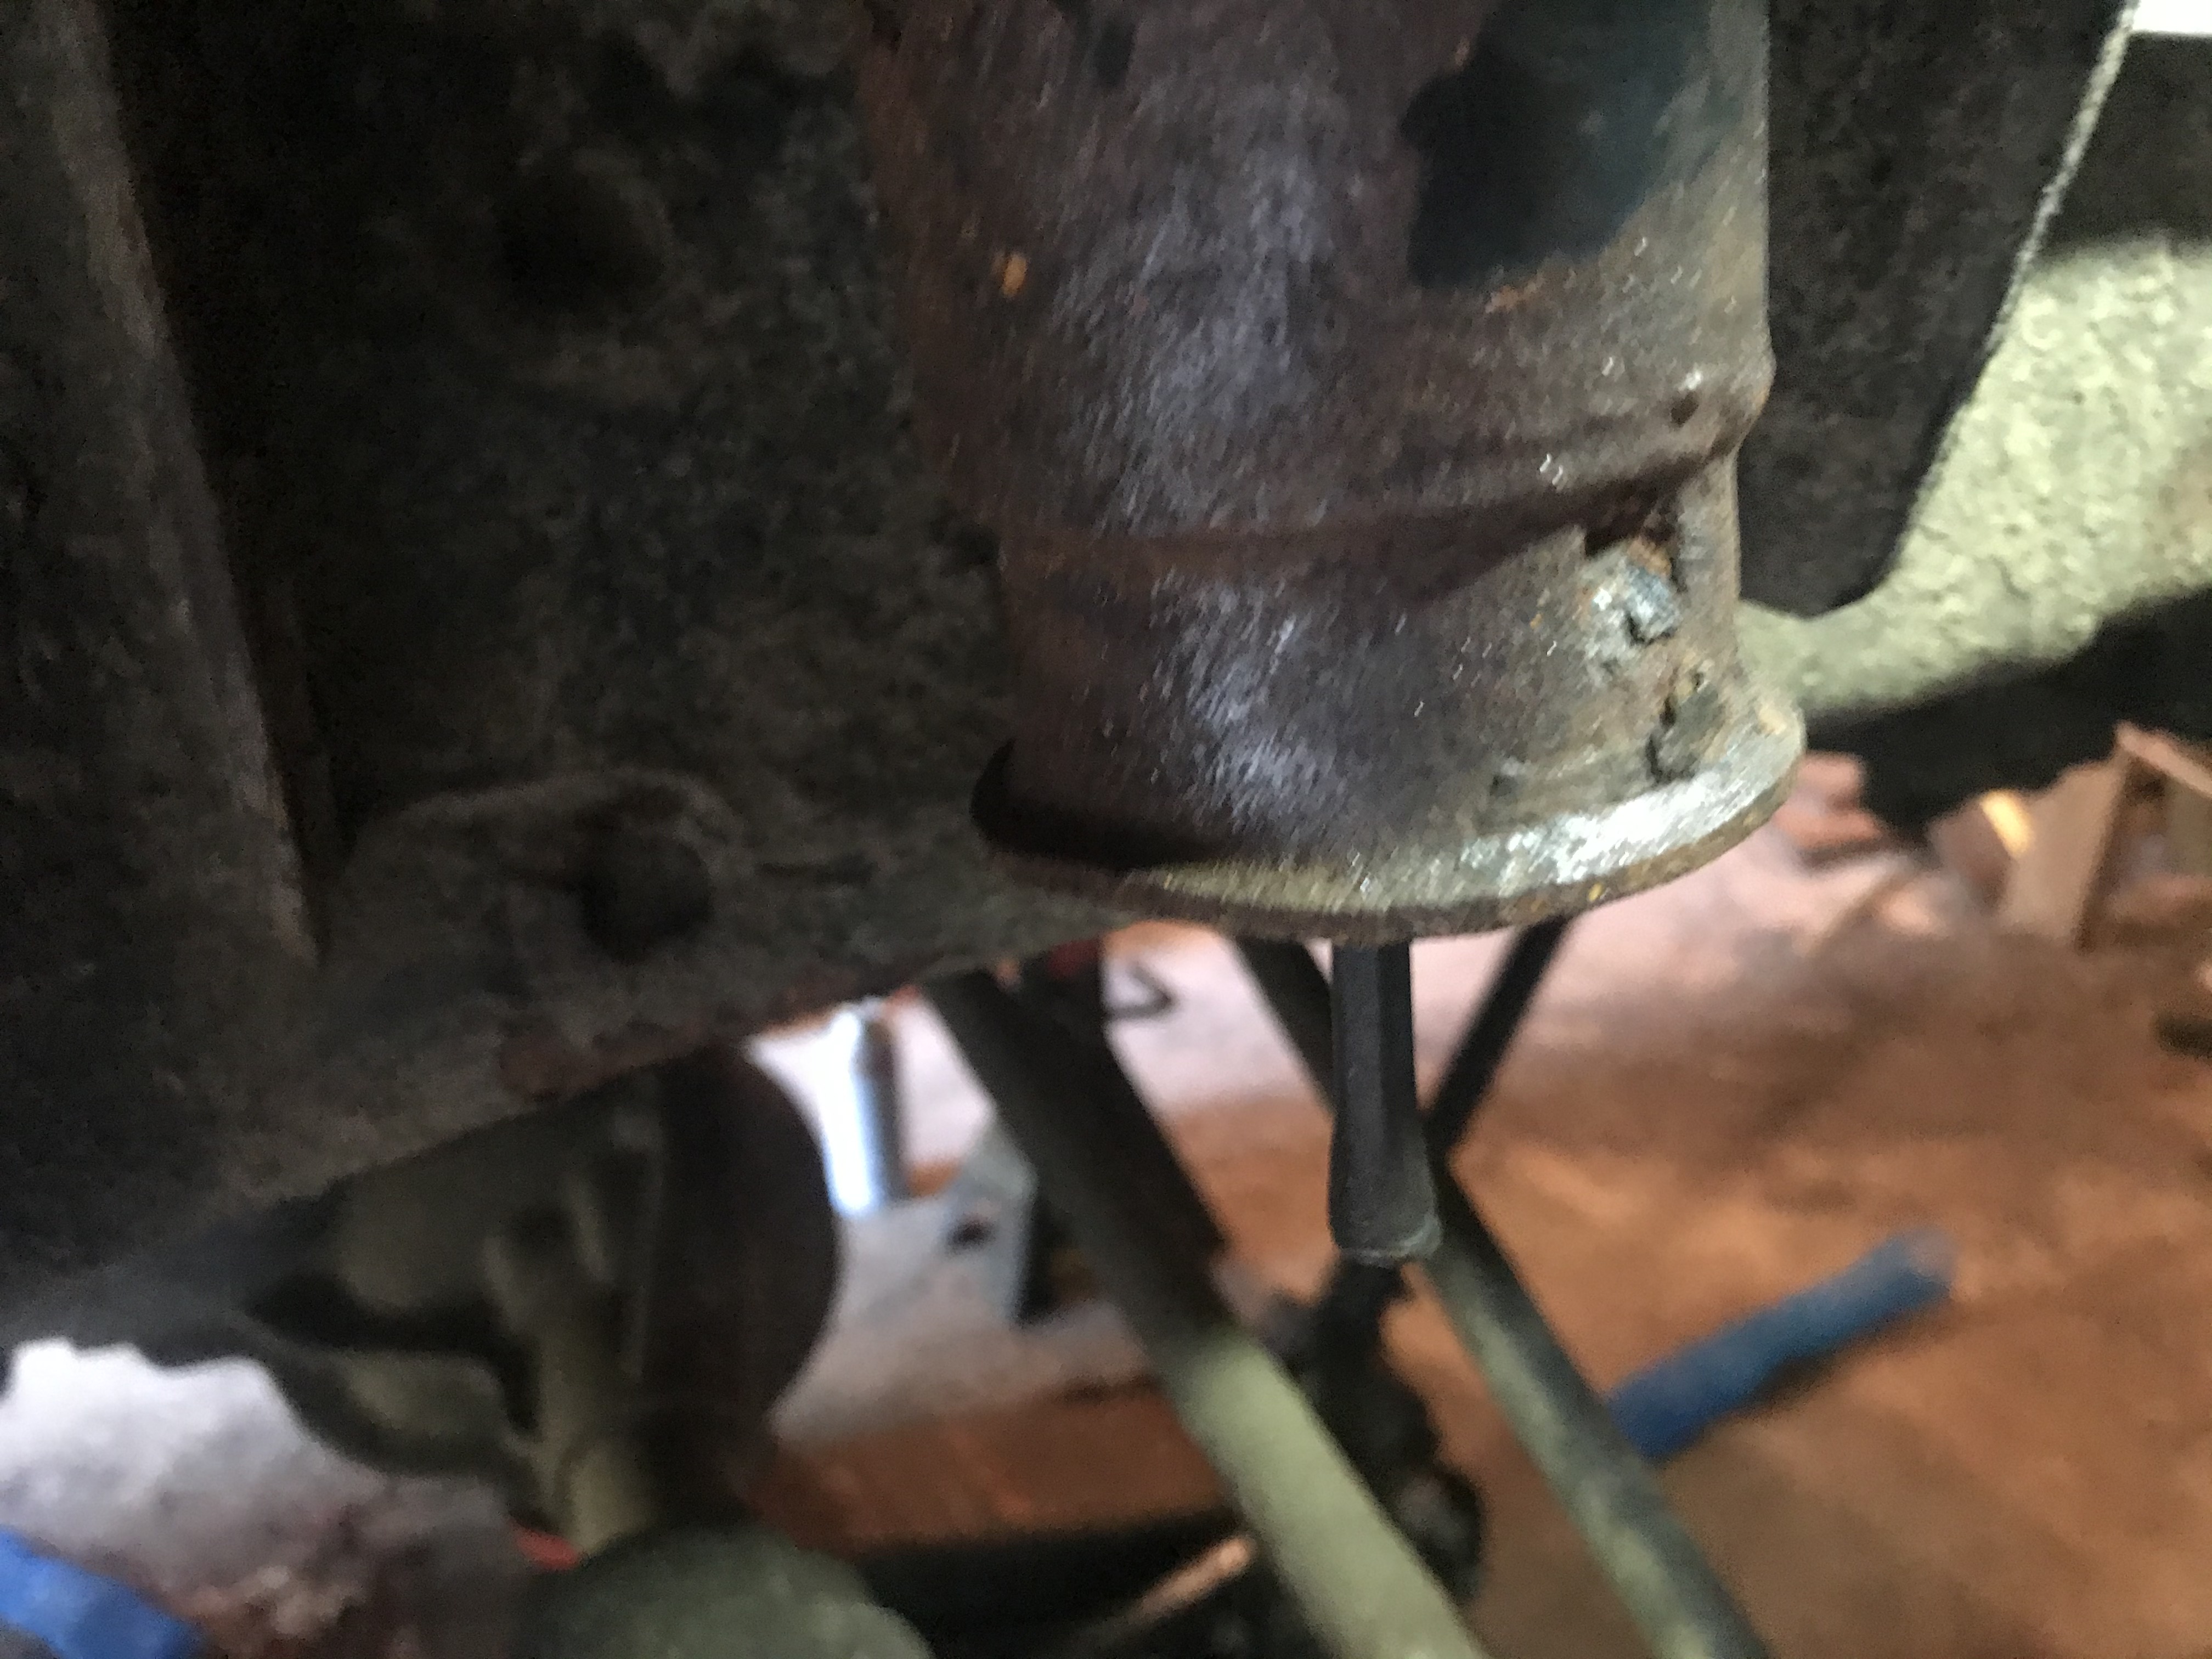
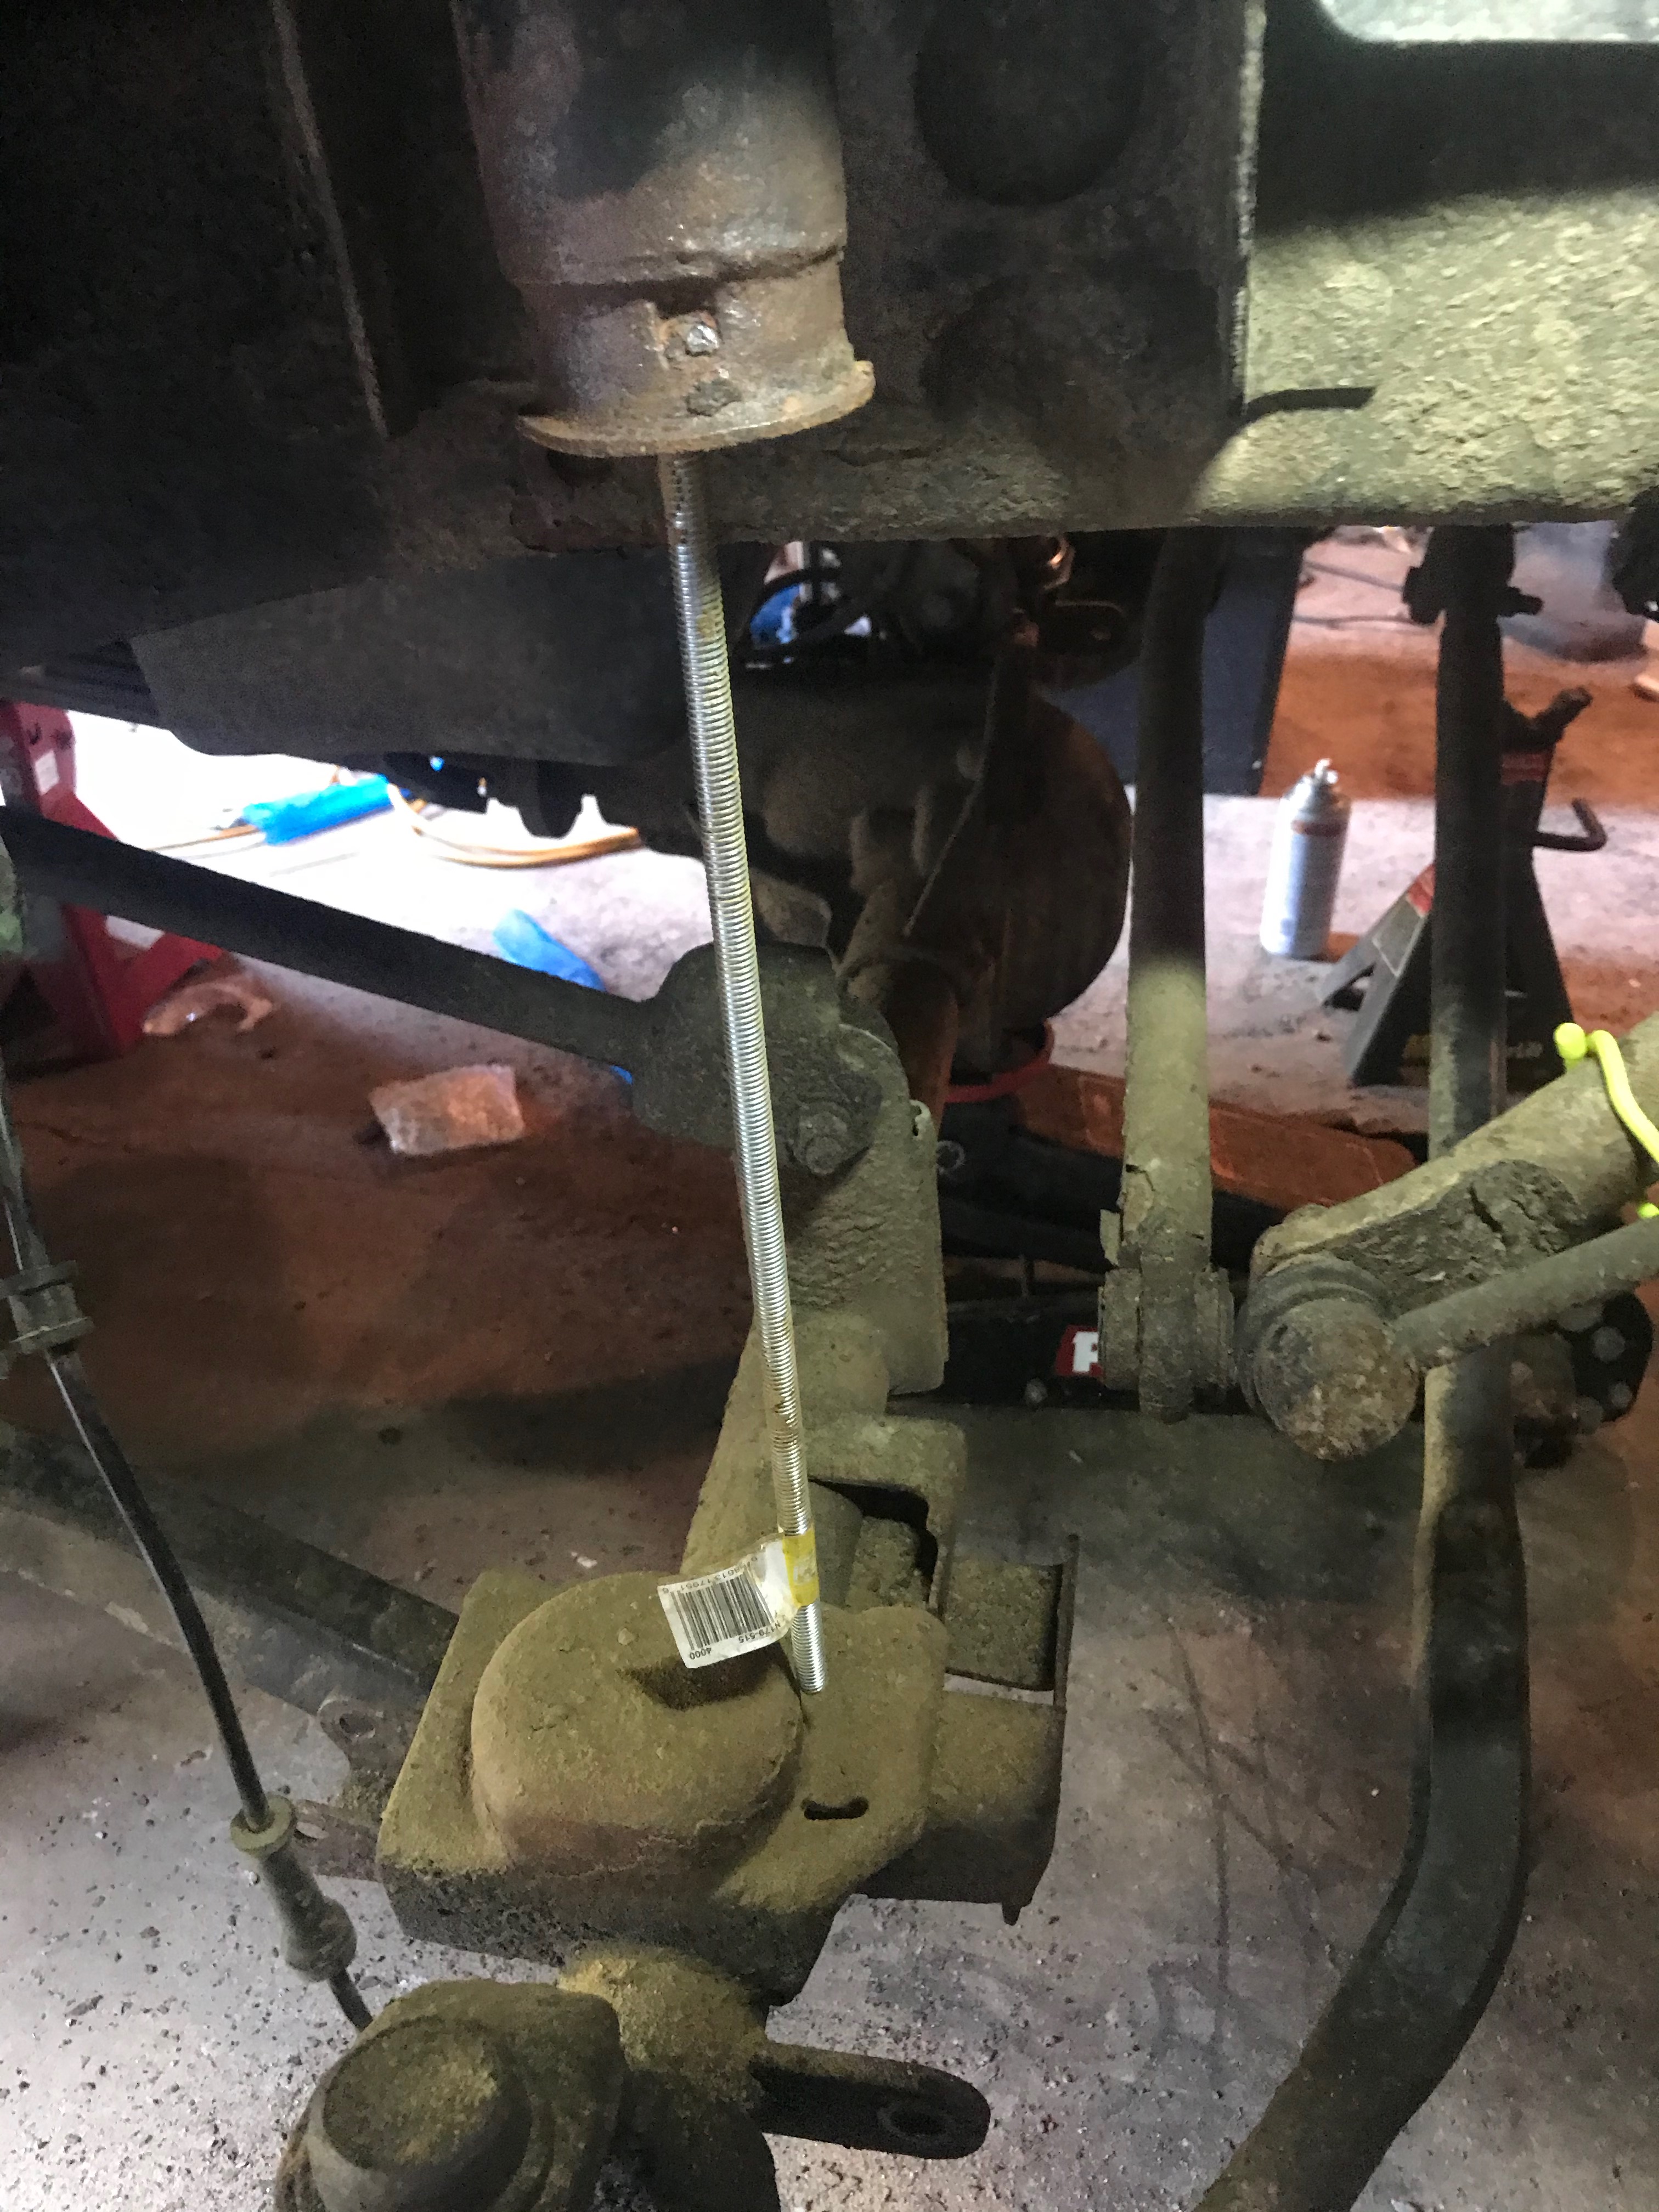
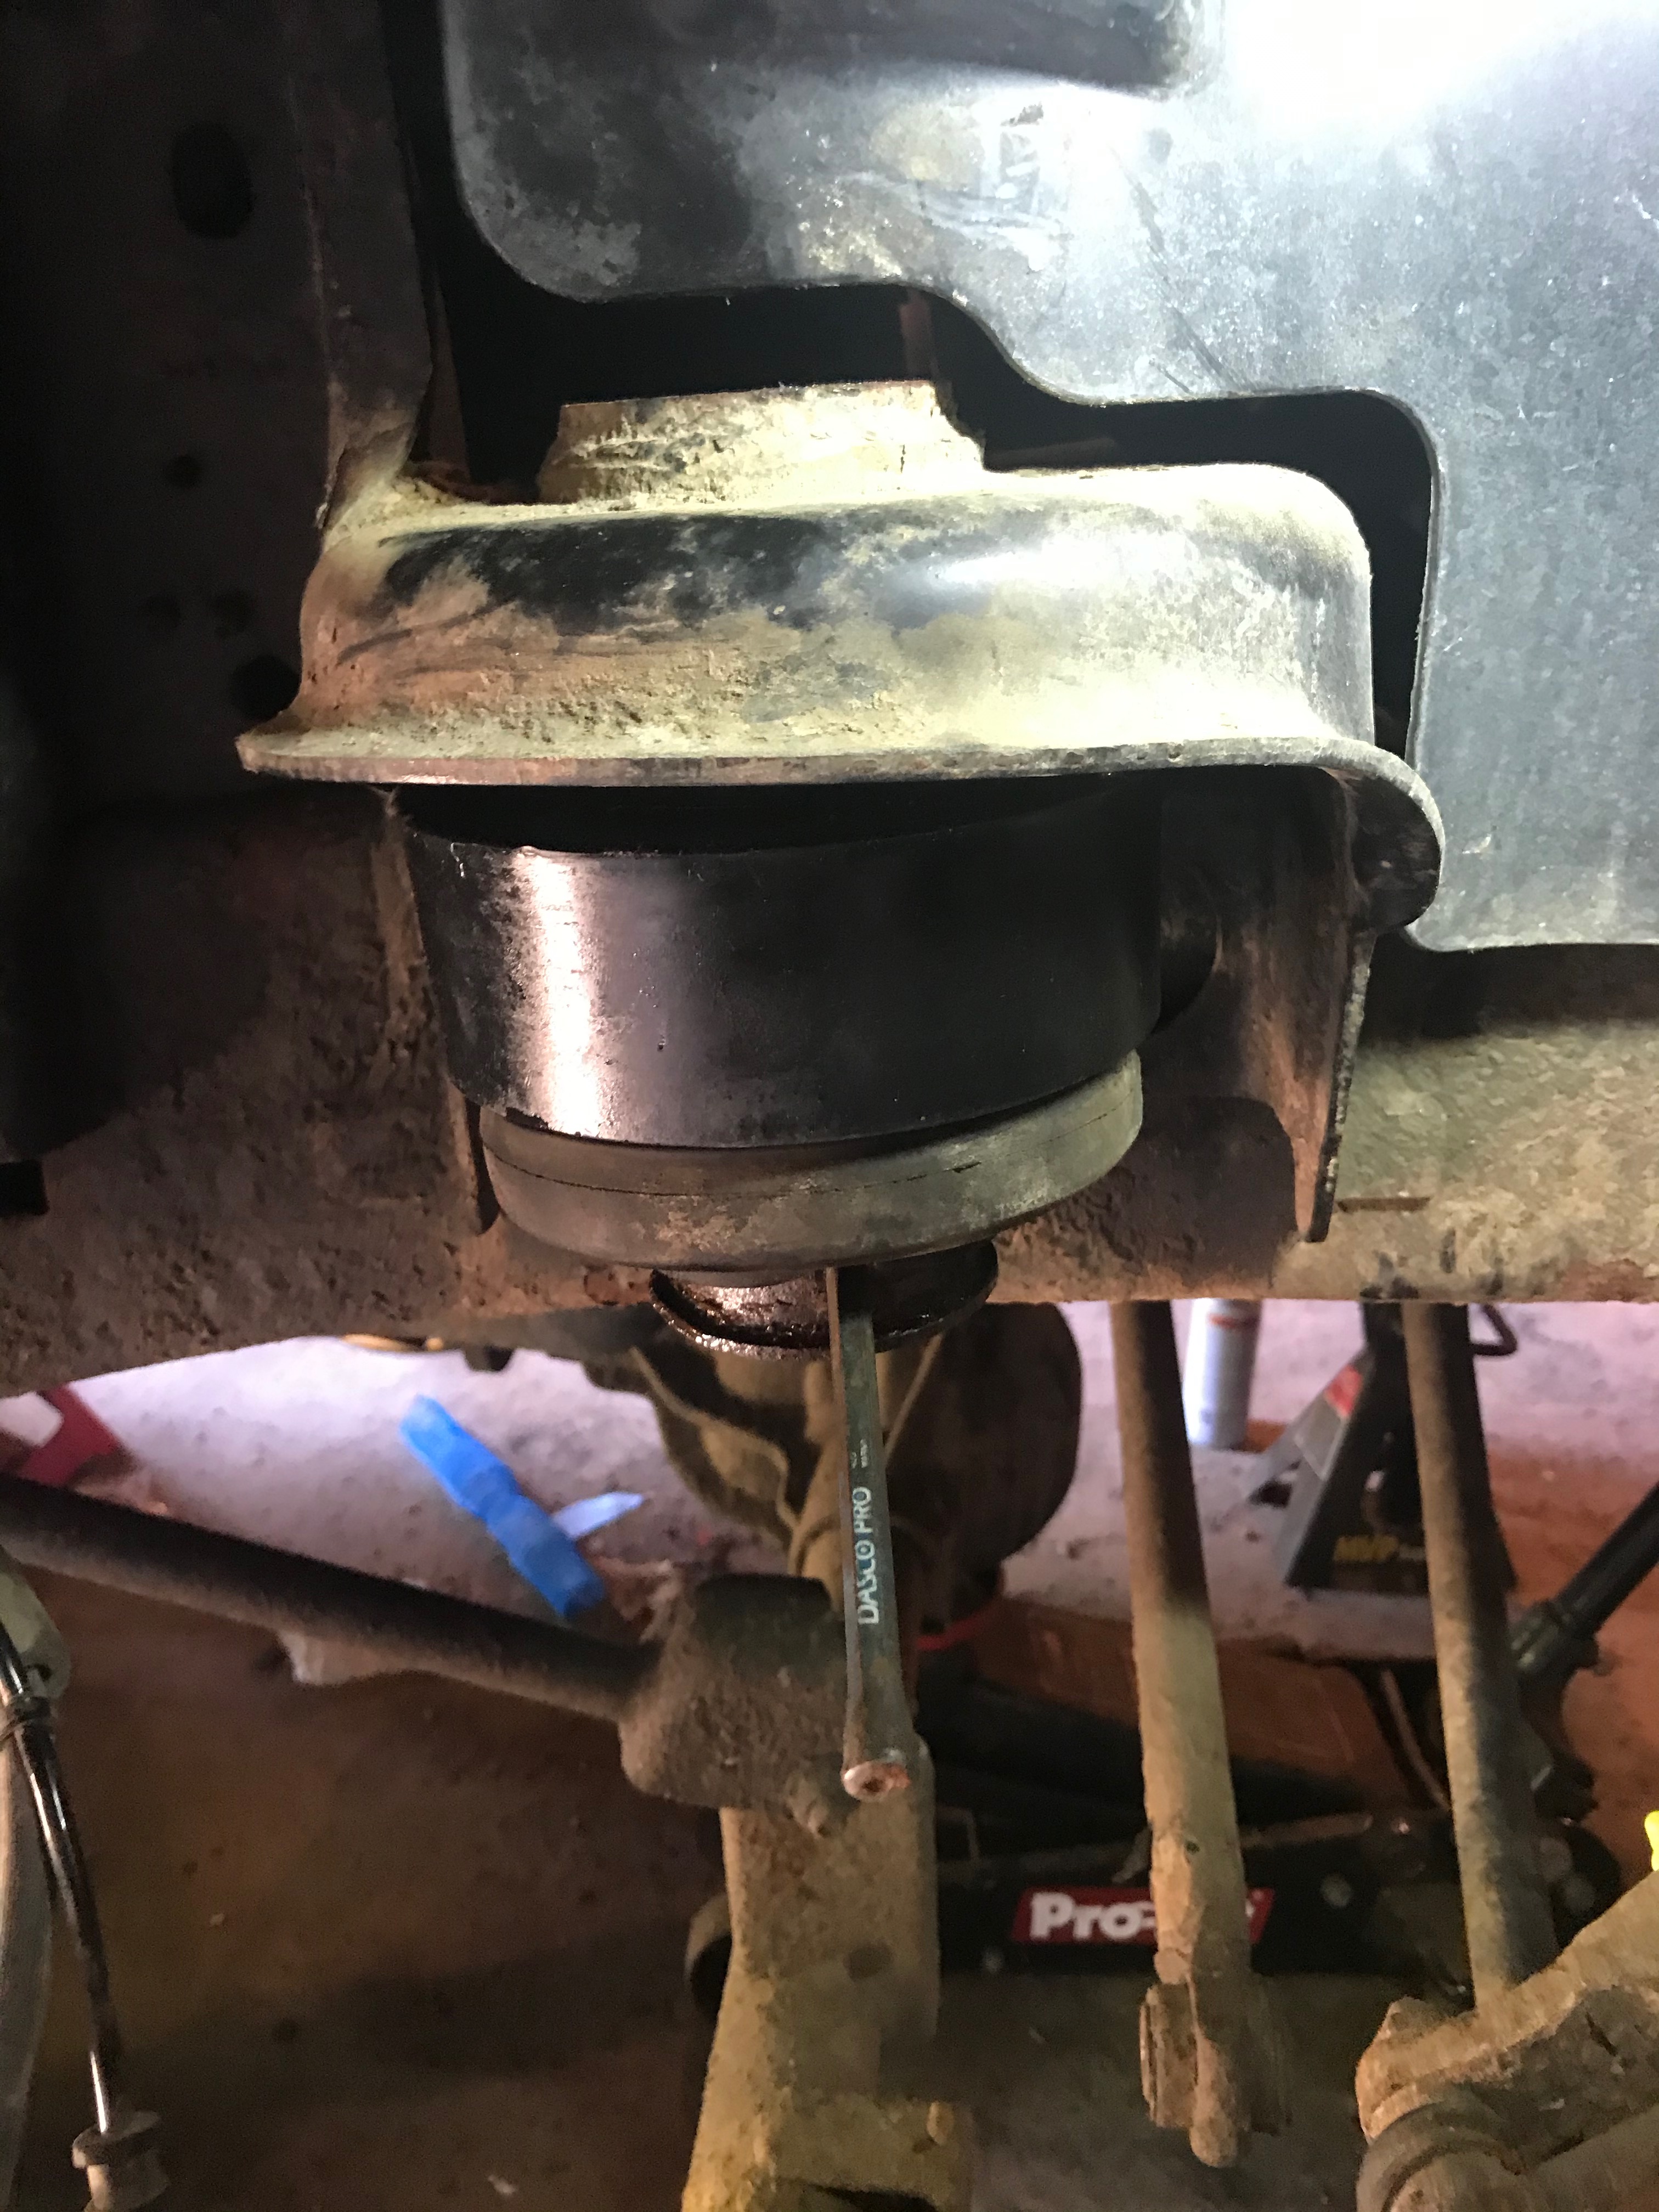
Well, I over-thought this...the bushing just pushes out with finger pressure and can be moved :D


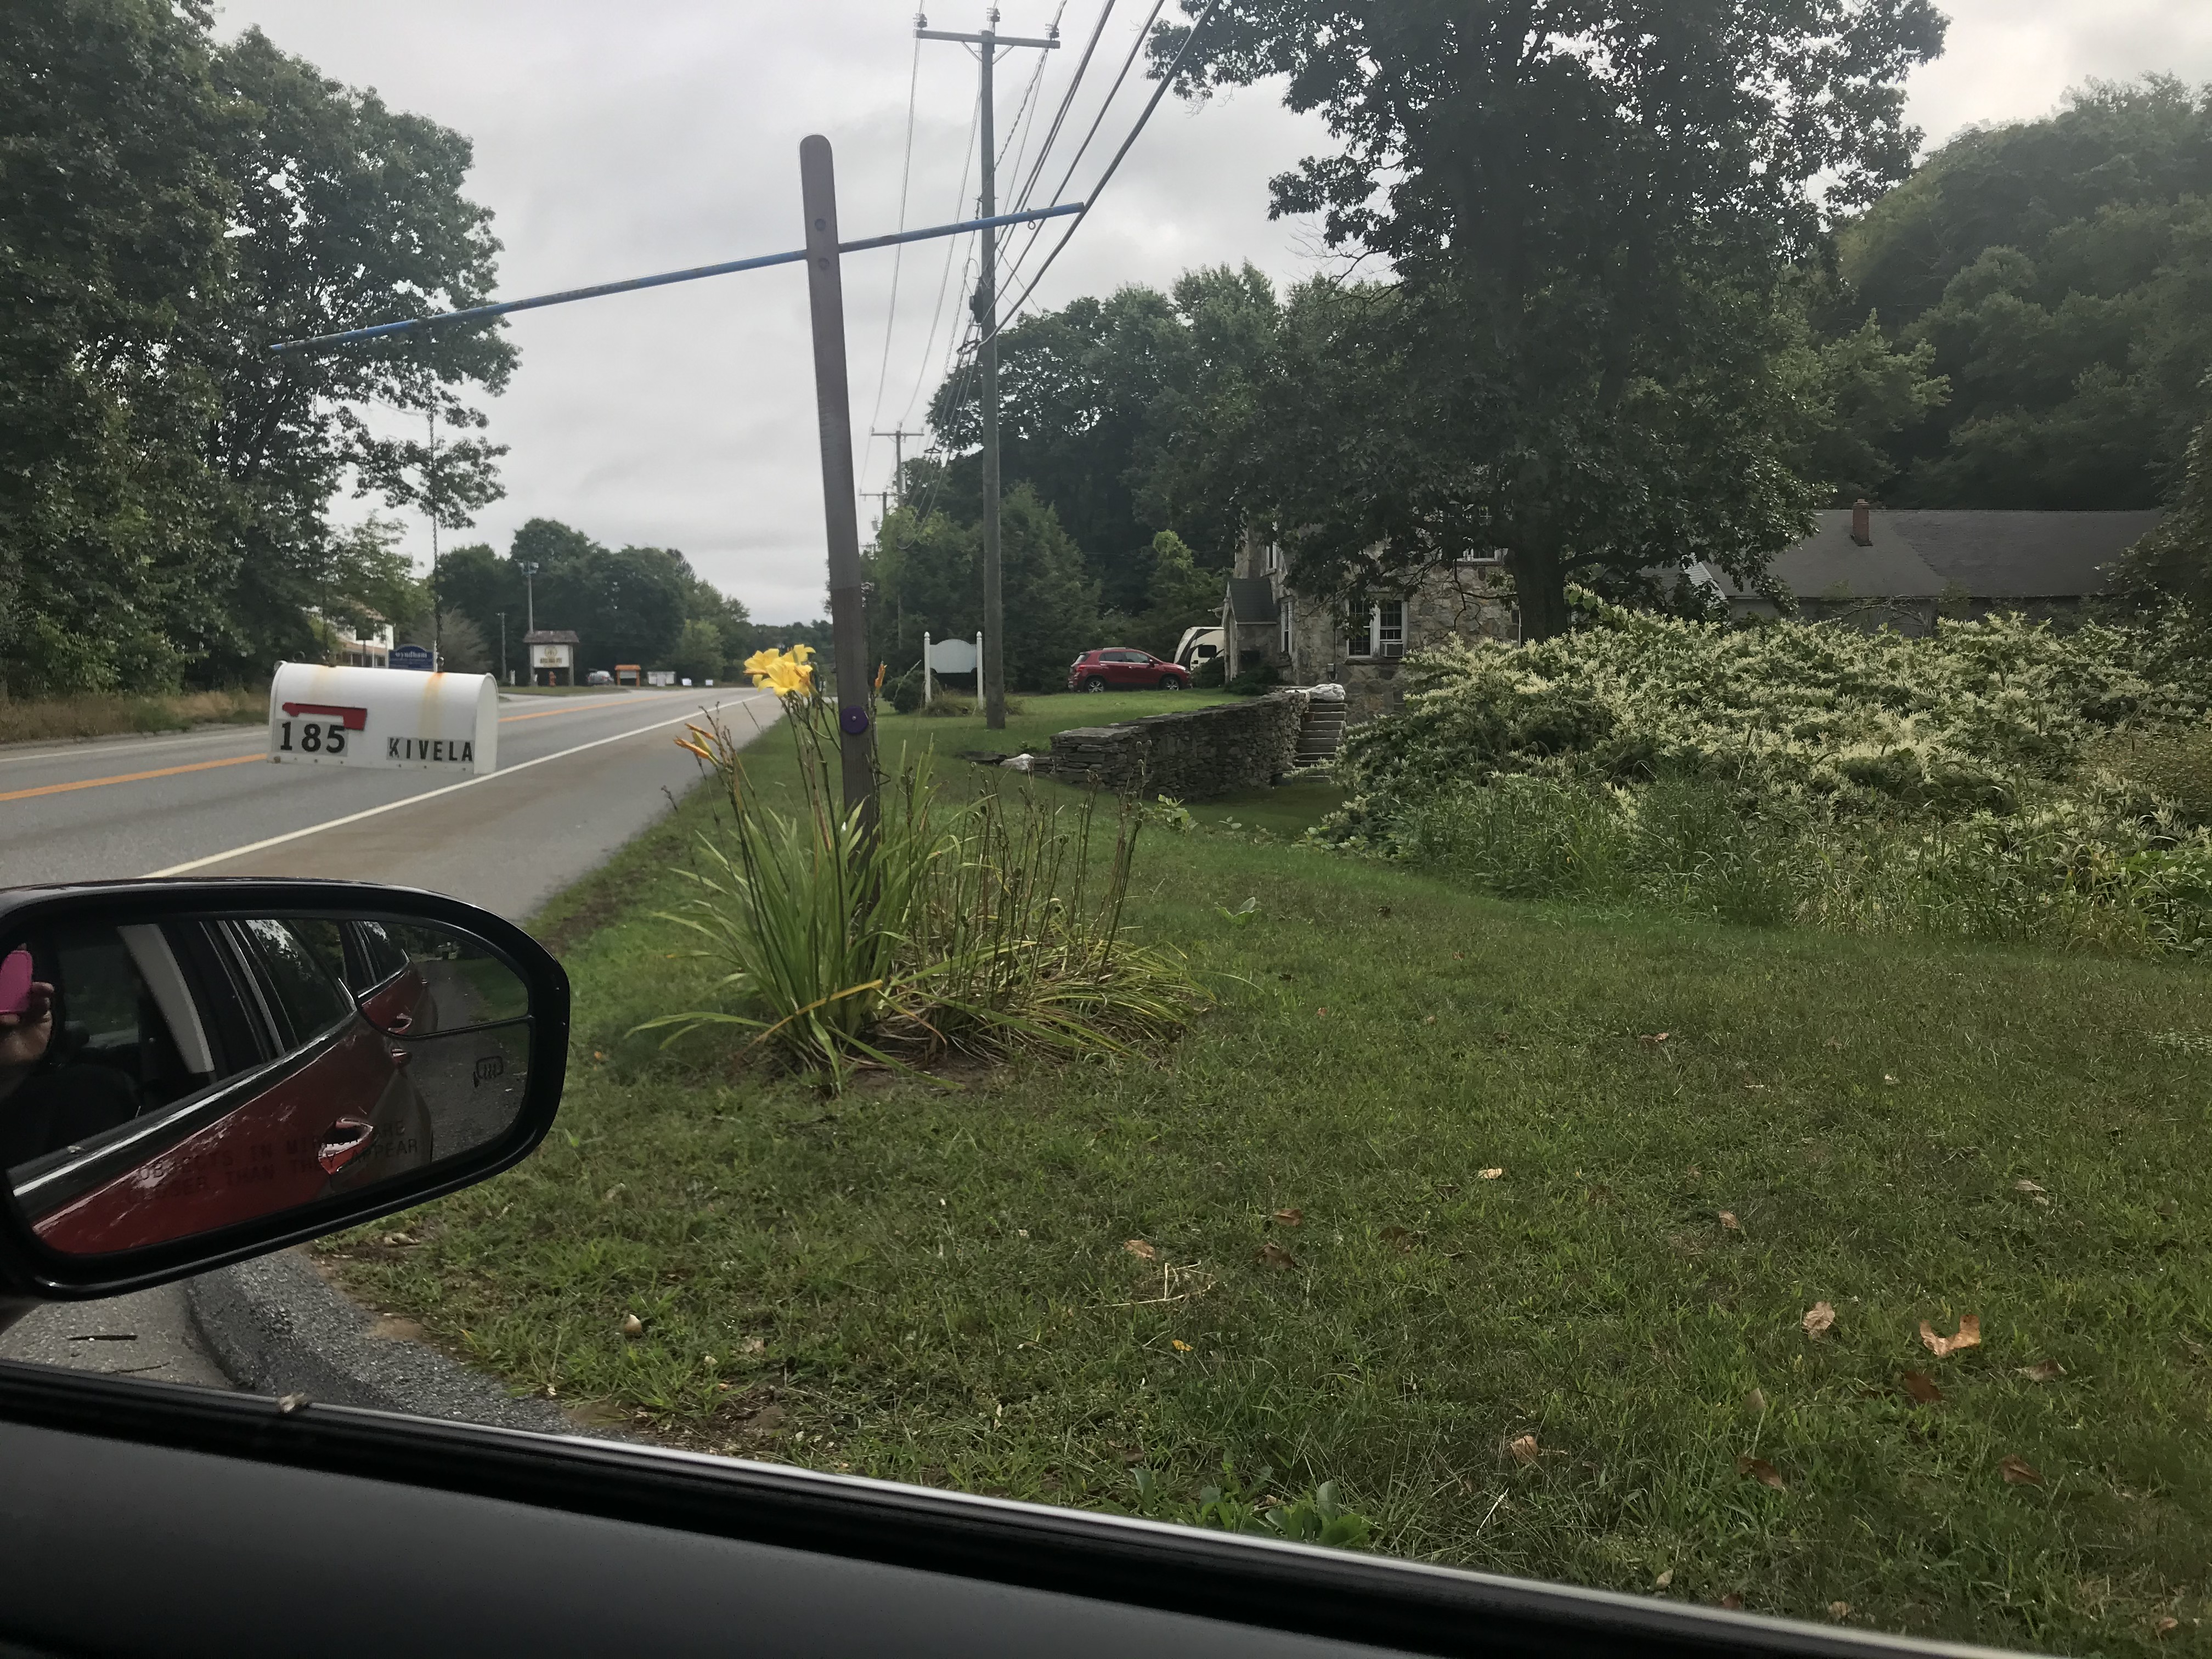
Dayum, September 8th and Daylillies still blooming!

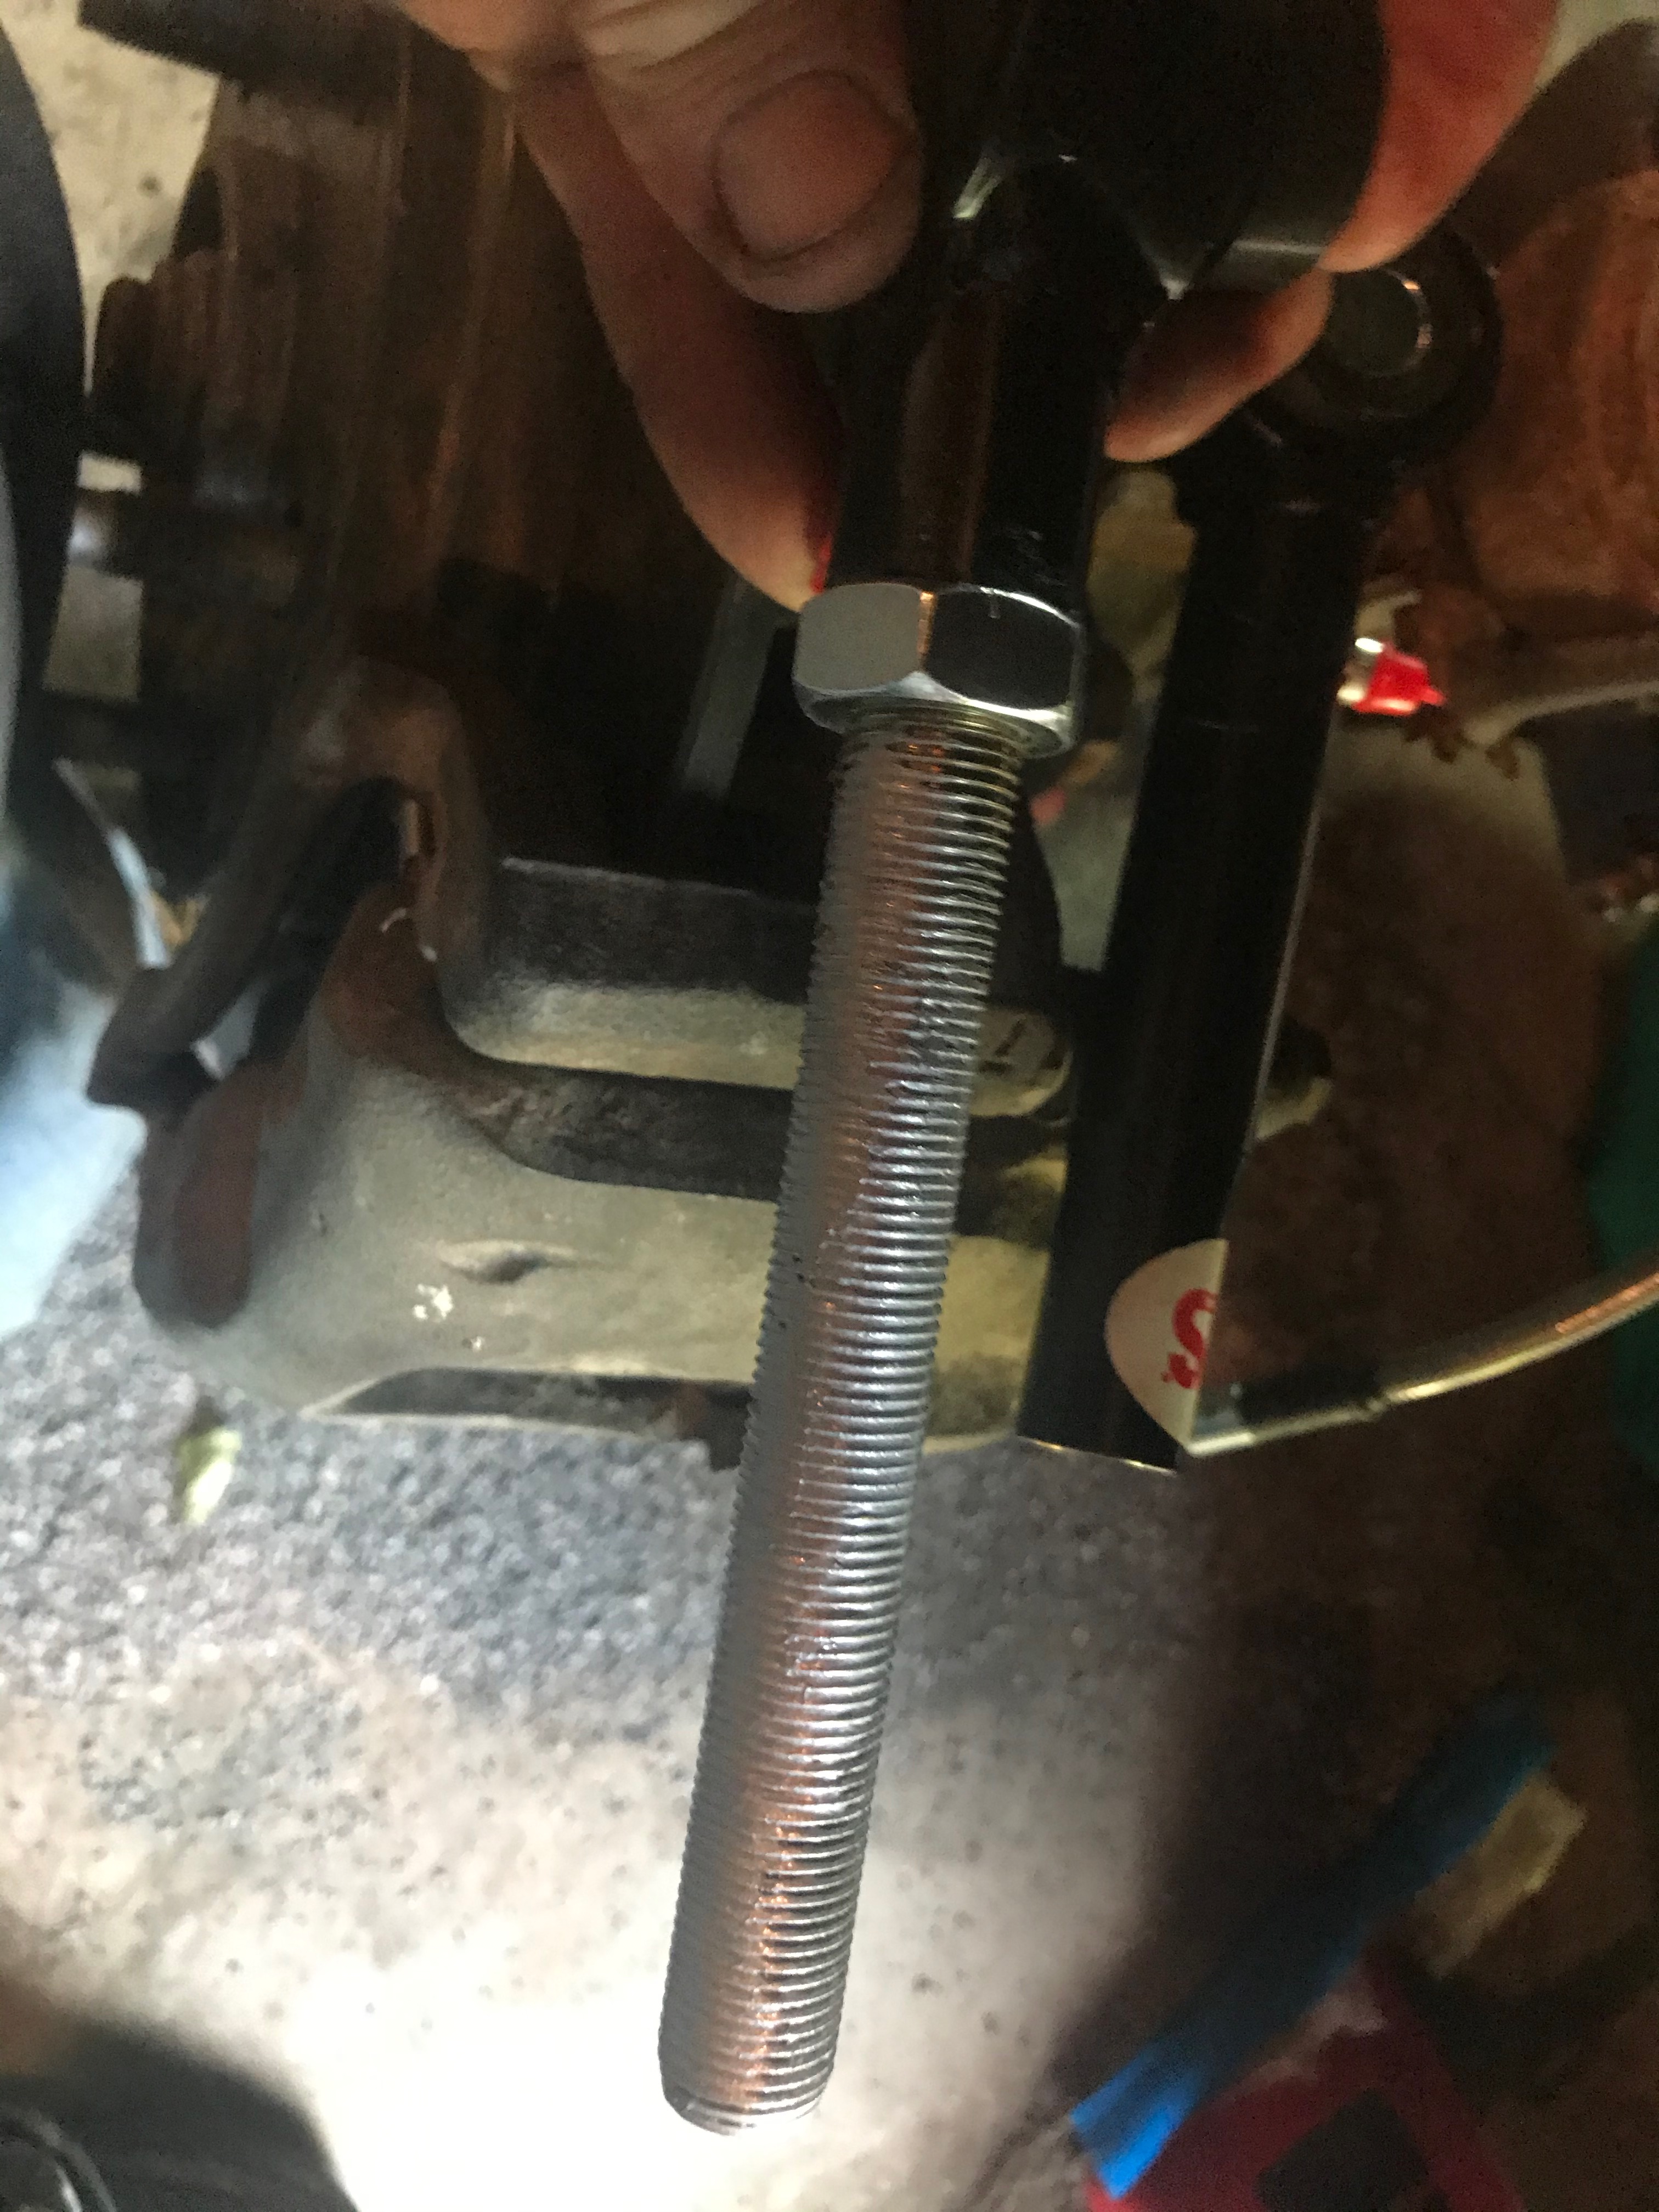
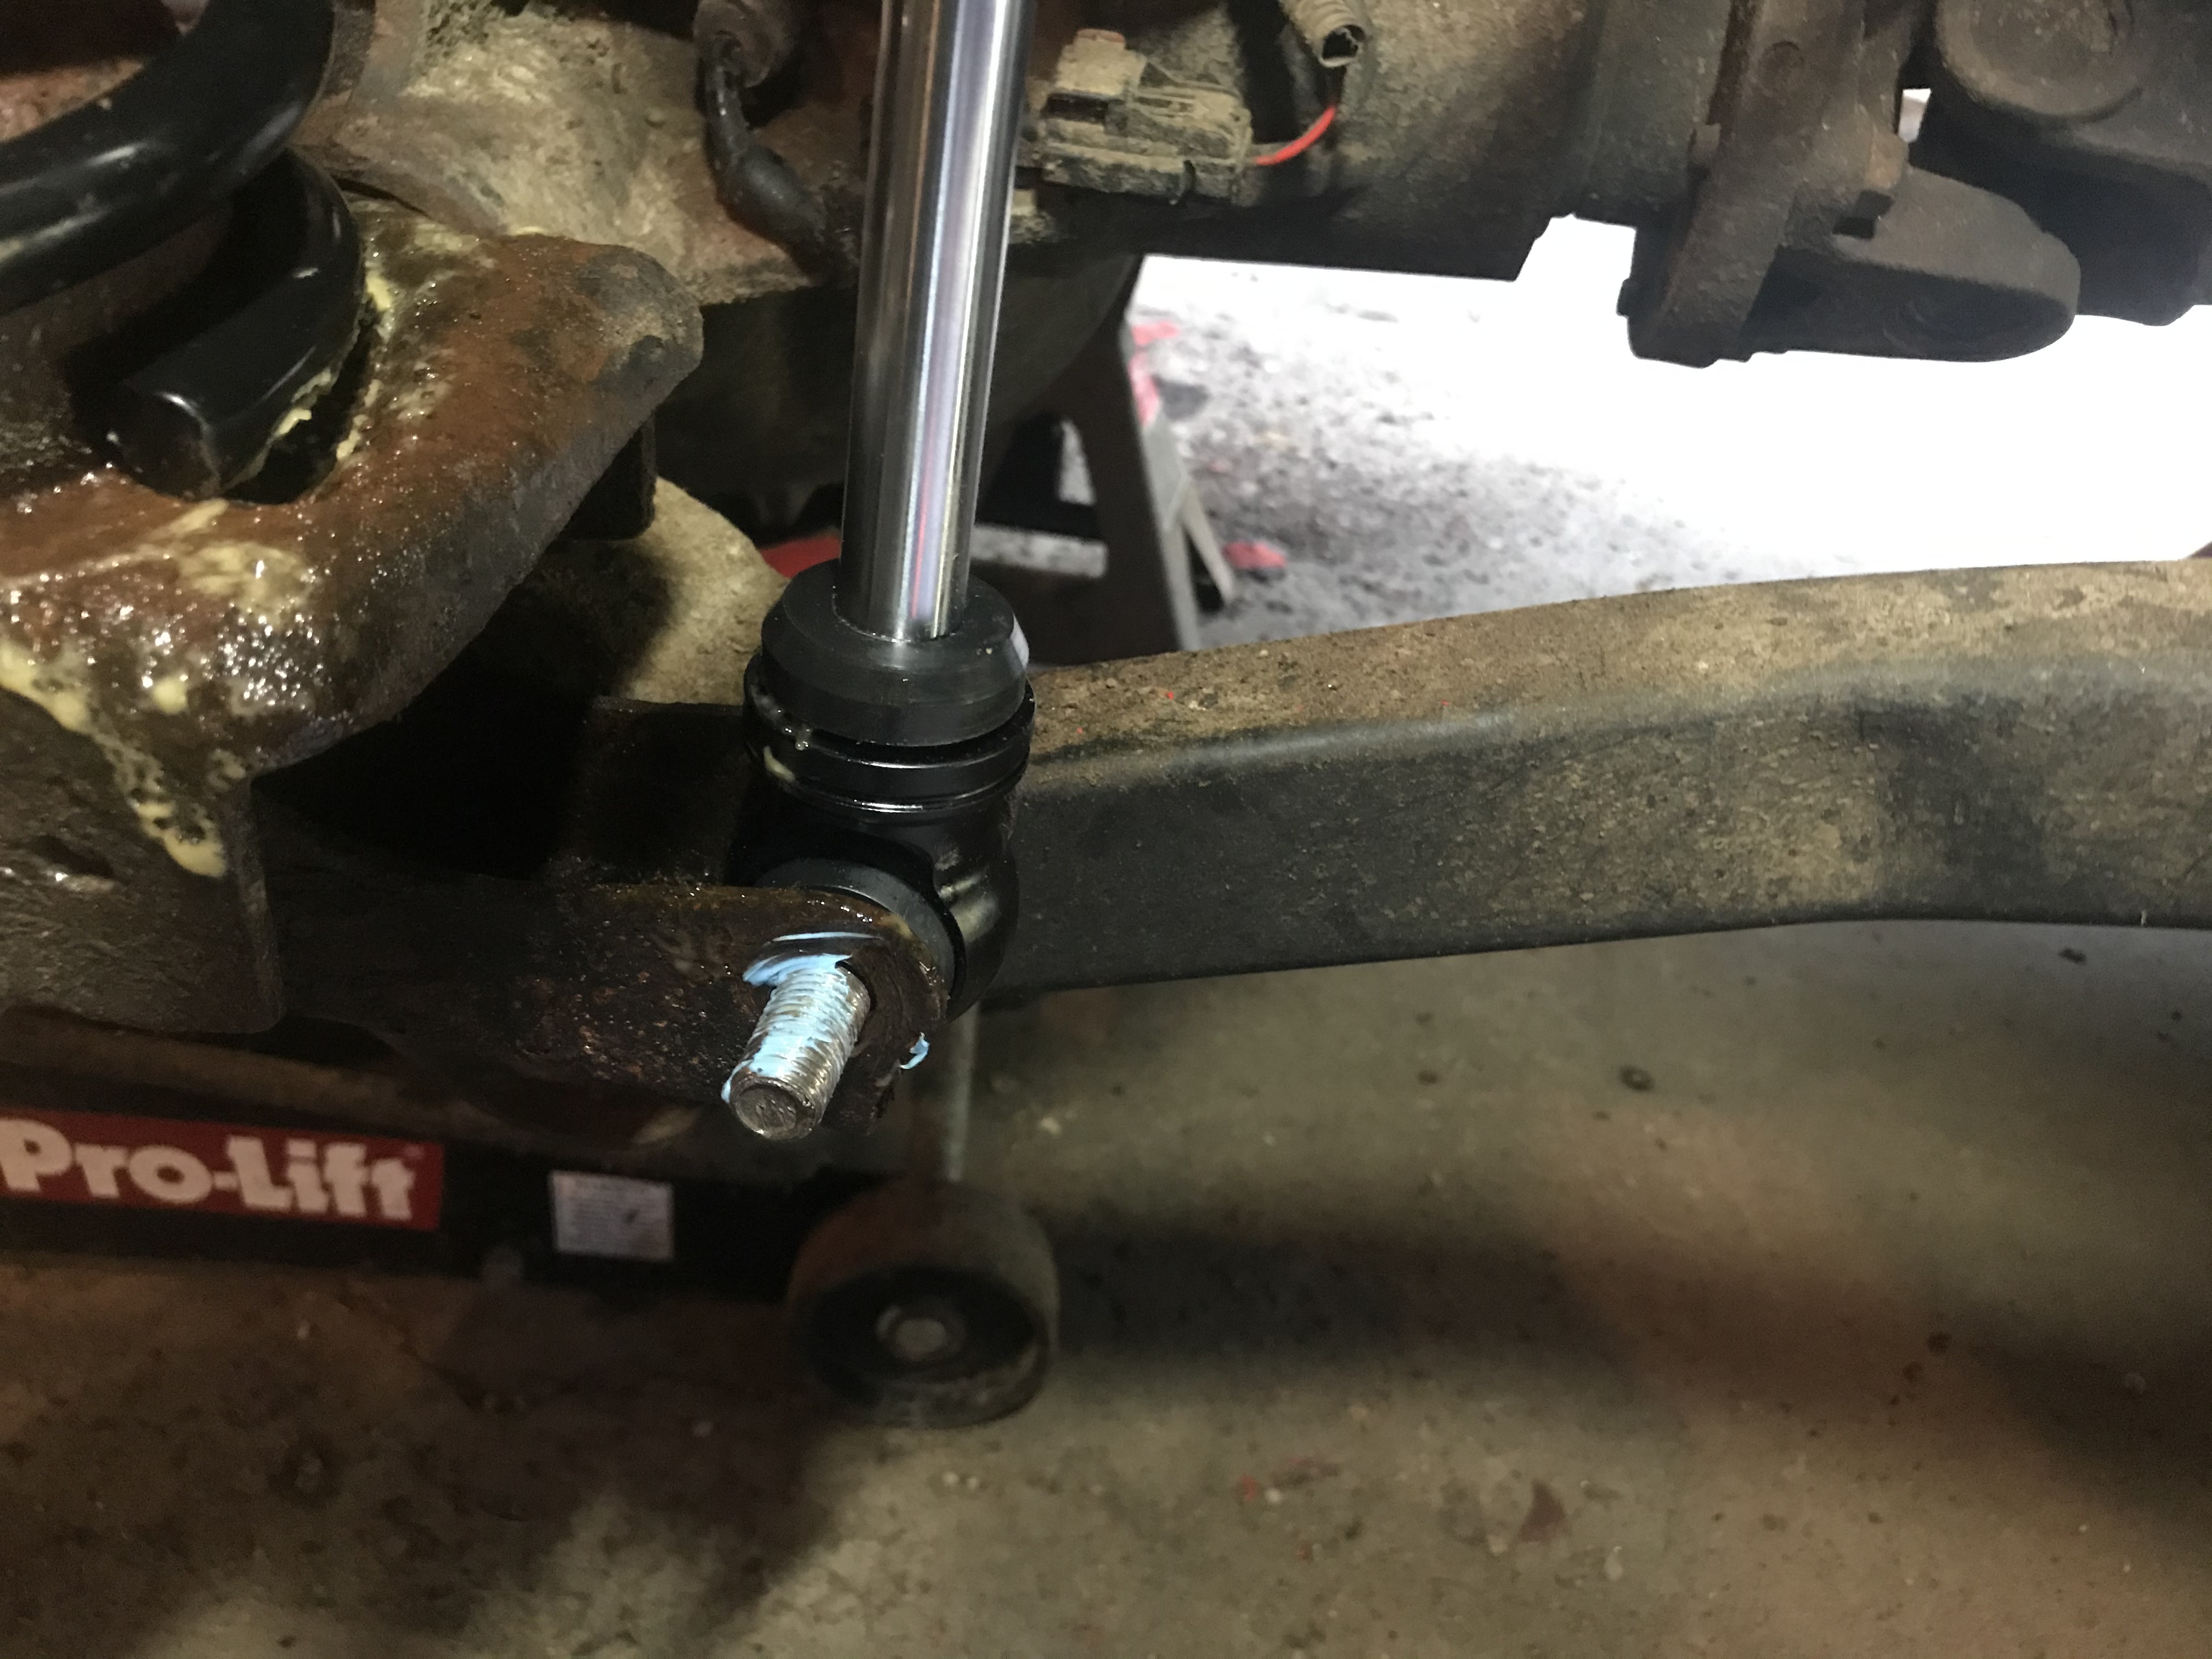
Was running up to Fastenal, for the swaybar links I replaced the upper 1/2" Grade 8 bolt with a 12mm Grade 10.9 bolt so I wouldn't have to drill/grind out the hole on the swaybar. They're close enough in size that I used a 19mm socket and wrench to tighten both.


Came in for a 1pm conference call...I was wondering why the air conditioner didn't seem to be cooling the house as quickly as usual.
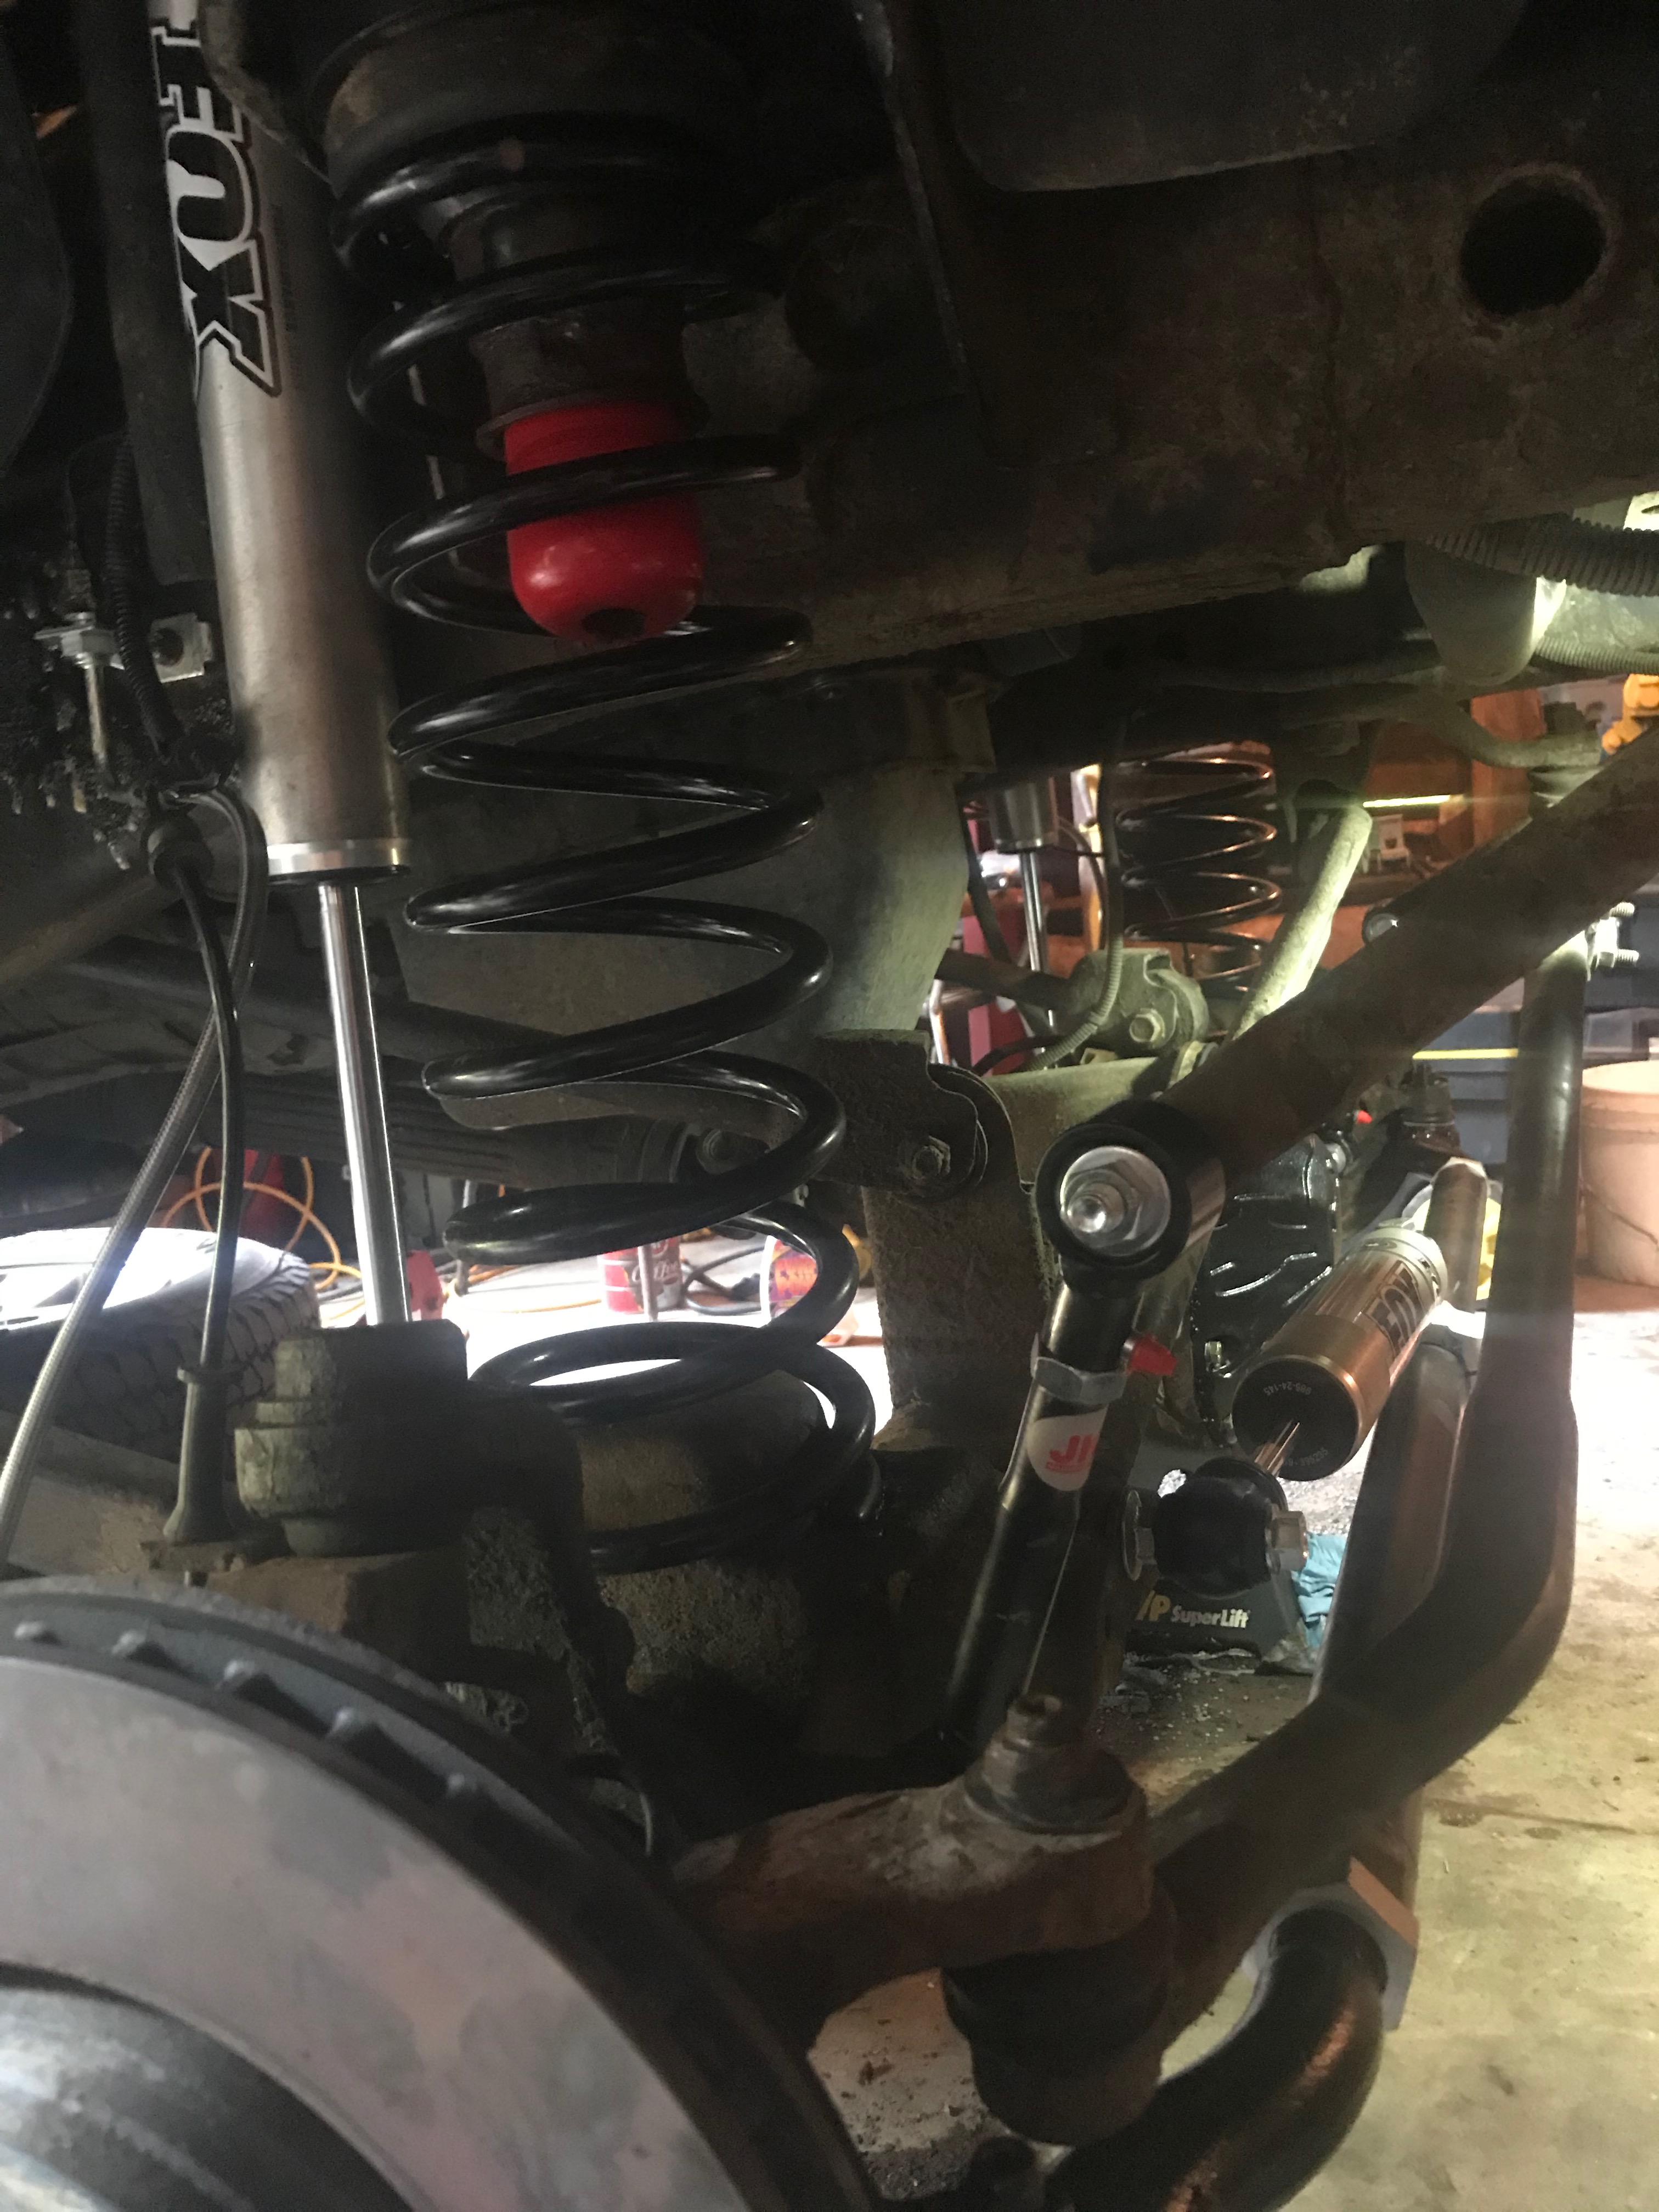
Nice...new links put the swaybar level. It needs to be +/- 5° from level.

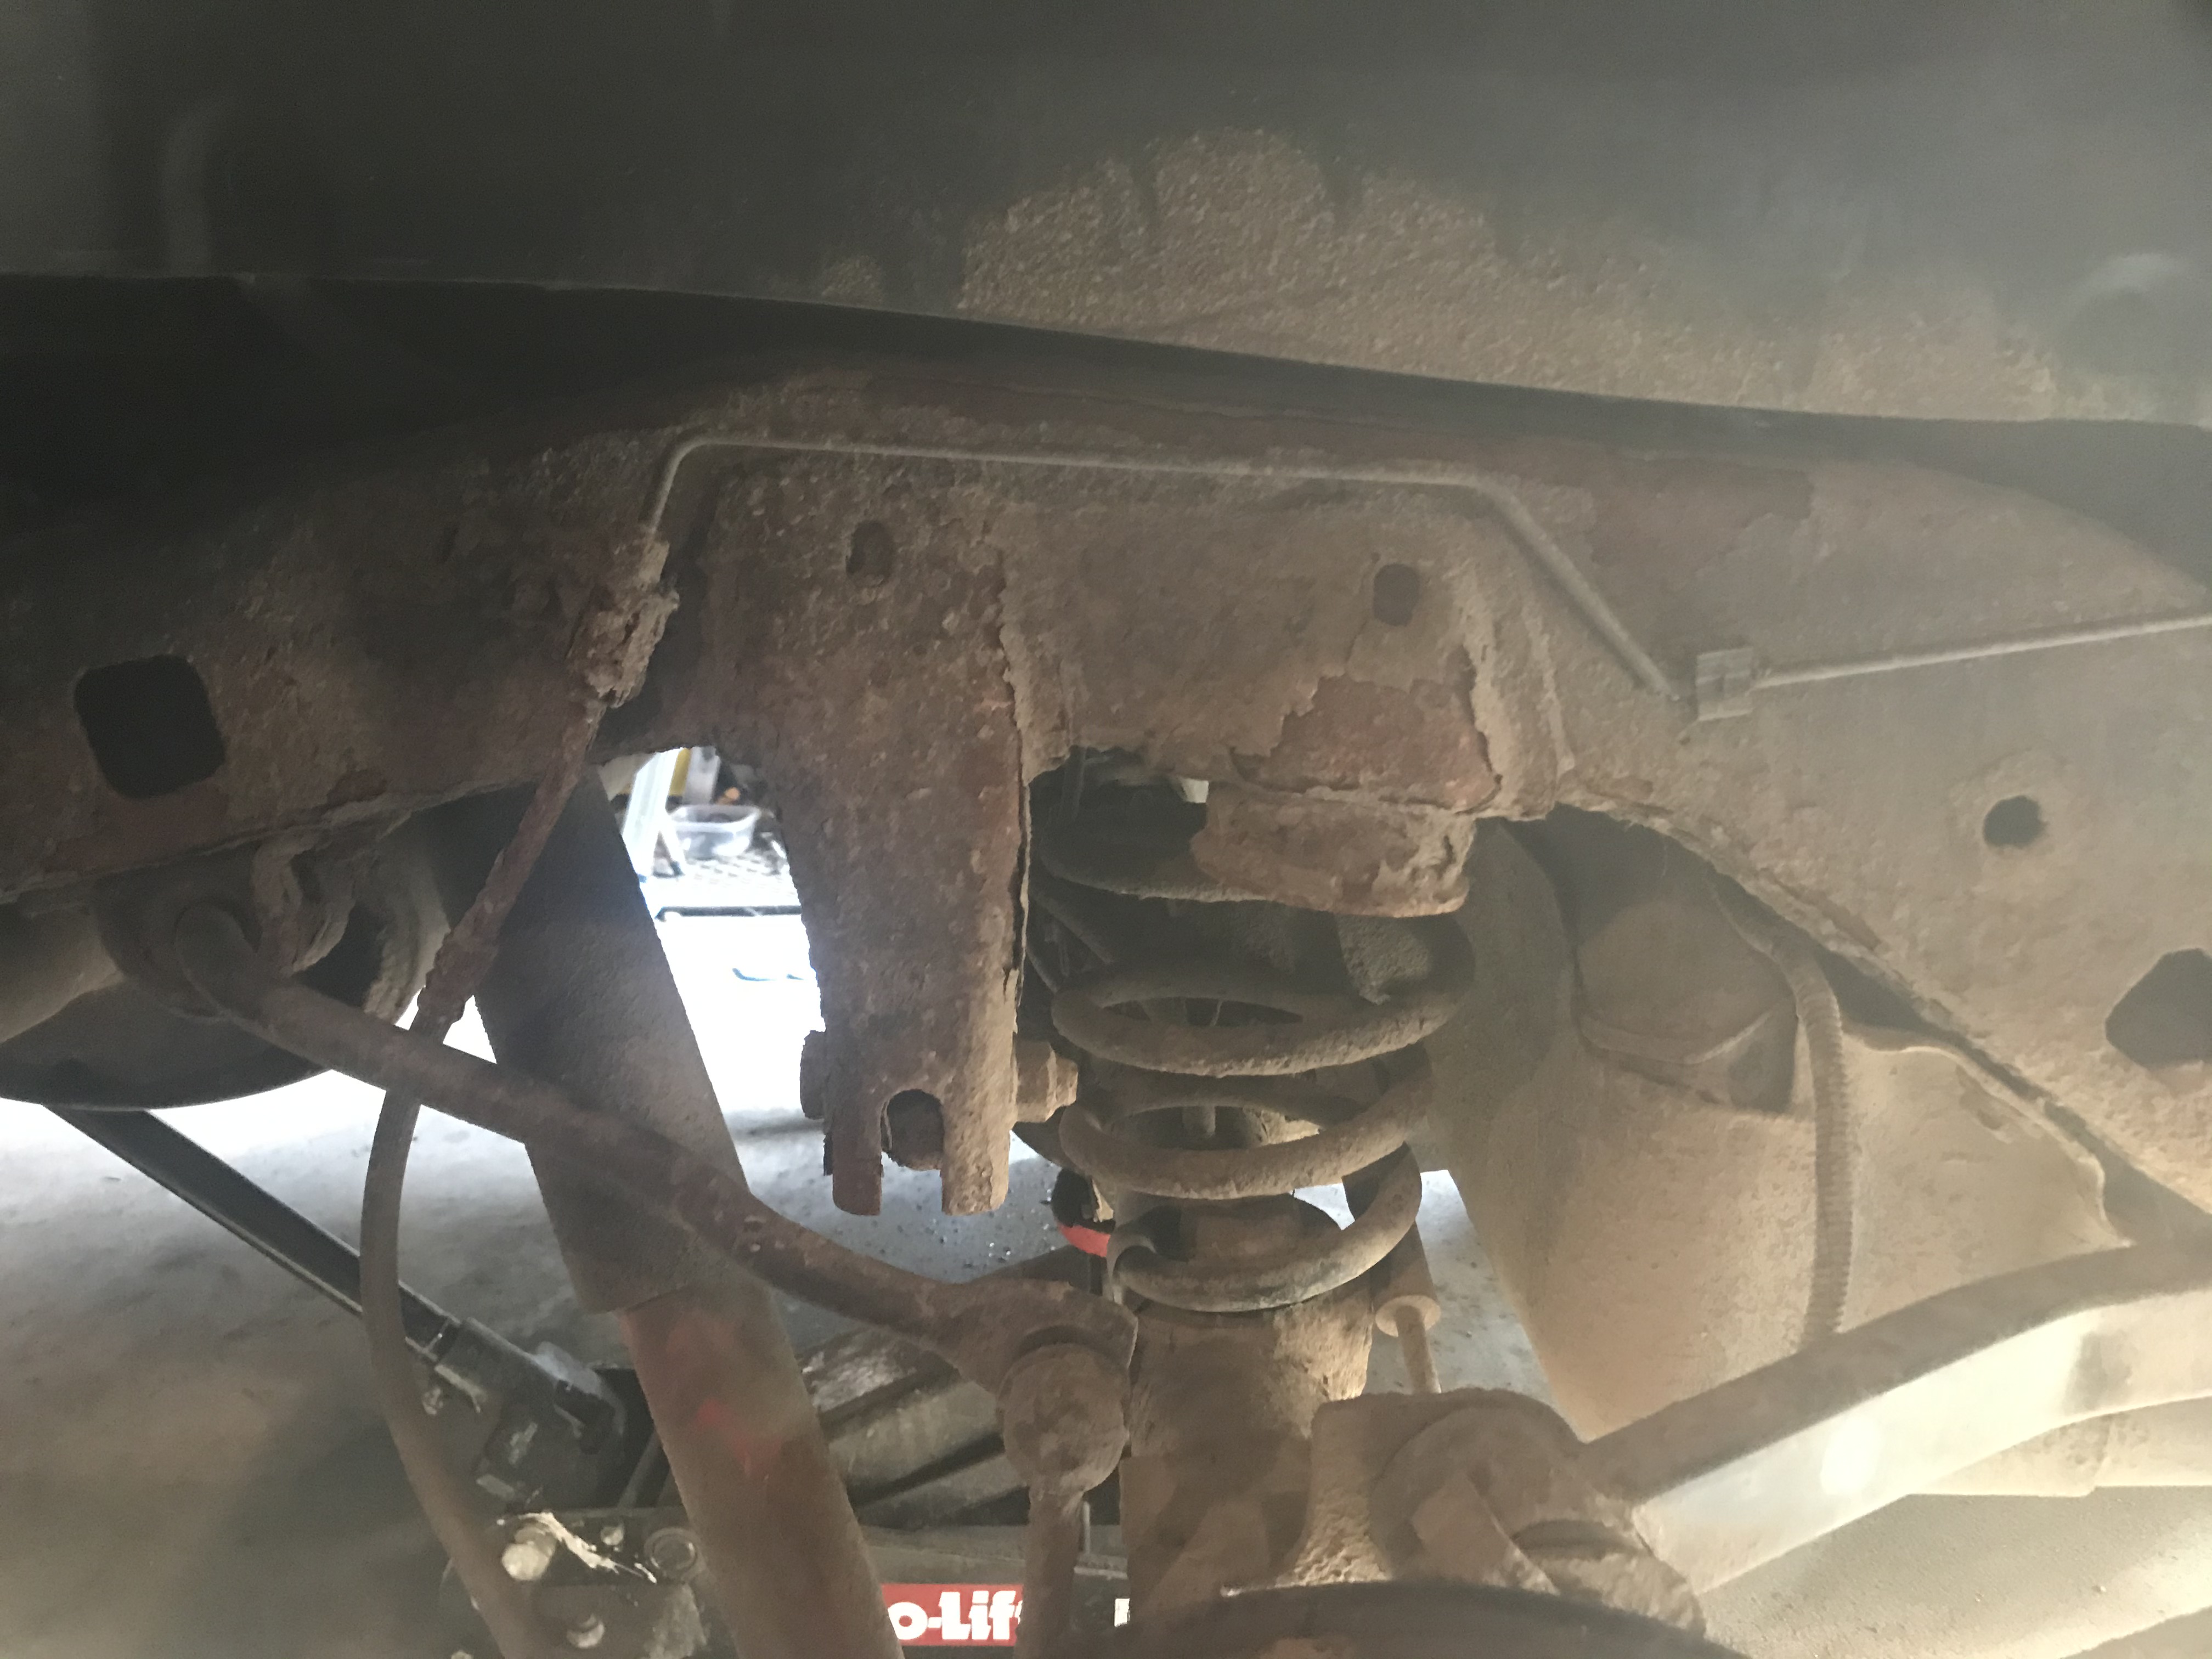
Starting to work on the back


Monday, September 7, 2020

07 September 2020 #1 -- finally progress!

Taking a bit of break now from 3-5. Gets warm in the garage when the sun is shining in!

Was at O'Reilly's five minutes after they opened. Had the correct seals in stock, which makes me think I could have gotten them yesterday if the part had been looked up correctly.

Front:
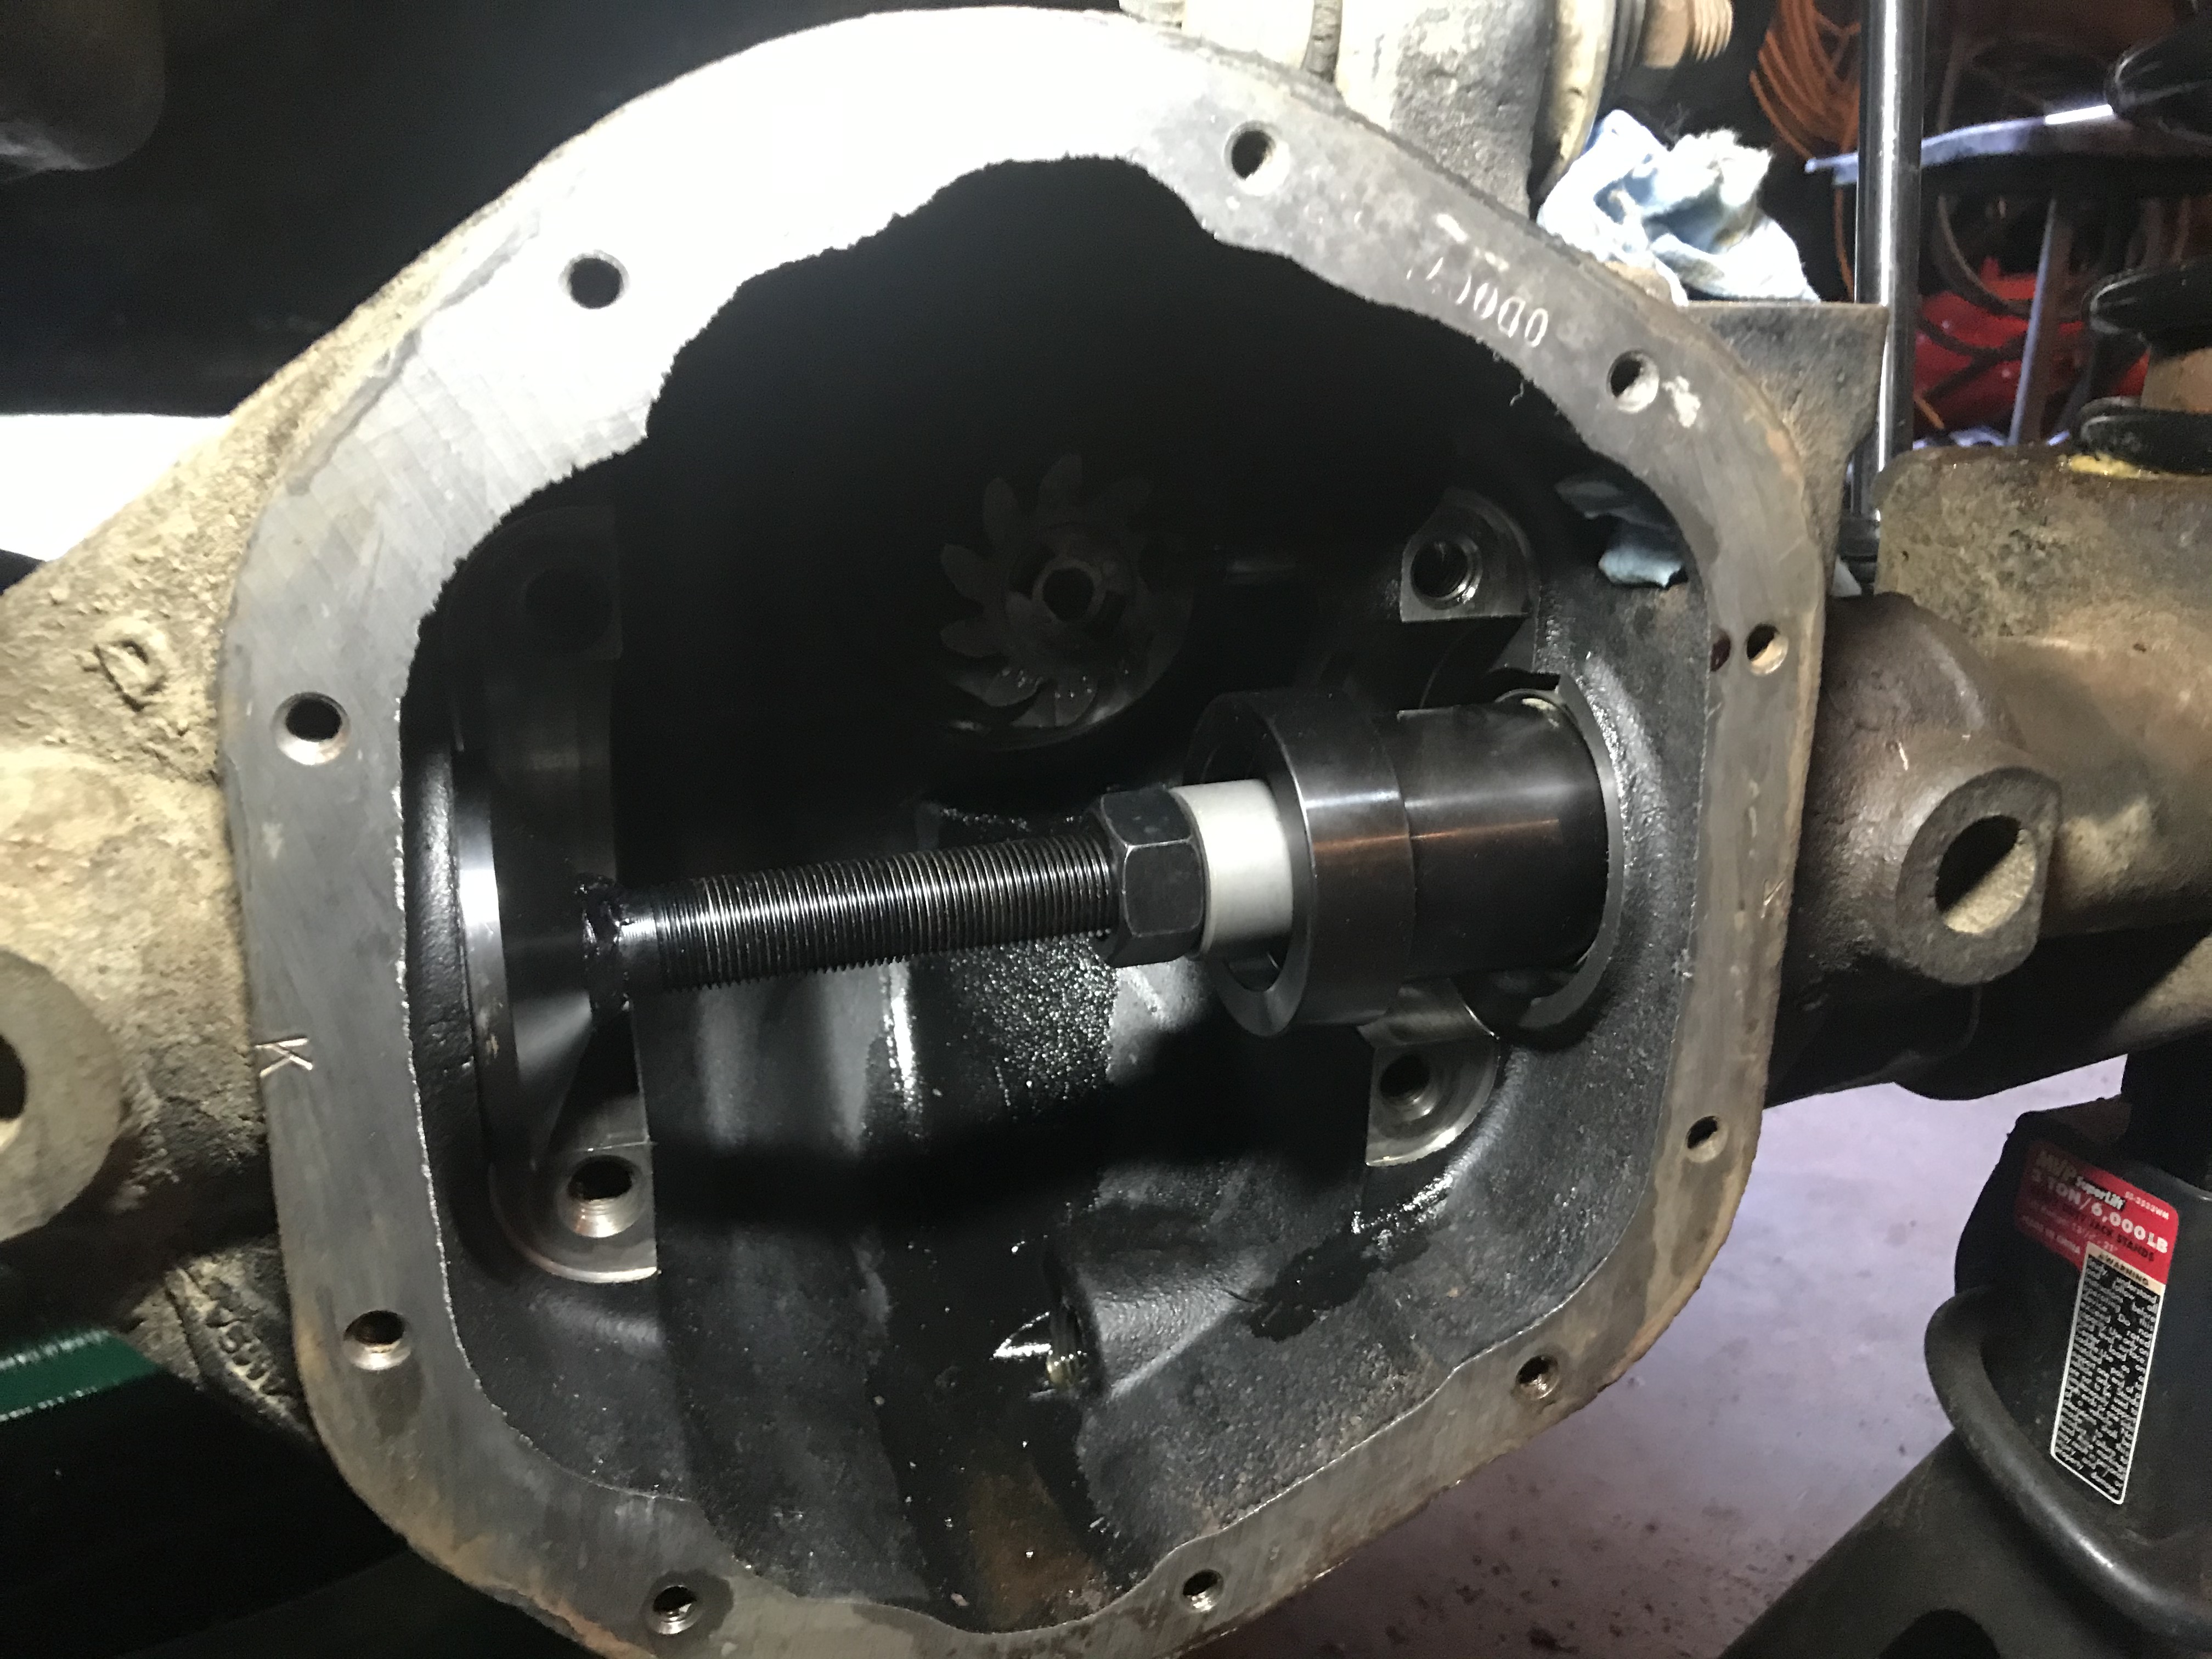
Diff axle seals installed
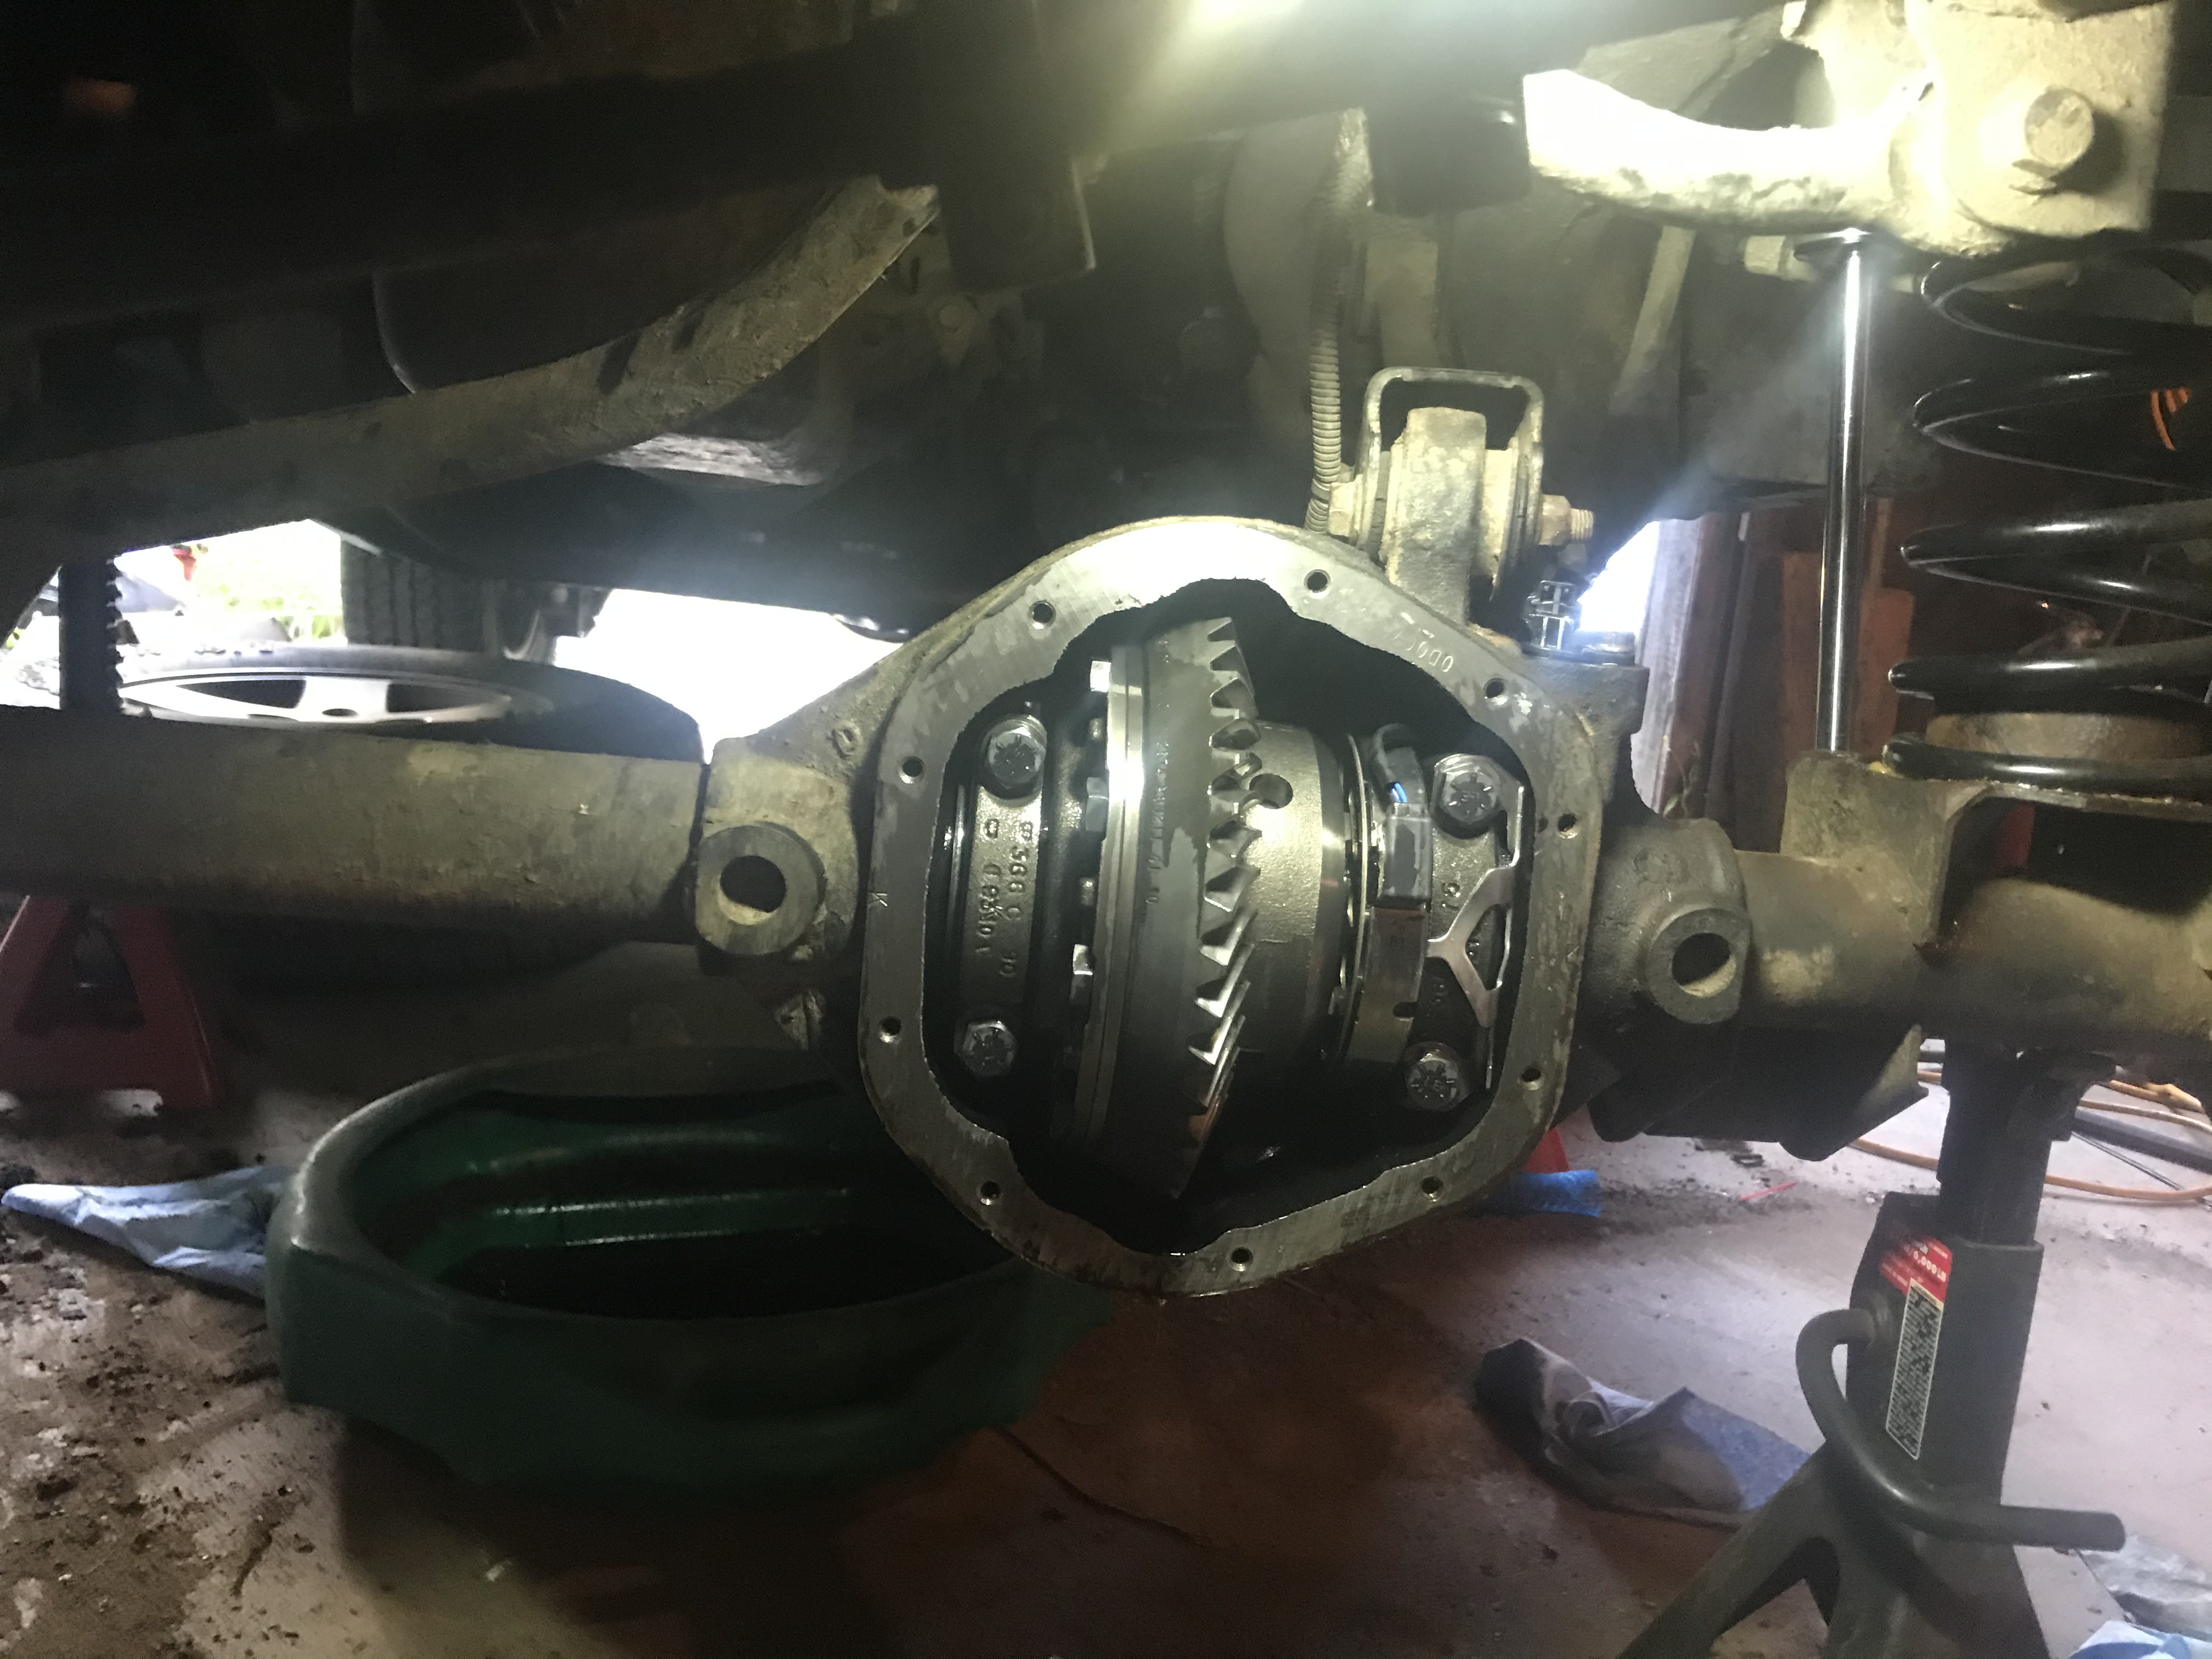
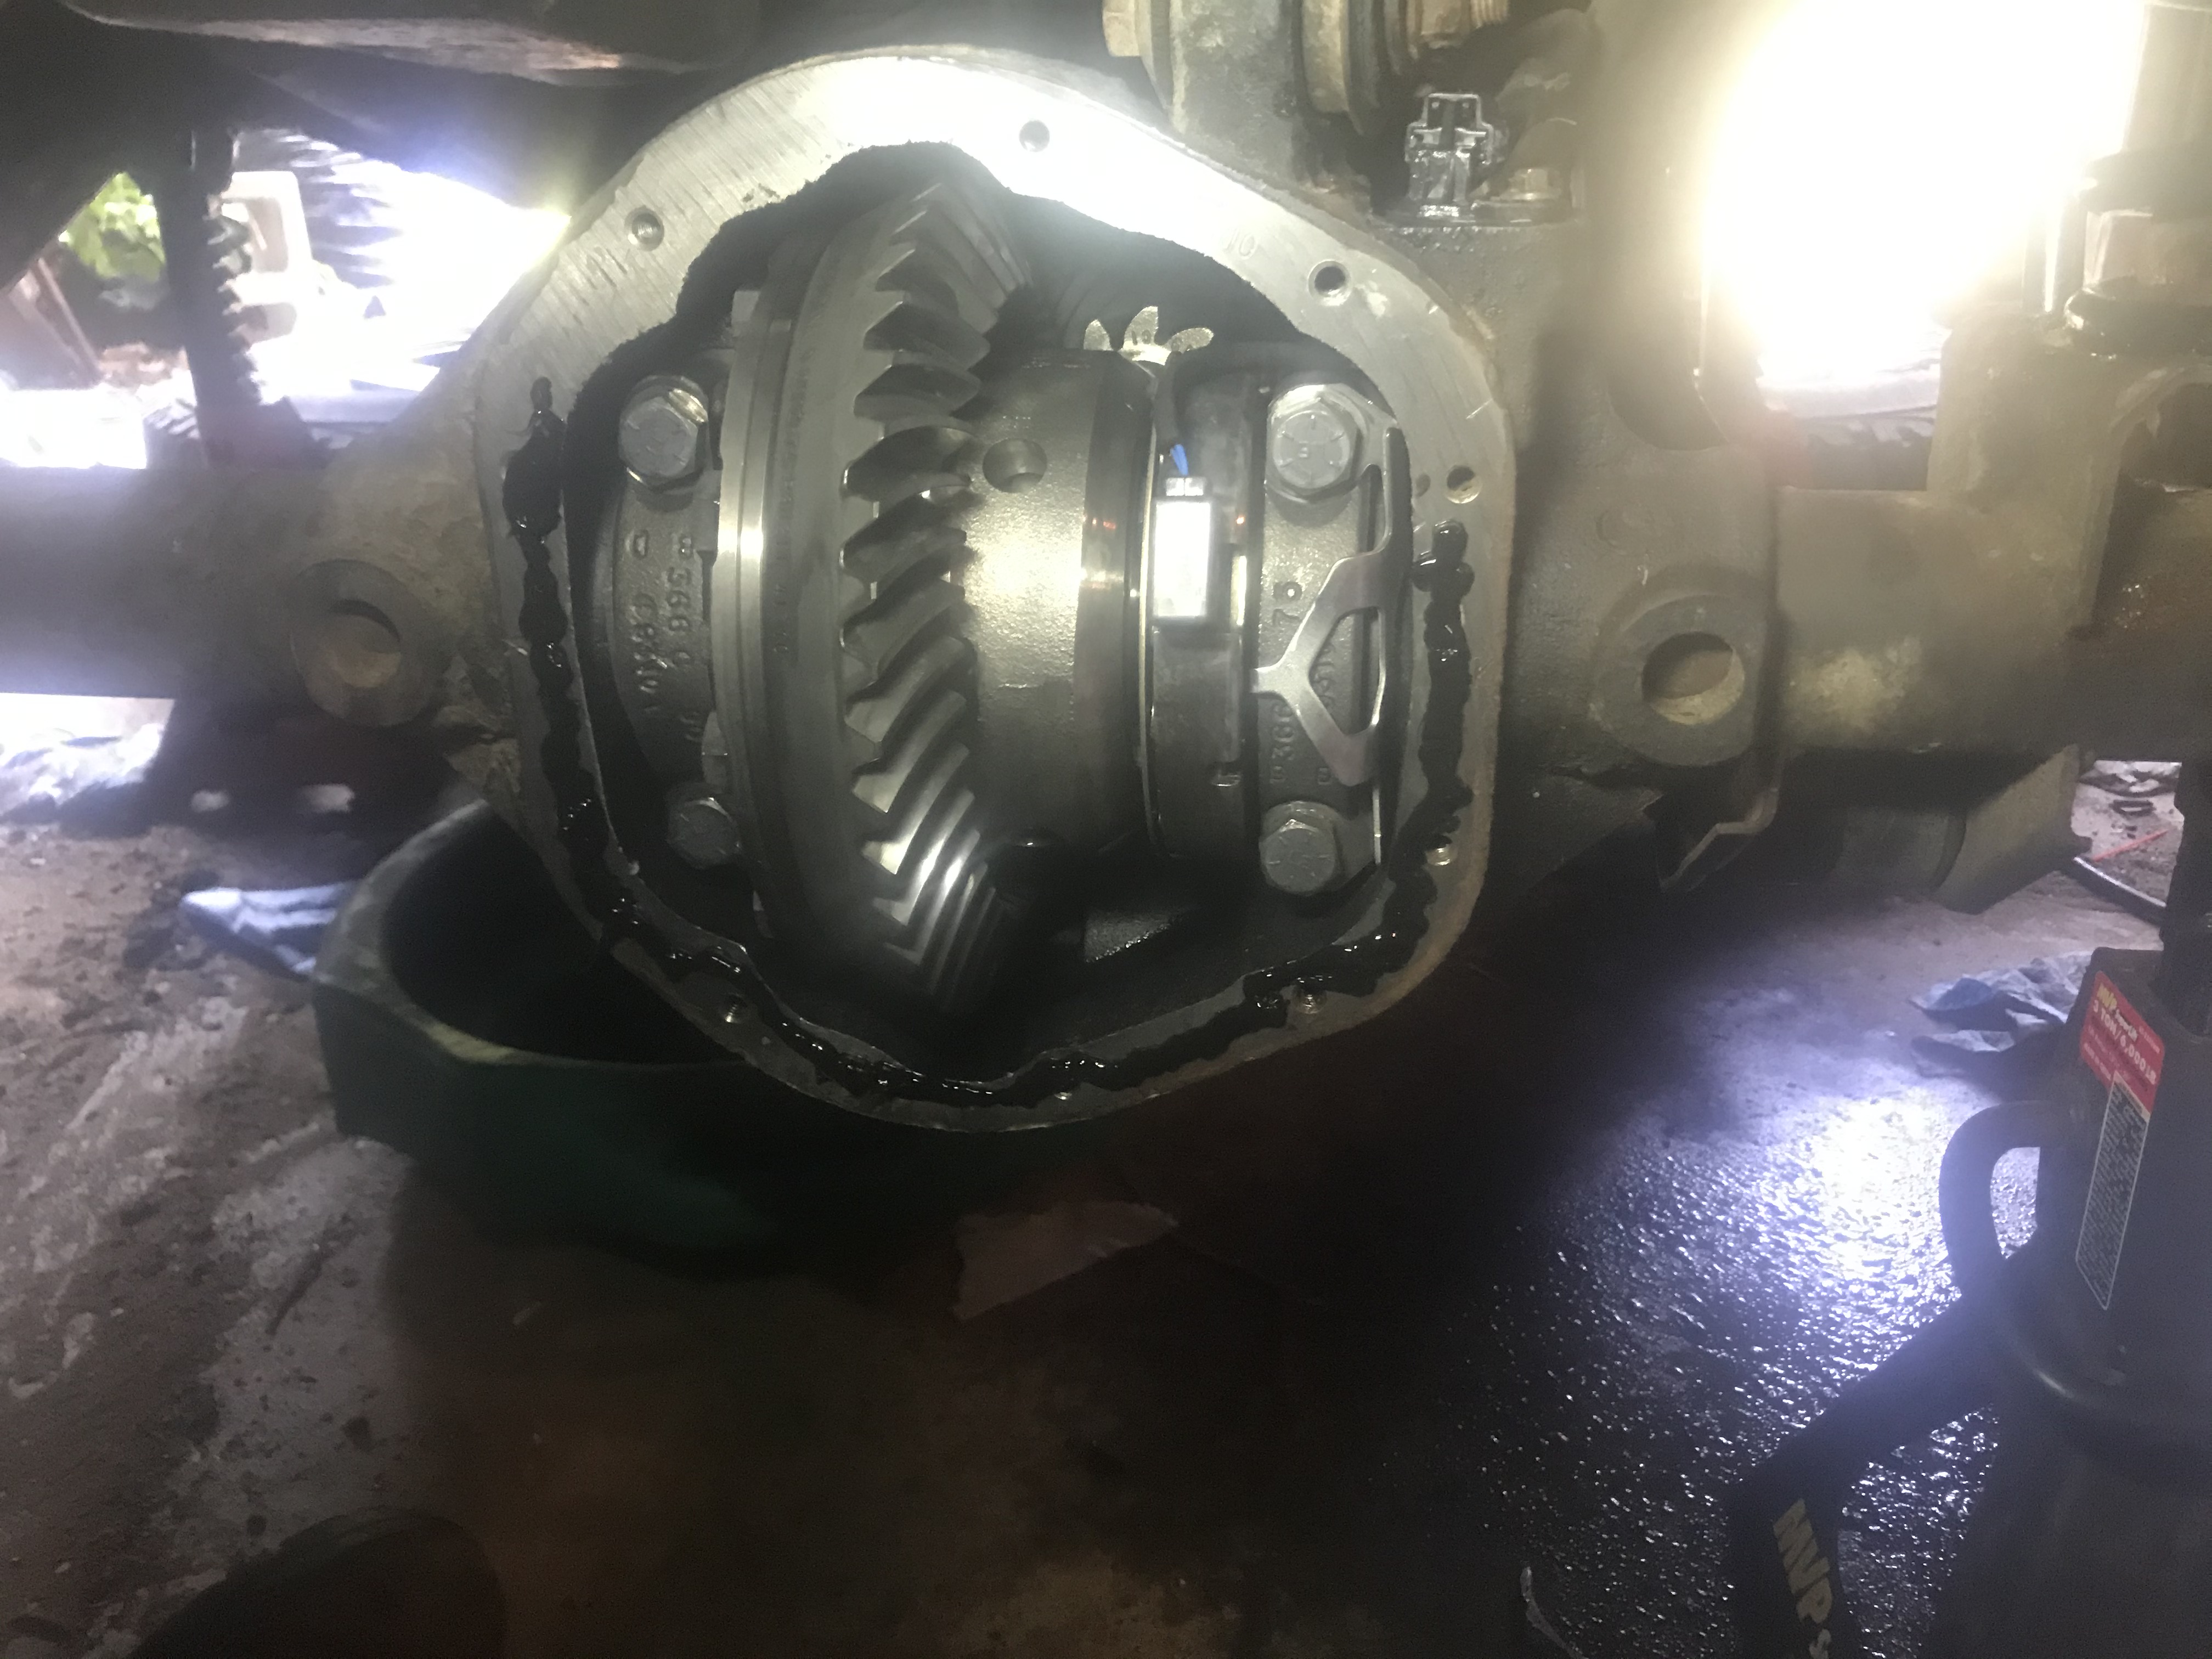
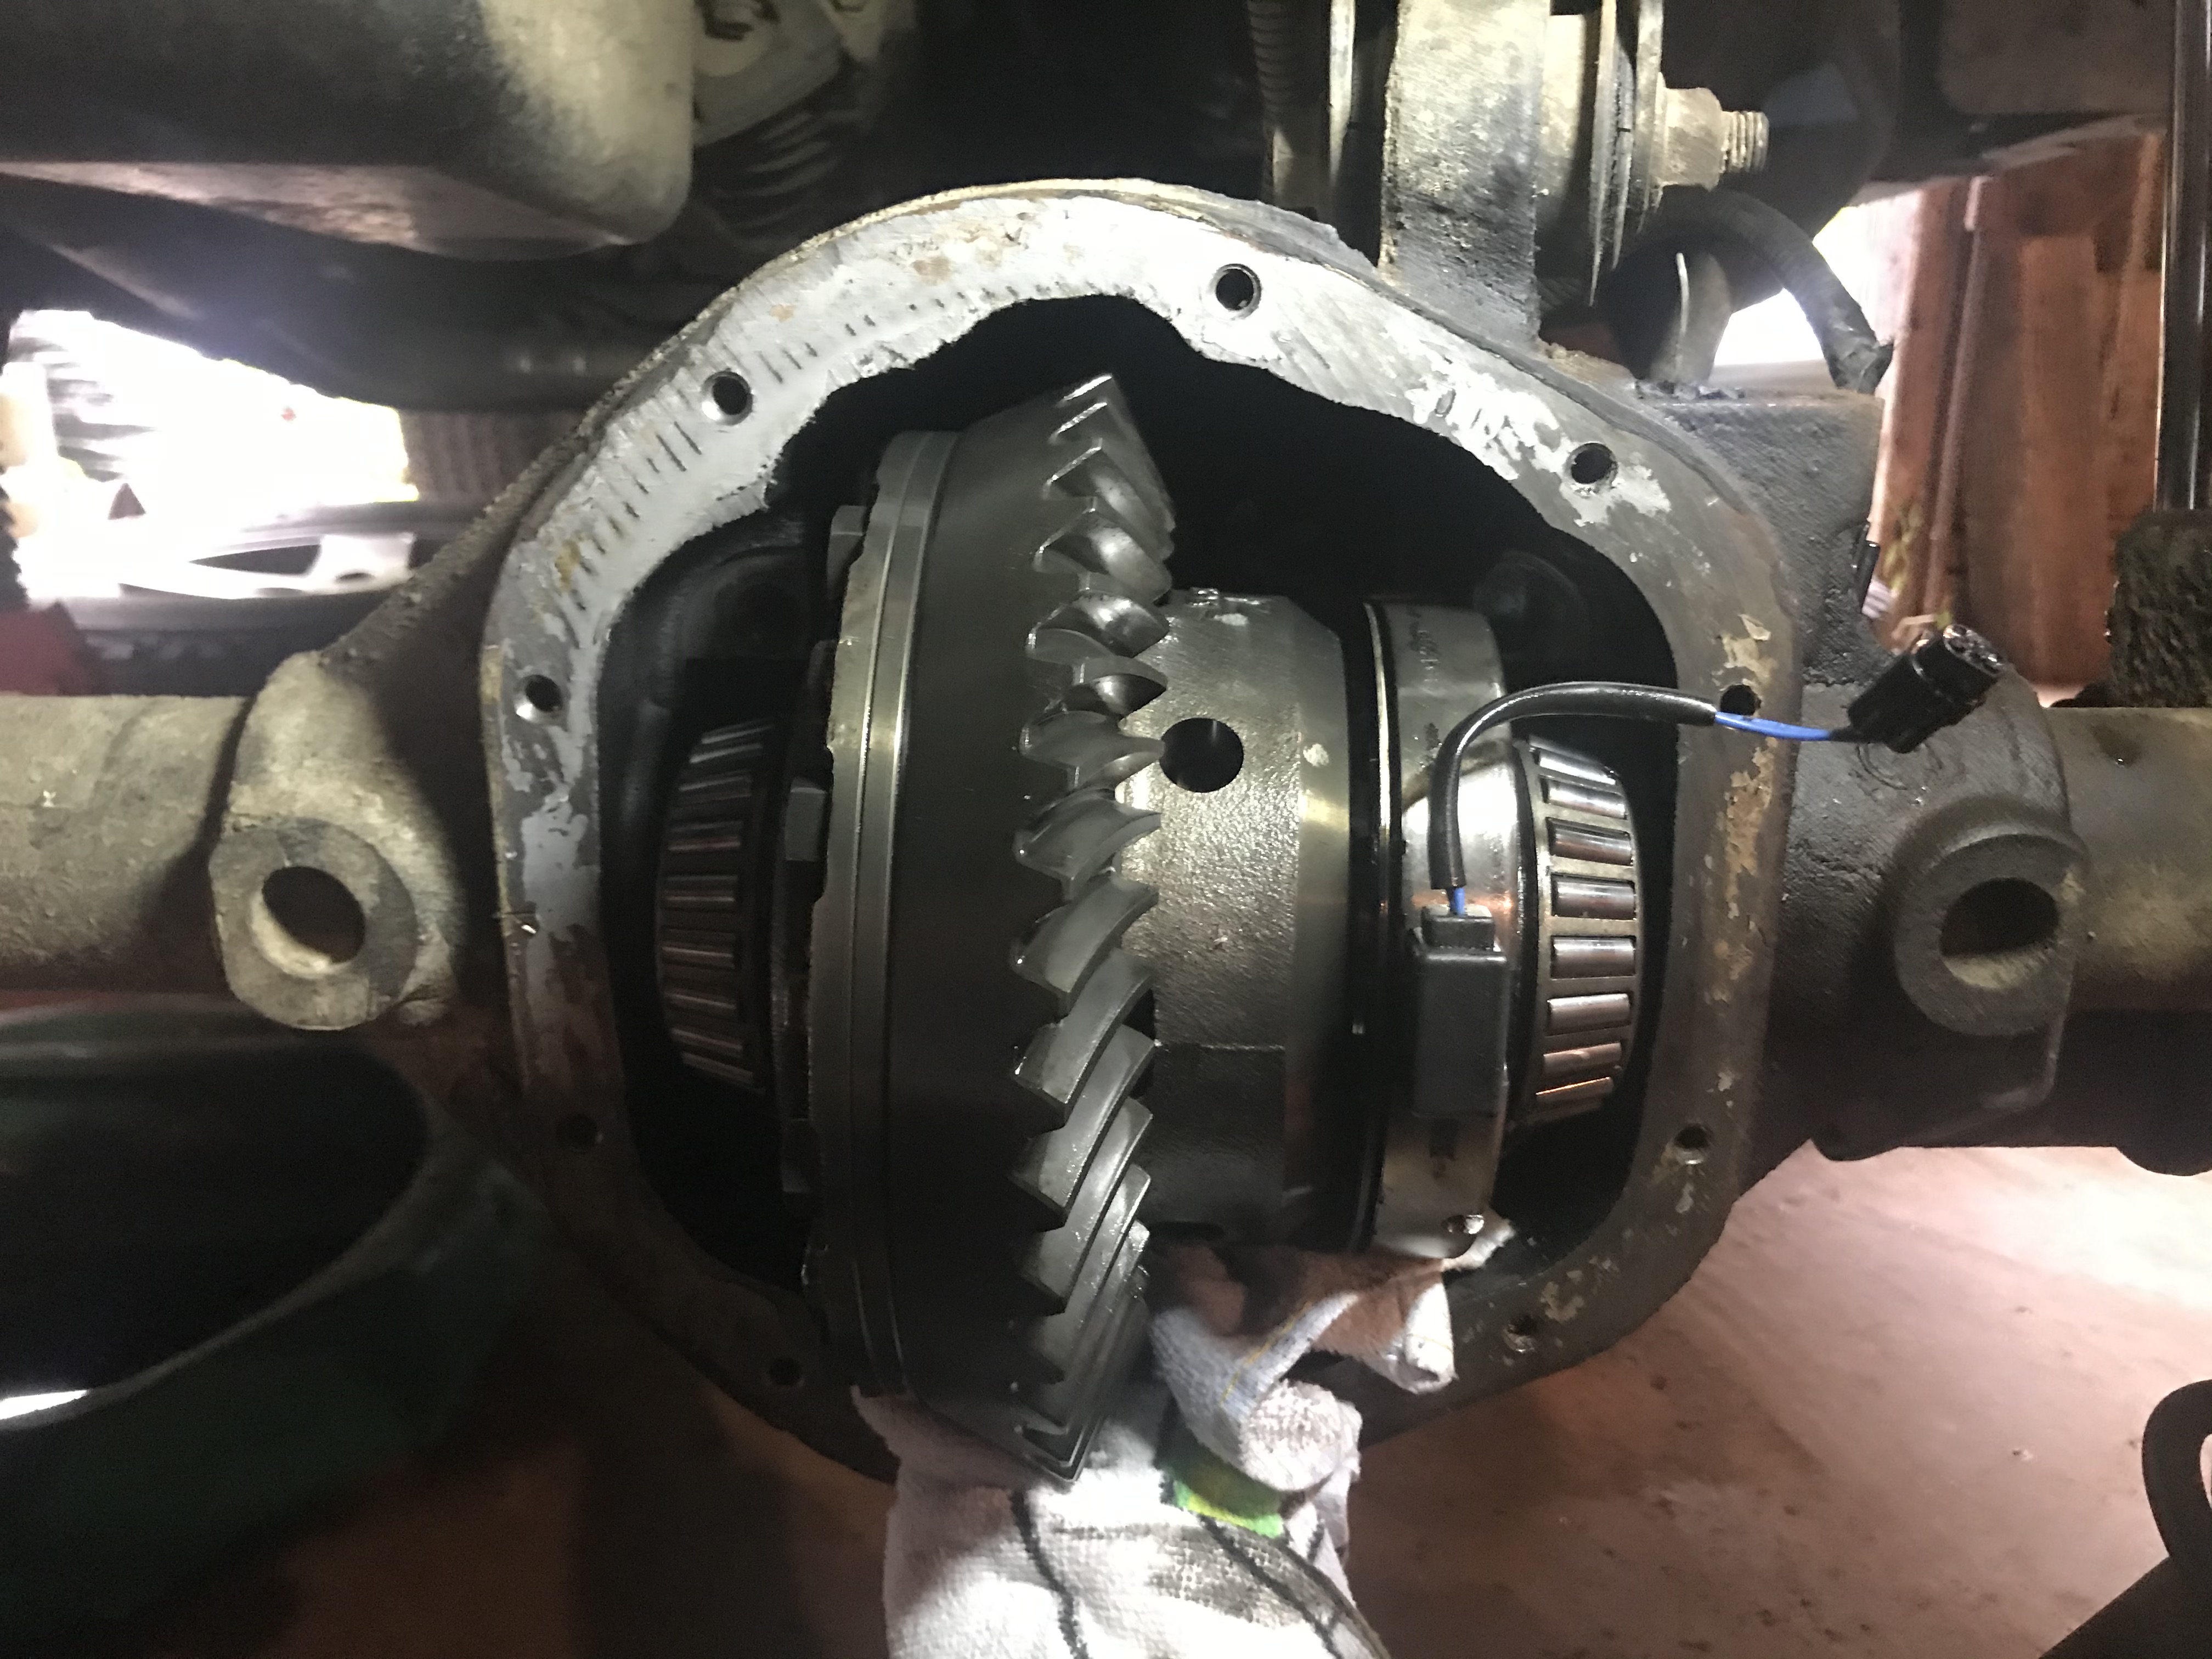
Diff gears re-installed
Axles back in...unlike when I did the U-Joints they both slid back in like they should easy-squeeze
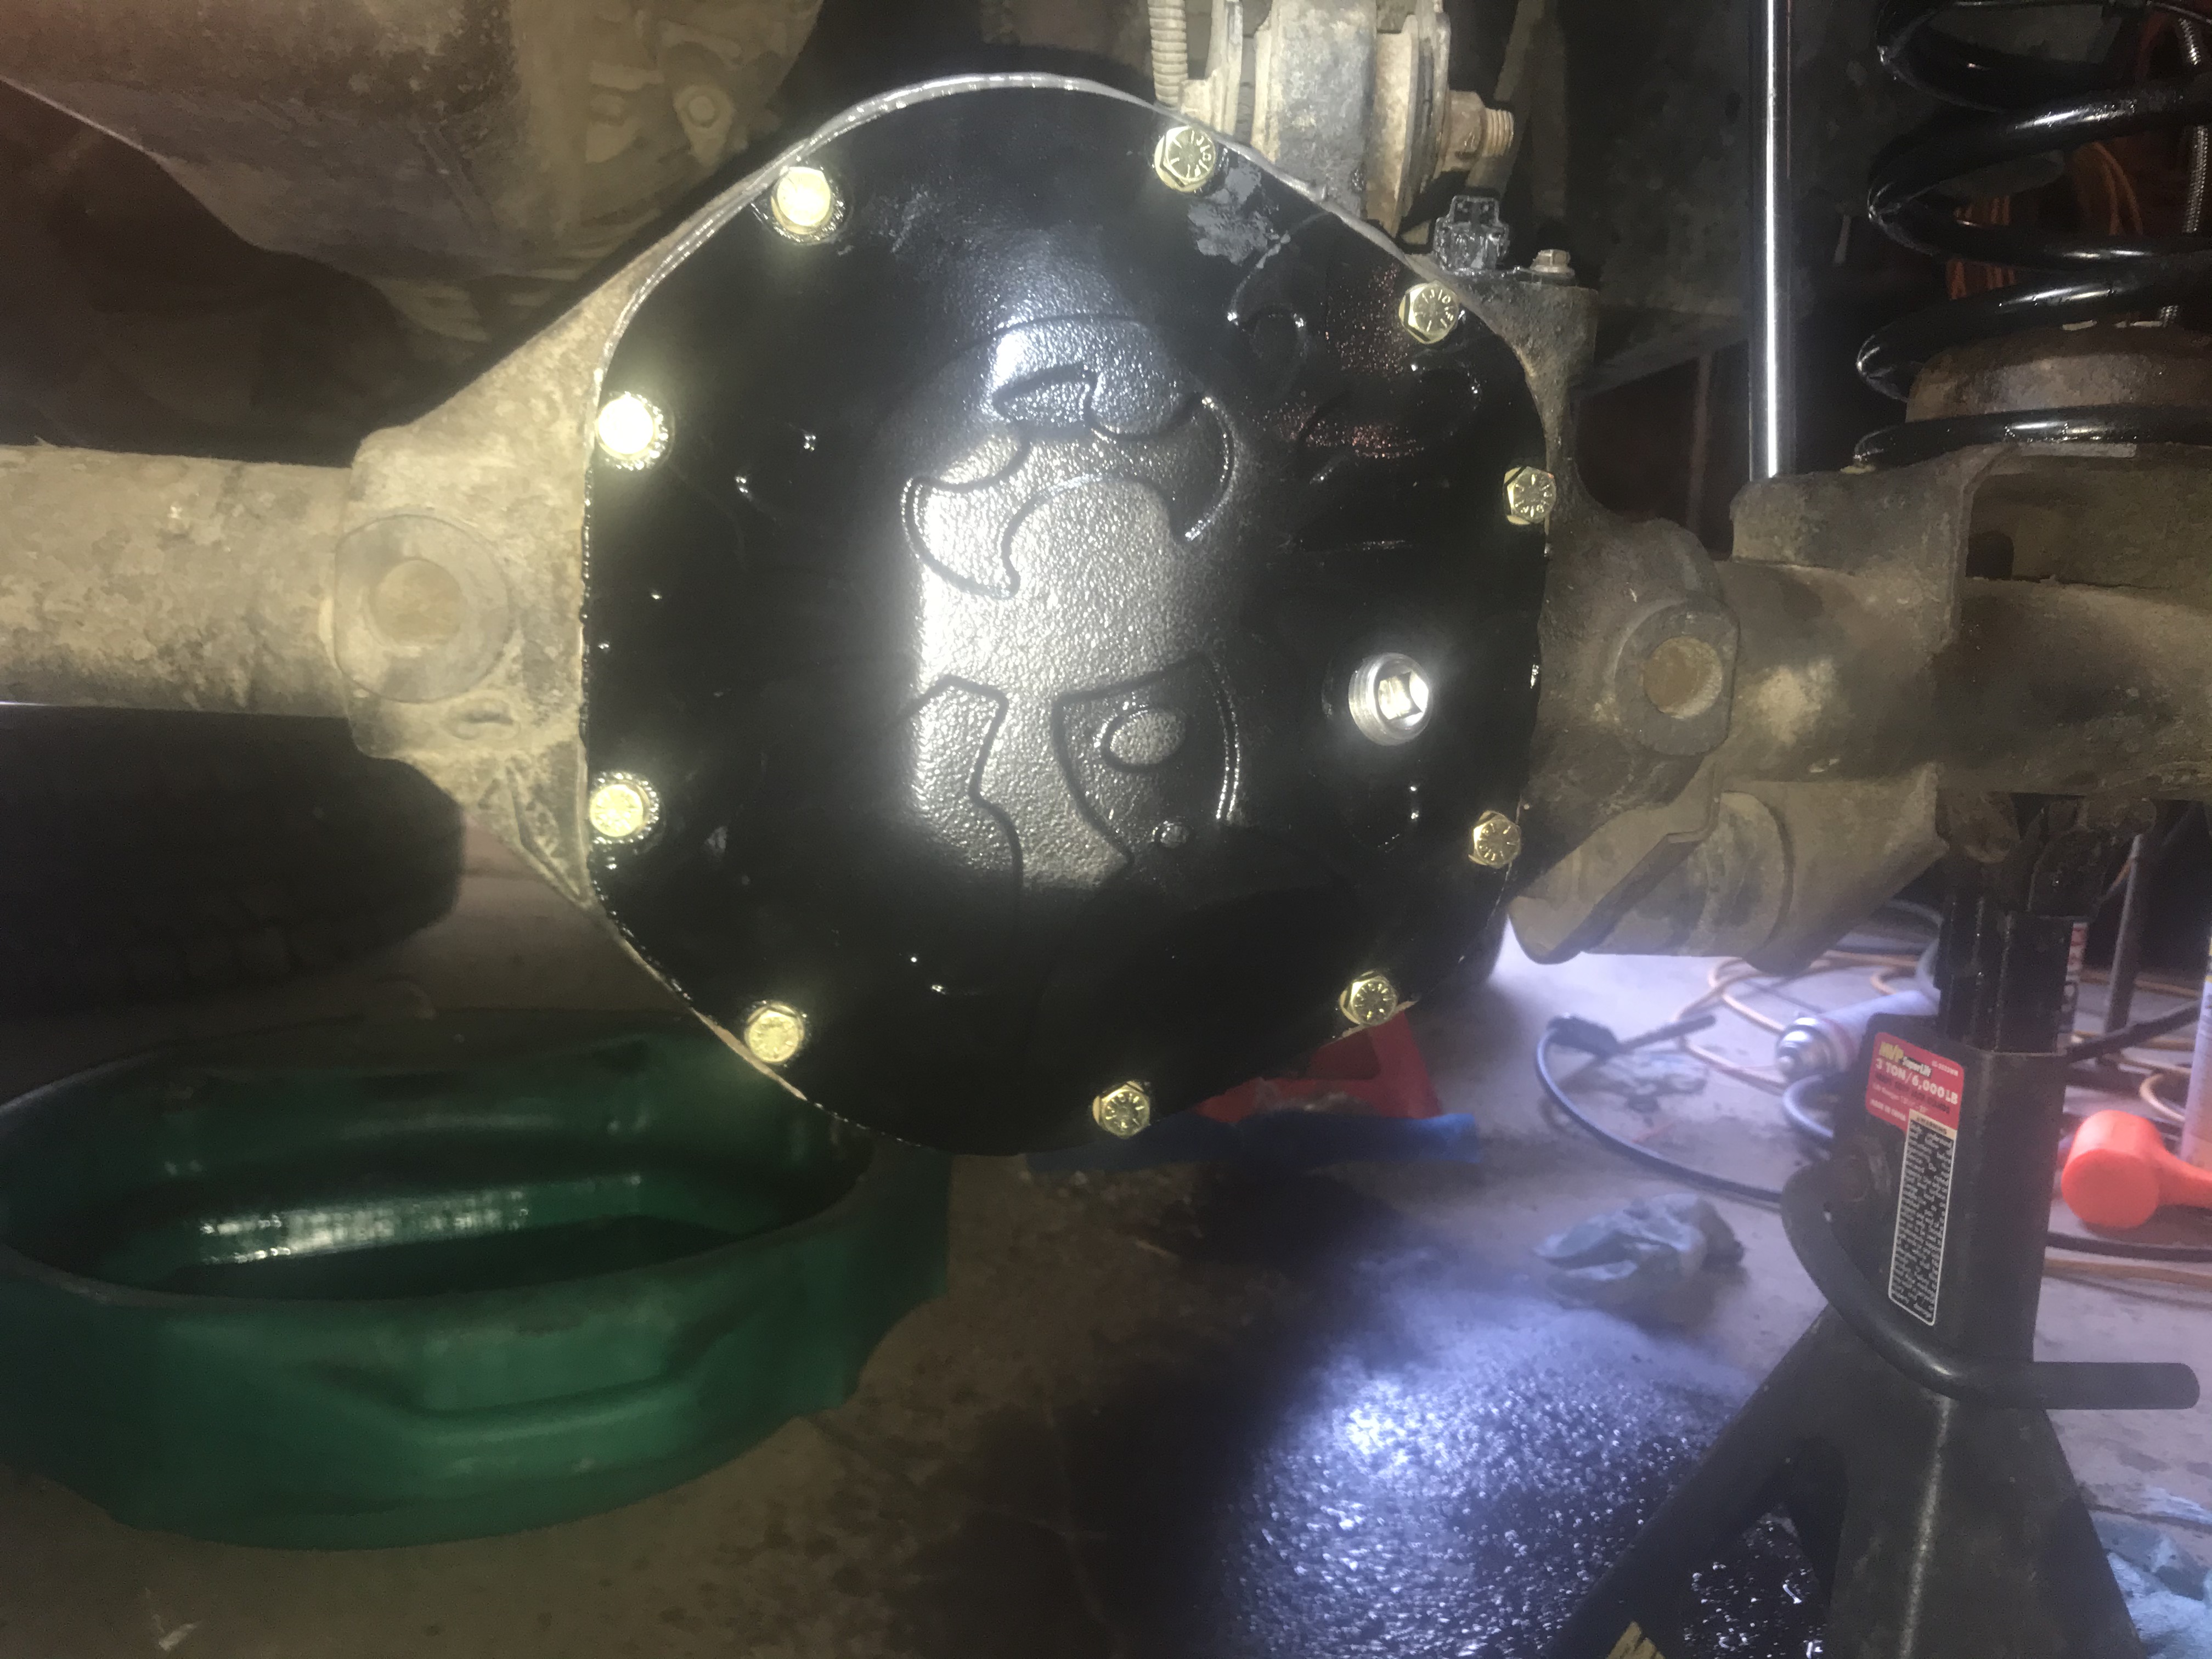
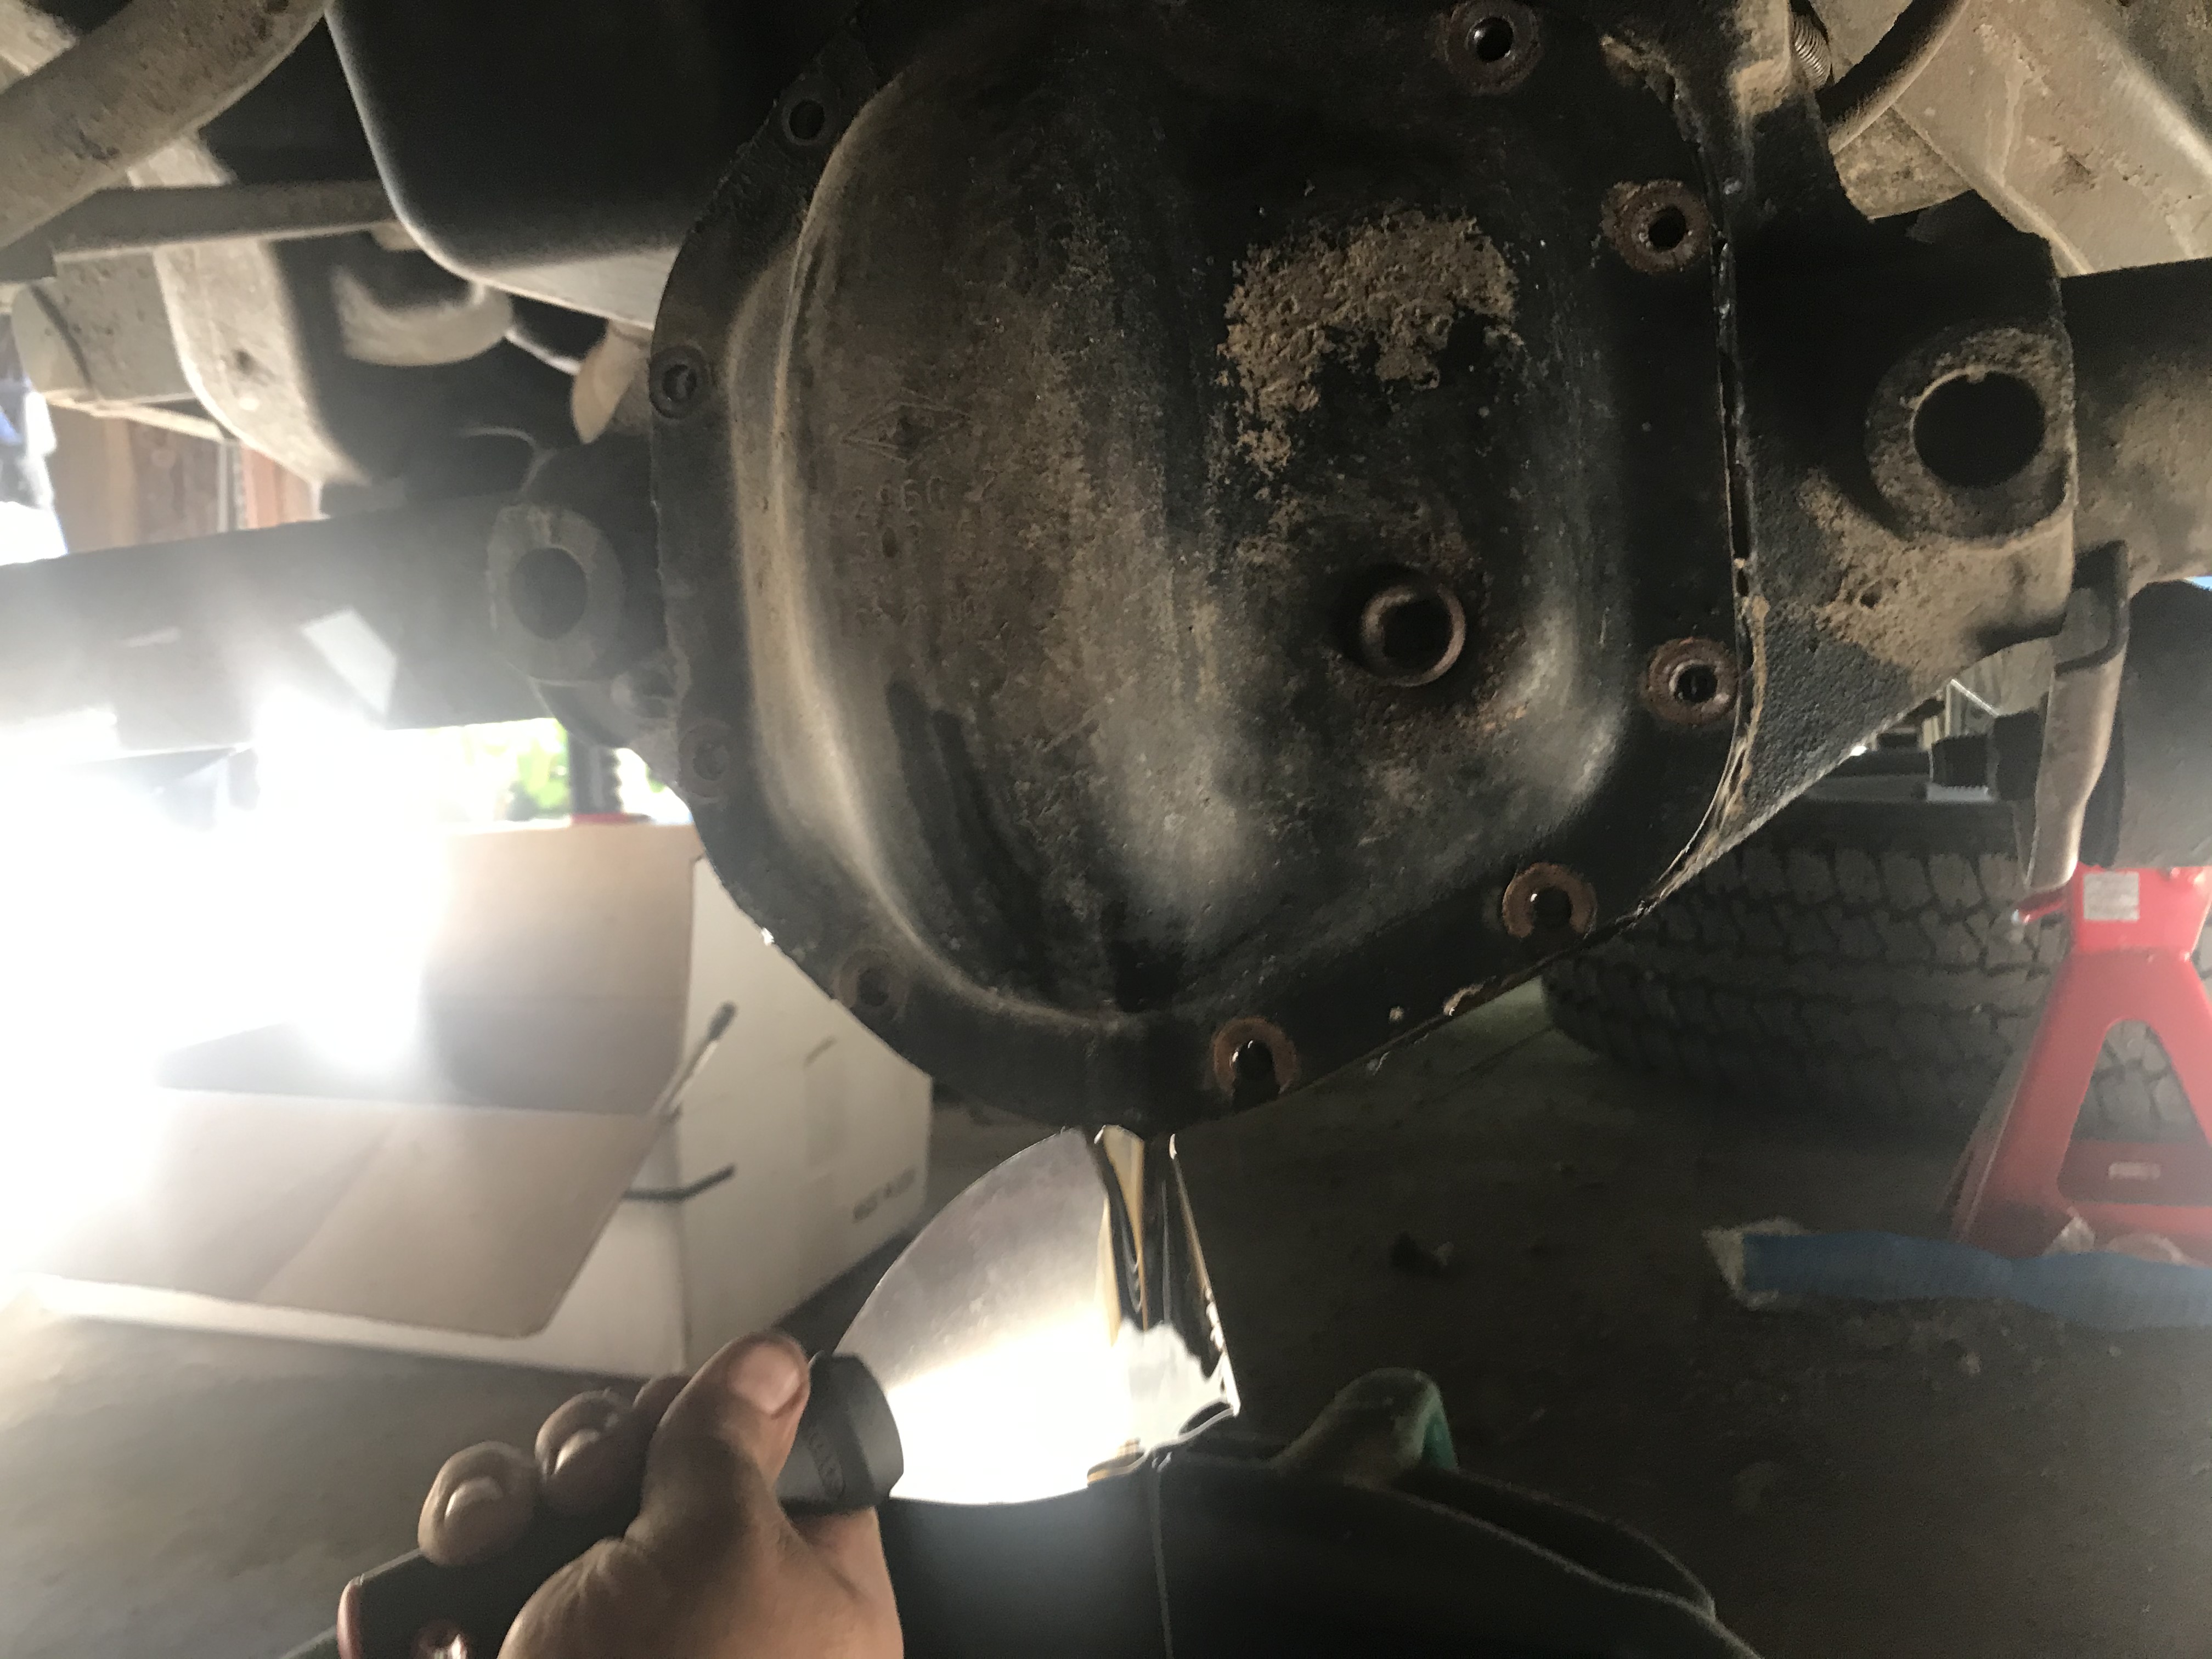
Poison Spyder diff cover on
Let it sit 90 minutes hand tight for gasket to start to set
Per directions, torqued it down to let it sit 24 hours (which will probably be only 18 hours if I take most of tomorrow off to work on the rear)
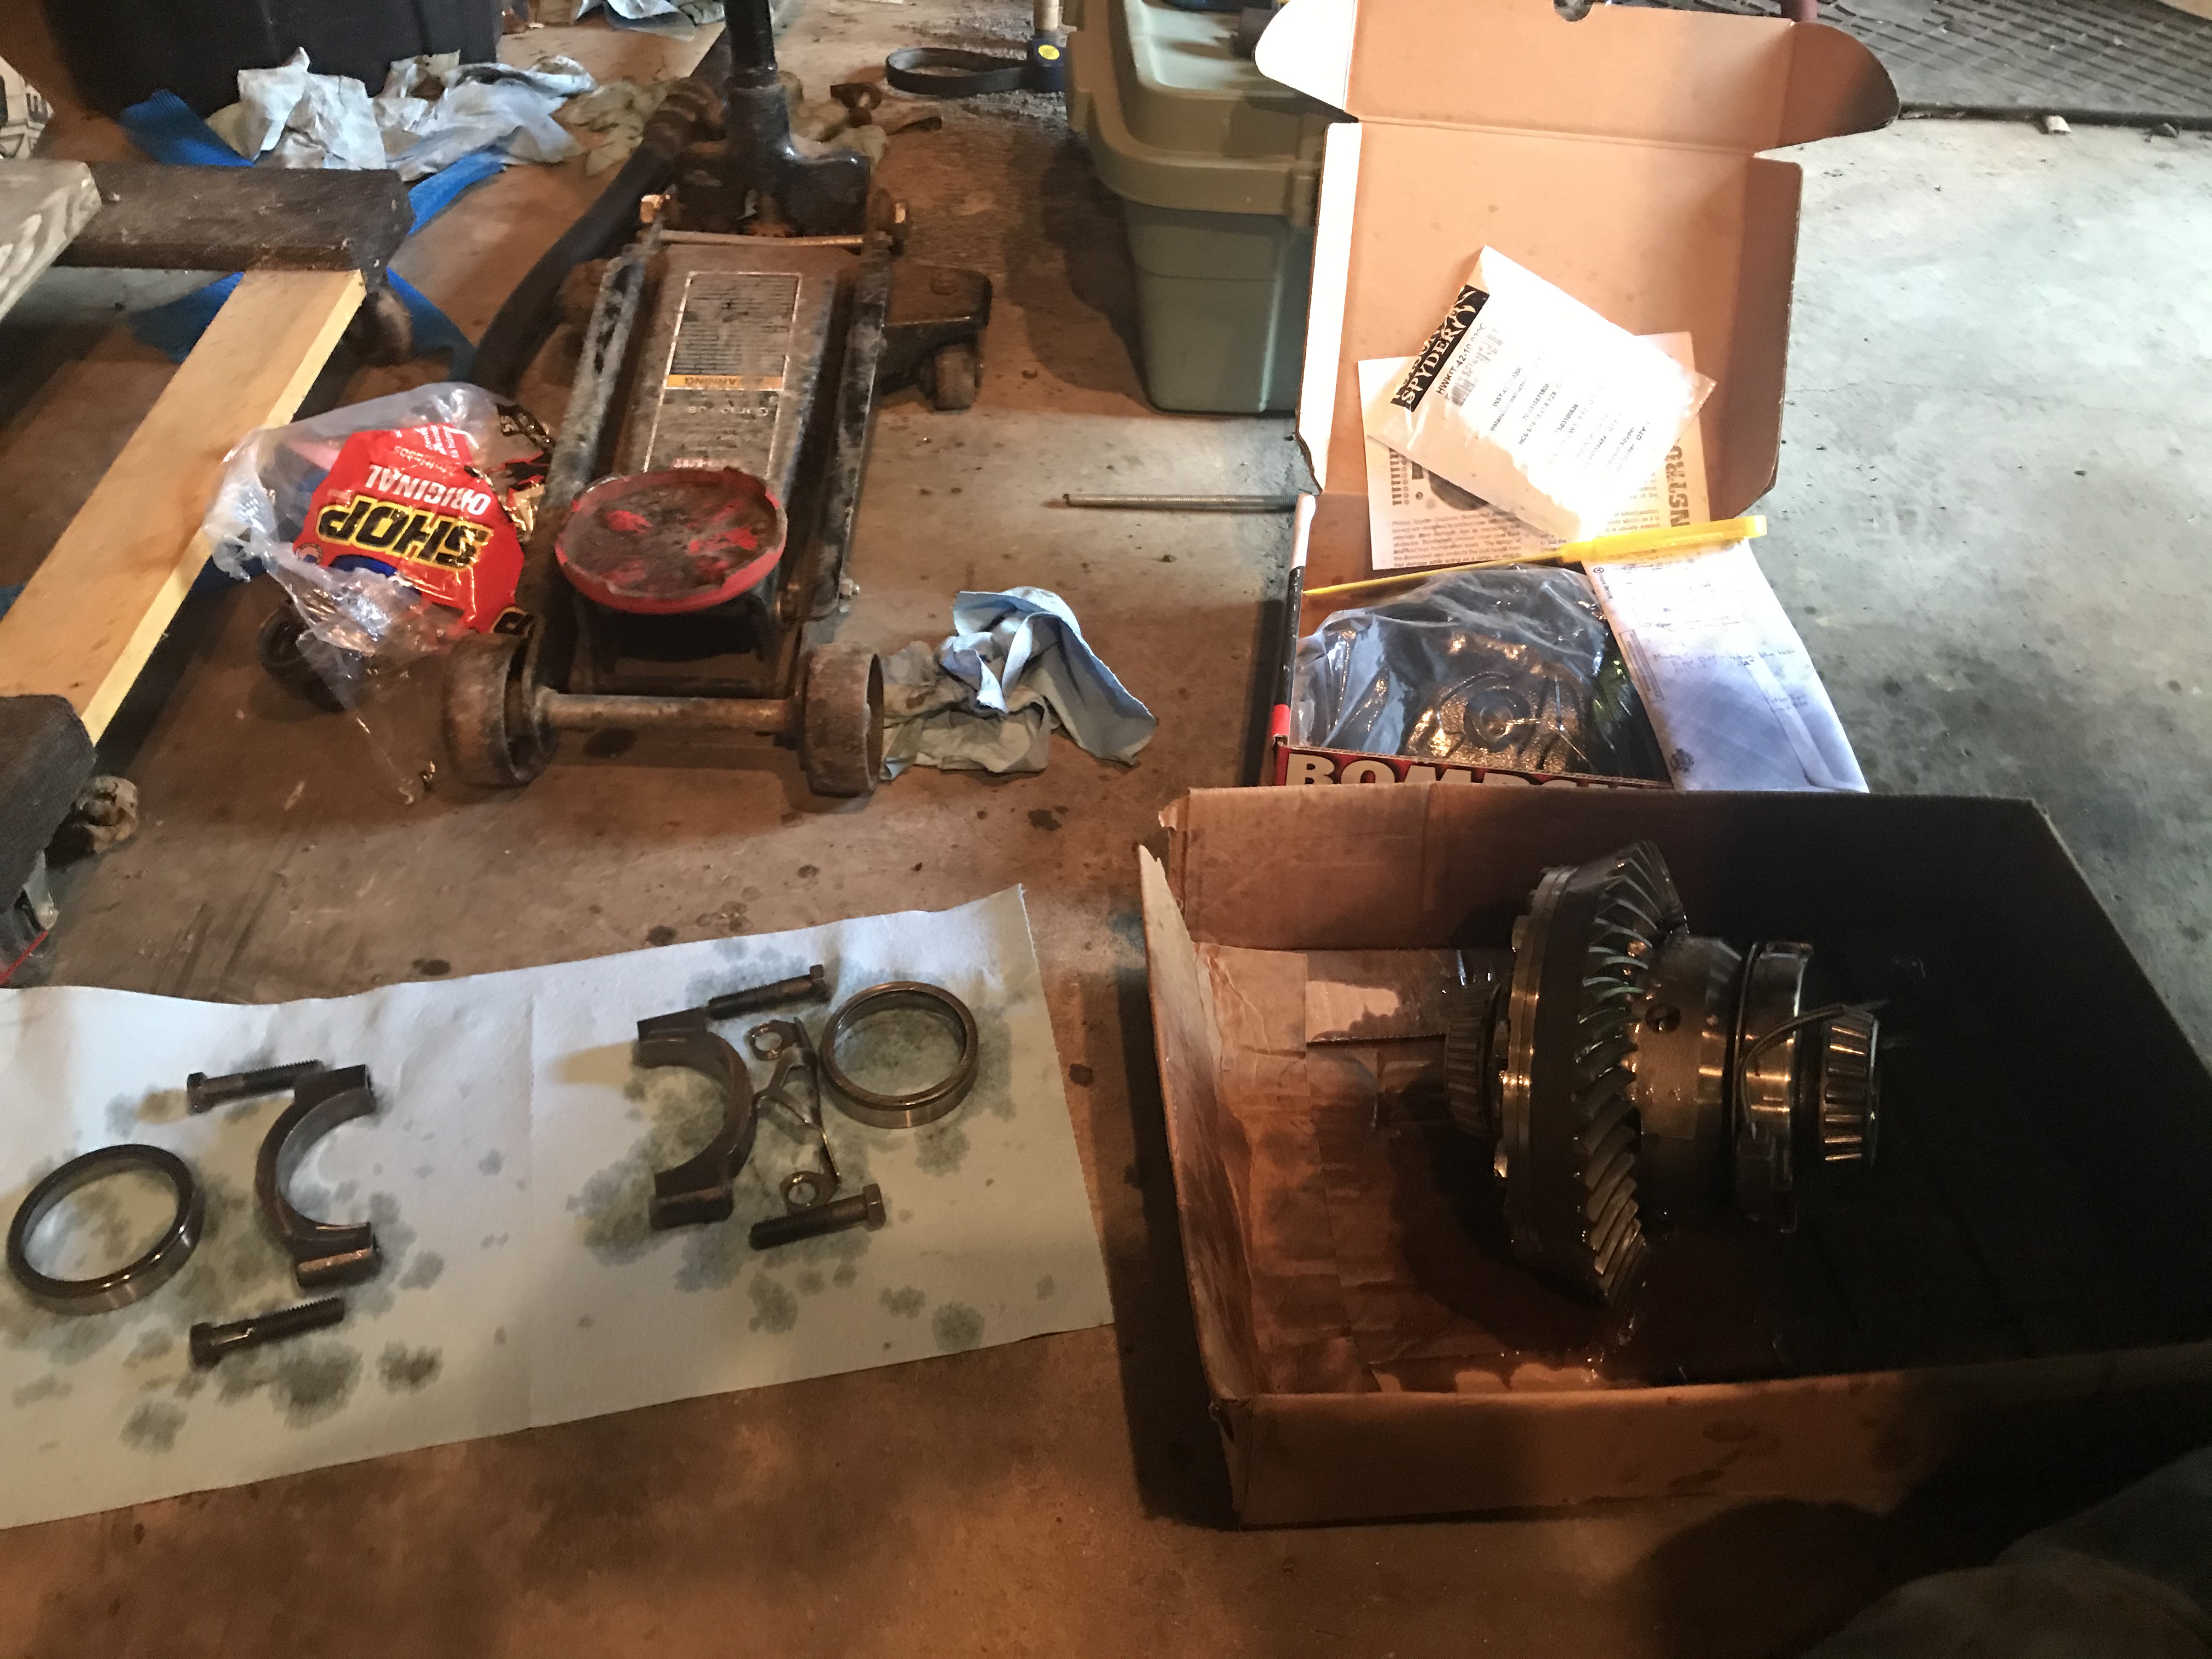
Bearings bolted down
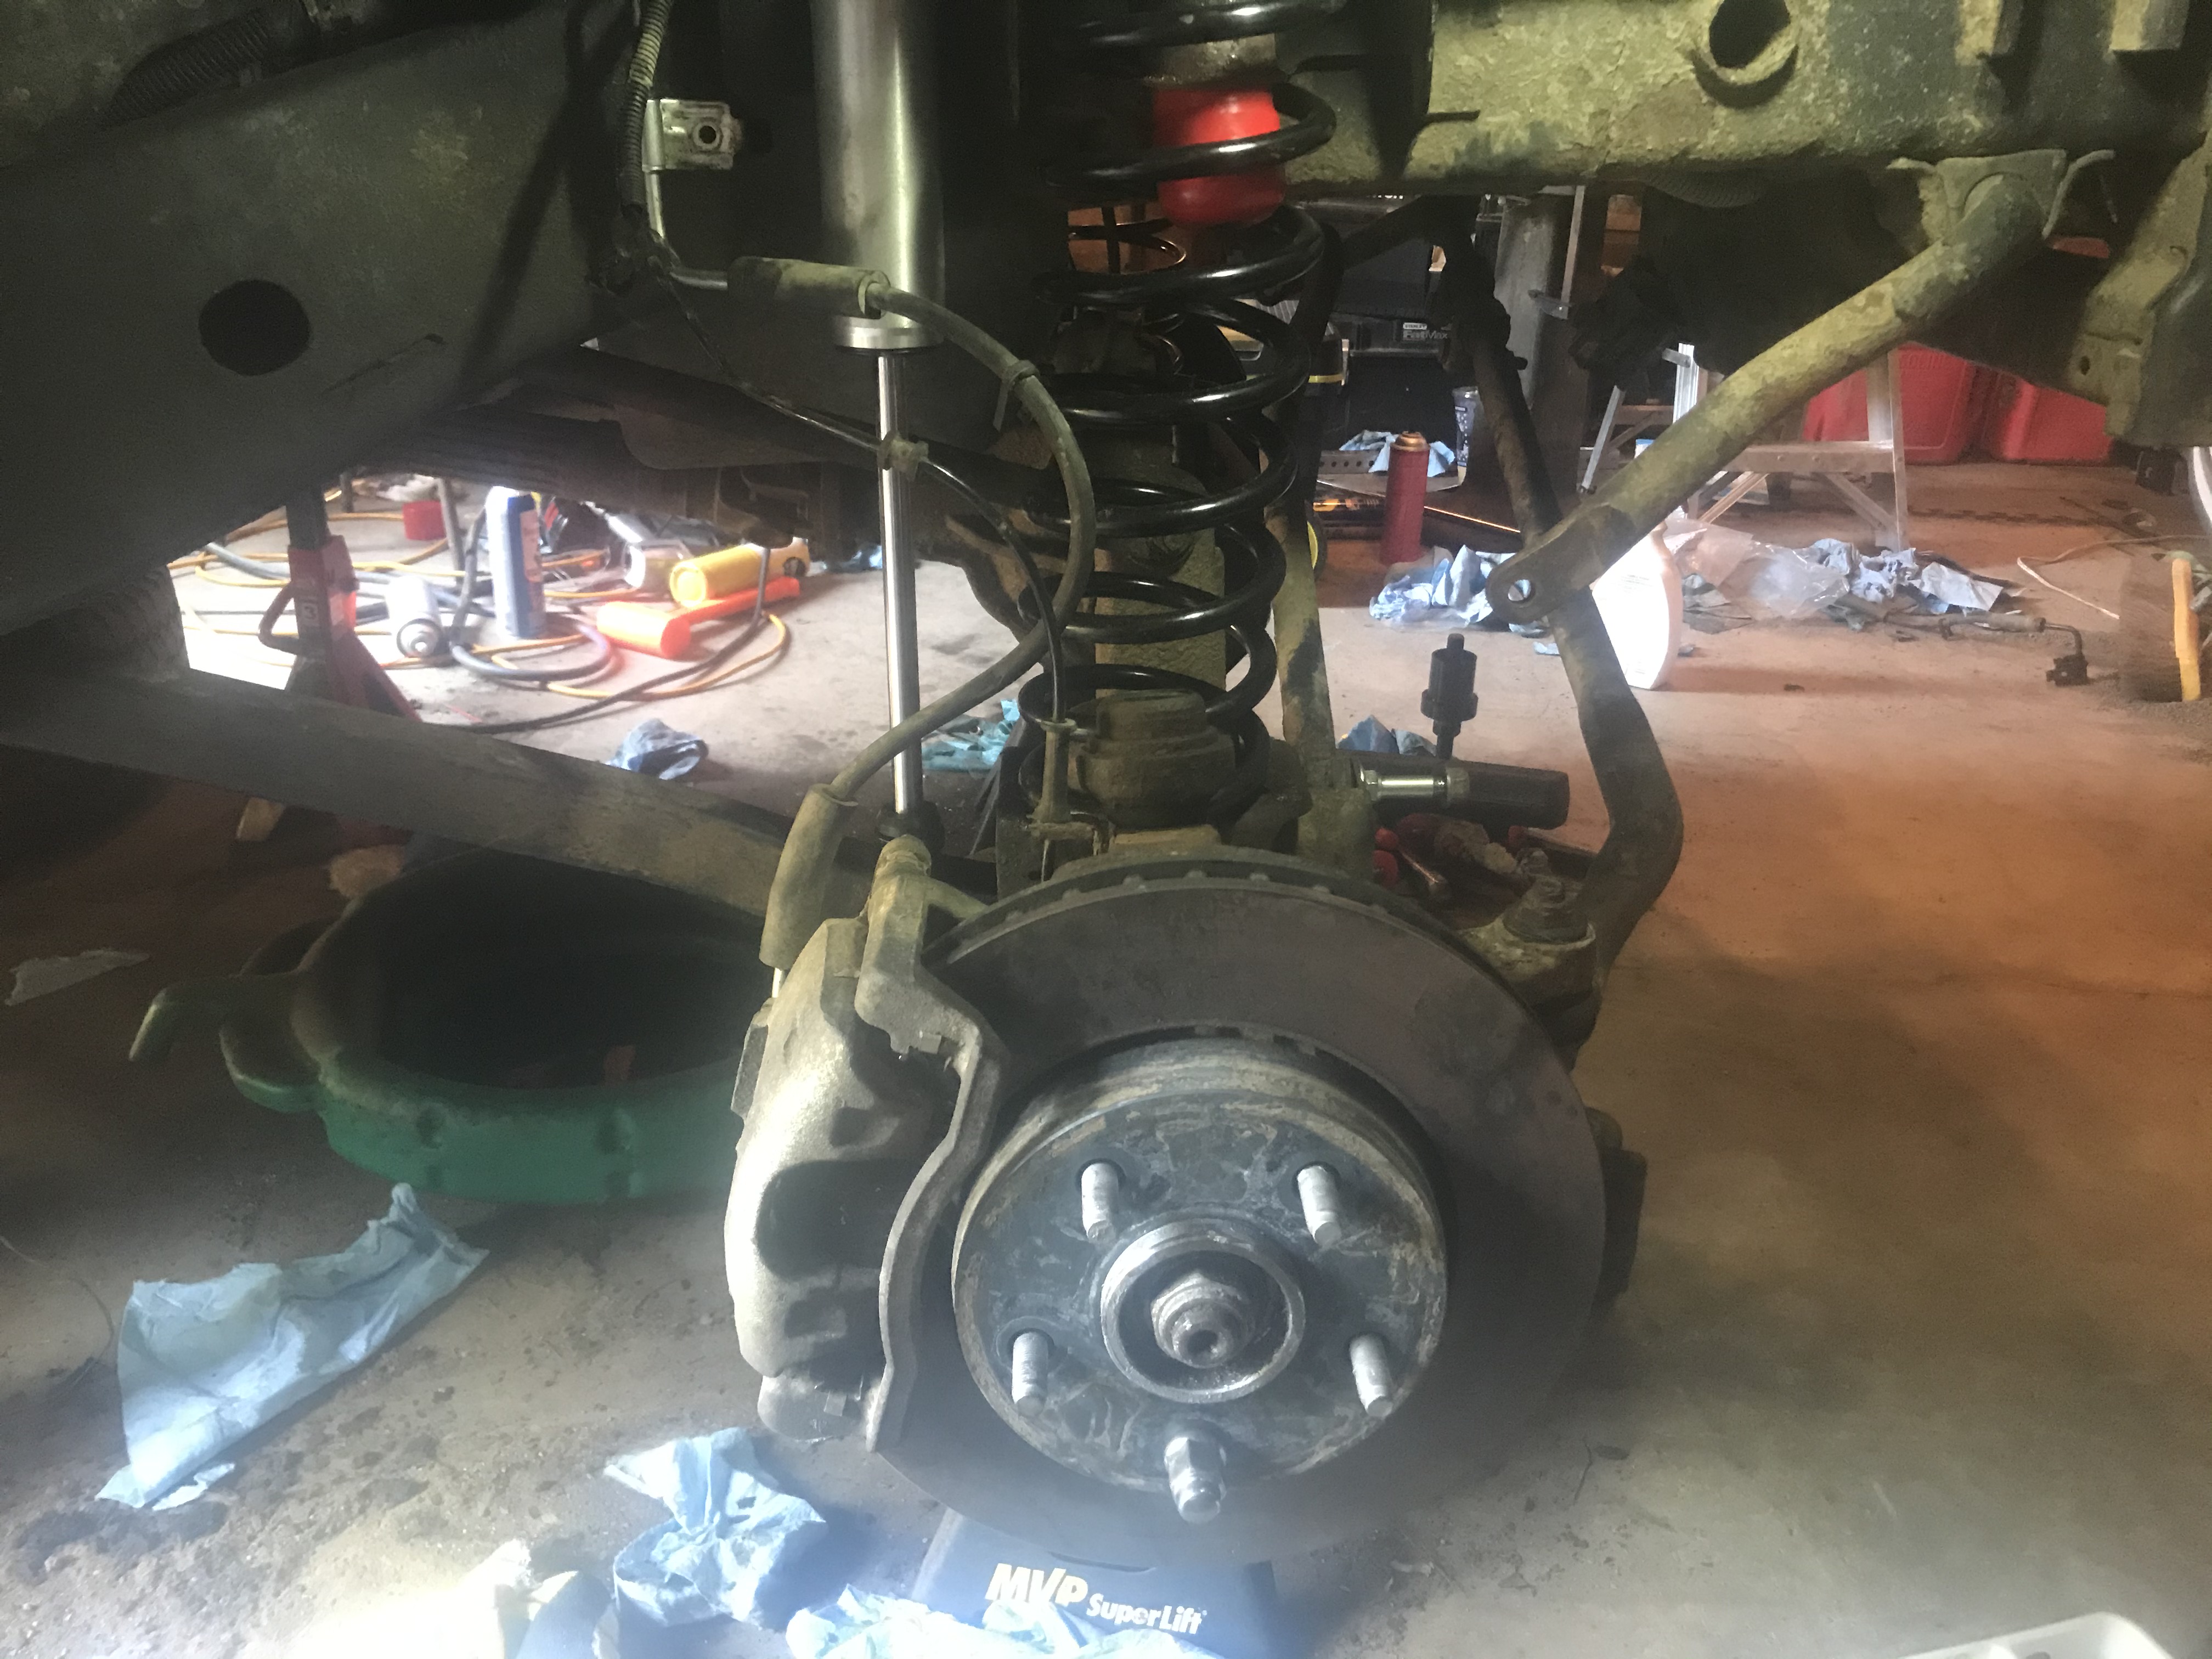
Brakes re-installed
Stainless brake lines installed
Brakes bled

To do after 5 when the shade comes around and it's cooler again:
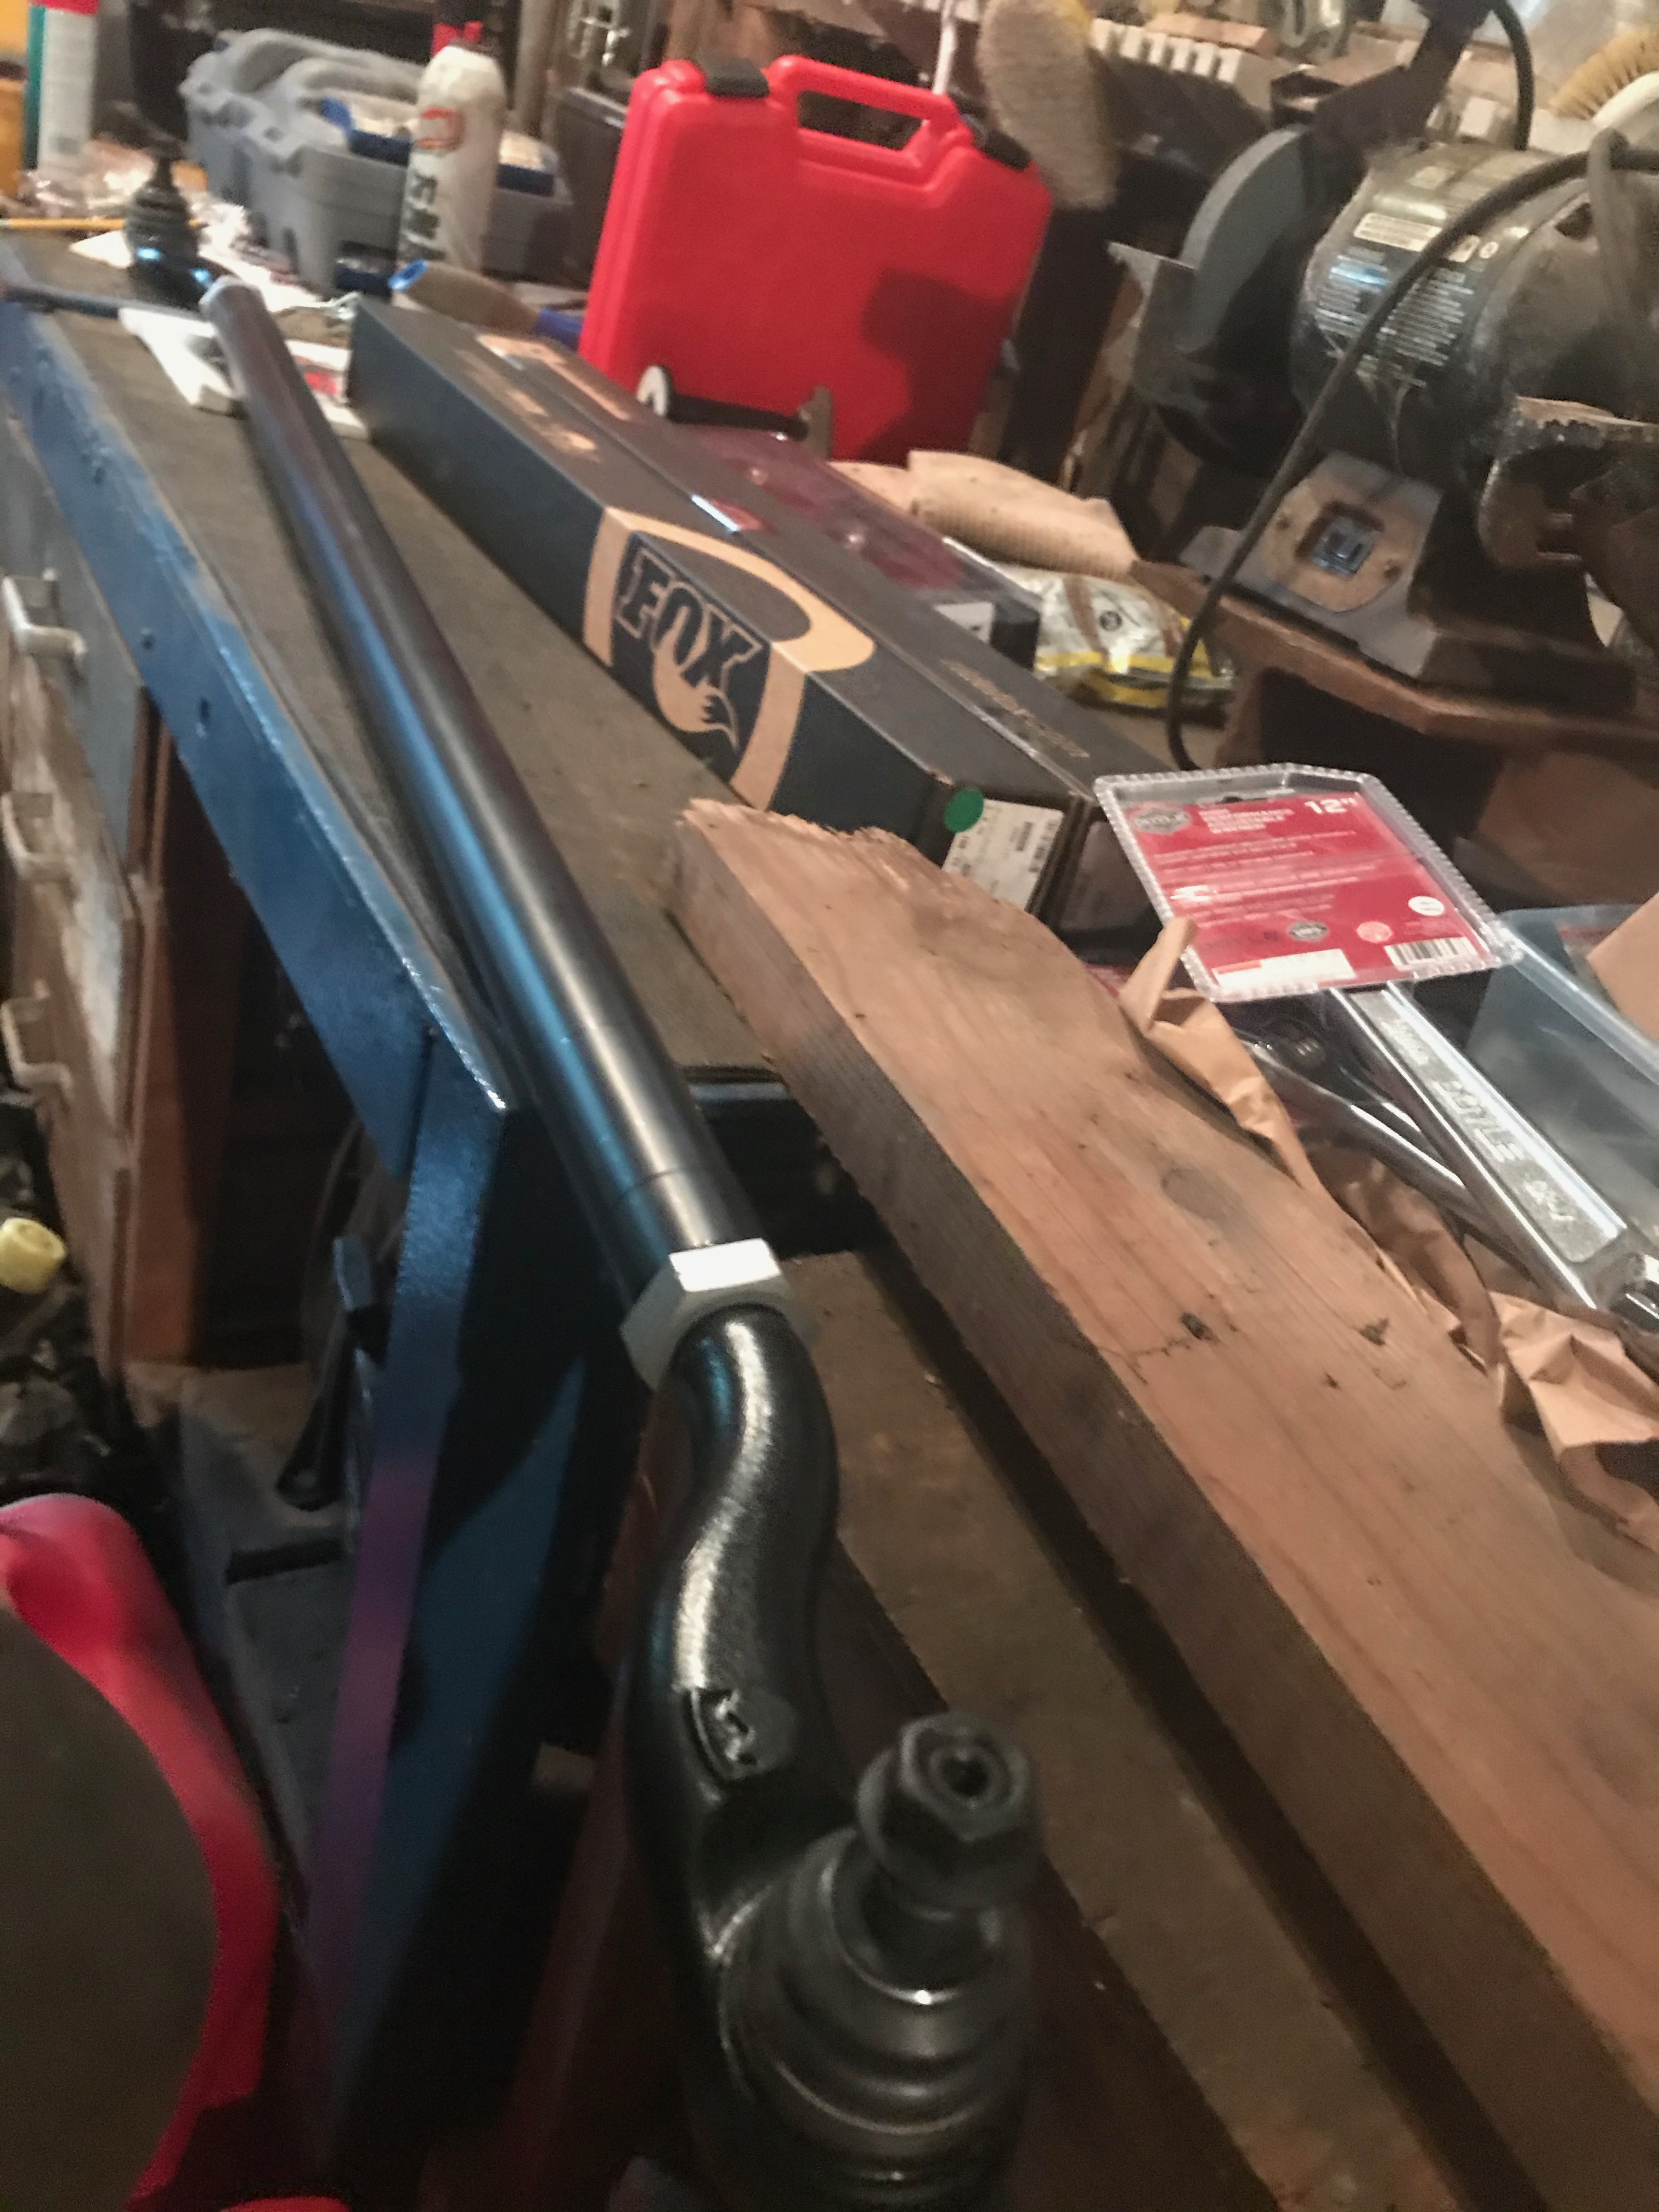
Adjust the tie rod. Not happy one side is in a lot more than the other, want them about the same (have the old tie rod to compare for length)
Install tie rod
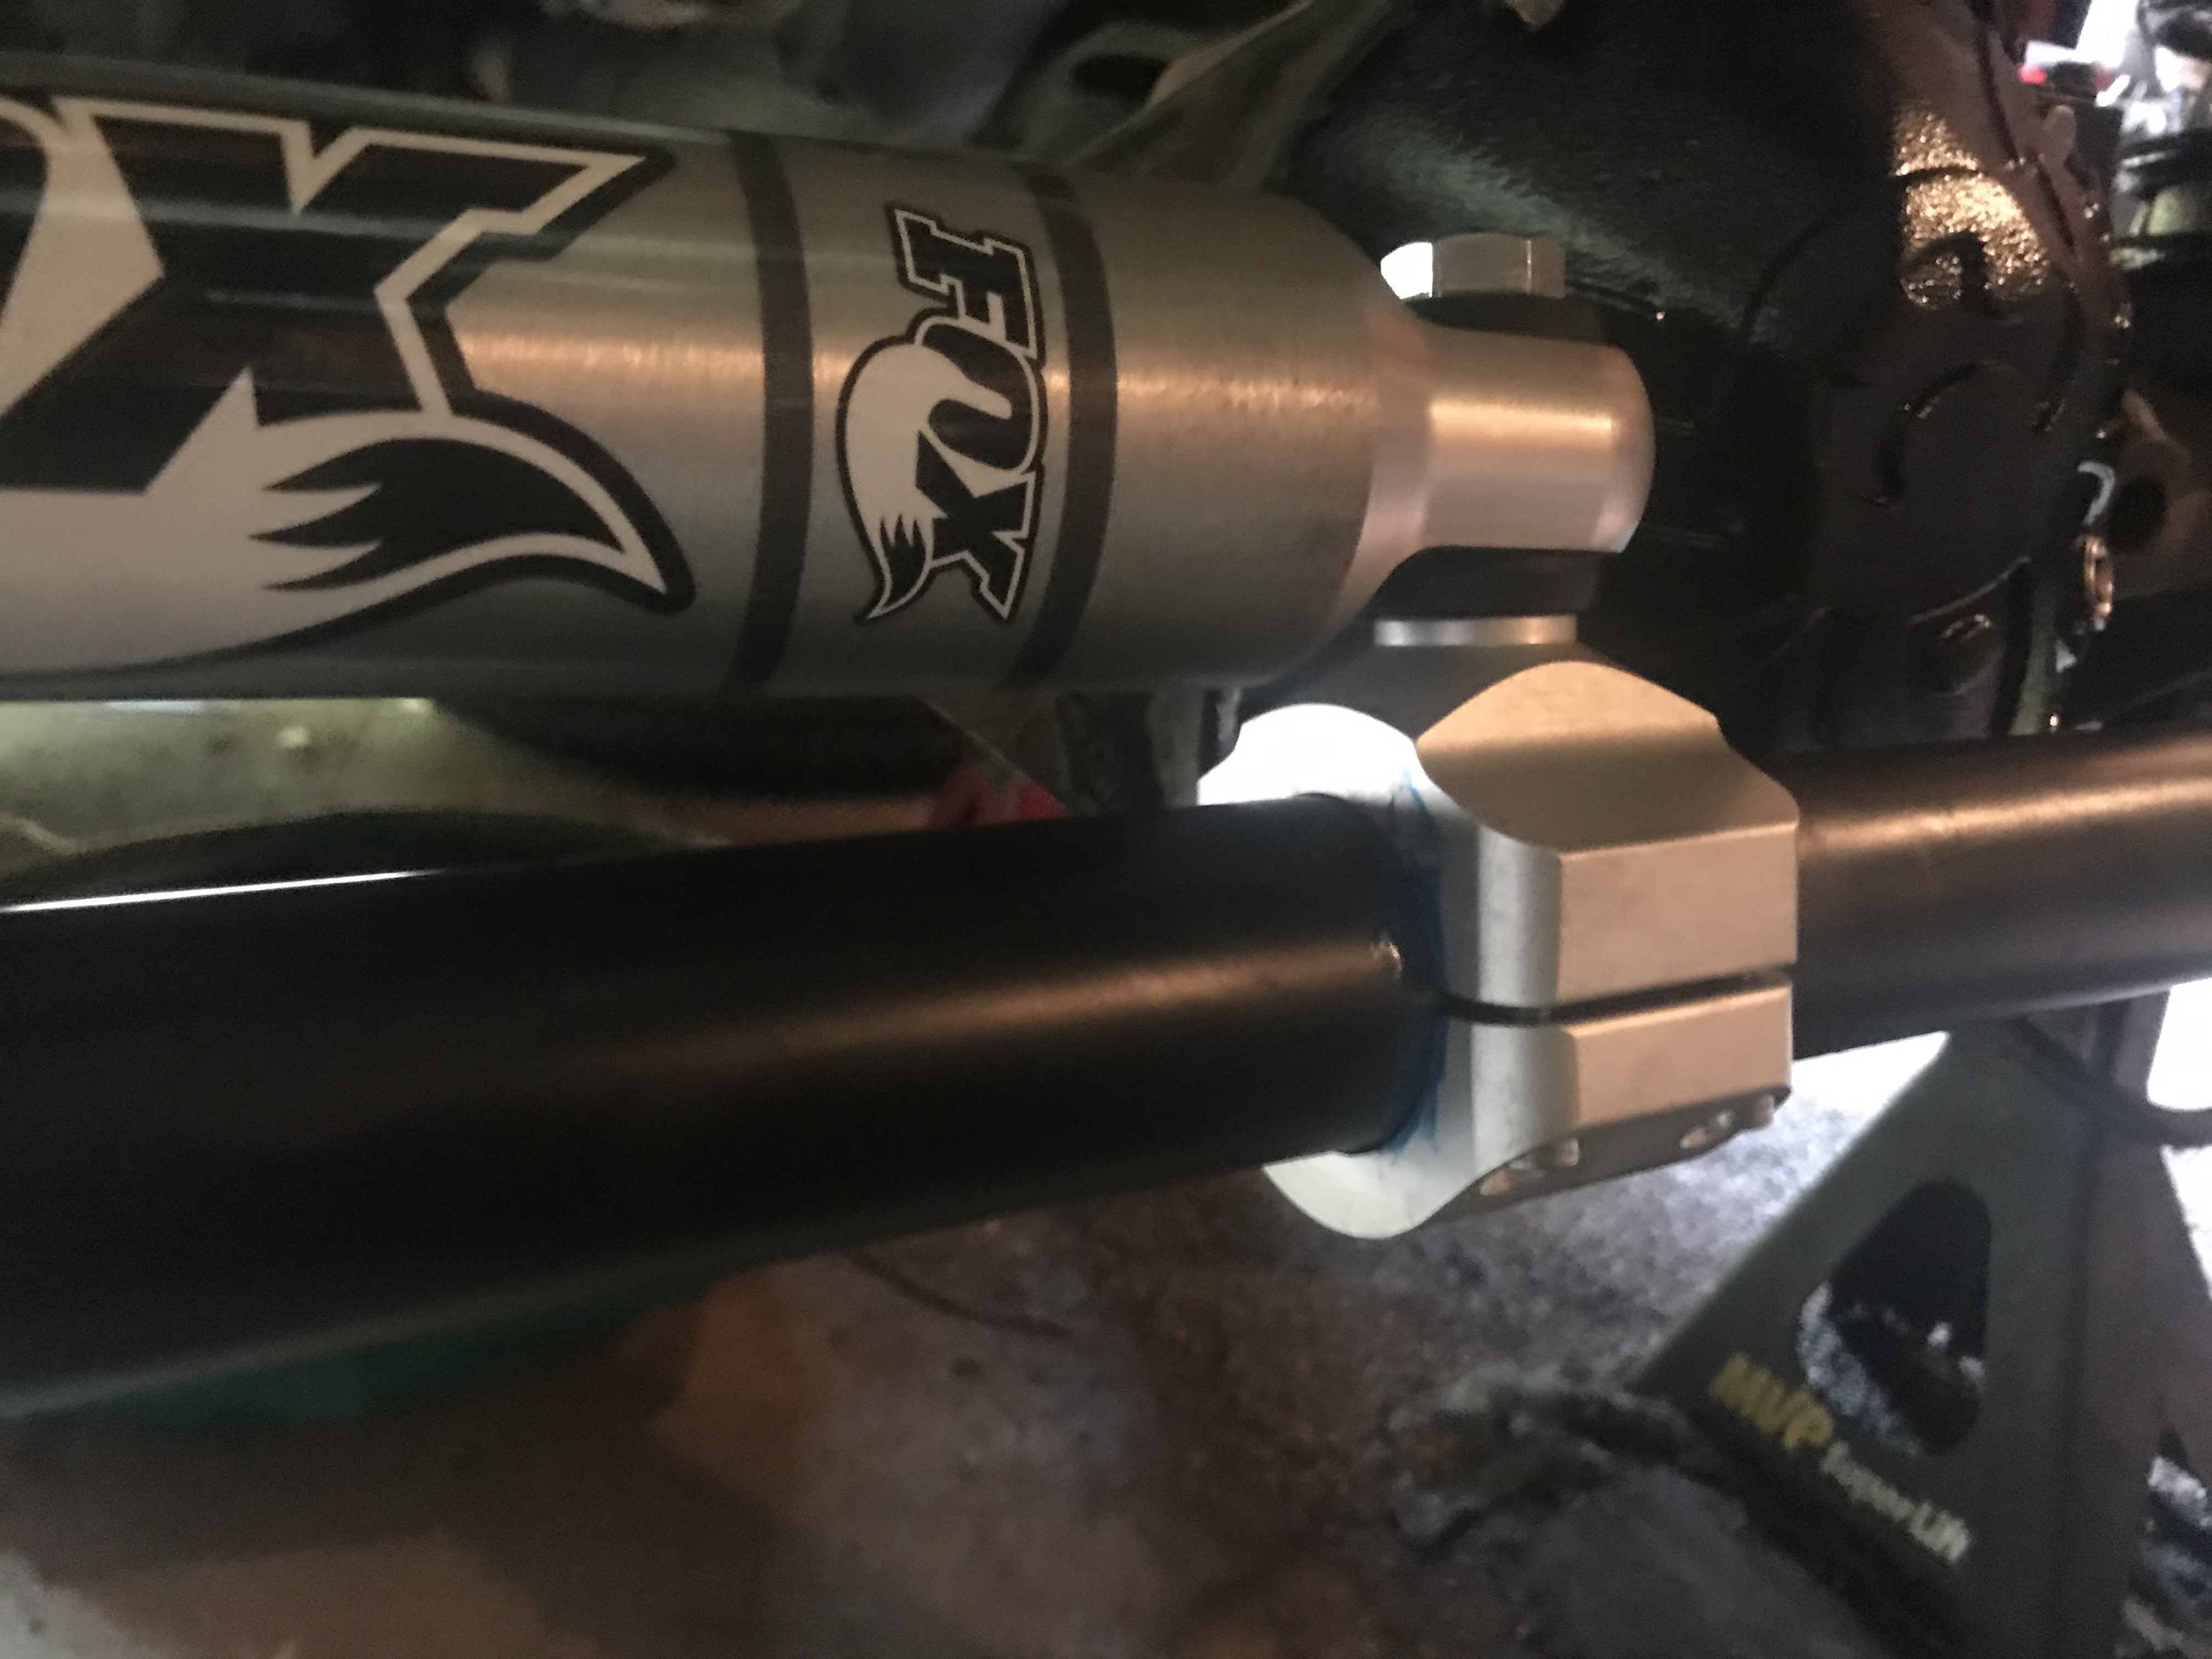
Install steering stabilizer
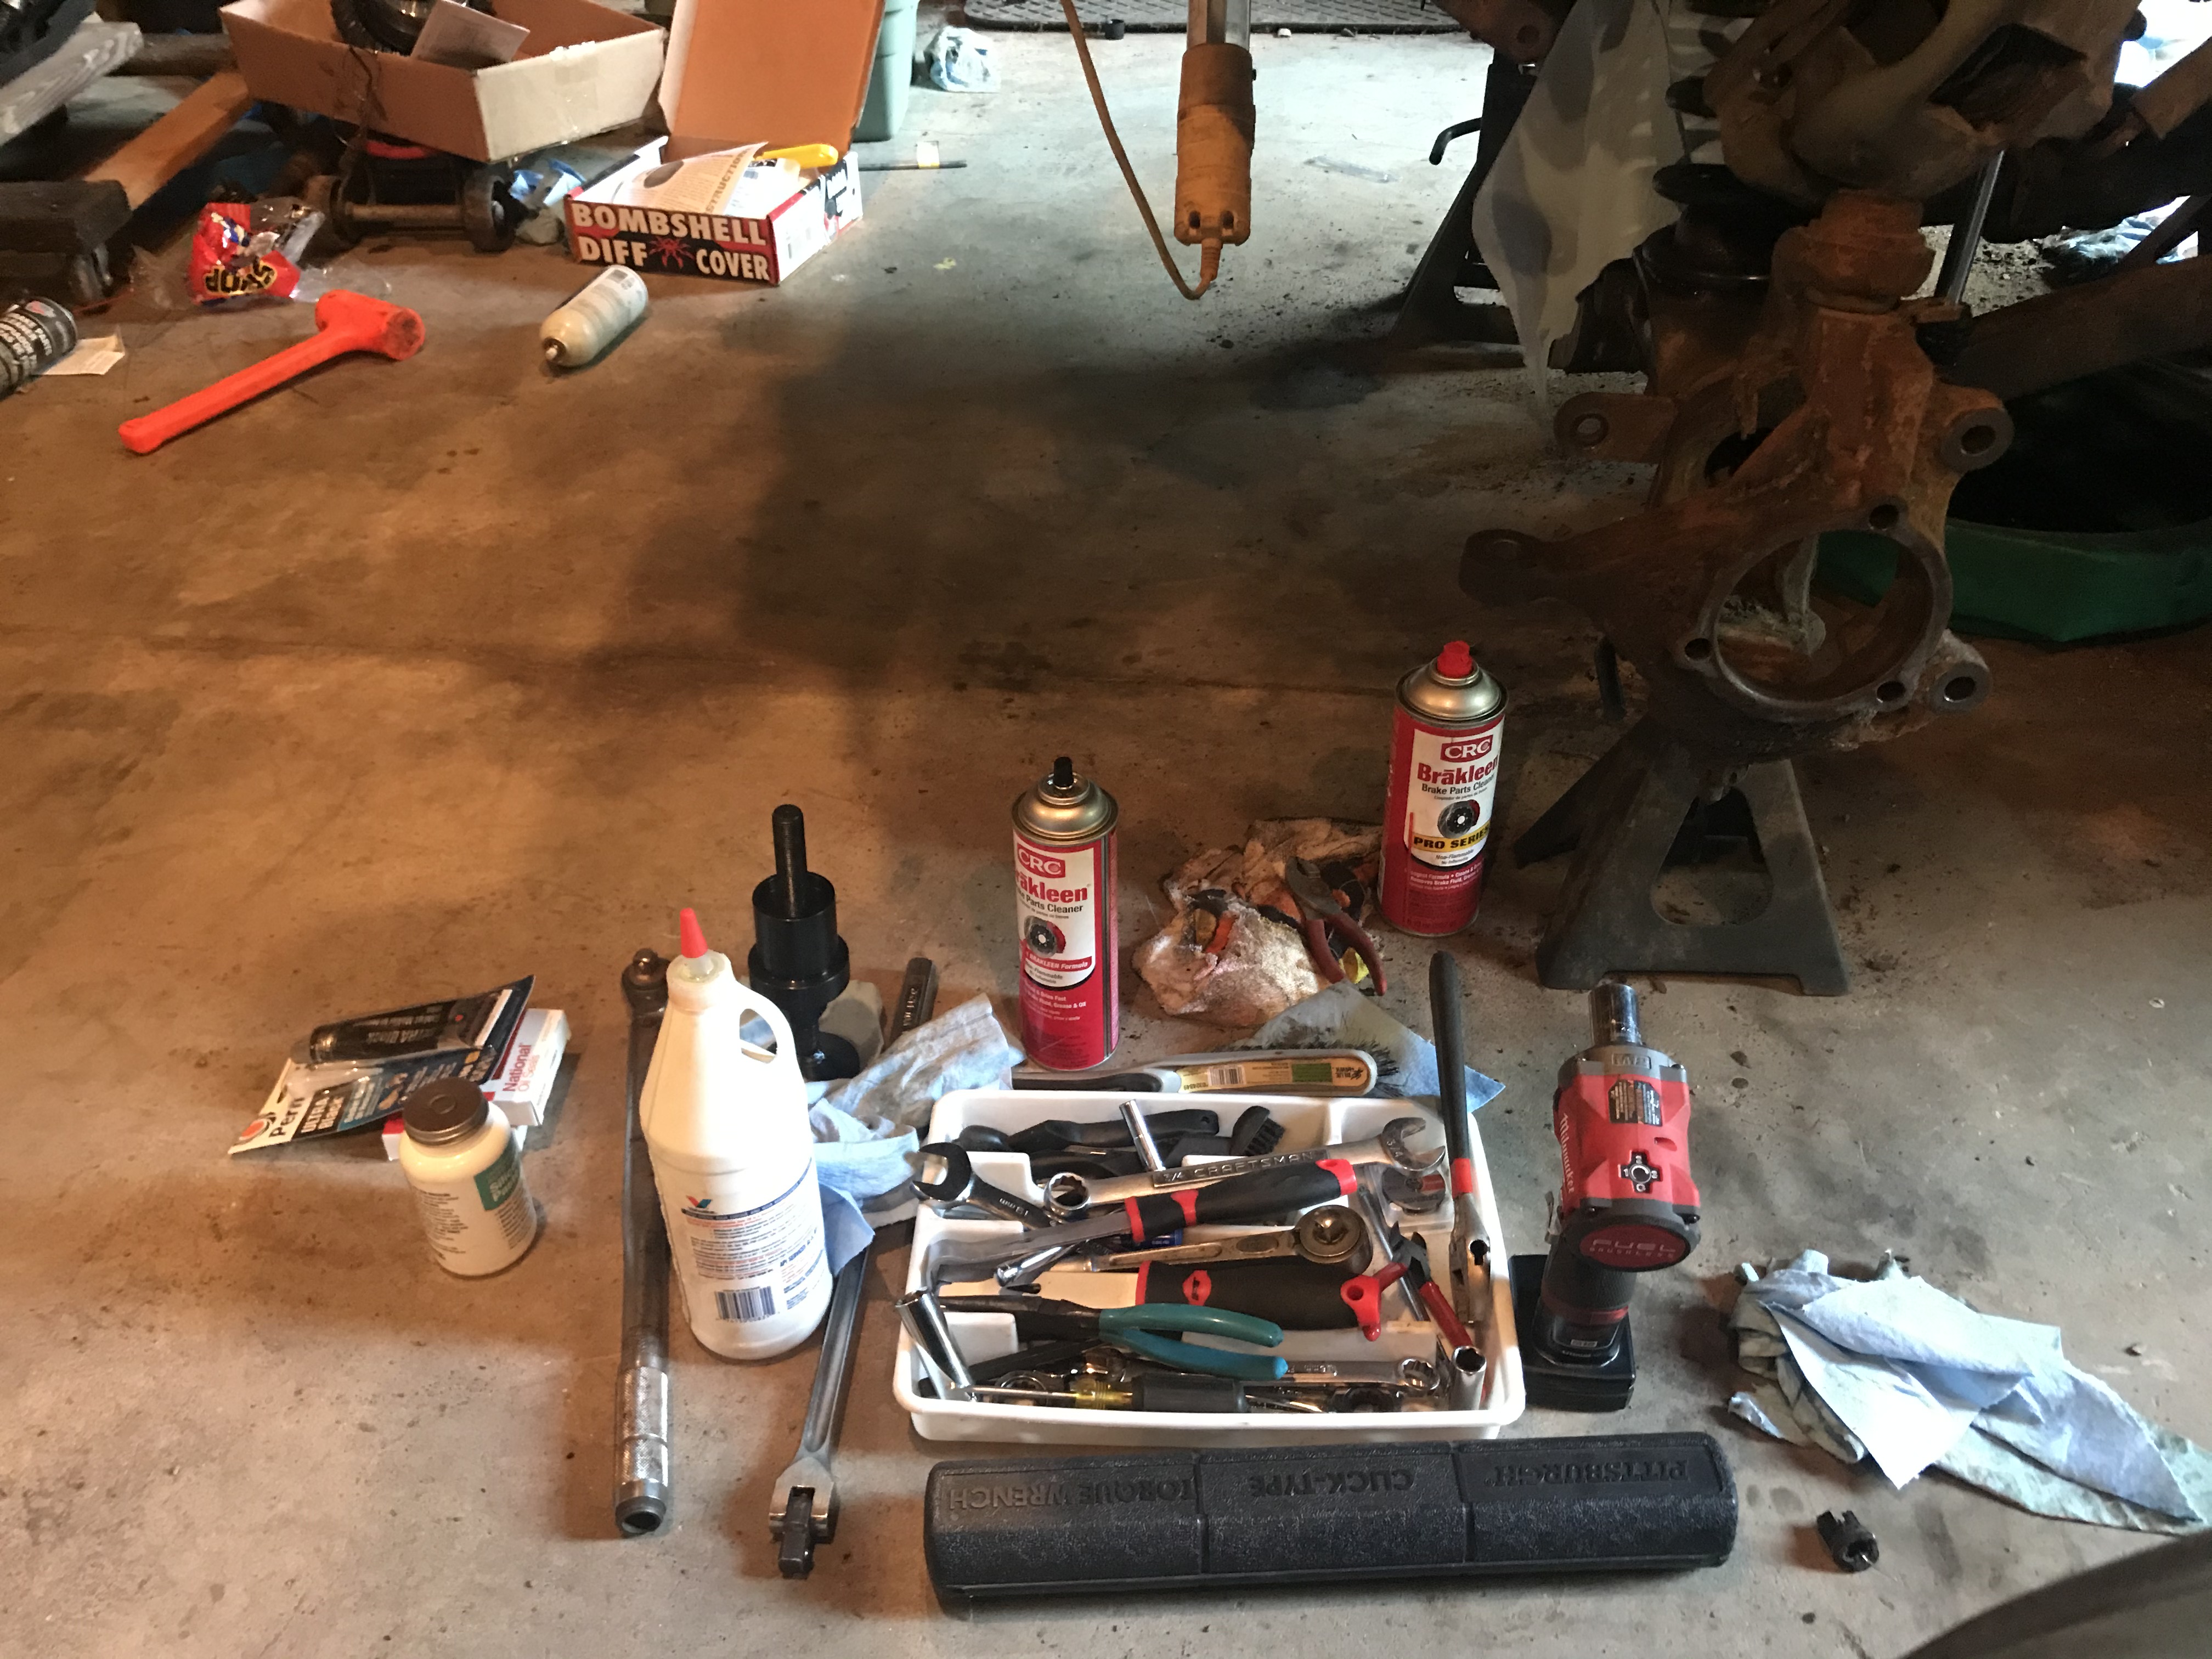
General tool cleanup / police trash

Next work day begins:
Put on tires
Remove jack stands
Fill front diff
Check brake fluid level
Turn Jeep around to start on the back:
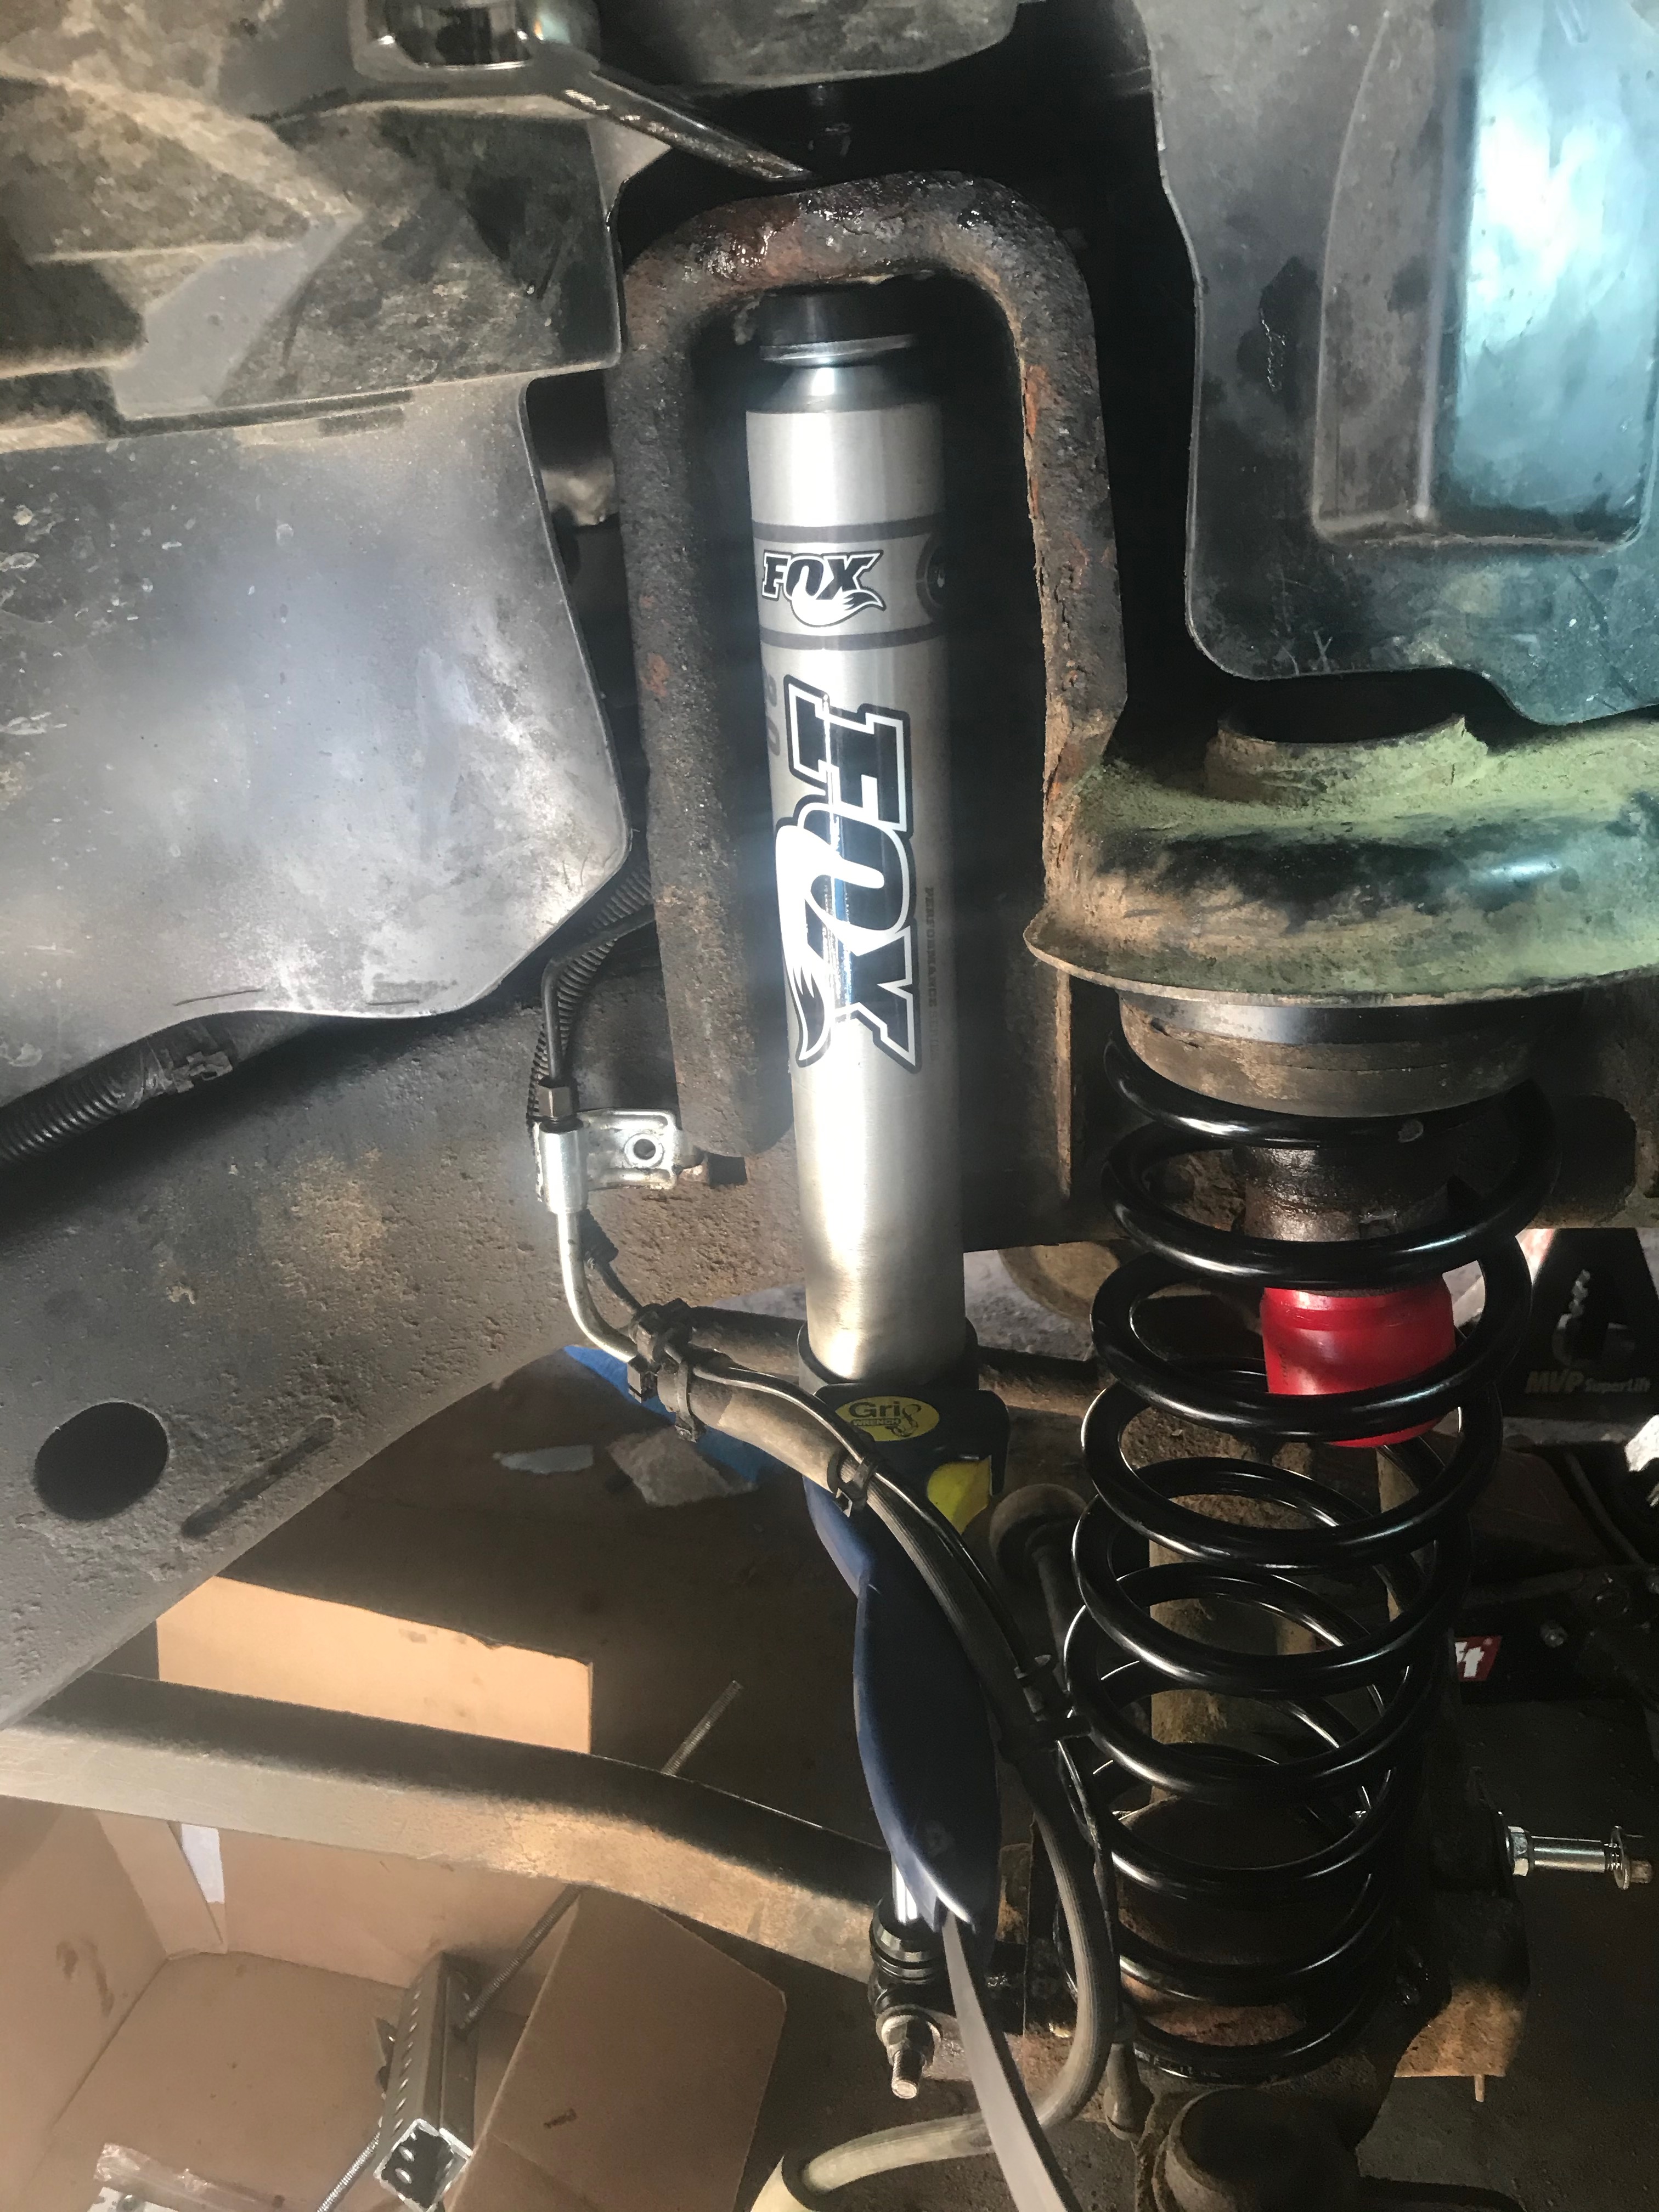
-- Shocks
-- Spacer Lift
-- Inspect springs
-- Inspect bump stop
-- Stainless brake lines

Some point soon but maybe not before alignment on Thursday / next club run on Saturday:
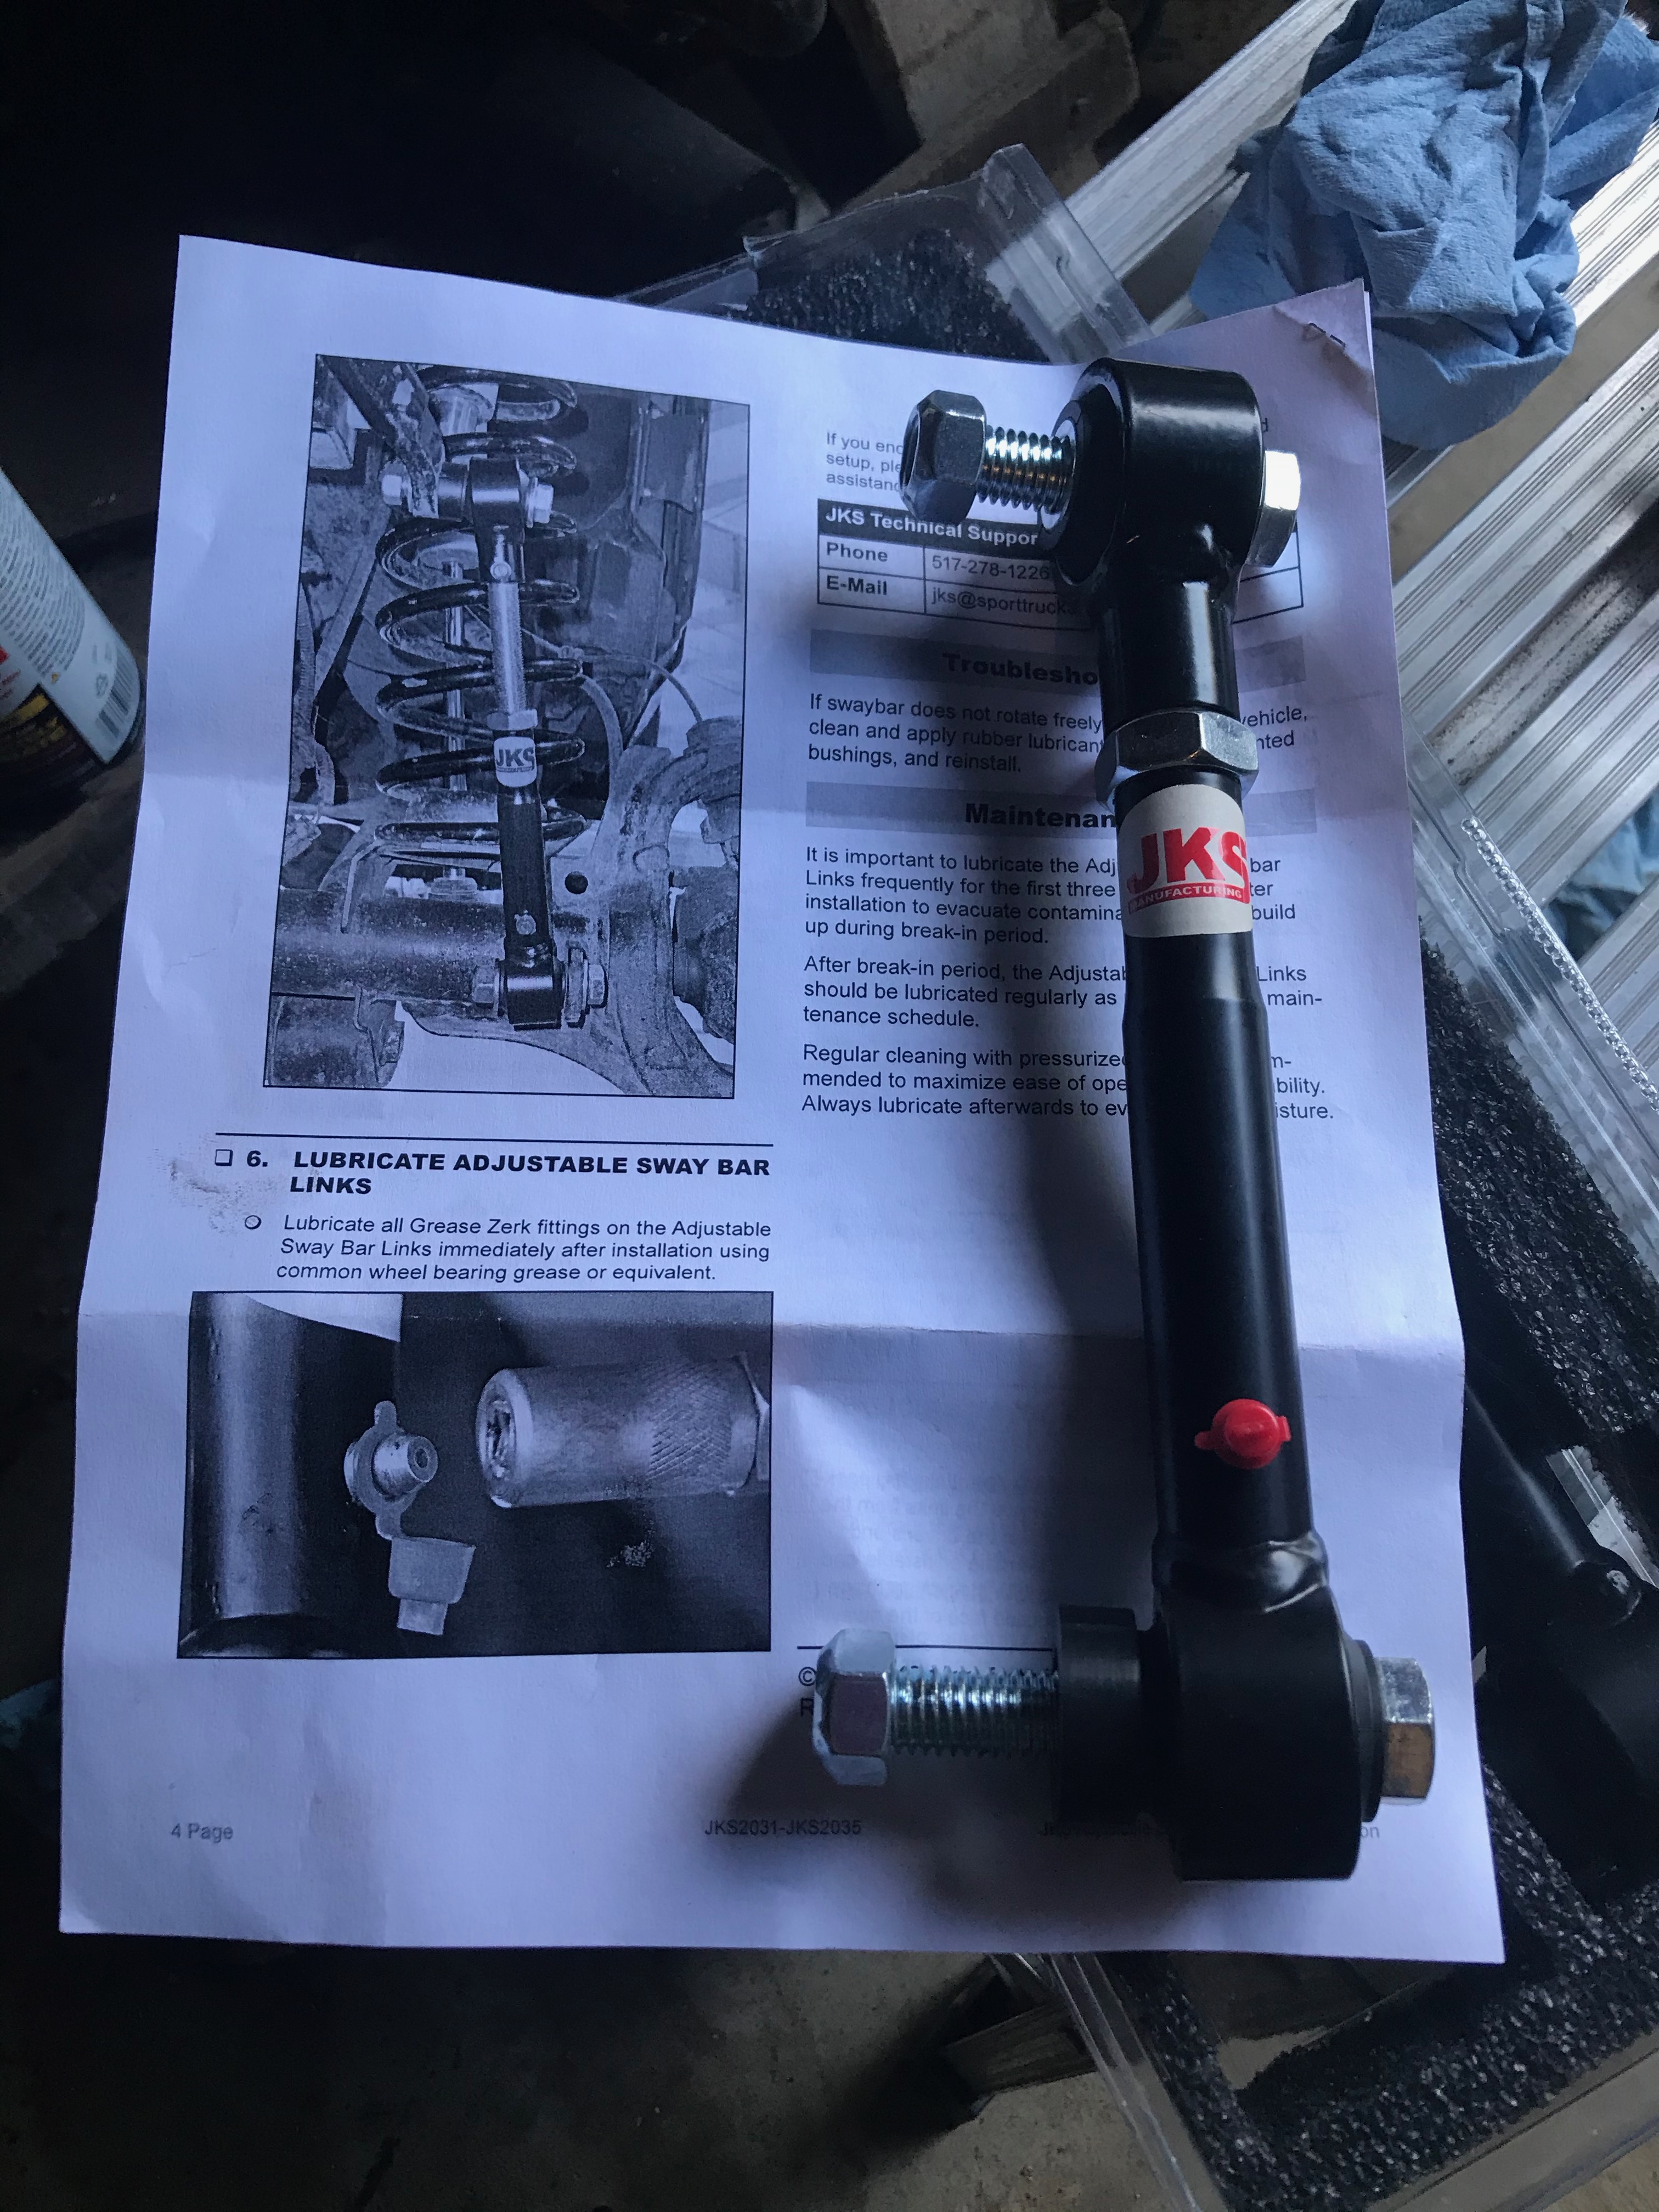
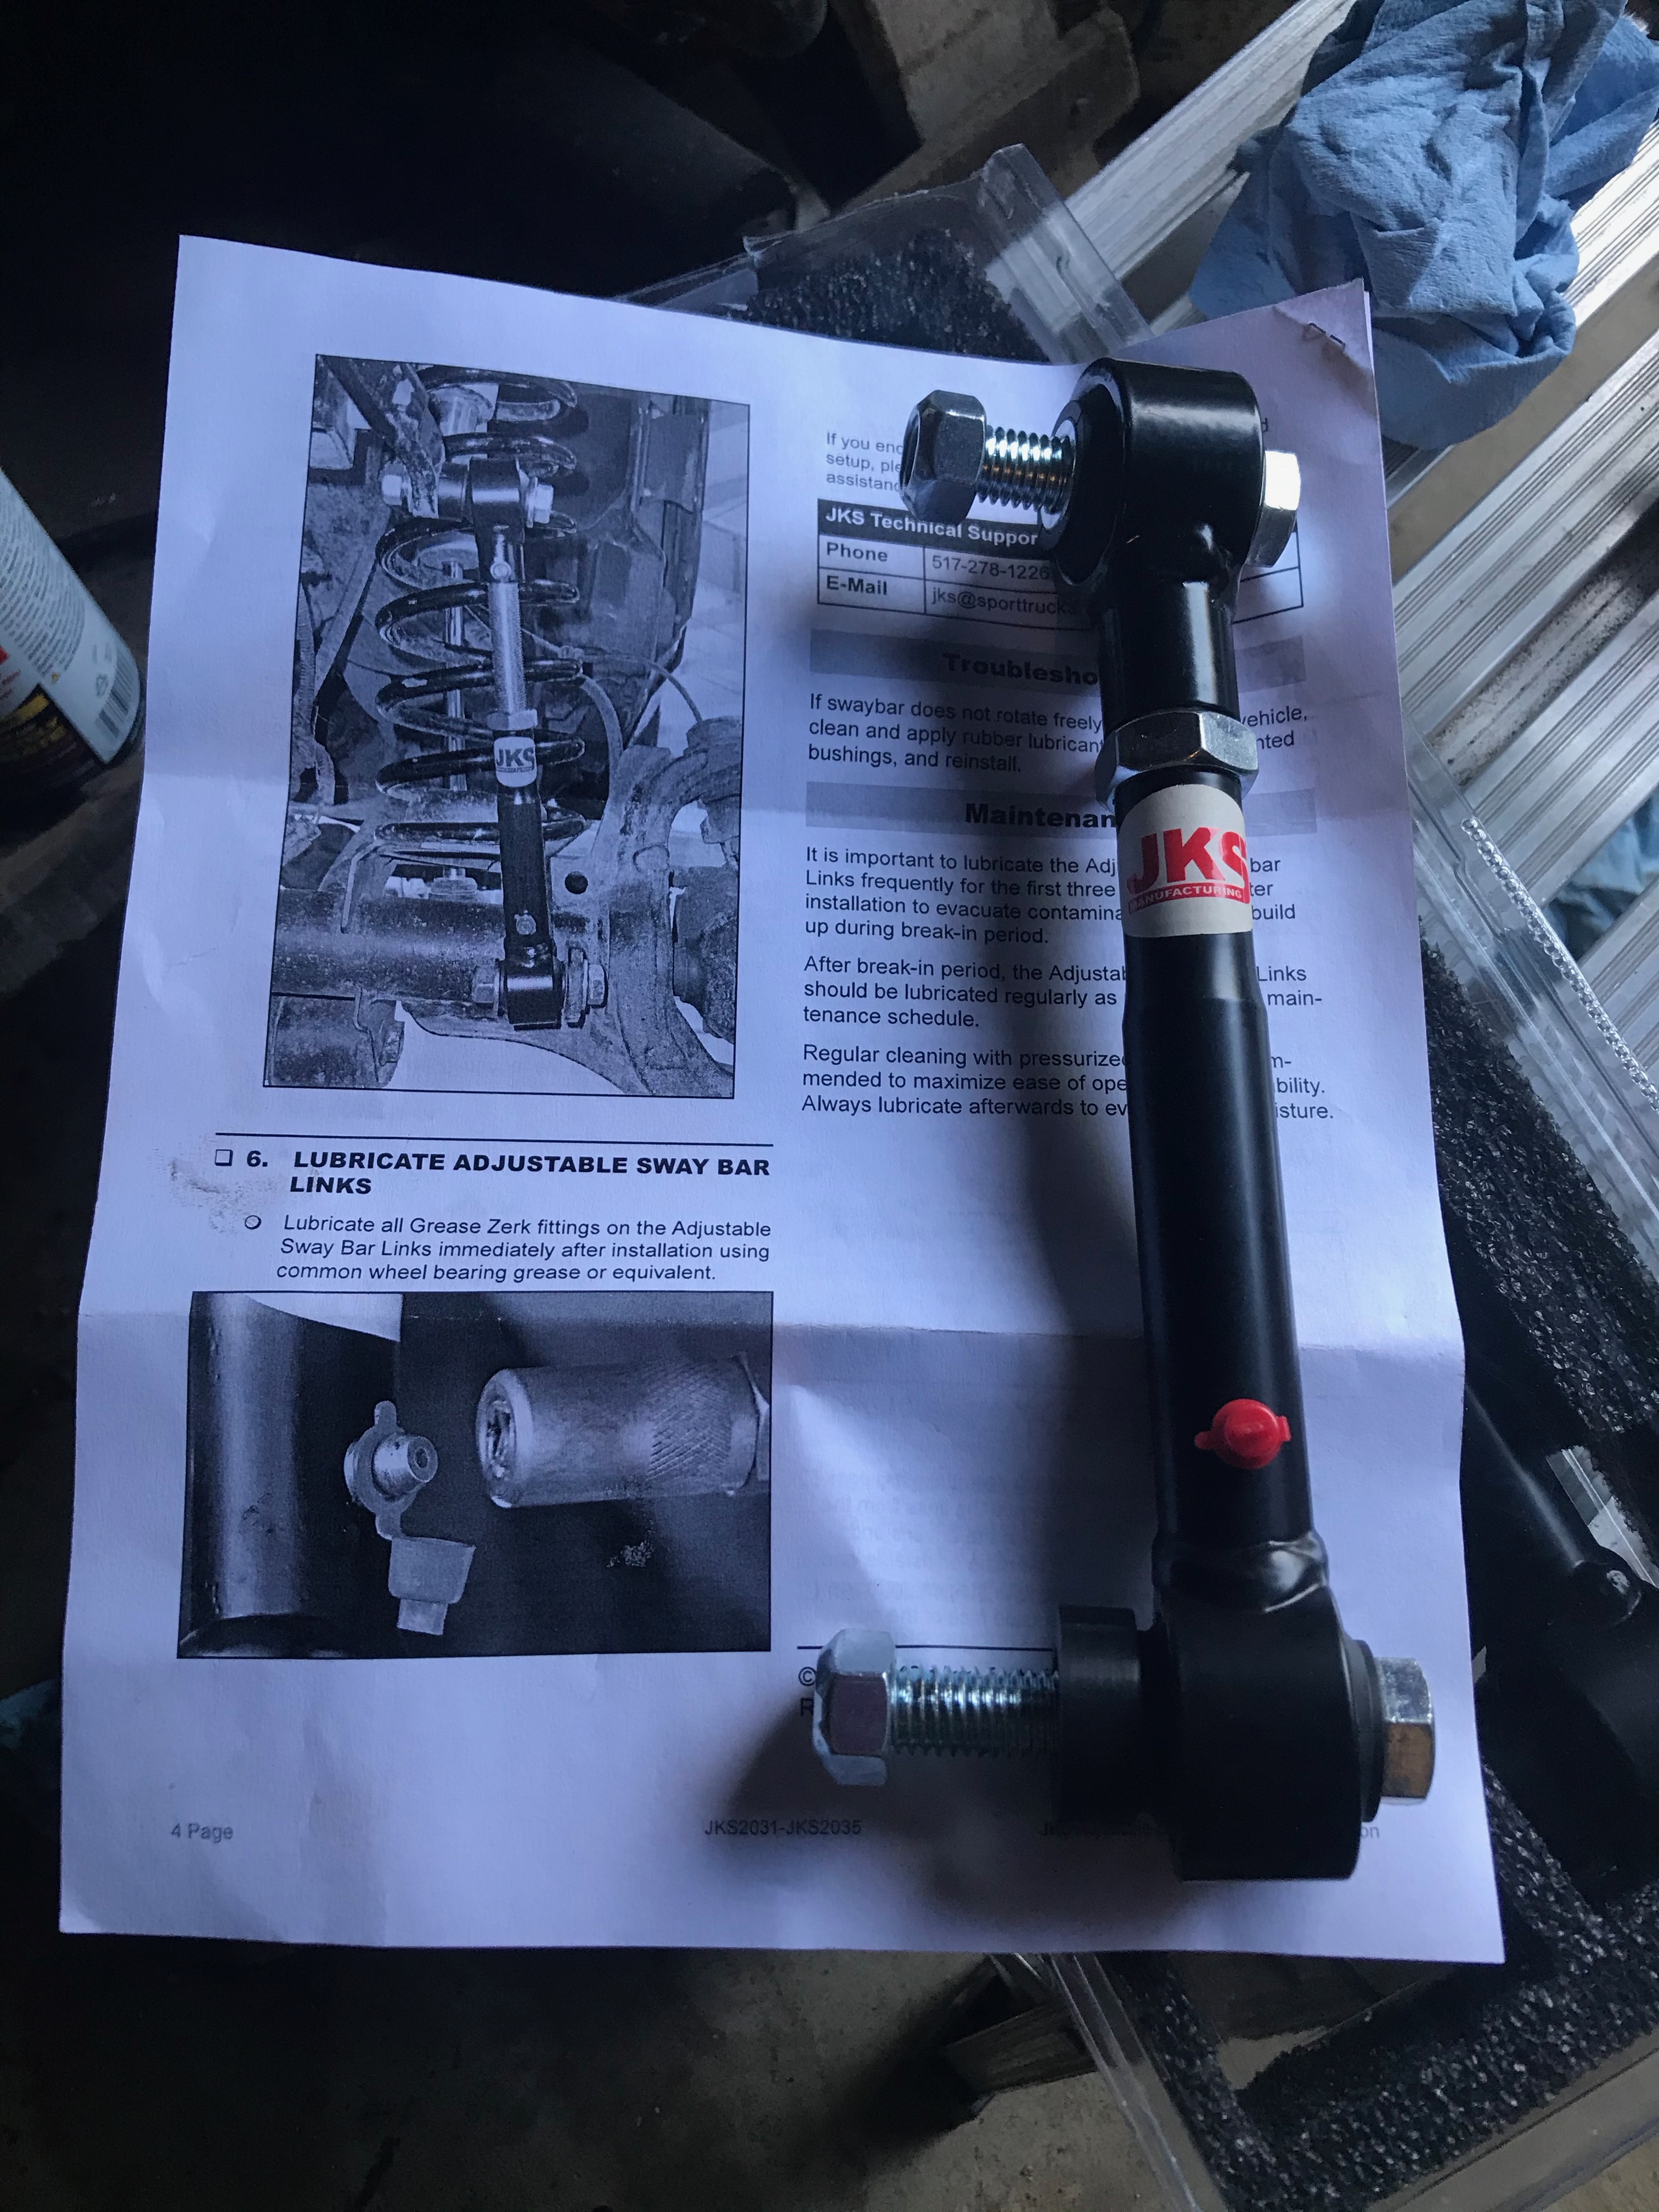
Waiting for JKS to email me back WTF is up with the new sway bar links, otherwise re-install old links
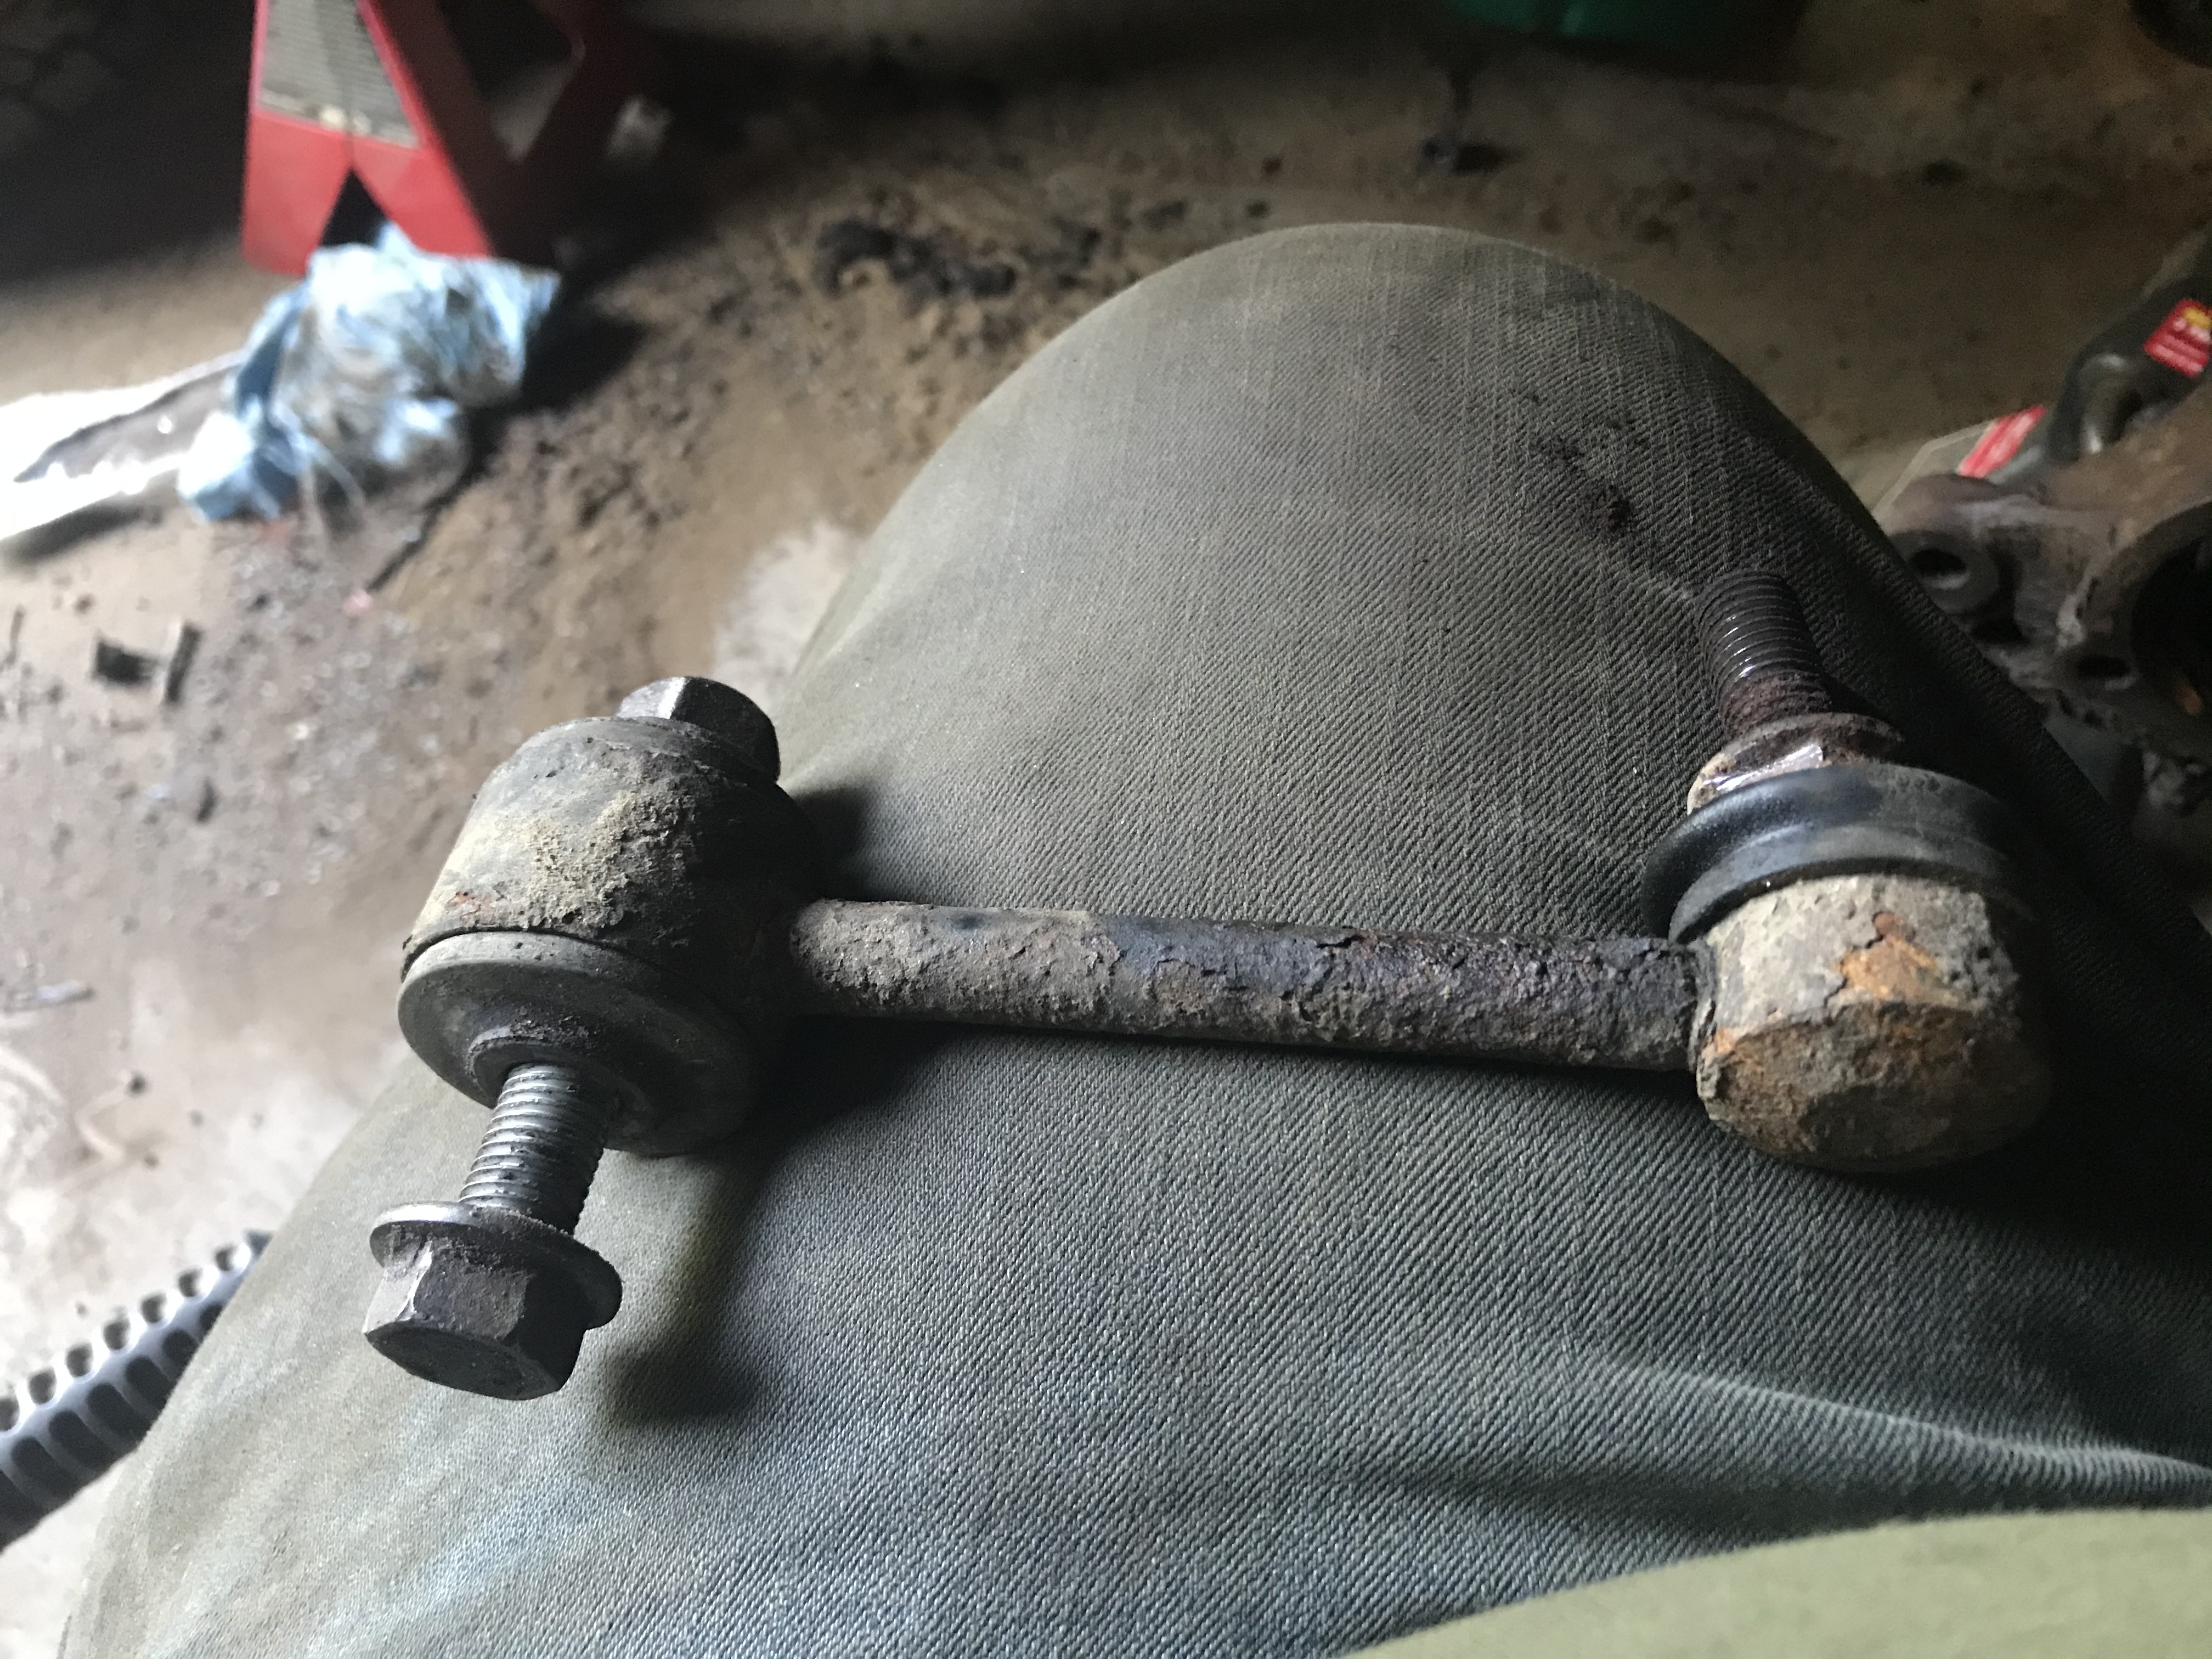
Rear swaybar links (non-adjustable, but can thread to proper length)


Seal installer worked well (assuming they hold oil :D )

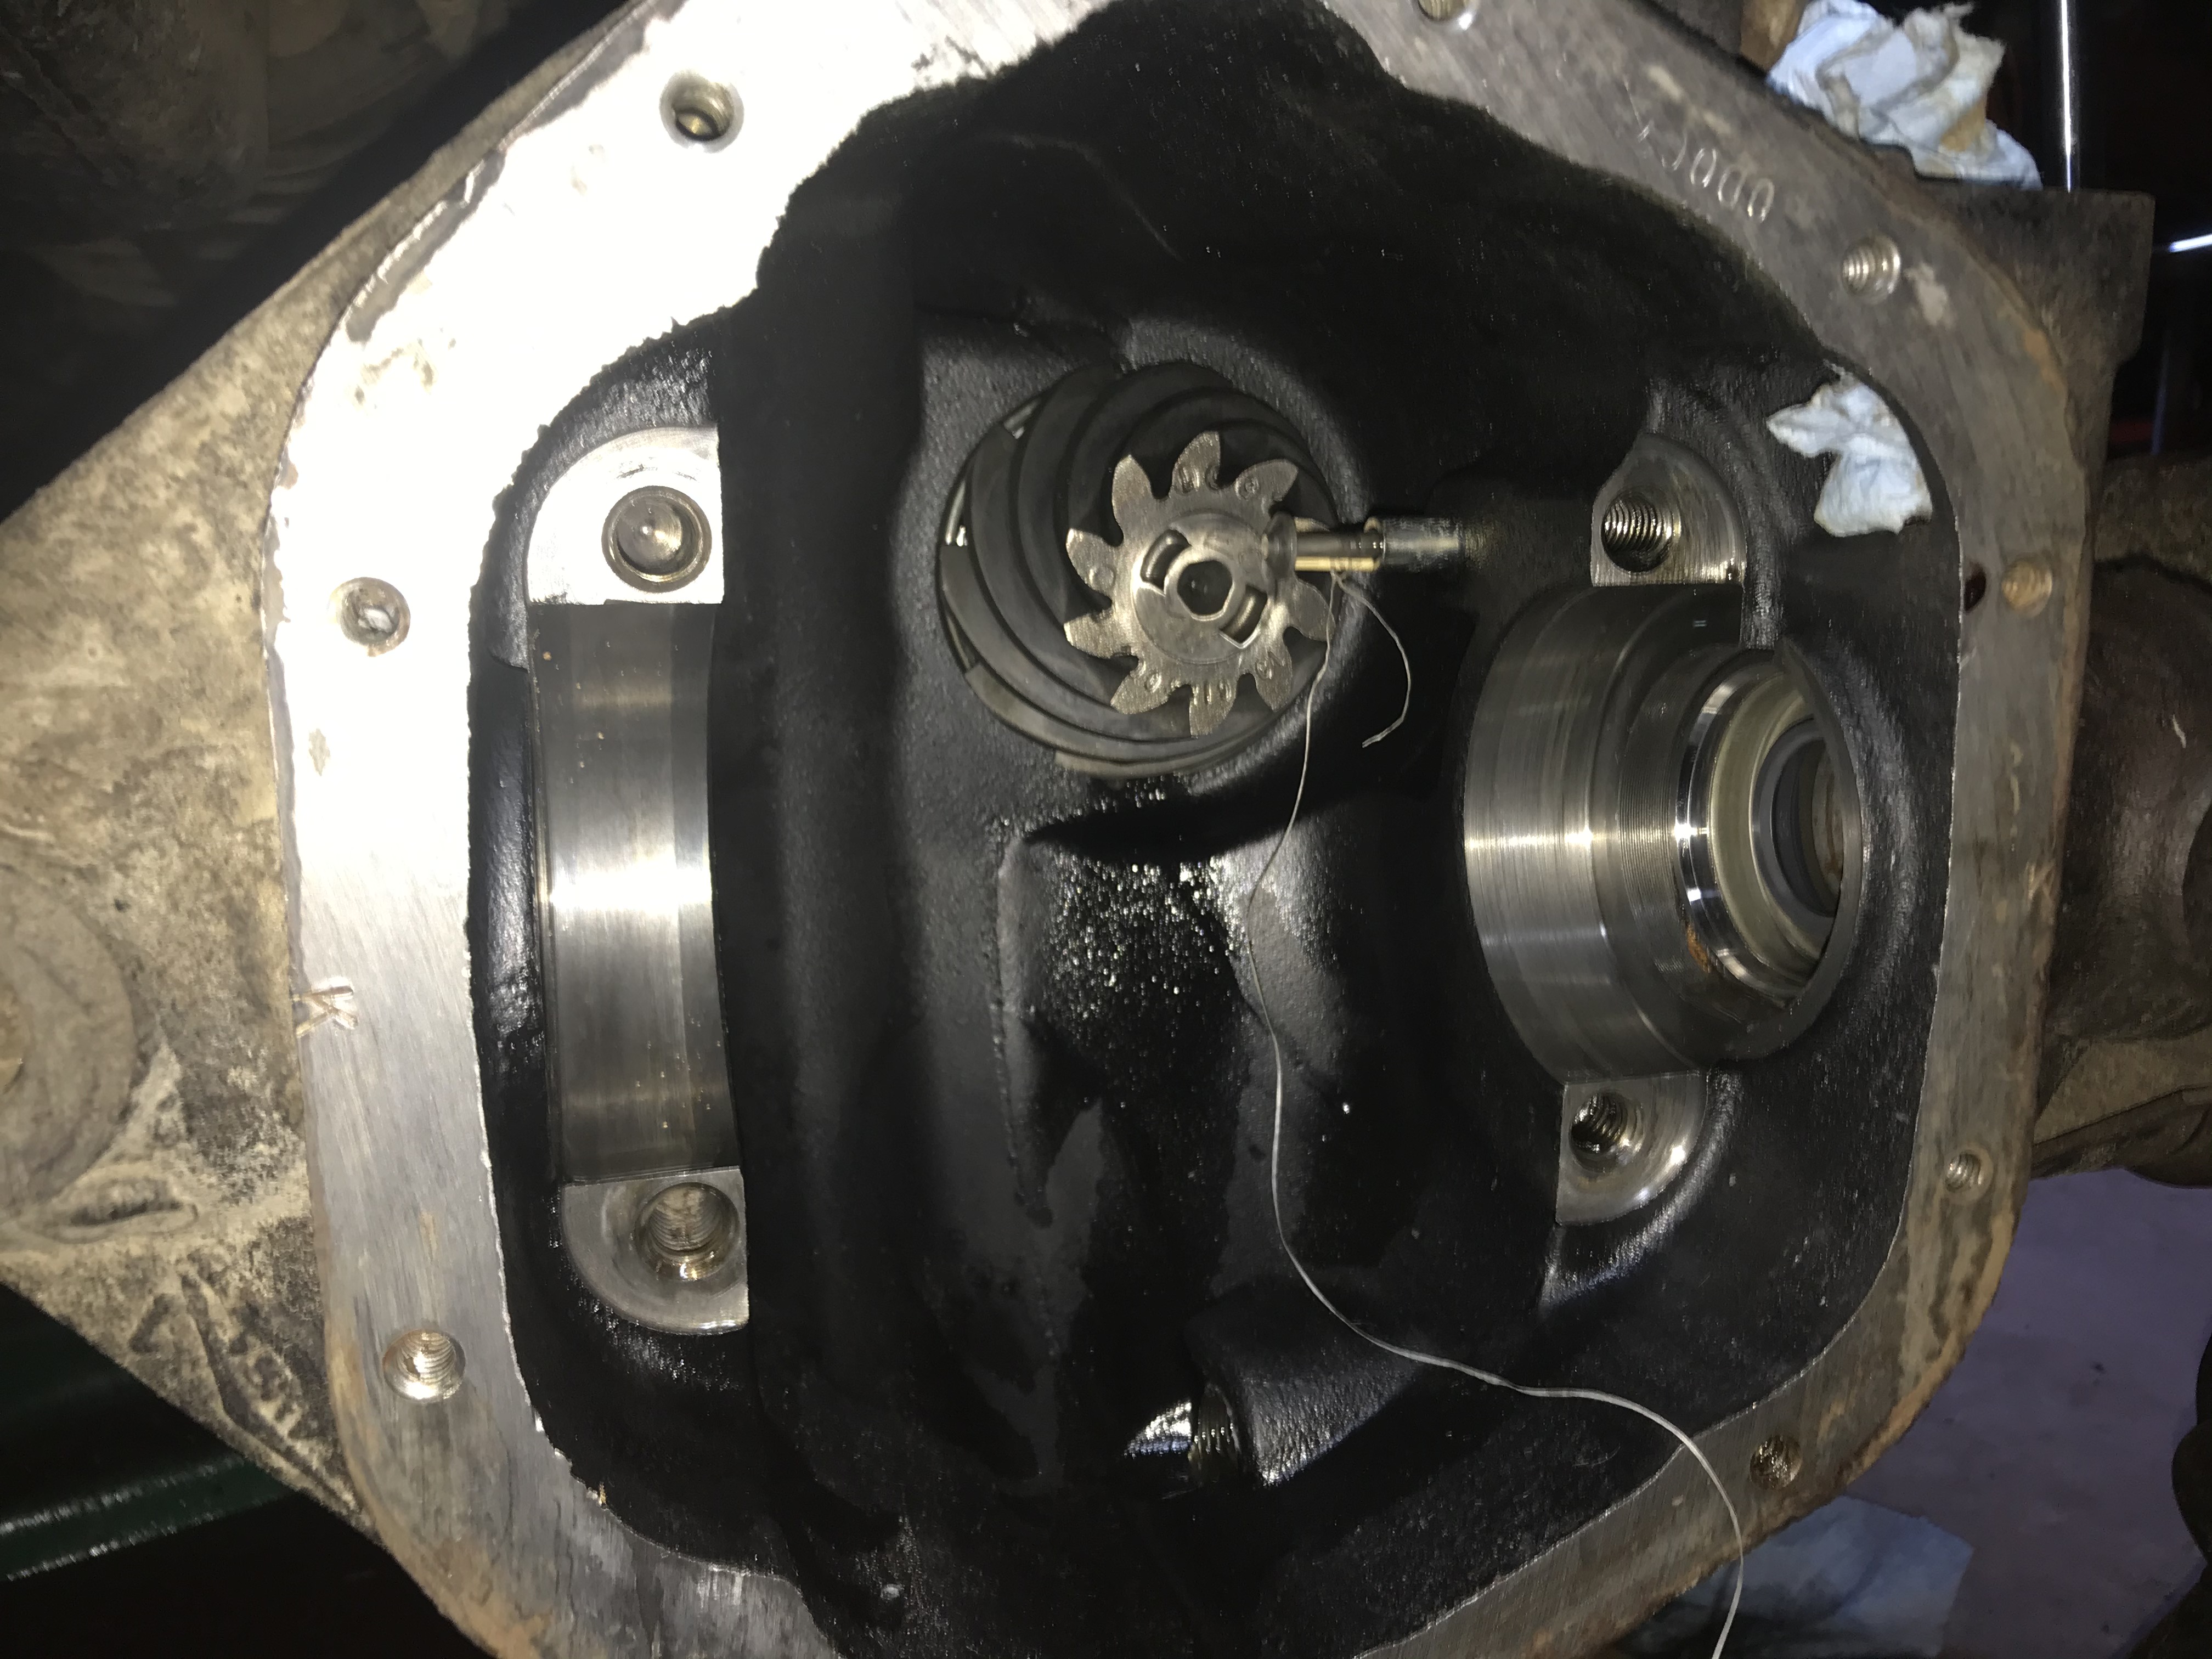
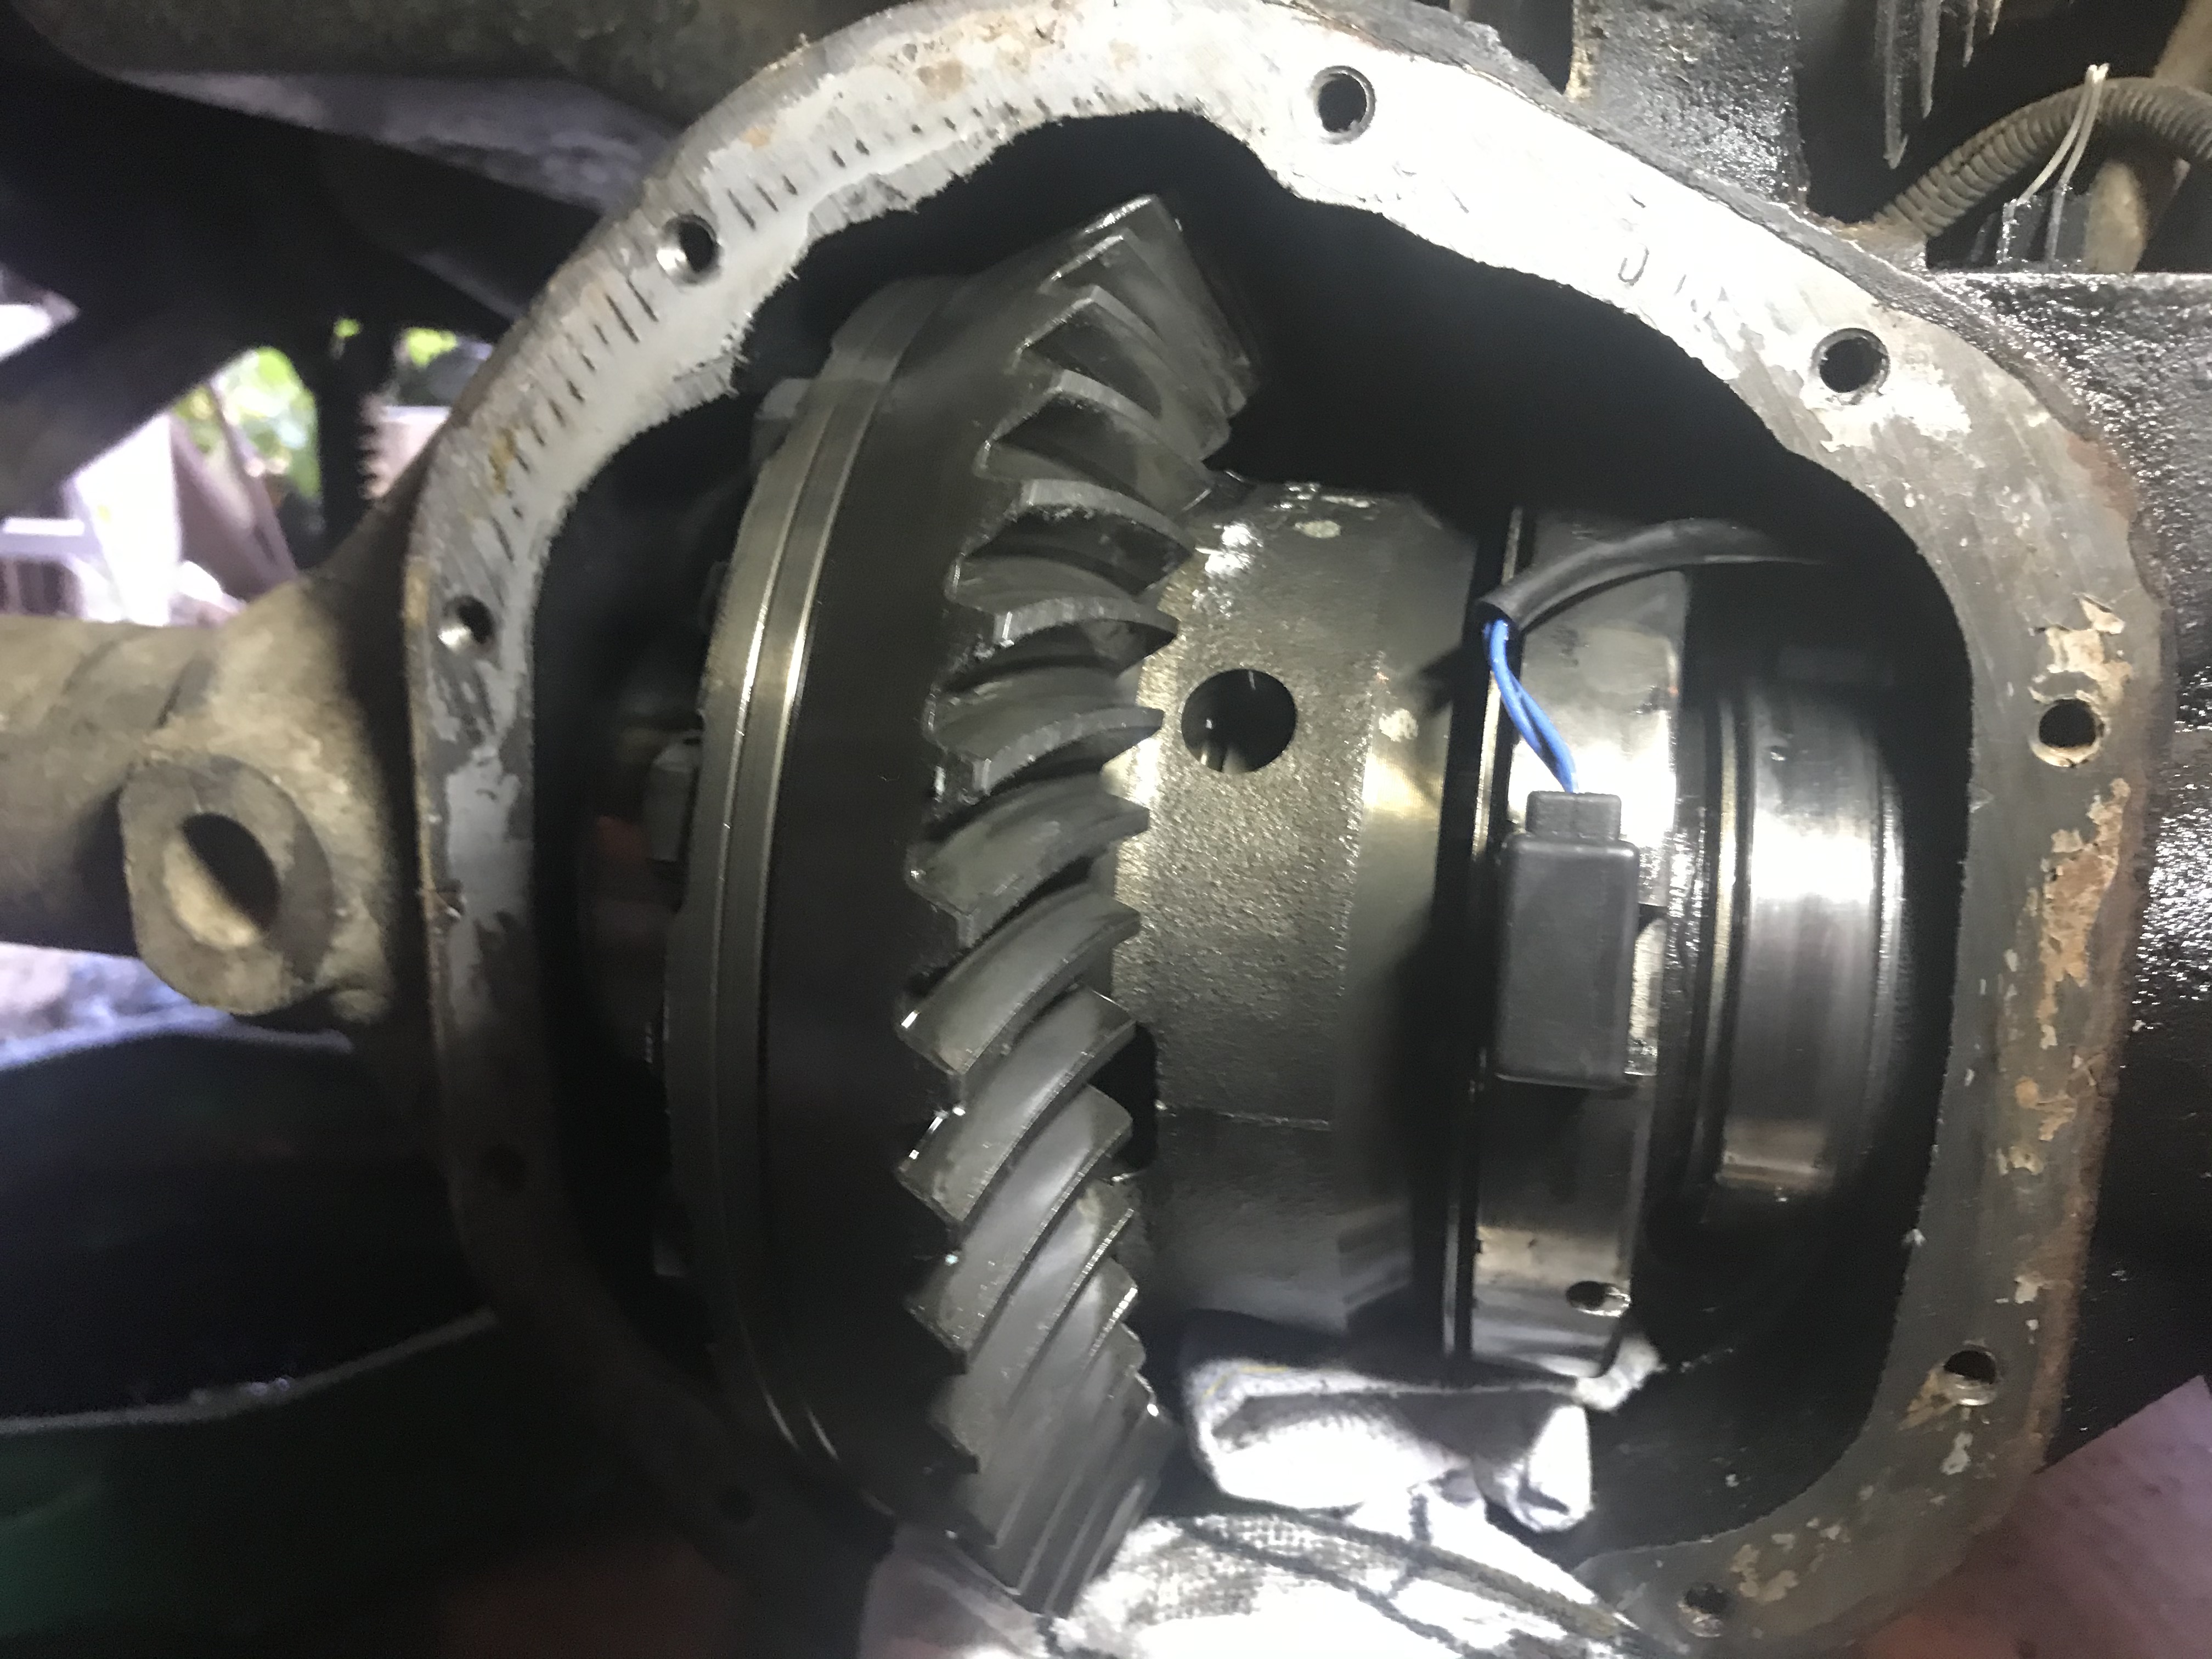
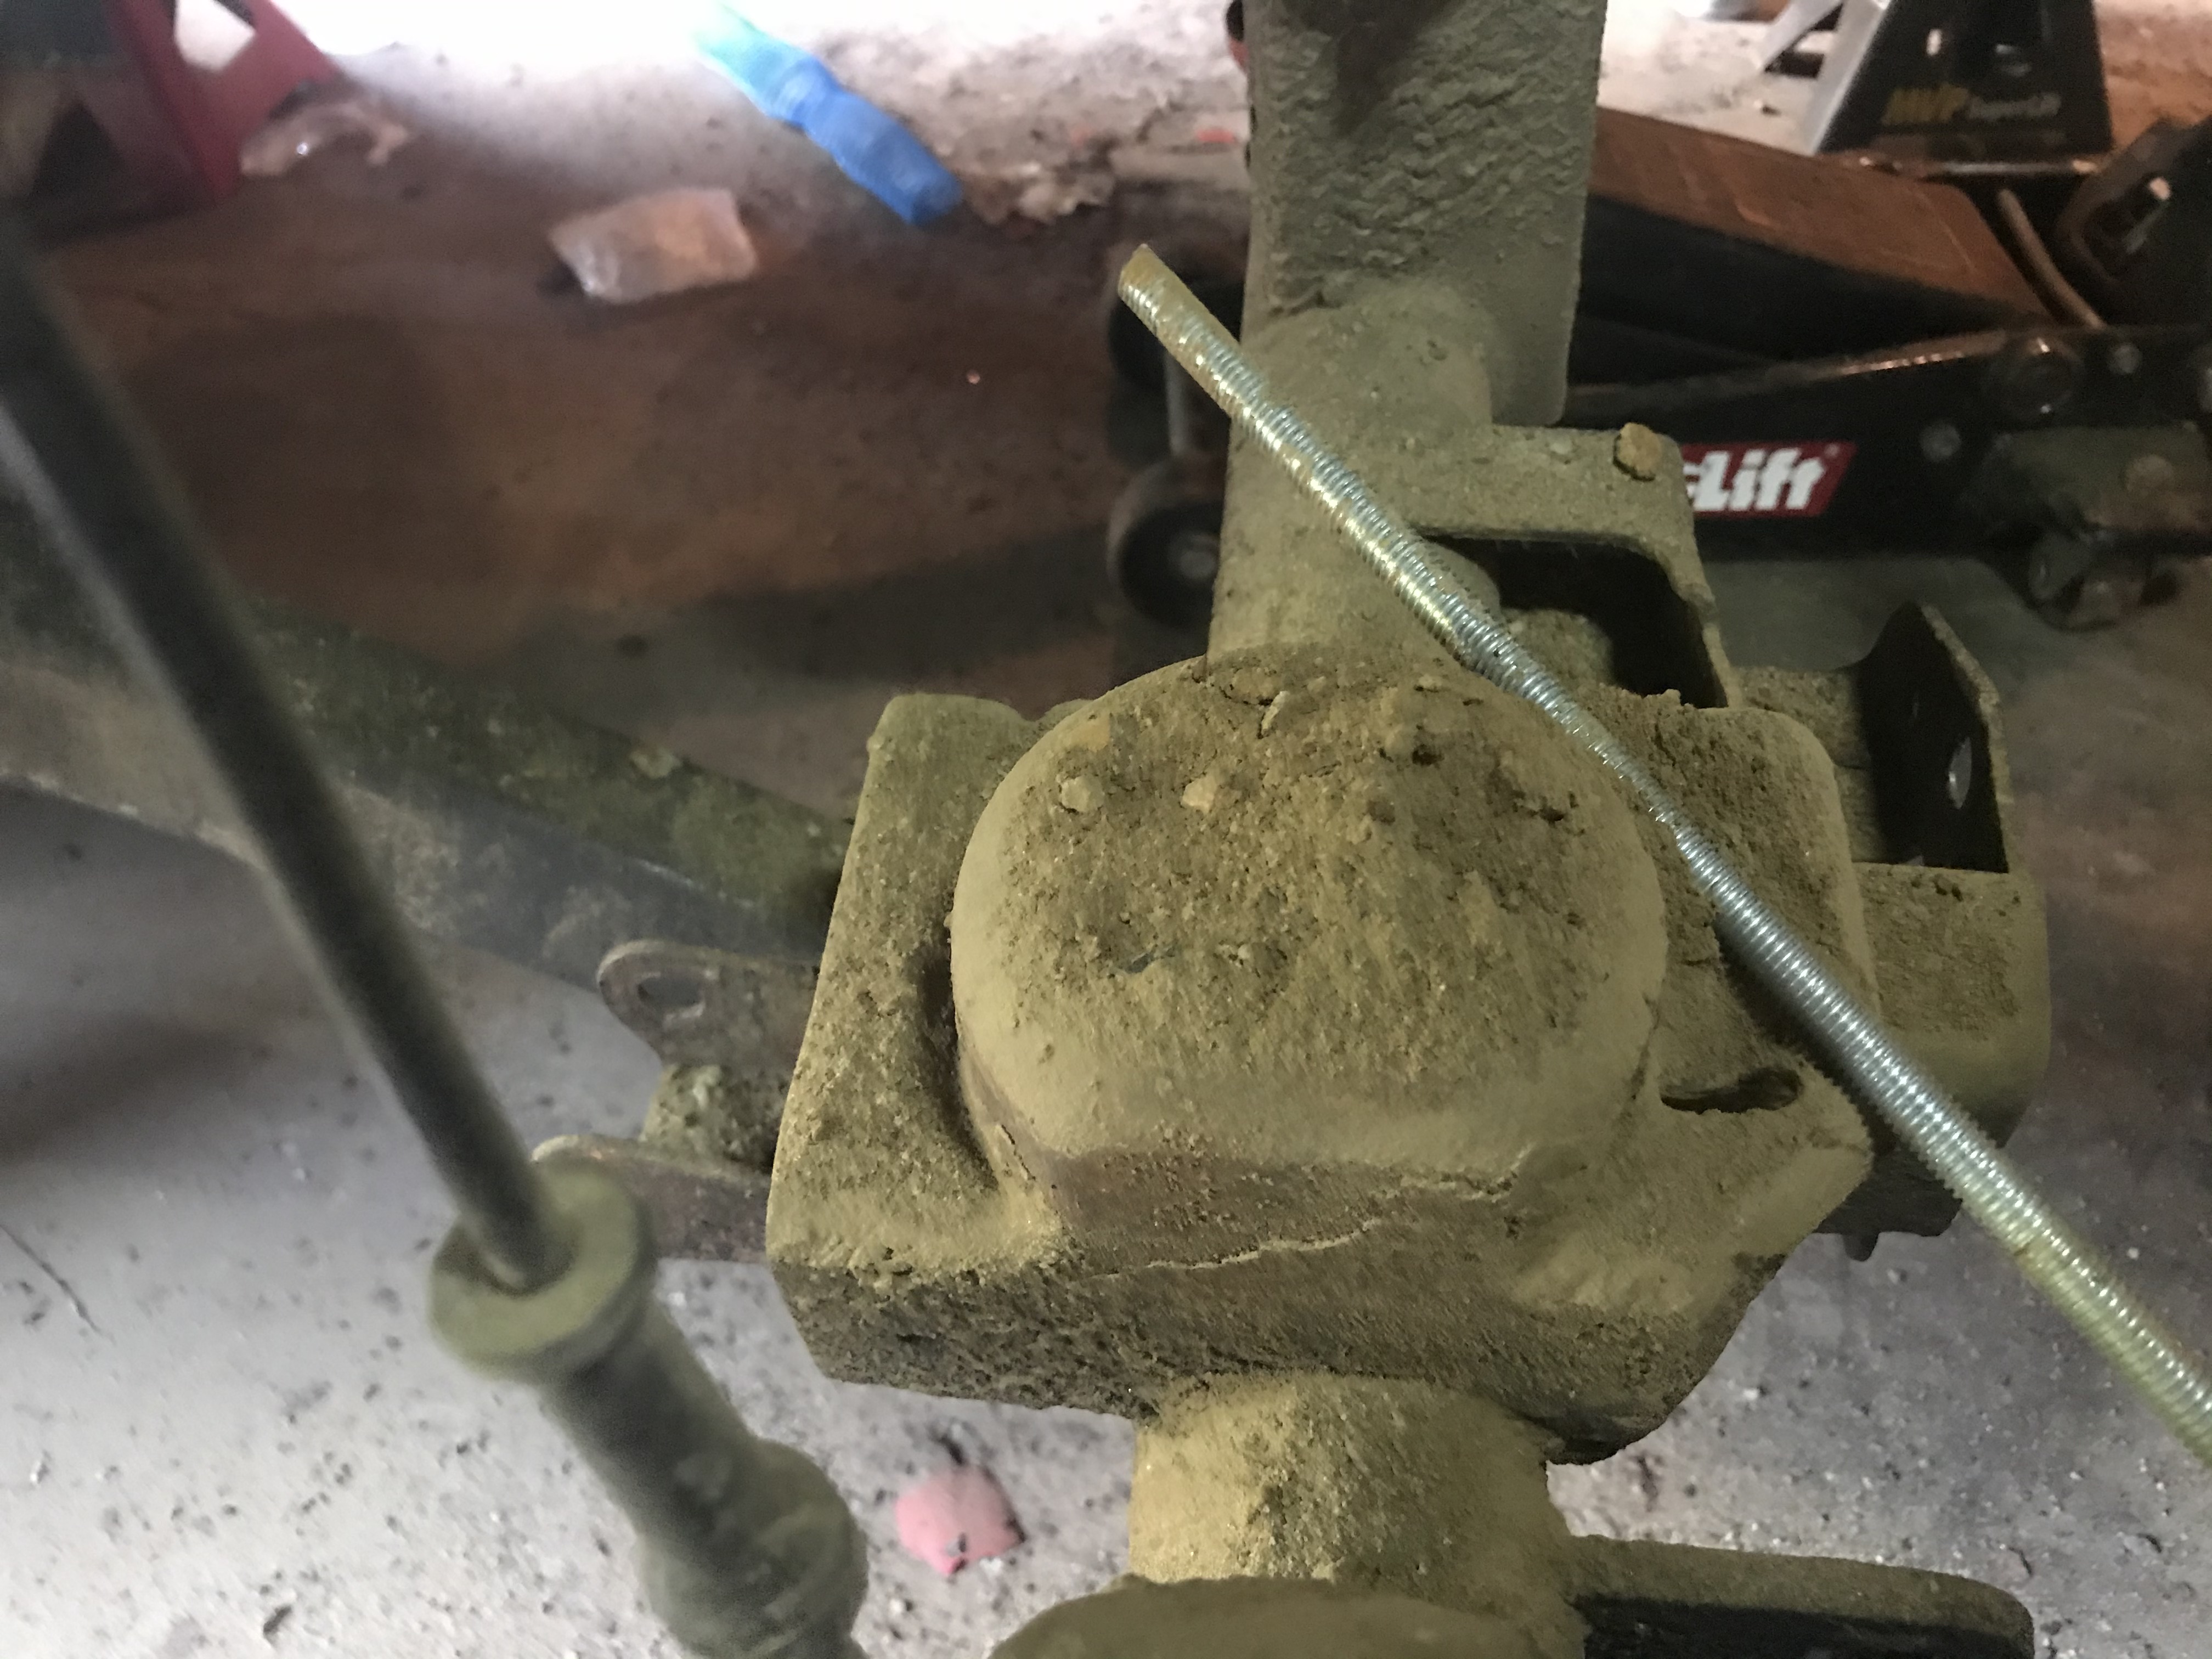
The "Toothpick Trick" to keep the locker plunger pushed out (I assume the solenoid must pull it in to engage the lockers).


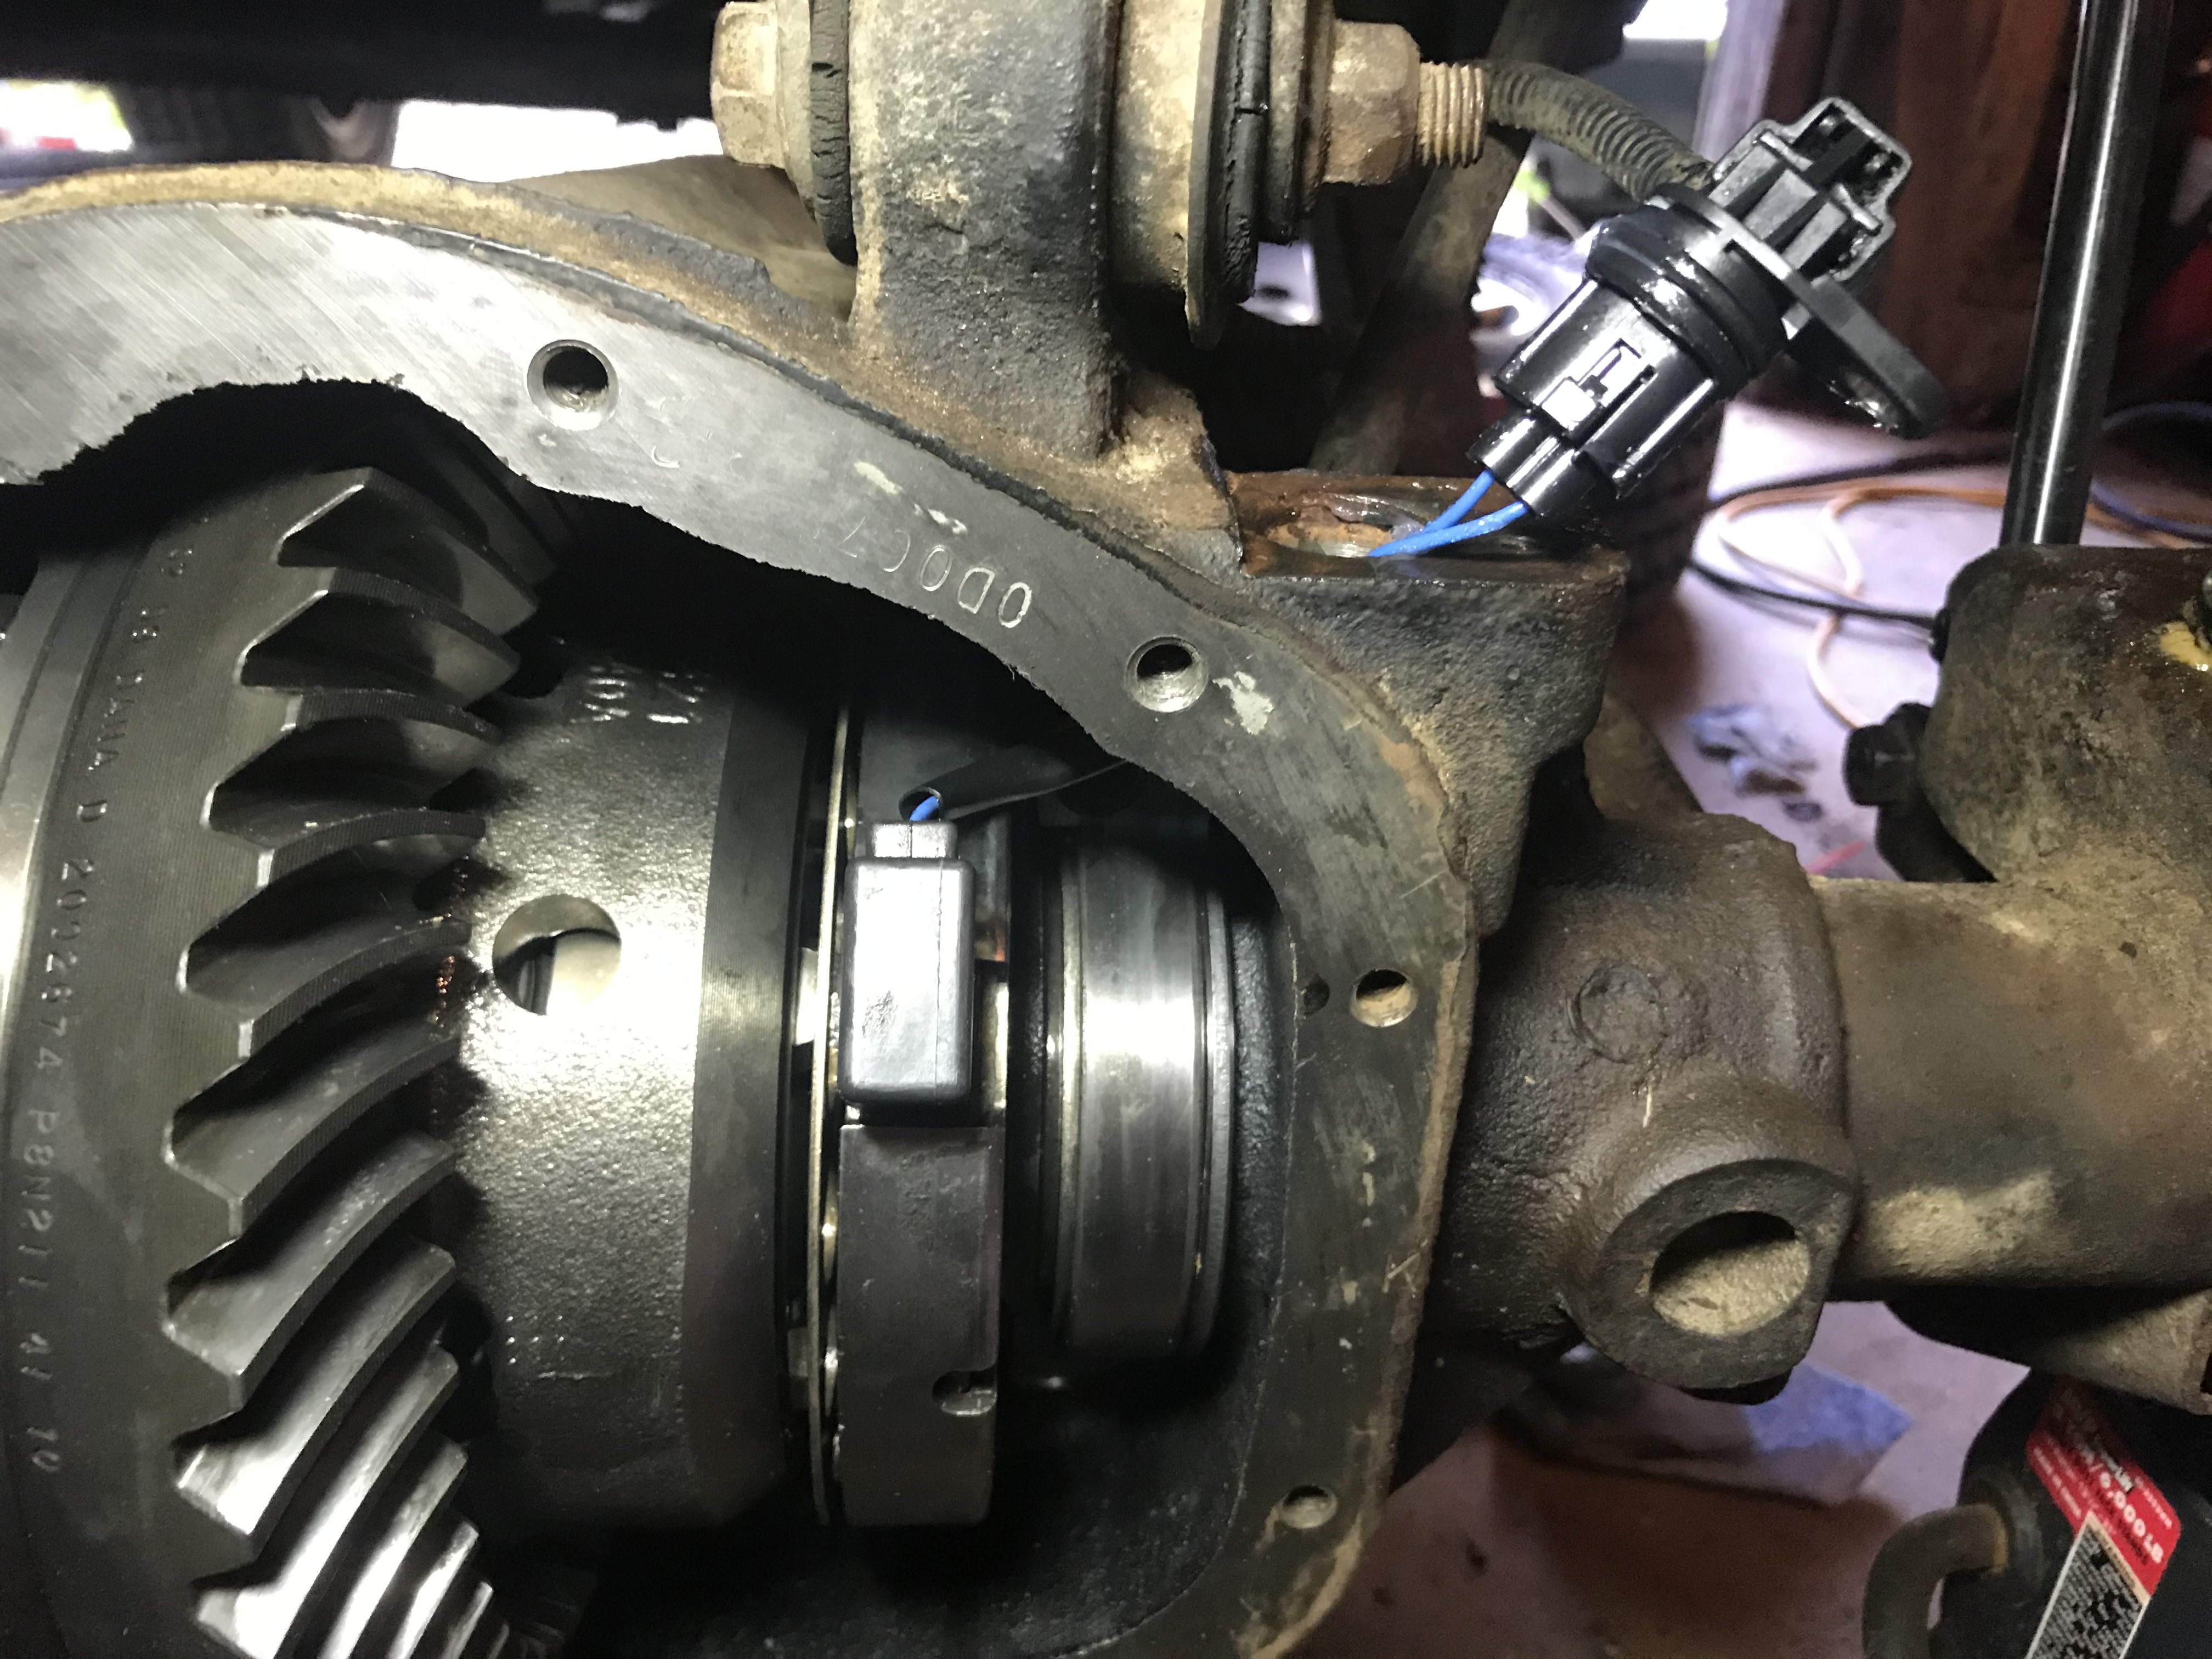
The electronic gizmo I believe is just the sensor to determine if the lockers are engaged. Hopefully this also takes care of the problem I had recently with the front locker light turning on for no apparent reason.

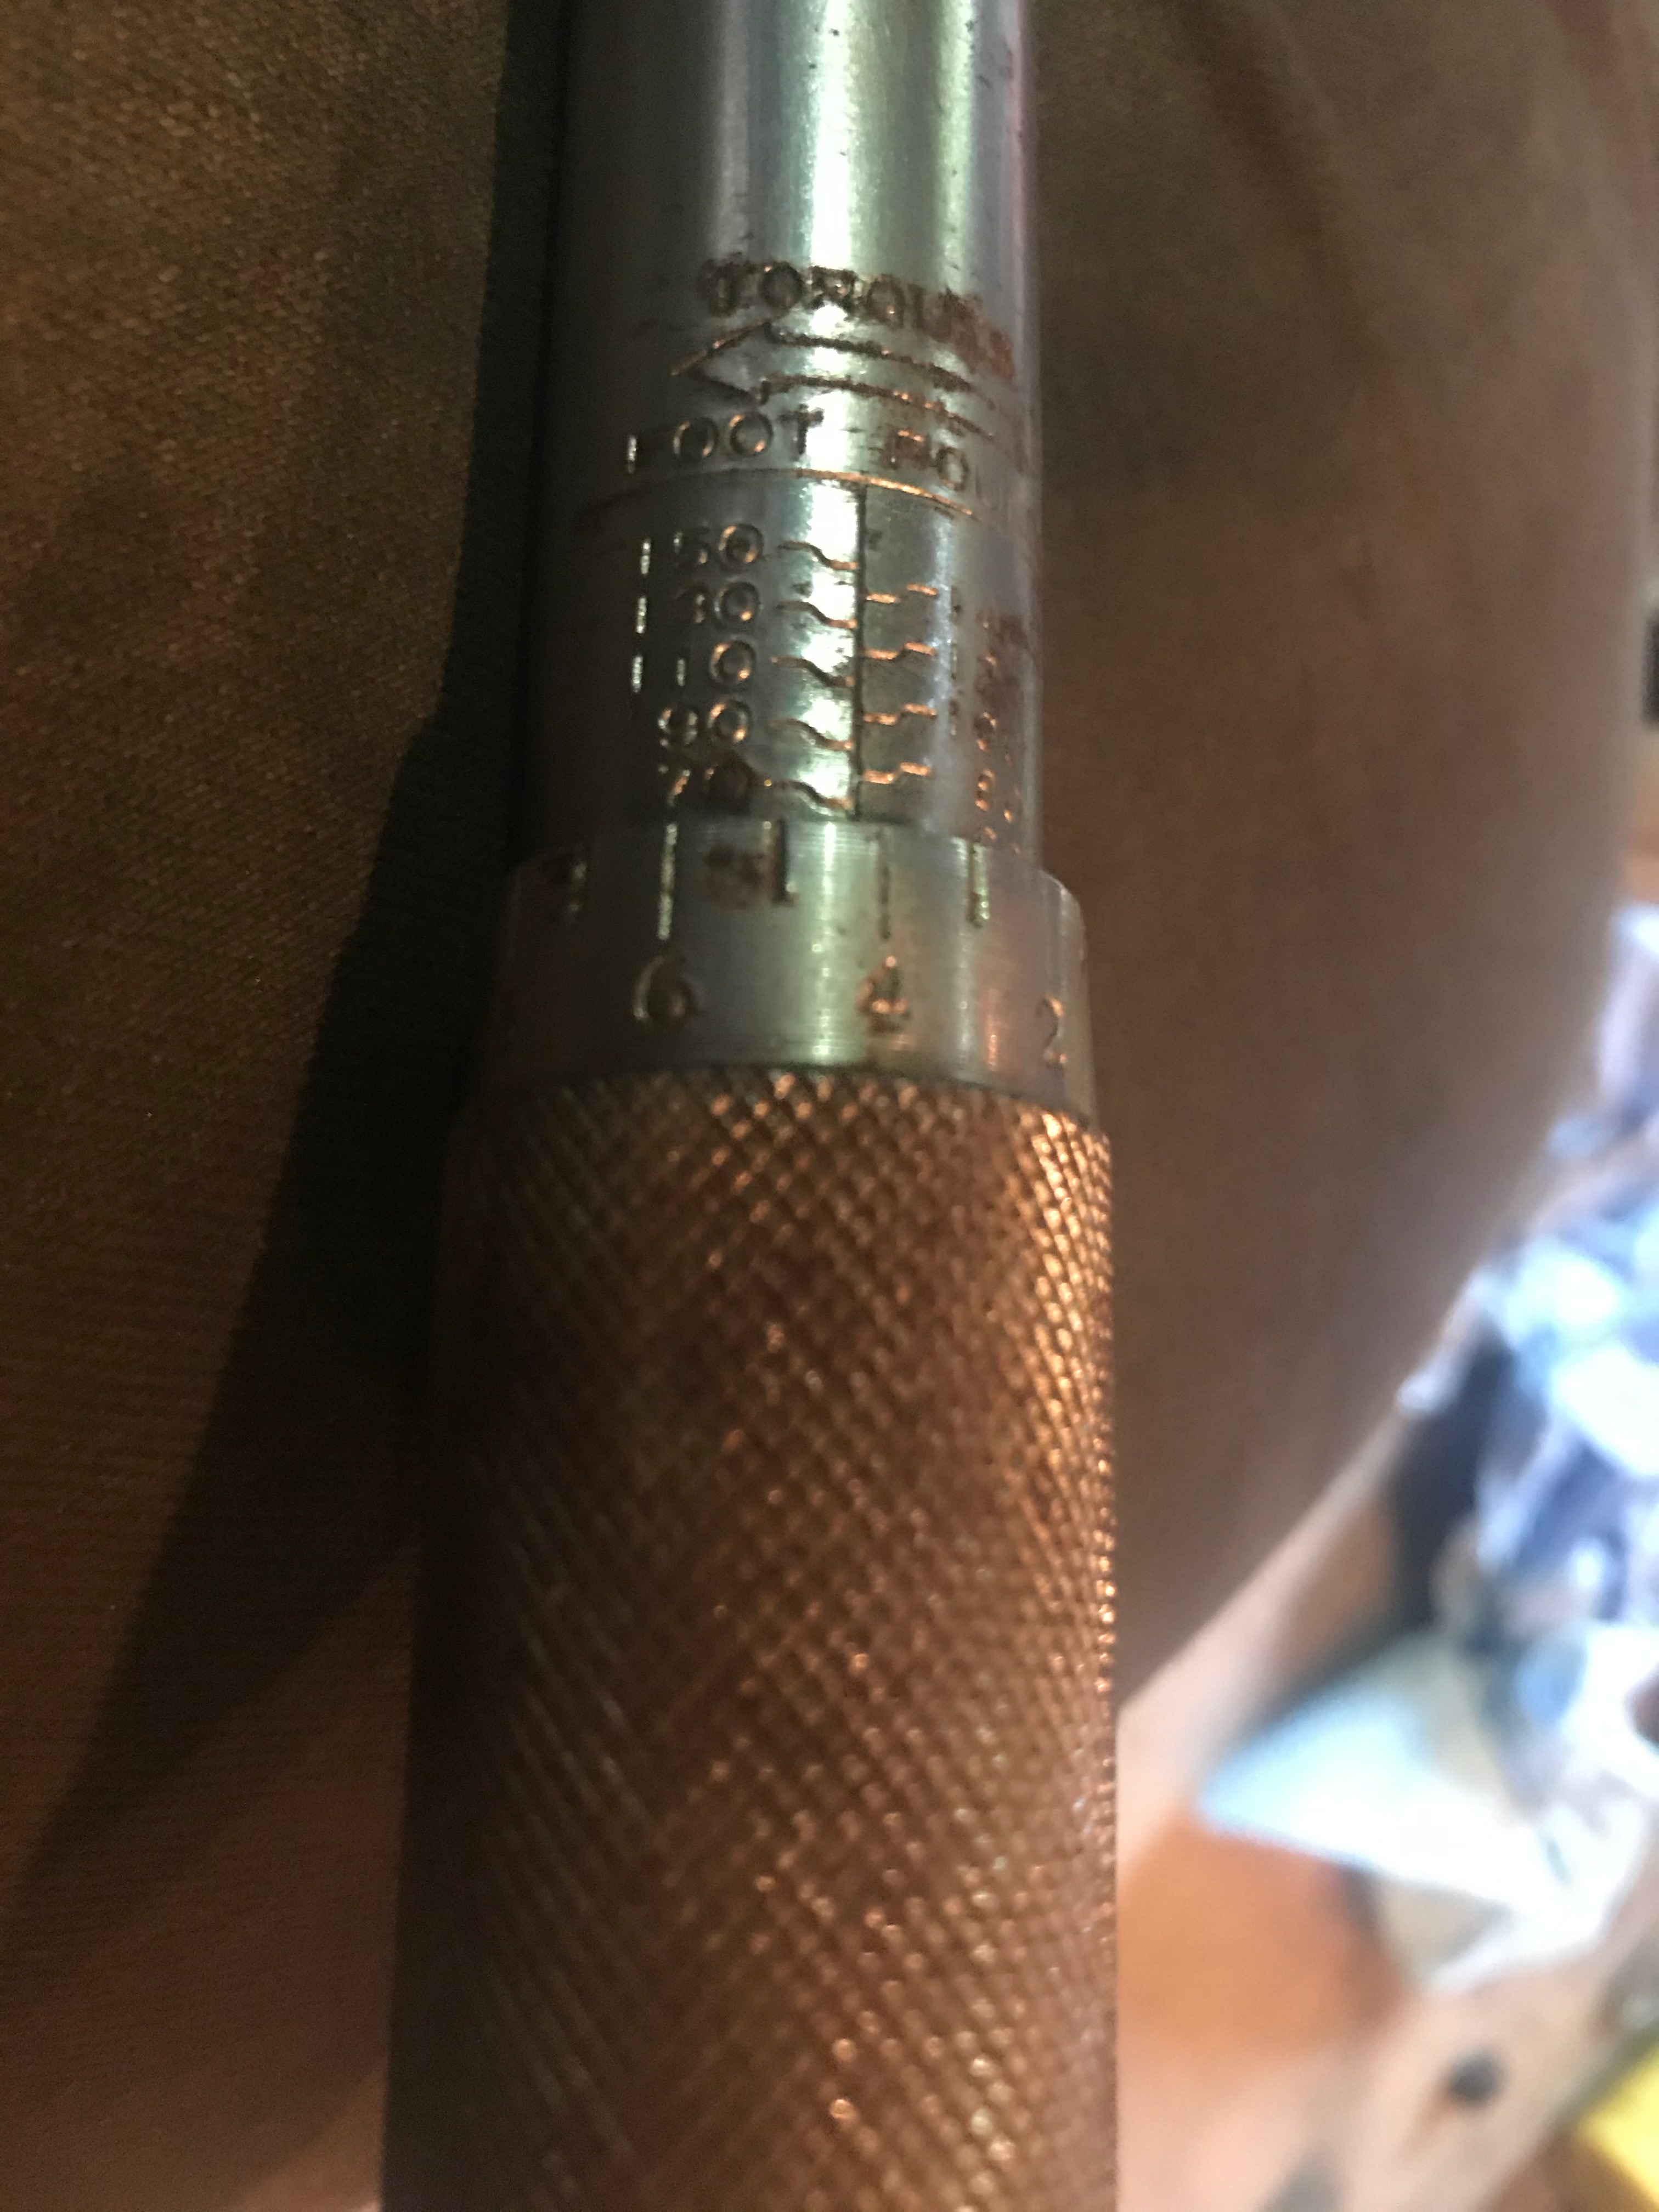
...had to take a picture of hte torque wrench to see what the settings were. I need about 2,000 more watts of light and a magnifying glass in the garage.


Anti-sieze like the Navy paints ships.


First time I've applied an RTV gasket. Glad I picked up another tube to supplement what came with the cover I put on too heavy and only got half done.


Sunday, September 6, 2020

06 September 2020 -- A Sunday that started off so well...

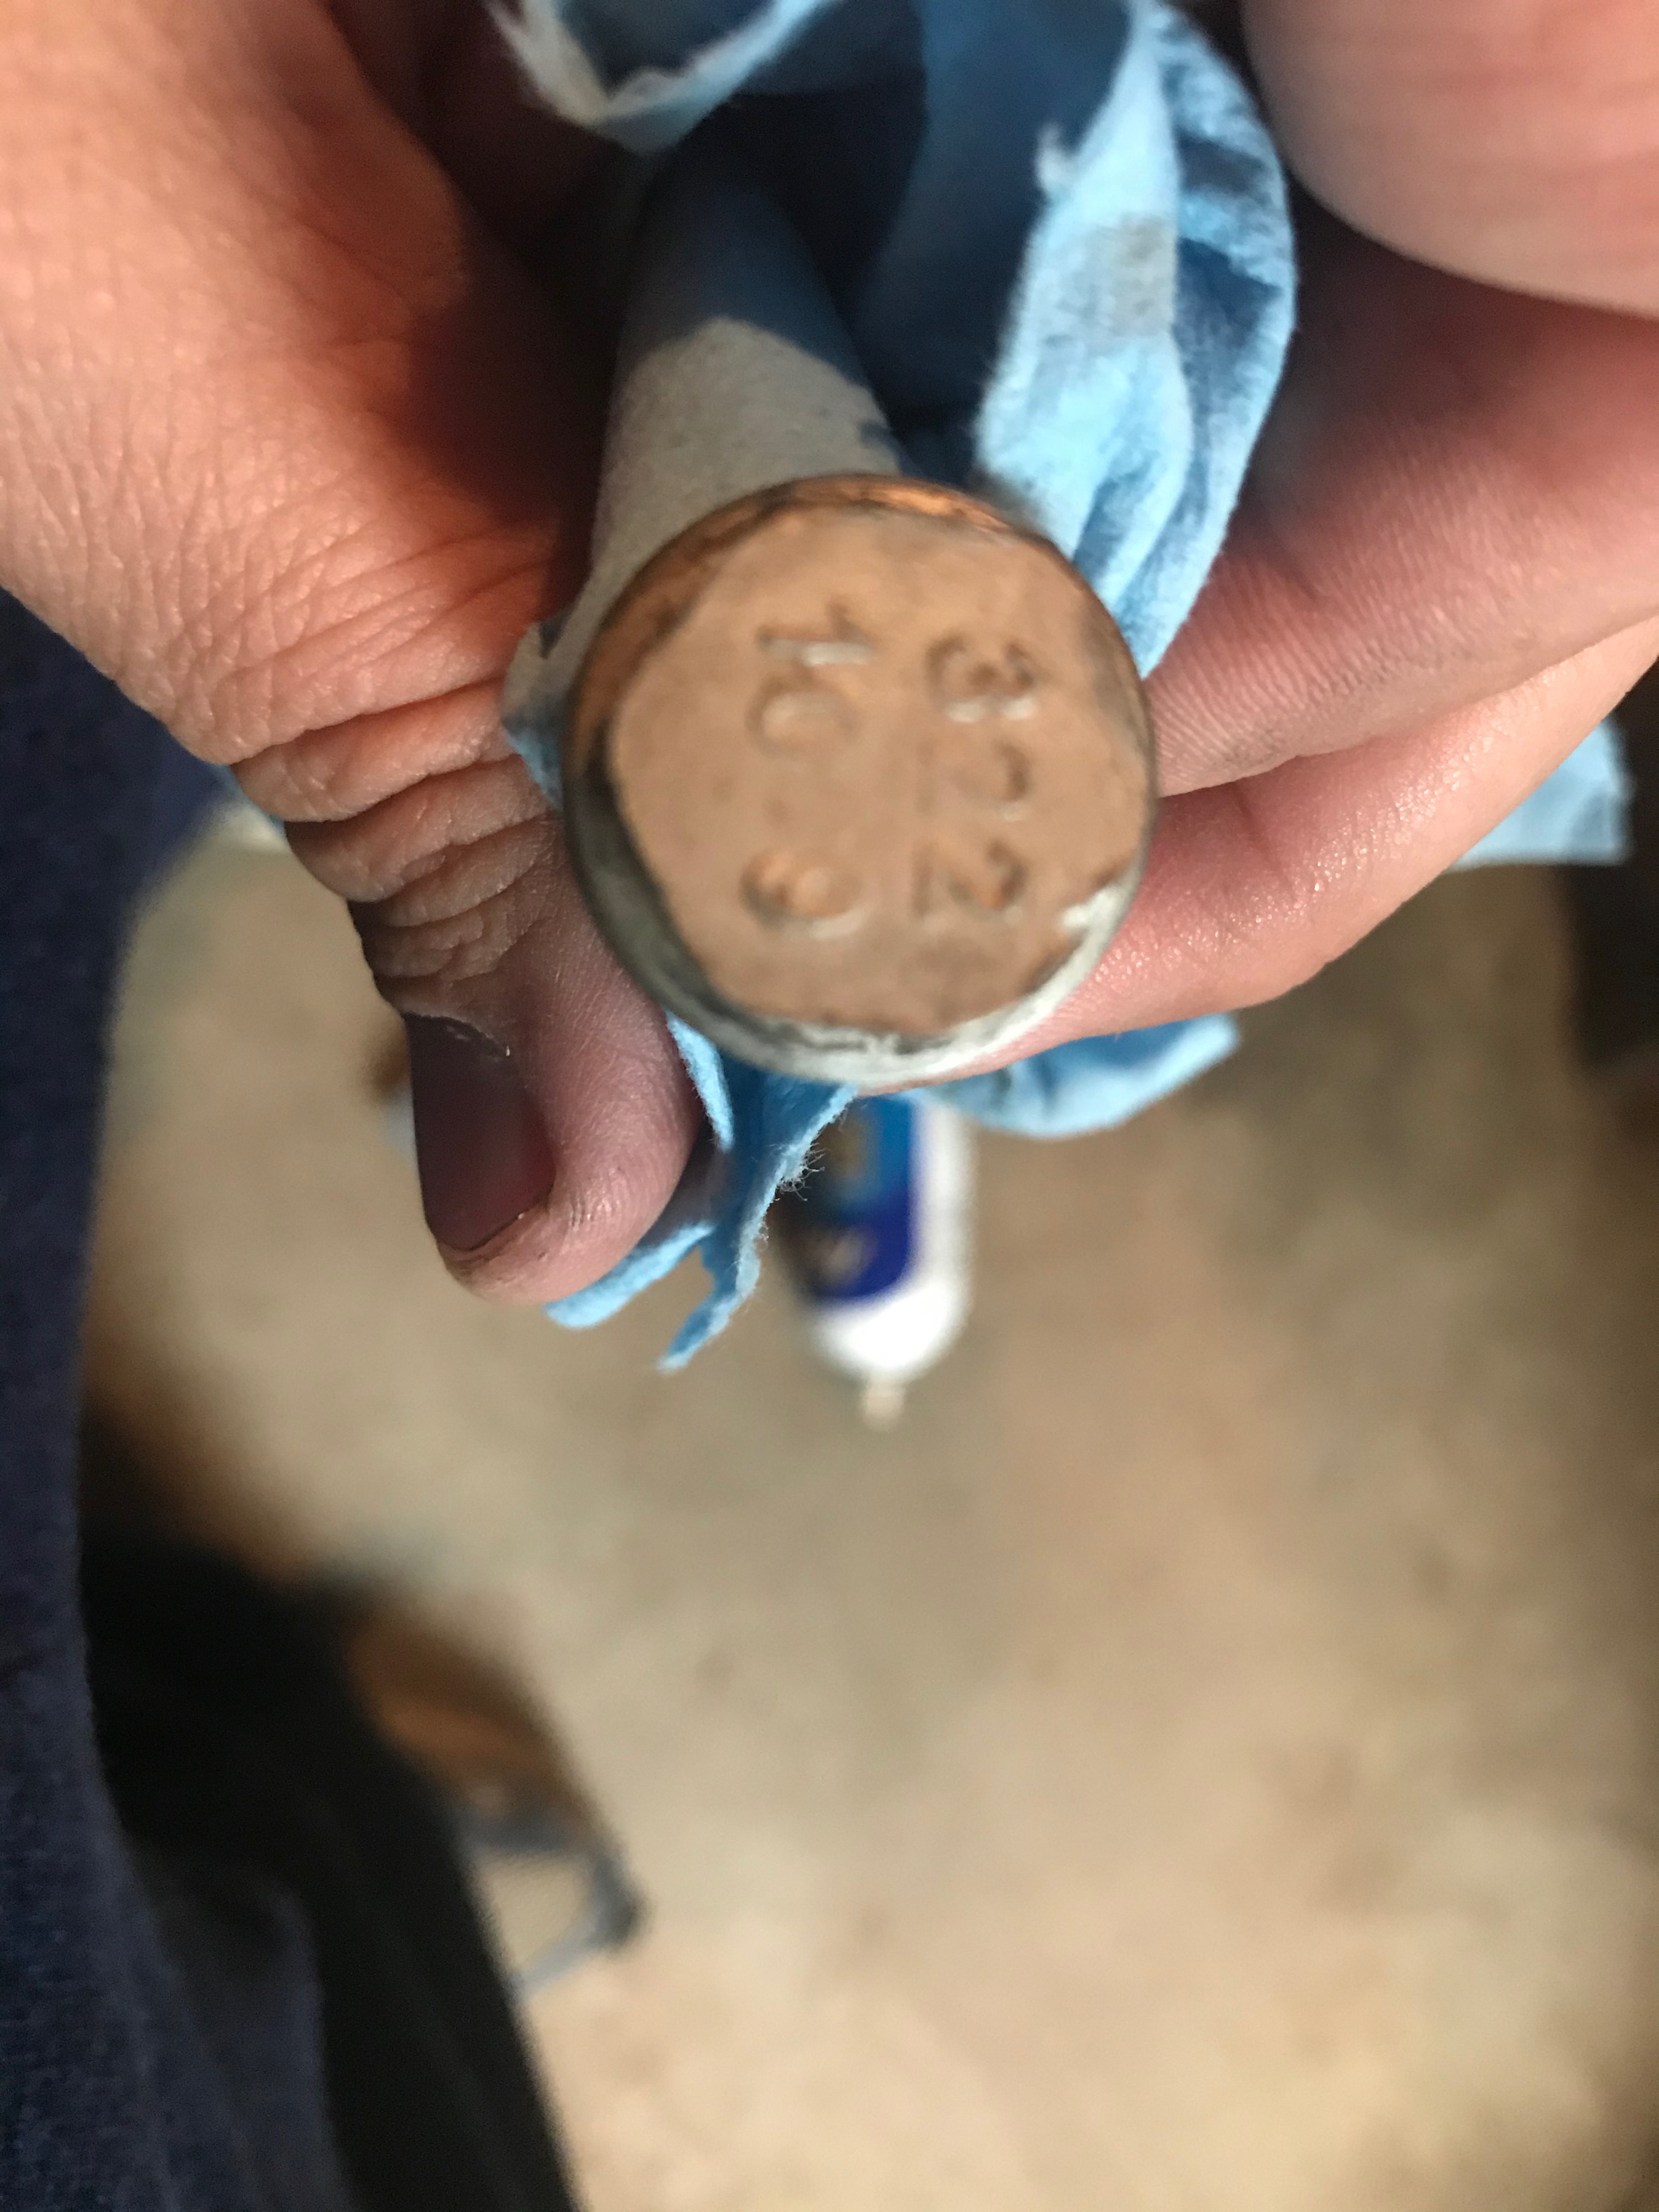
Well, my 5/8" bolt mystery deepens...that's Metric grade markings on the head. *shrug*


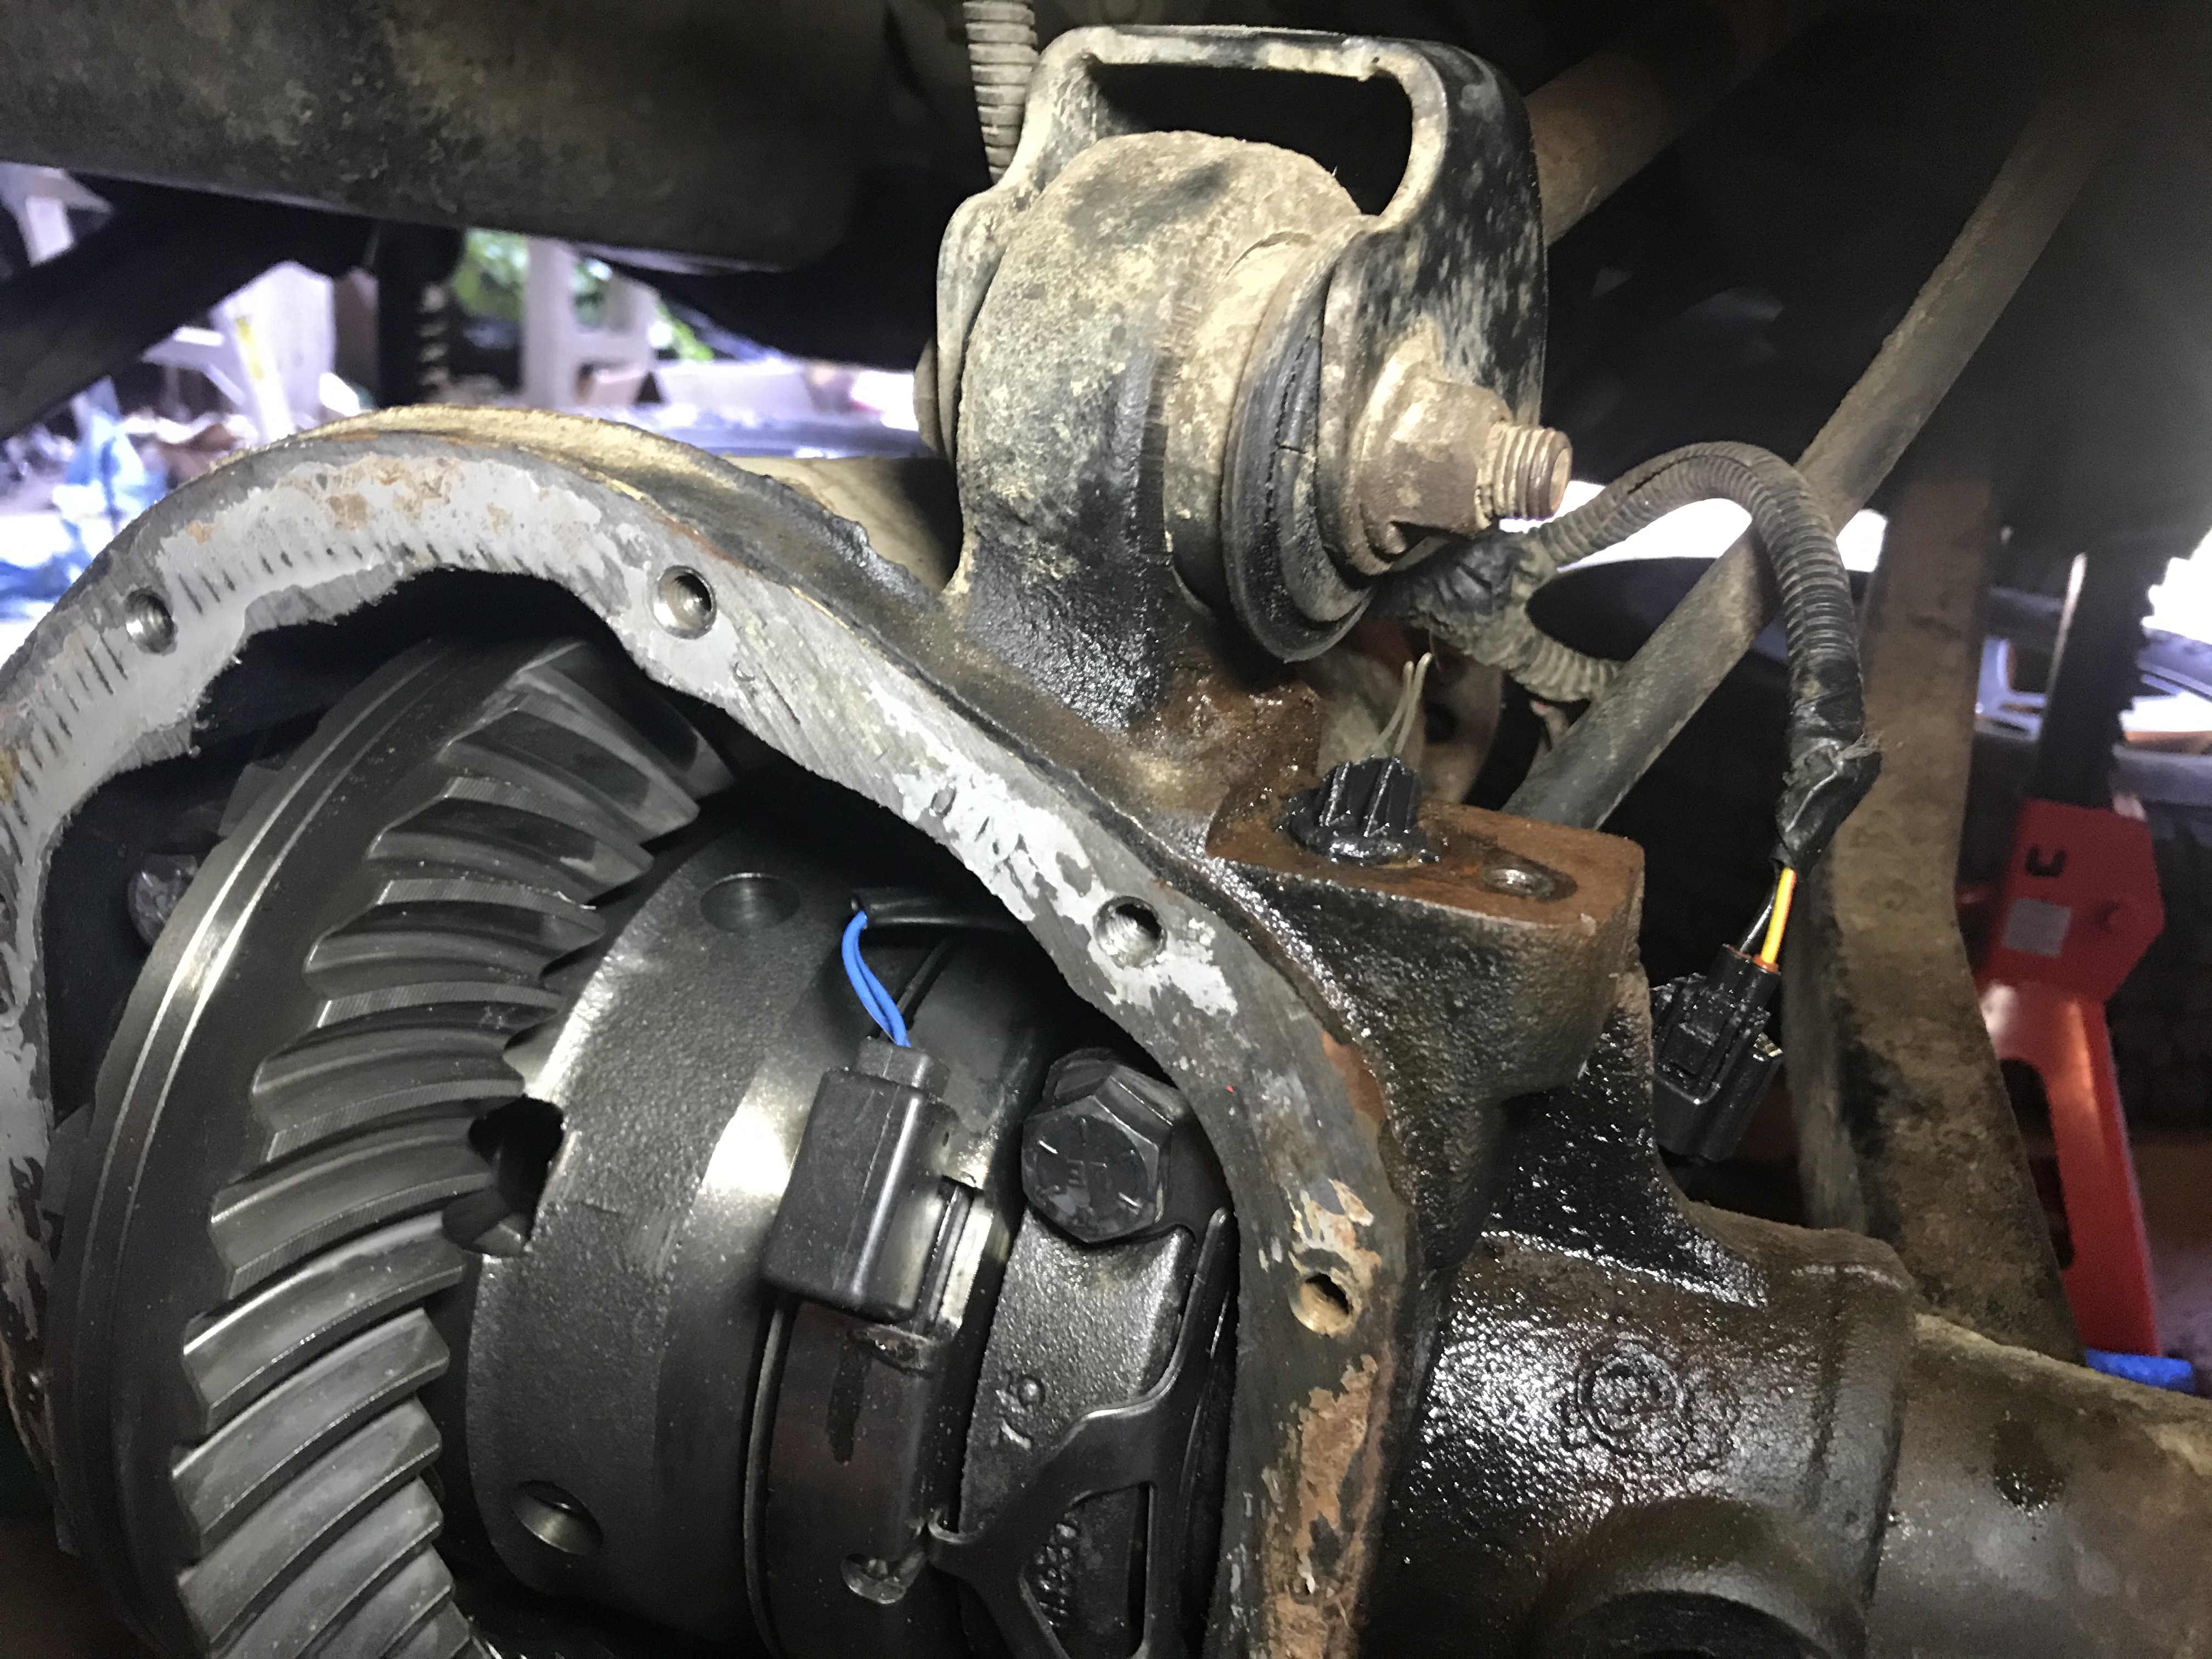
Got the bad pass-thru out. Looks like the blue wires wouldn't damaged, but it was interesting chewing up / punching out with pliers, screwdrivers, and hammers to old one.
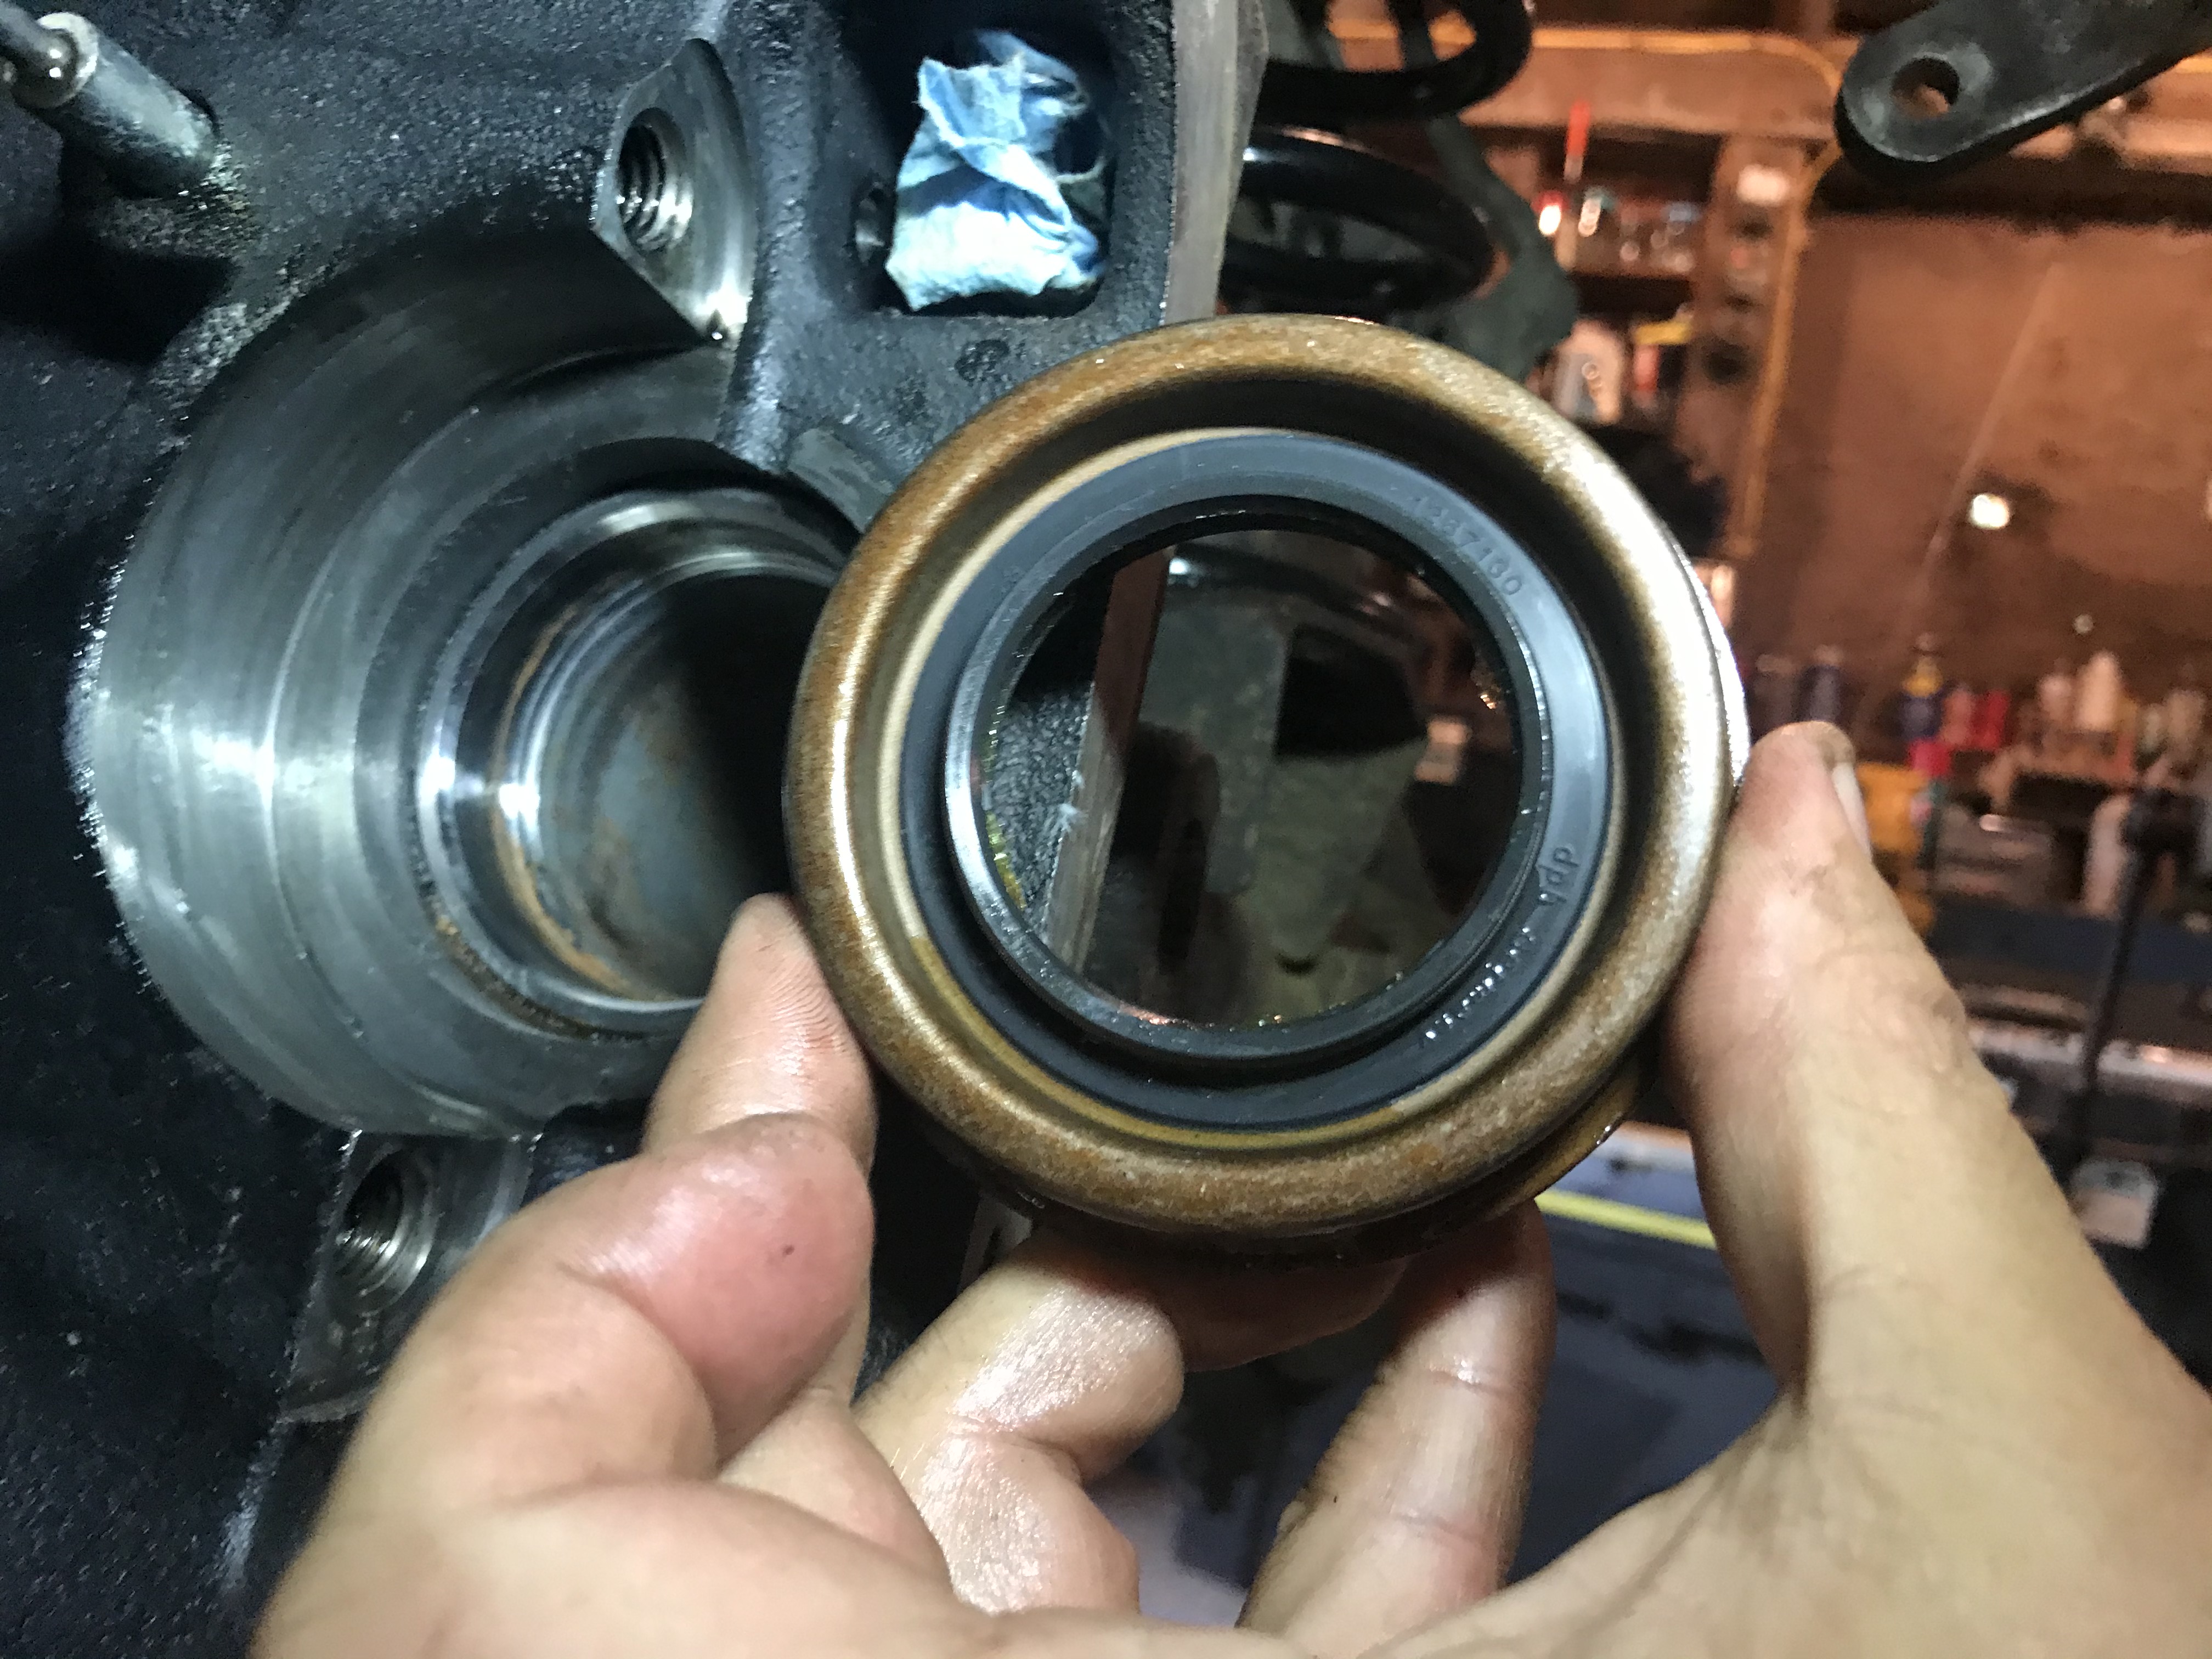


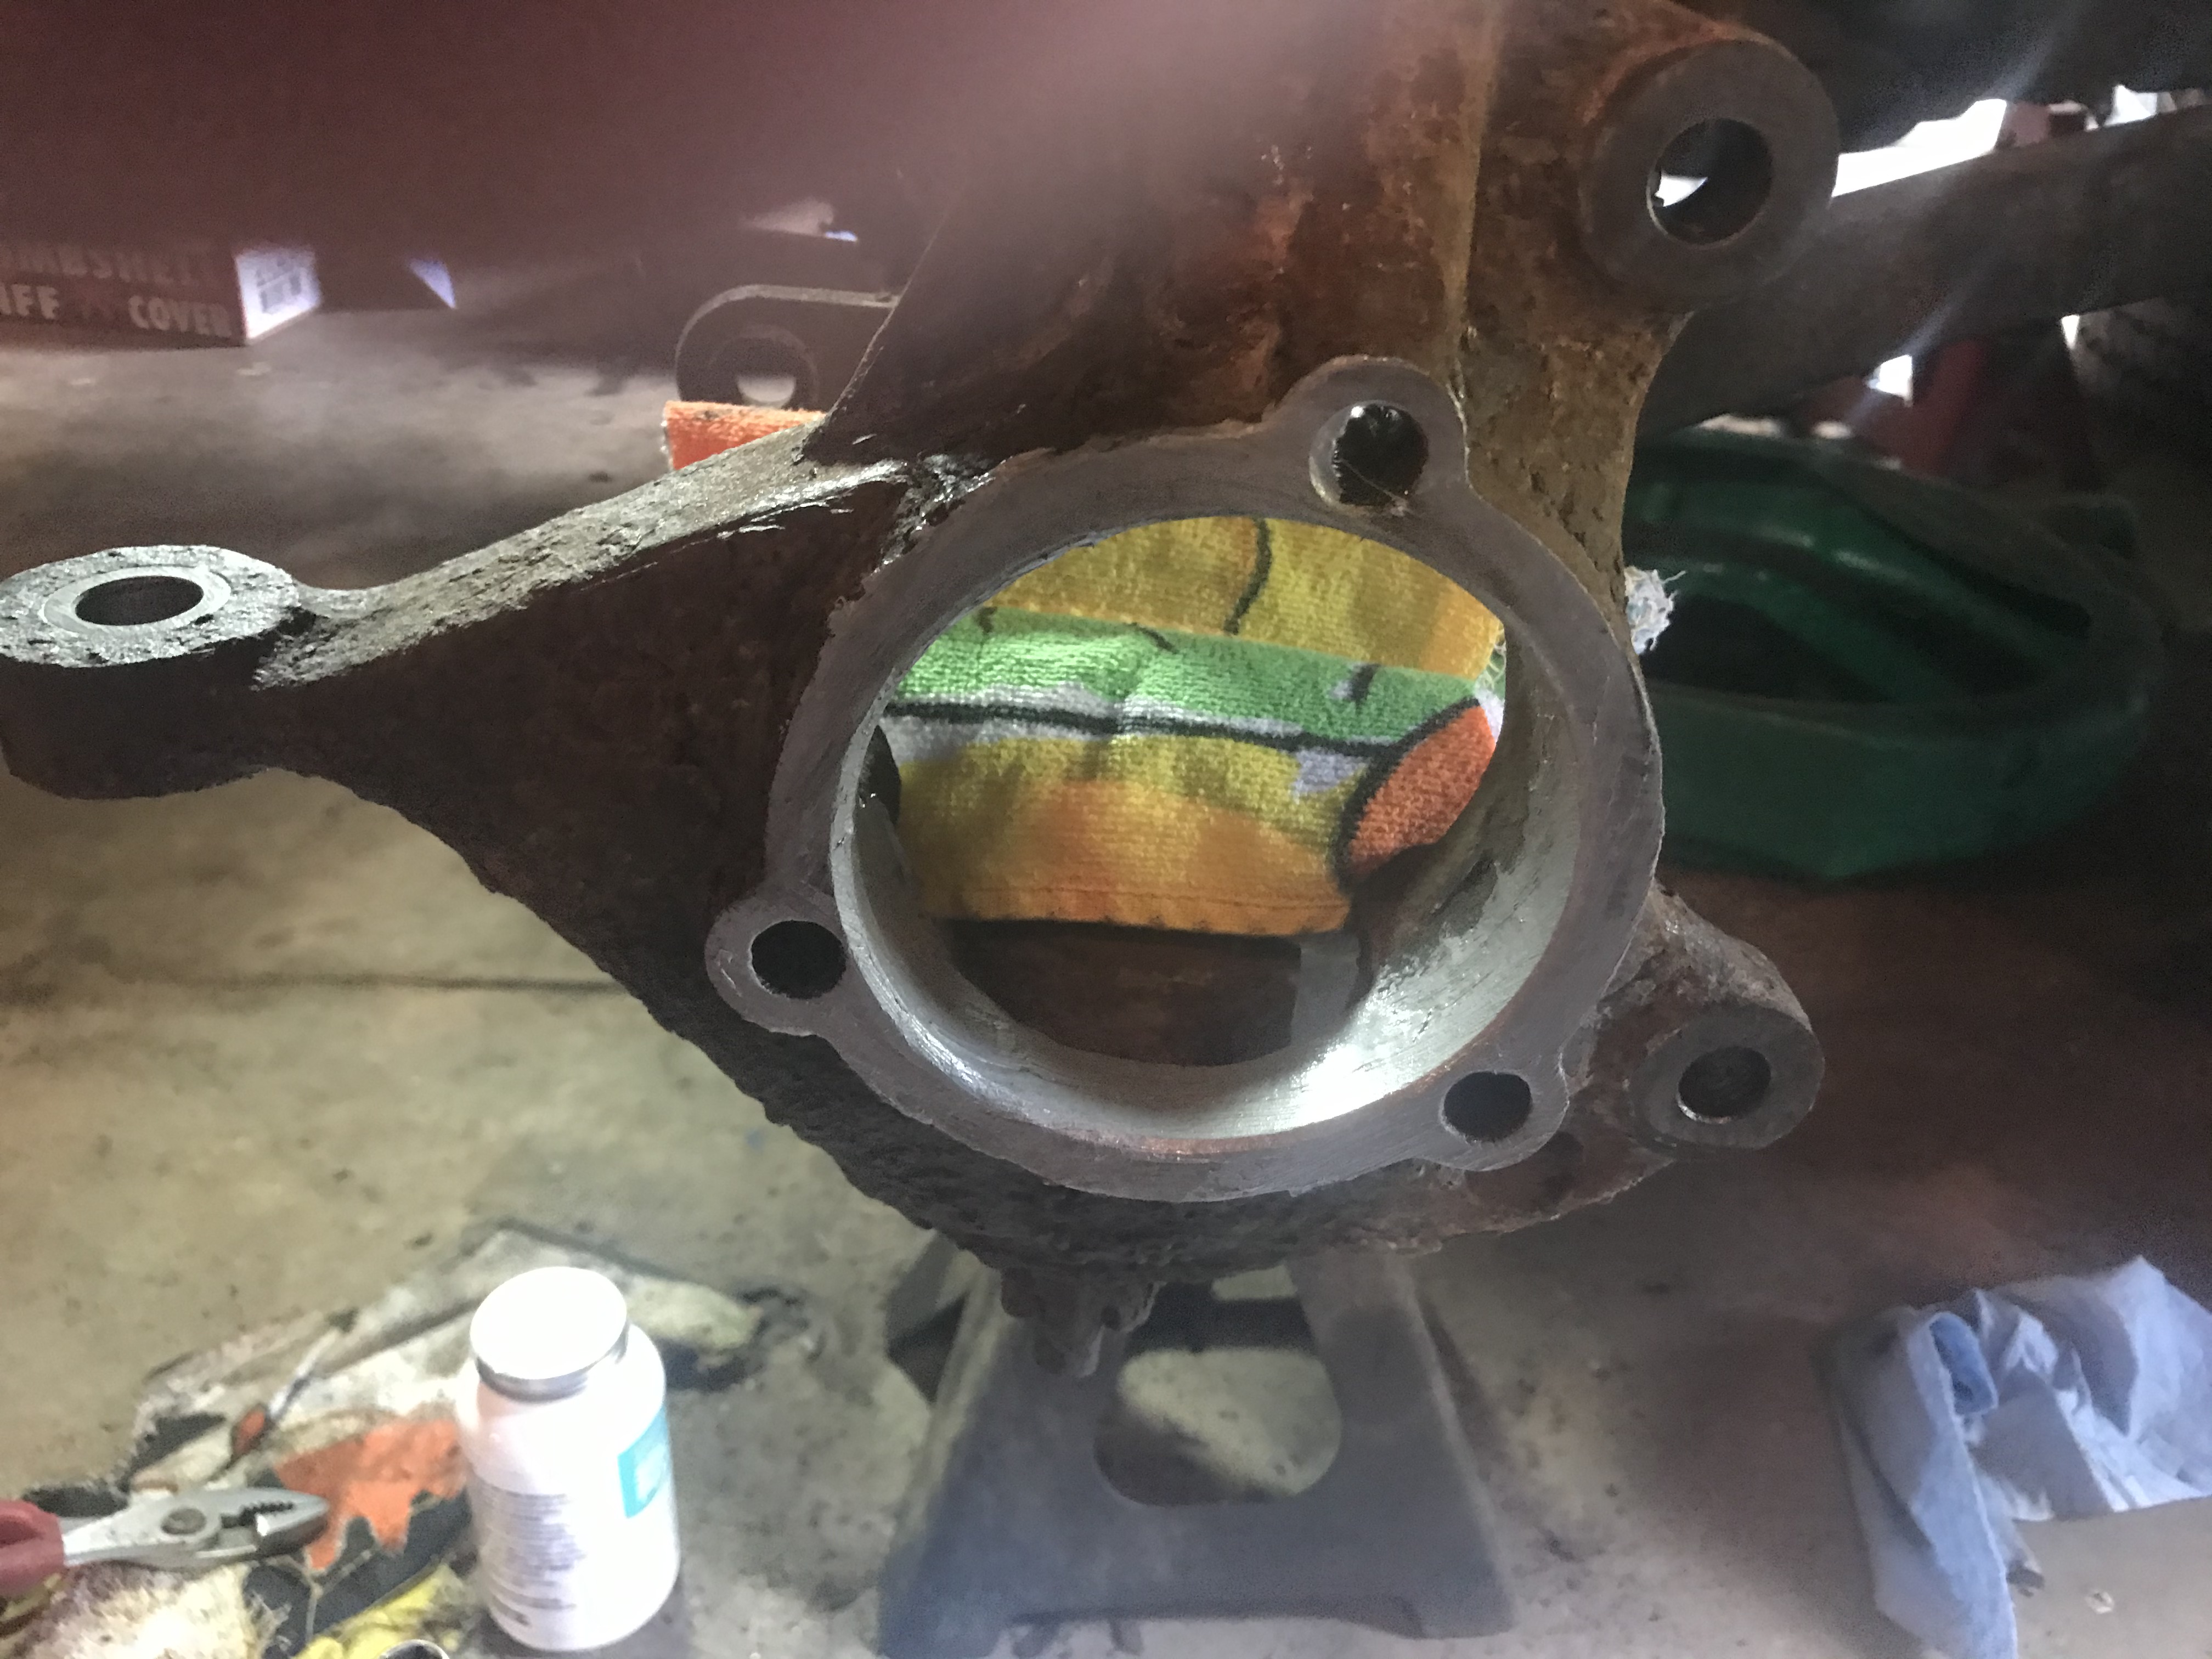
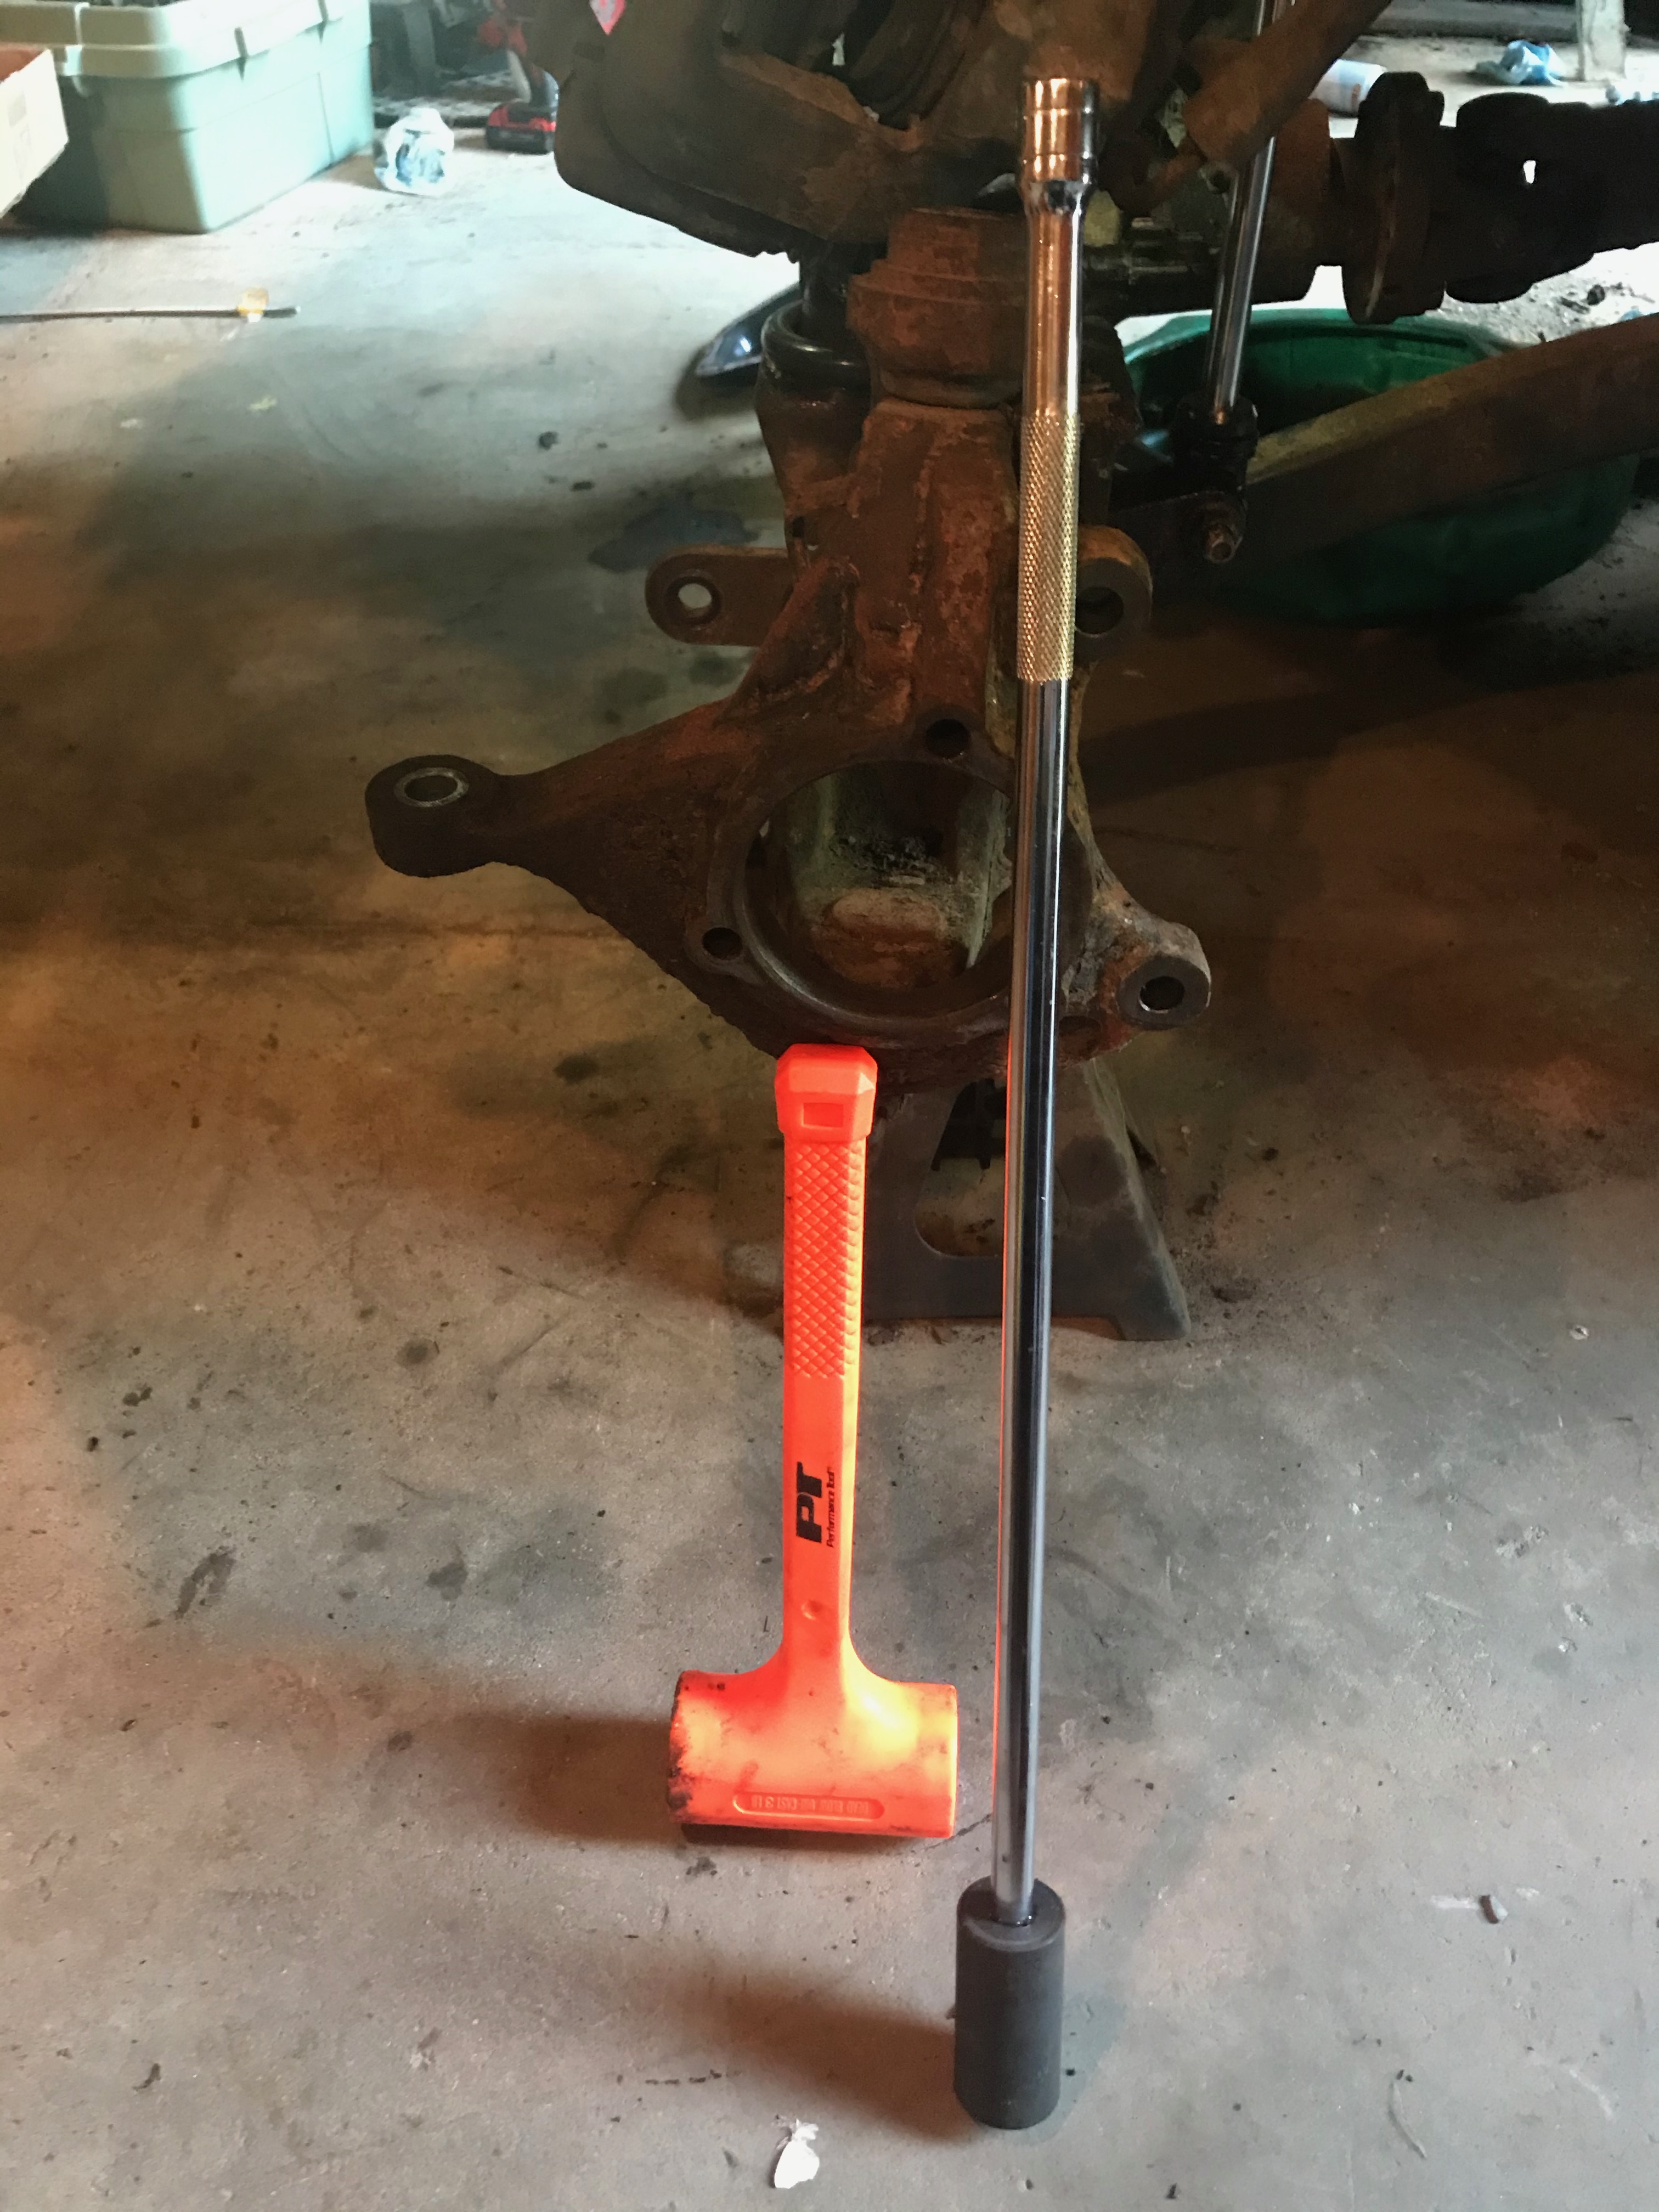
Think that was a 22mm socket...at any rate, popped the old seals off pretty easily with a half dozen or so standing dead blows of the hammer (and I needed enough I had to stand to hit it hard enough).


Swab it like a cannon barrel. Well, you'd probably not swab a hot cannon barrel with brake fluid.


At this point...I realized I seem to have forgotten to order the new axle seals. What I thought was them was tube seals which are good if you're constantly mudding but not something I'm likely to use. Fudge. Fudge. Ok, go to O'Reily and order some for 2:30.
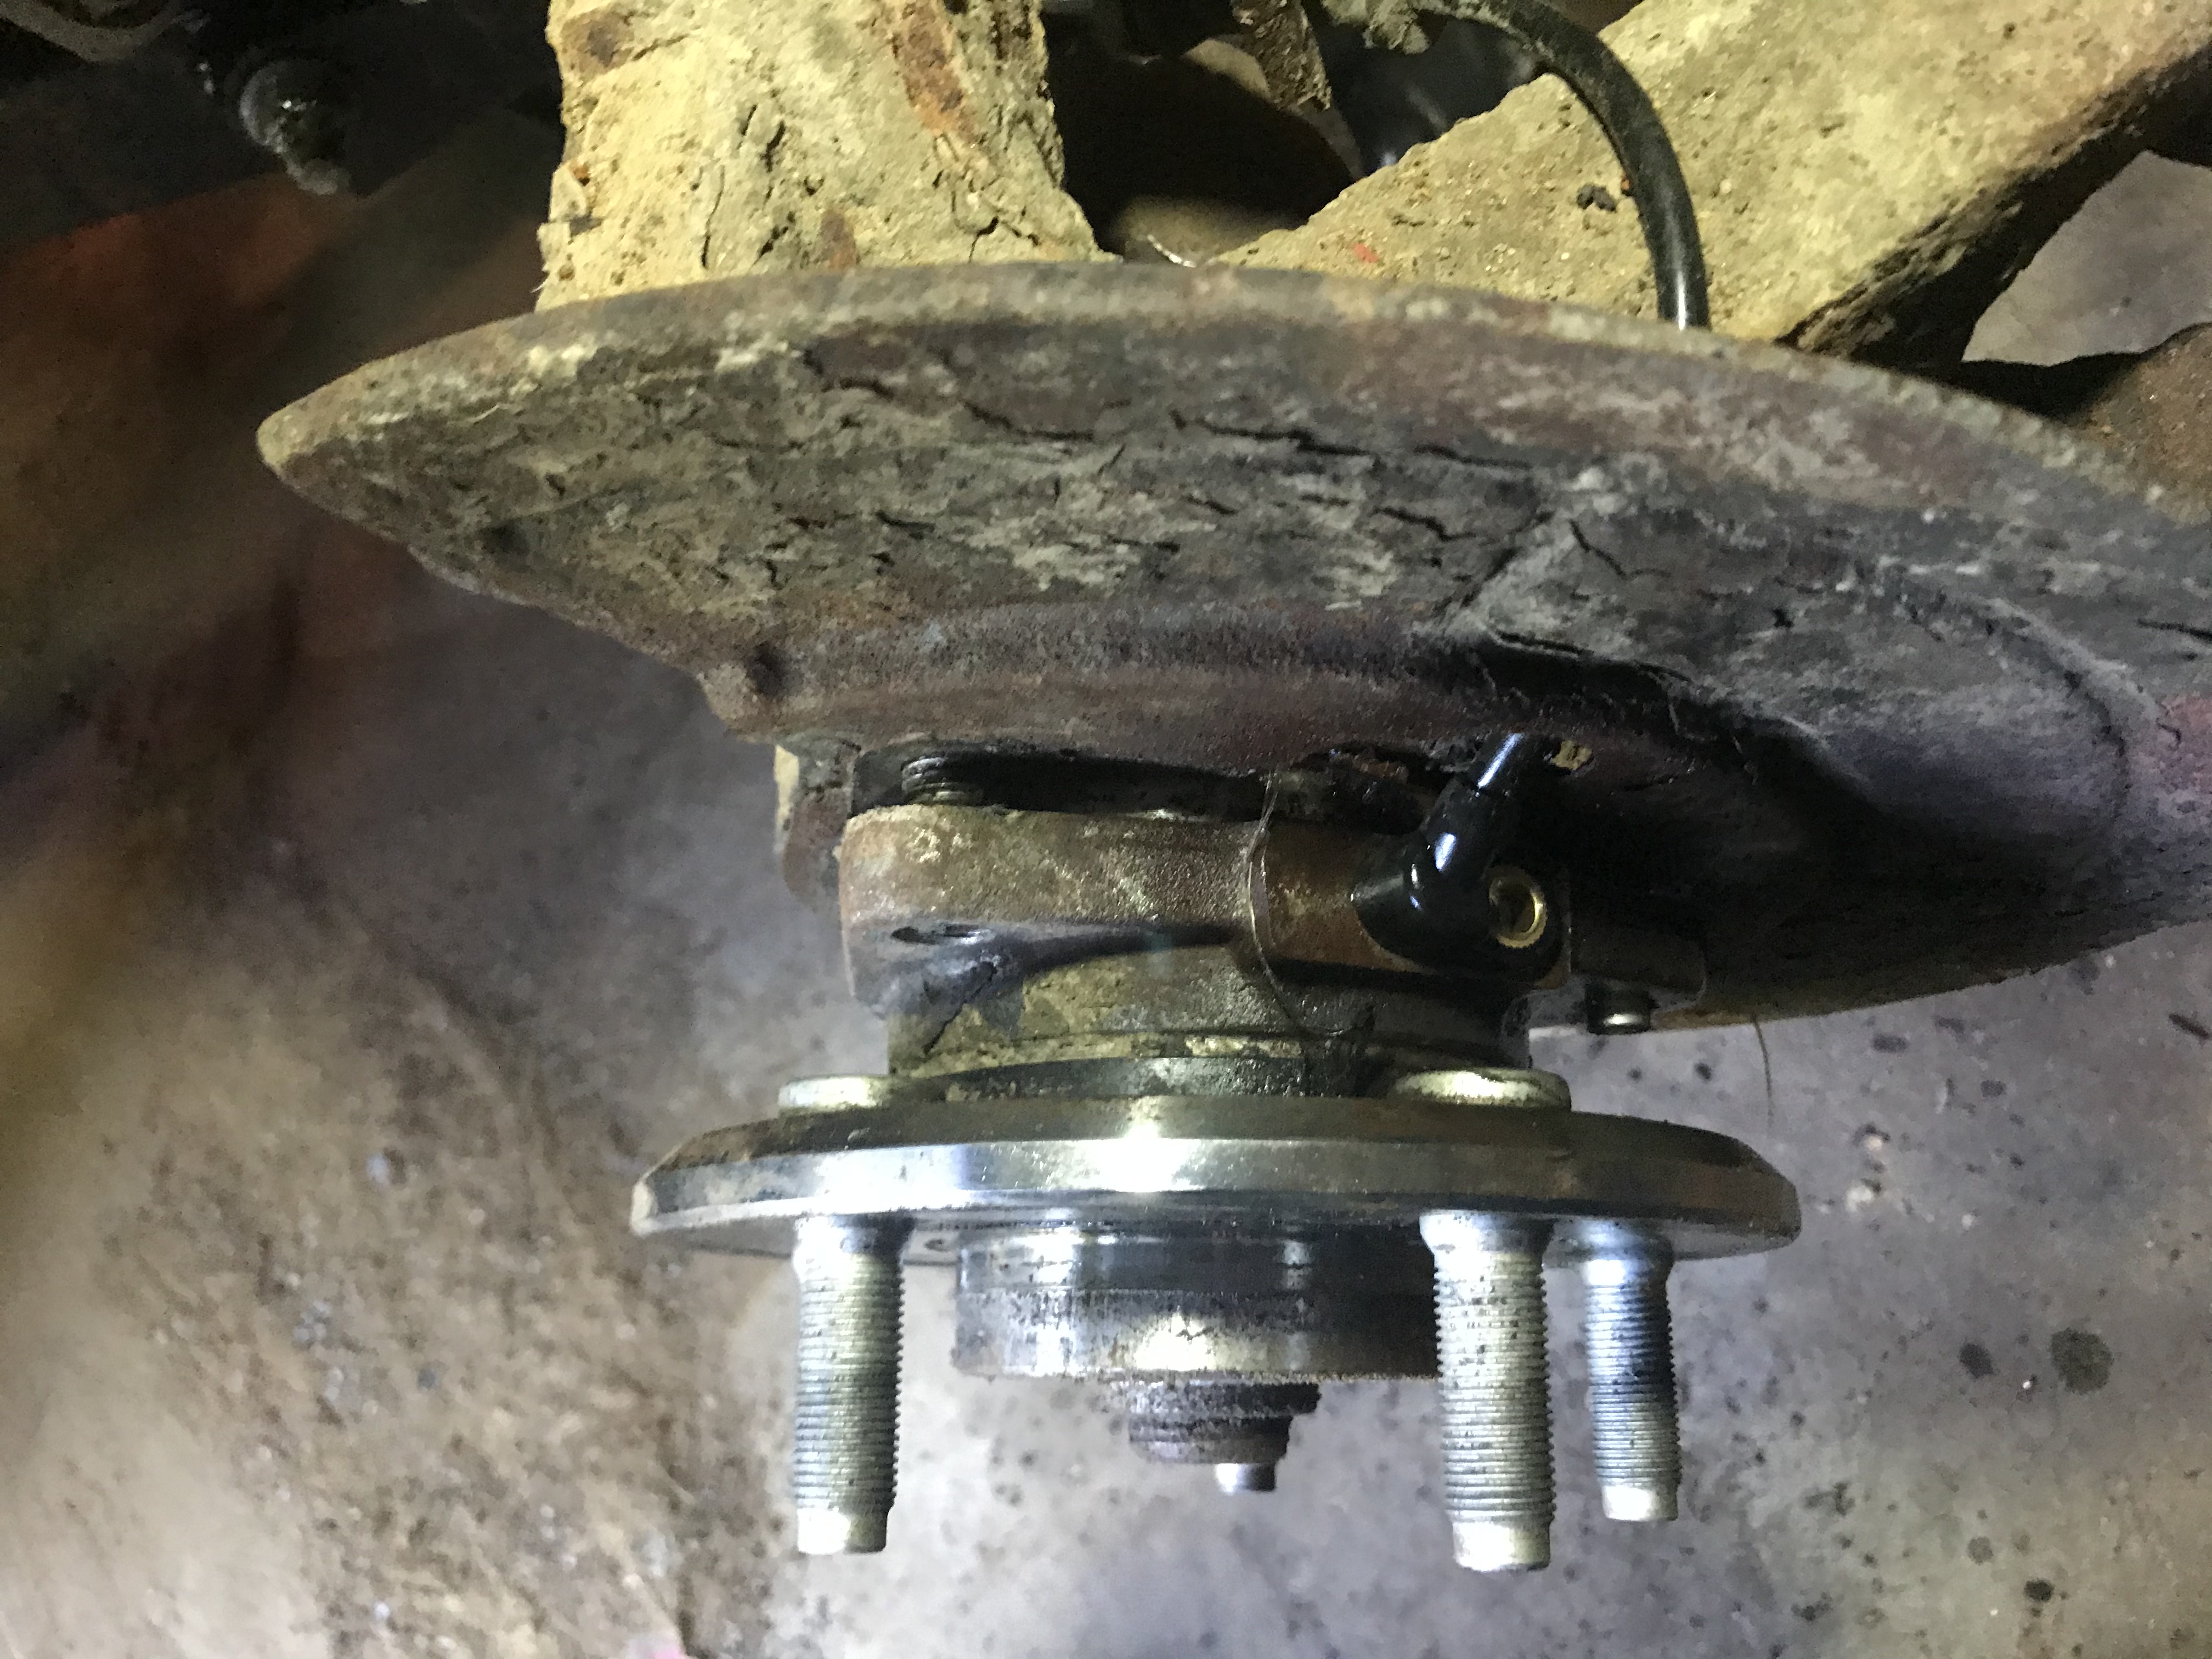
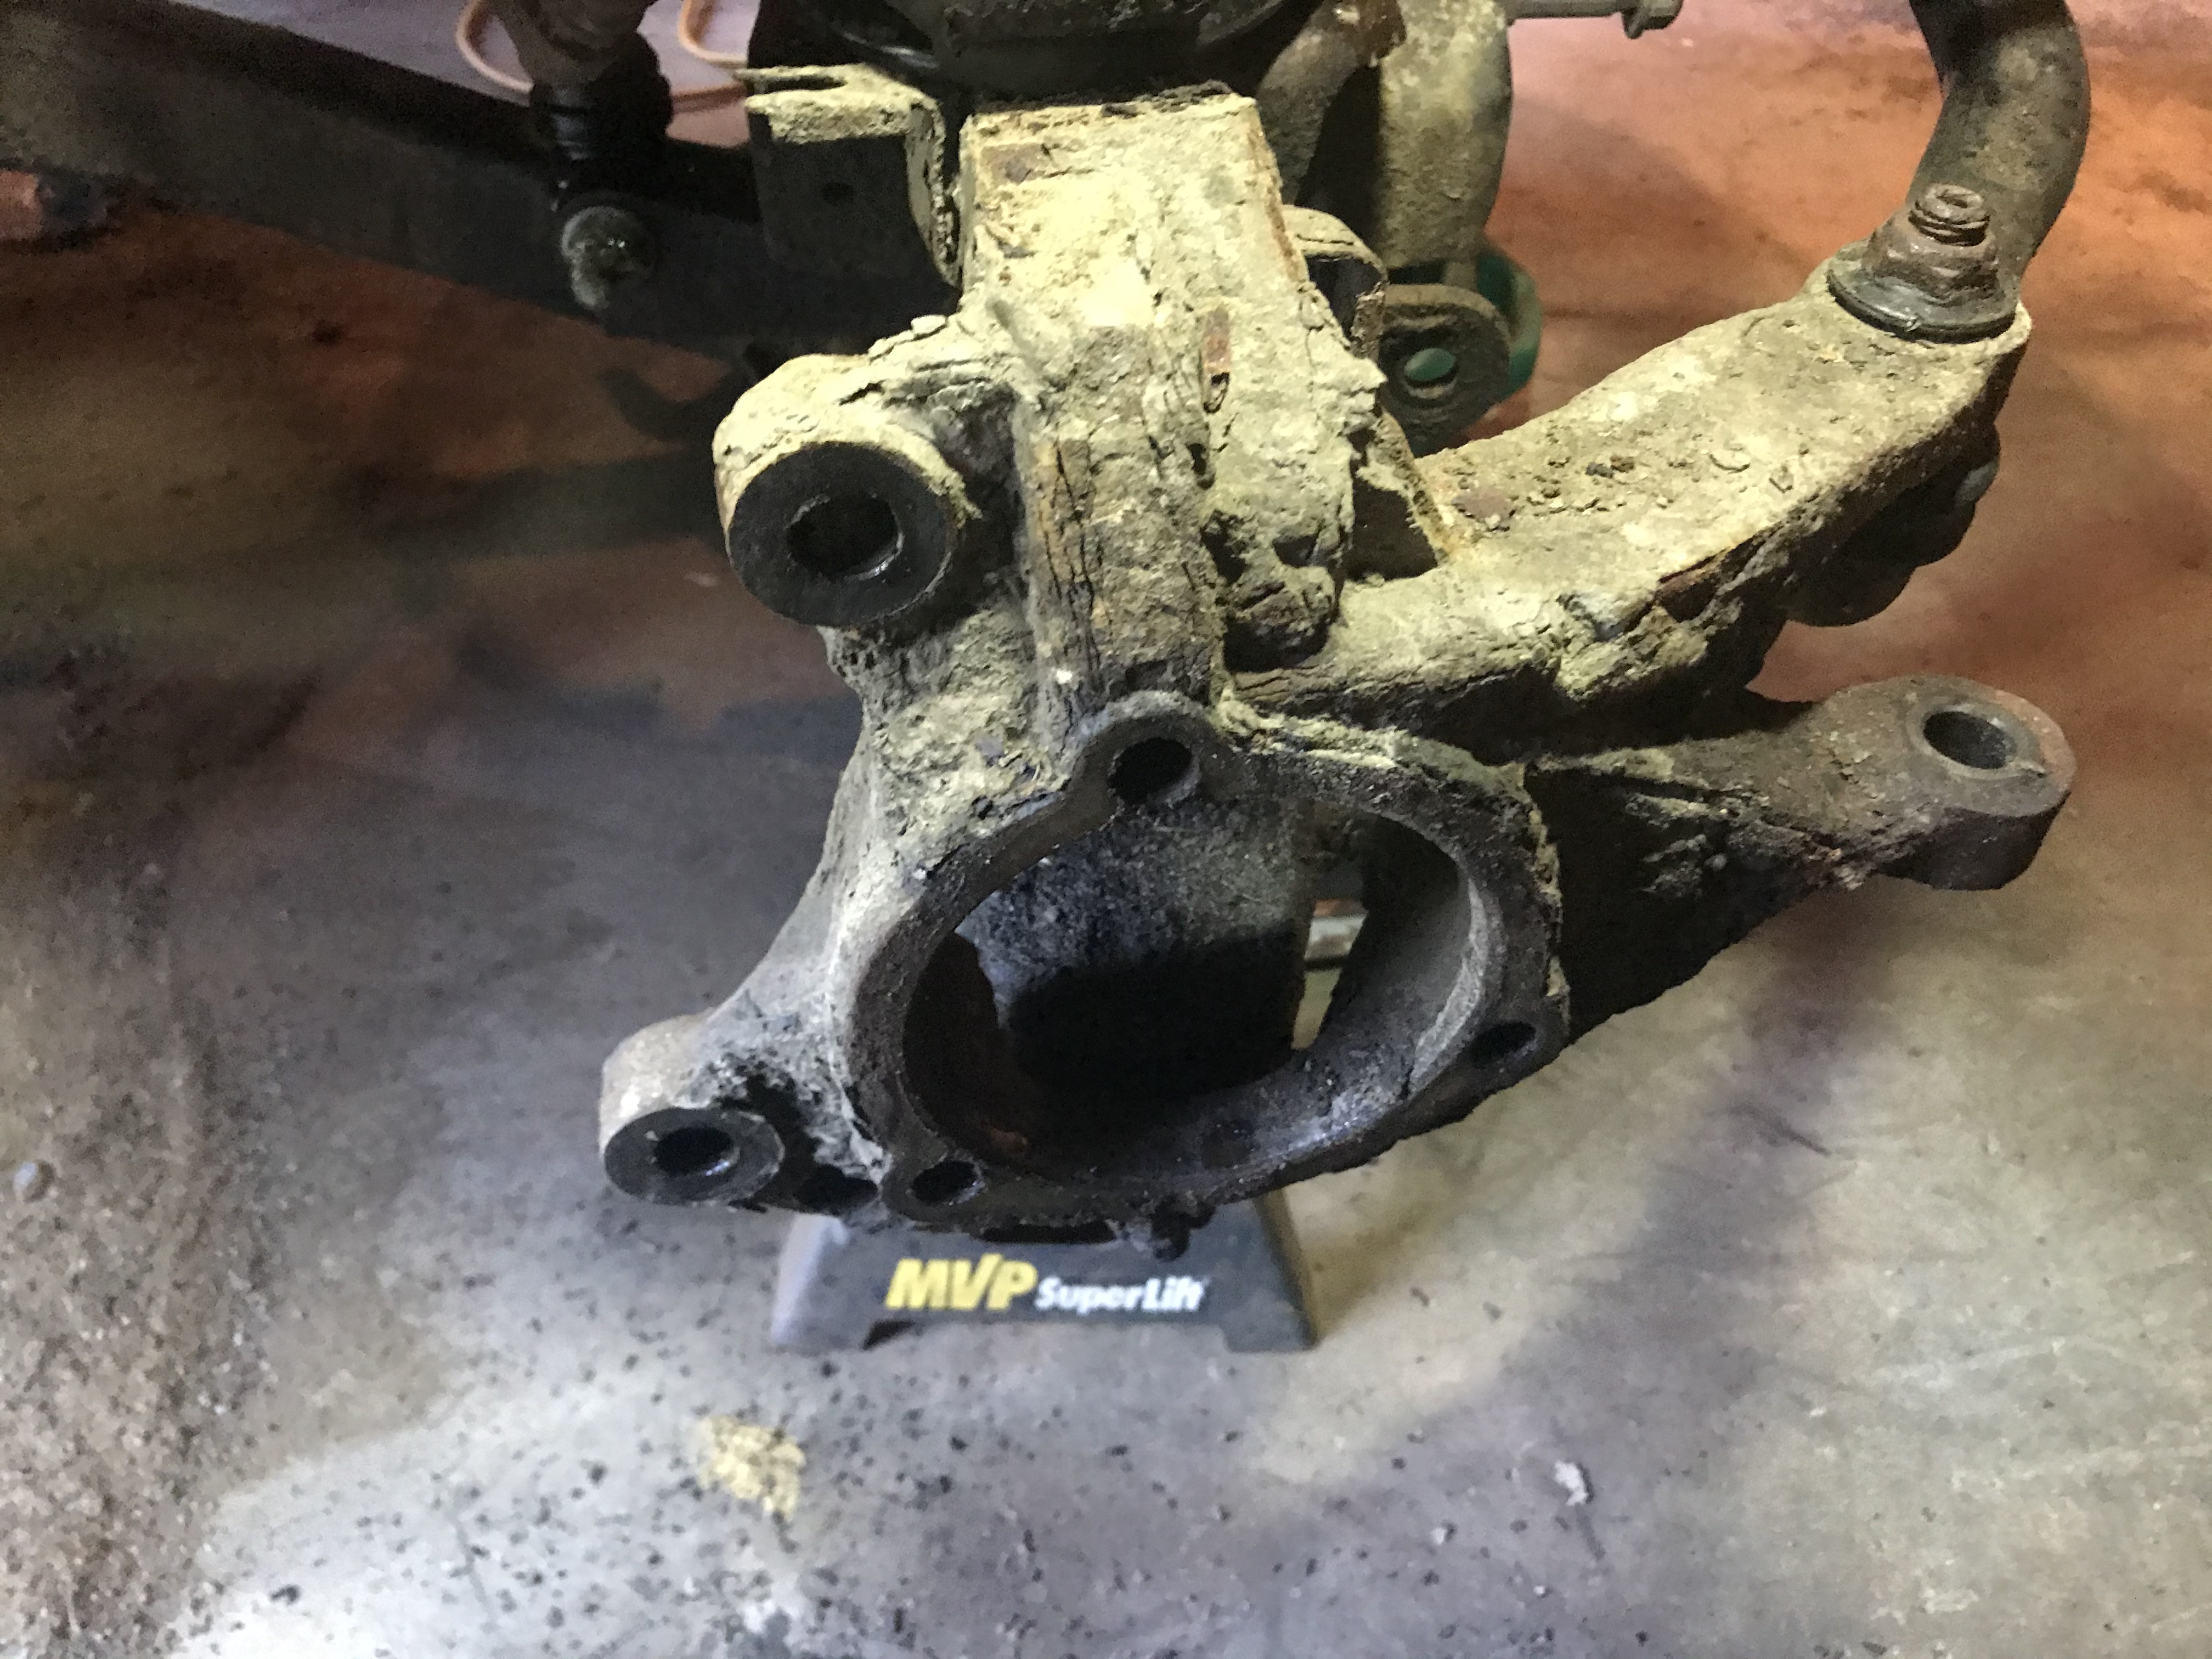
Meanwhile, let's replace the sway bar links.


Well, shit...the parts I got are upside down from the picture in their documentation. You can see one side has a "bushing" to space it properly. Emailed their support, but of course it's a holiday weekend...


Covered up the diff to keep dust out (especially while working on the sway bar links).


Well...fuck. I waited till it was cooler around 5pm before continuing. These are the wrong seals.

Worse, I had an old seal with me and forgot to check them when I picked them up.


Saturday, September 5, 2020

05 September 2020 -- Not the most productive Saturday...

Started off so promising :D

Well that's interesting...from the factory the bearings take 13mm head, grade 12.9 metric bolts. Came back from Sorels with 5/8". I dropped off the correct bolts, so I'm guessing the NAPA Bearings were SAE?

Oh...and then I couldn't find any of my 6 point 1/2" drive 5/8 sockets.

Or my 1/2" to 3/8" adapter.

Lots of grumbling, off to auto parts store land...


At least once I got to it, the speed sensor came out nicely. (I remember trying to take this out on one of the old bearings and it wasn't happening):


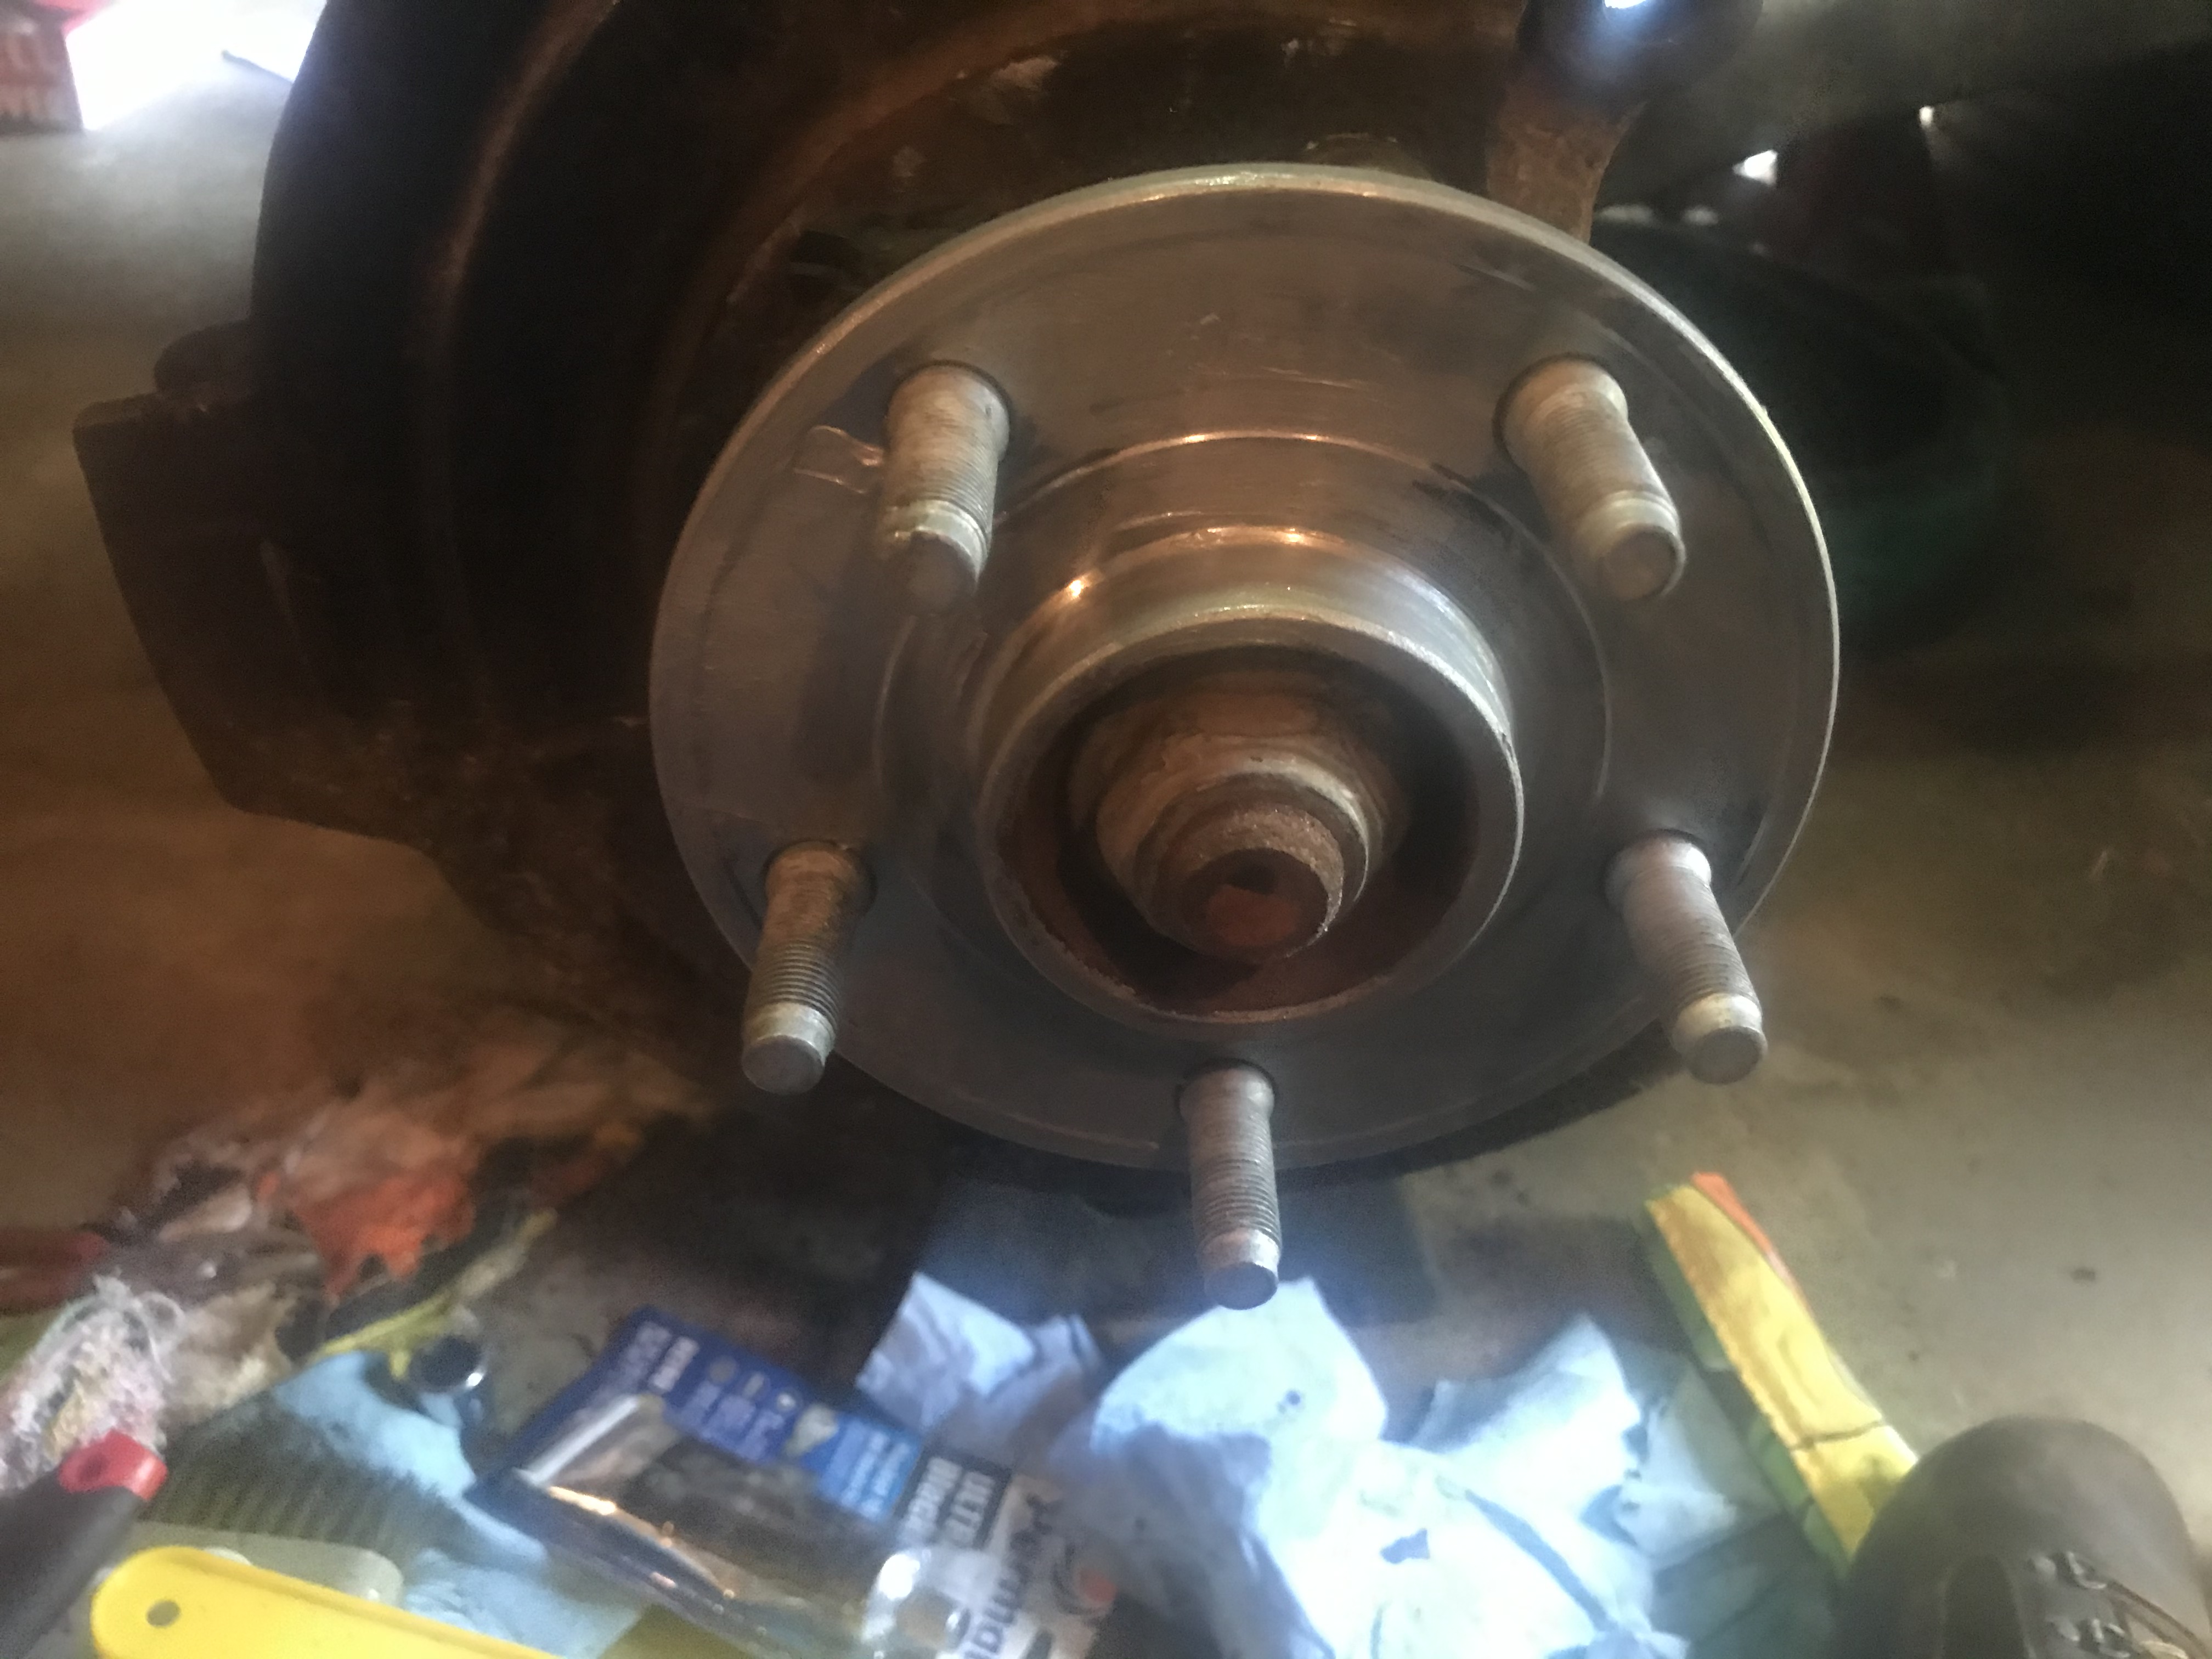
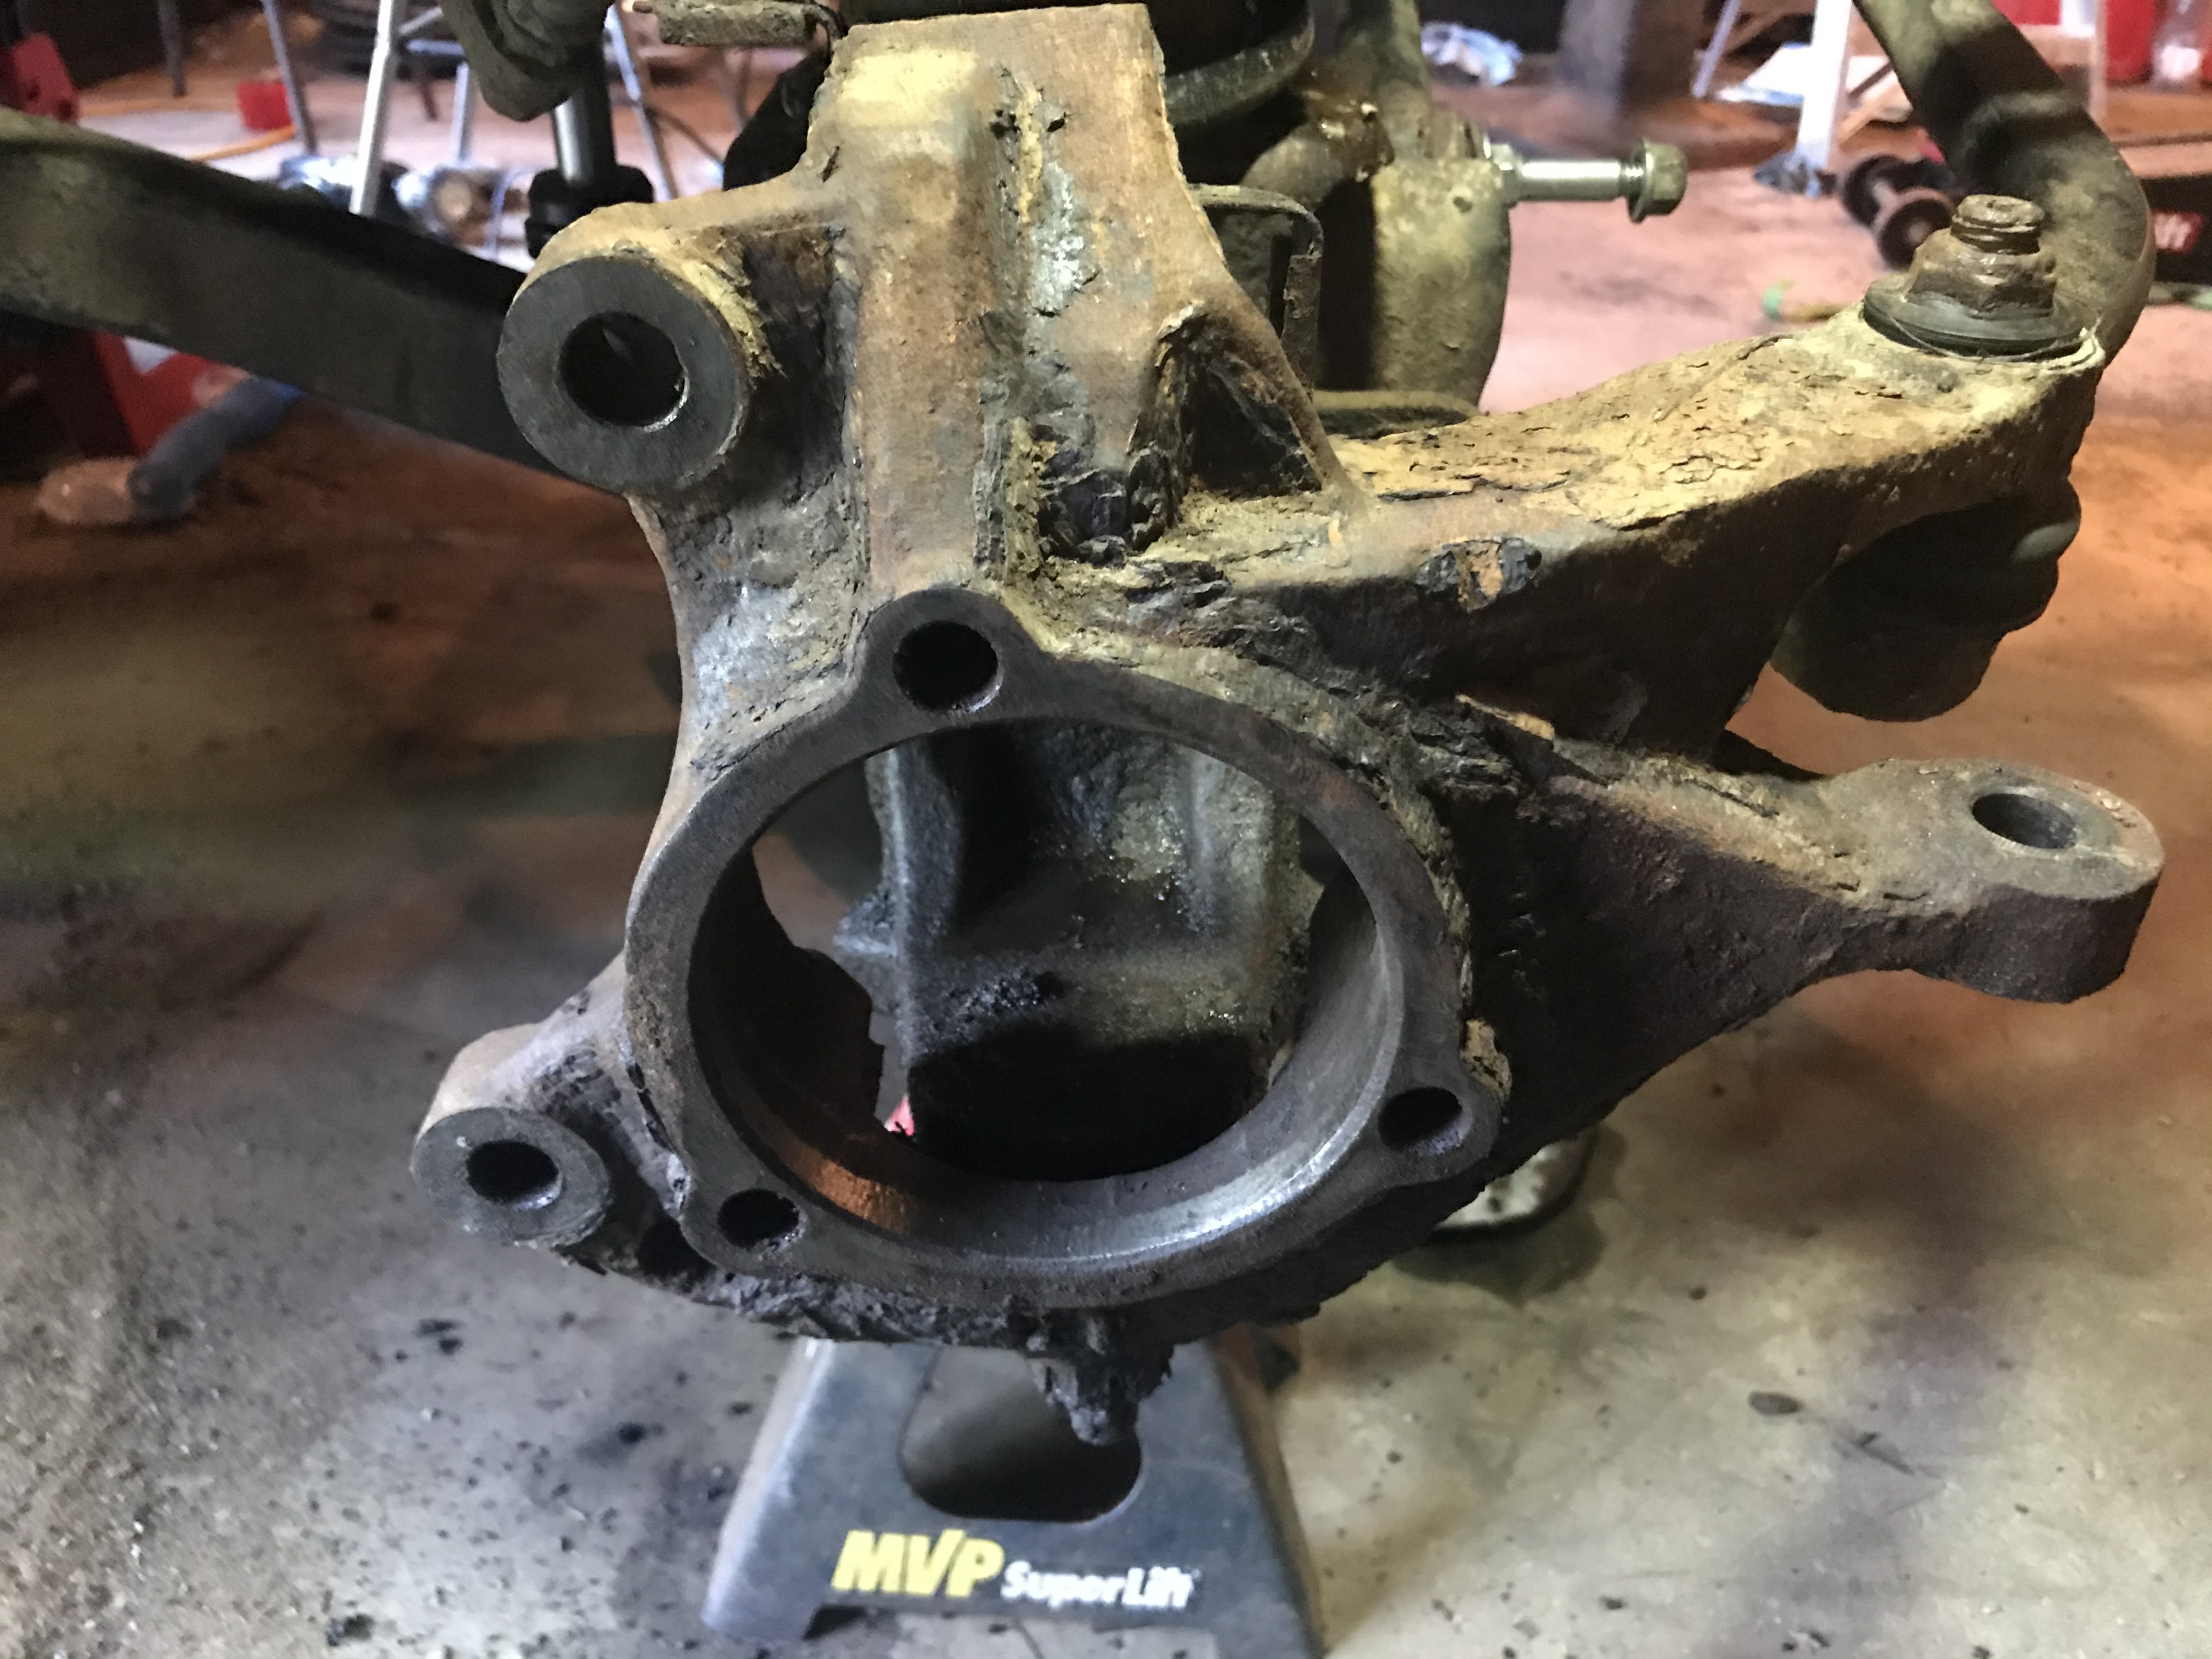
Welcome to Rust Belt Crud:


Shave and a haircut, two bits.


Time to move my seat to the other side.


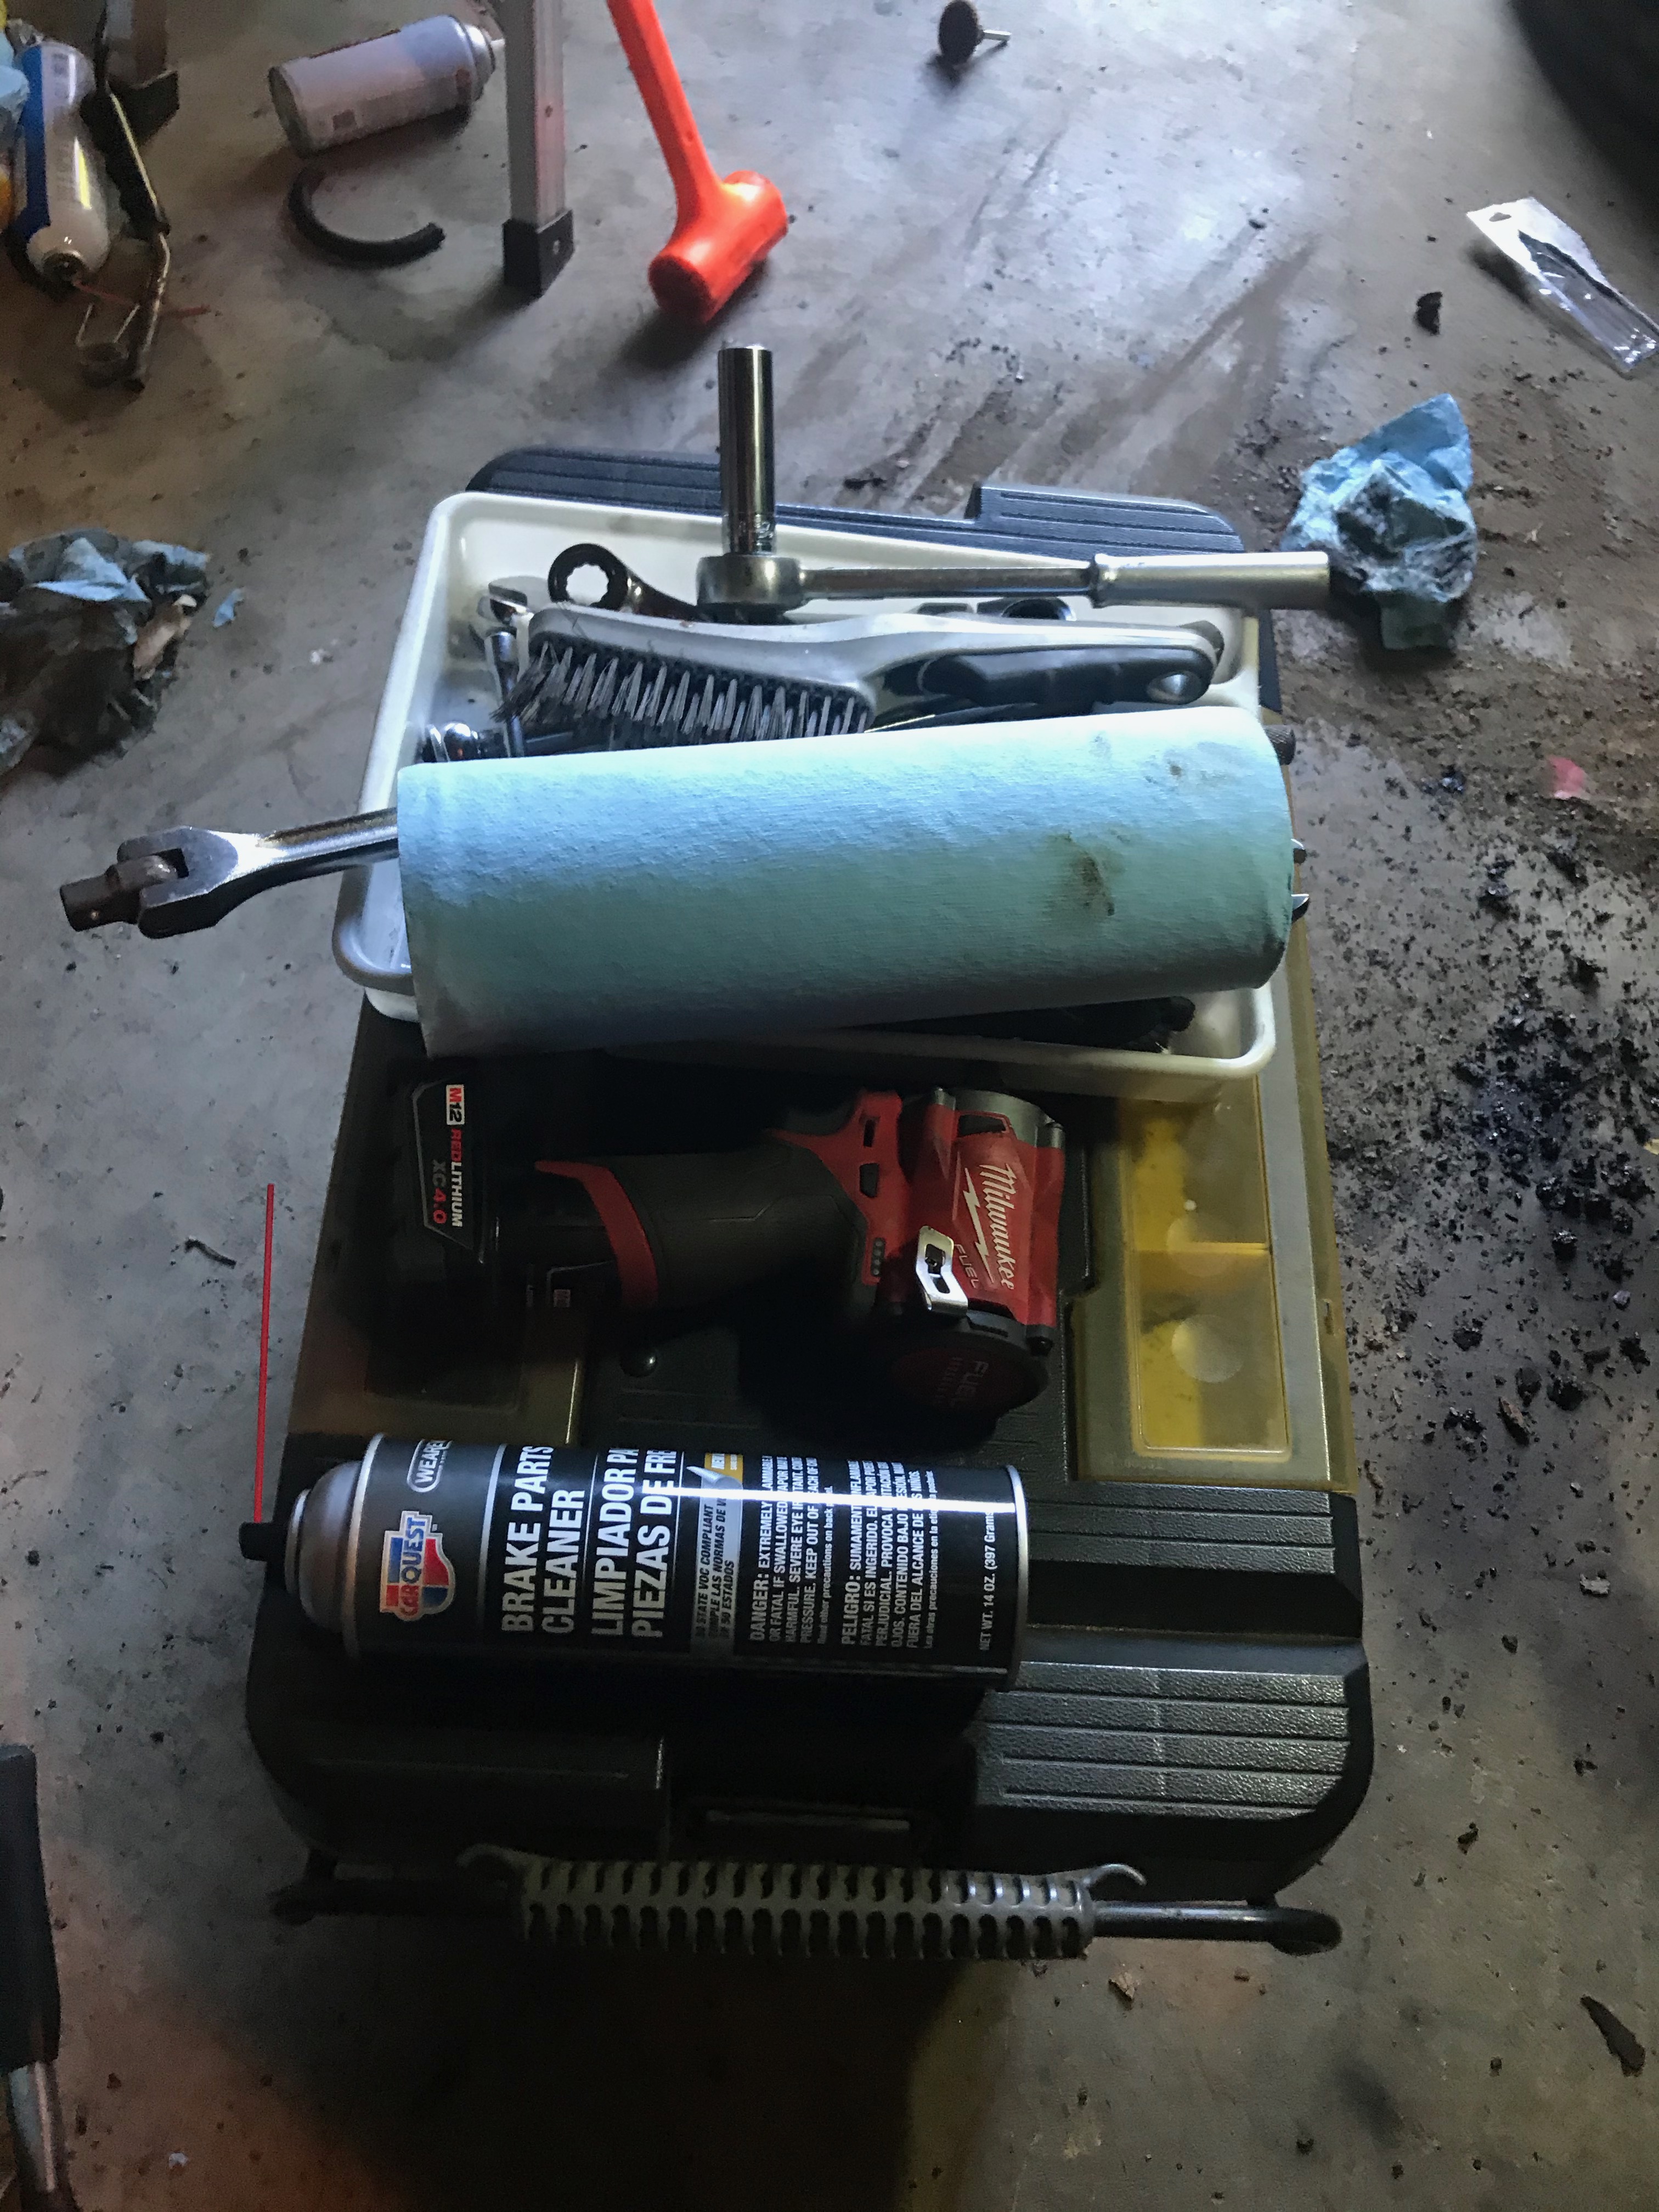
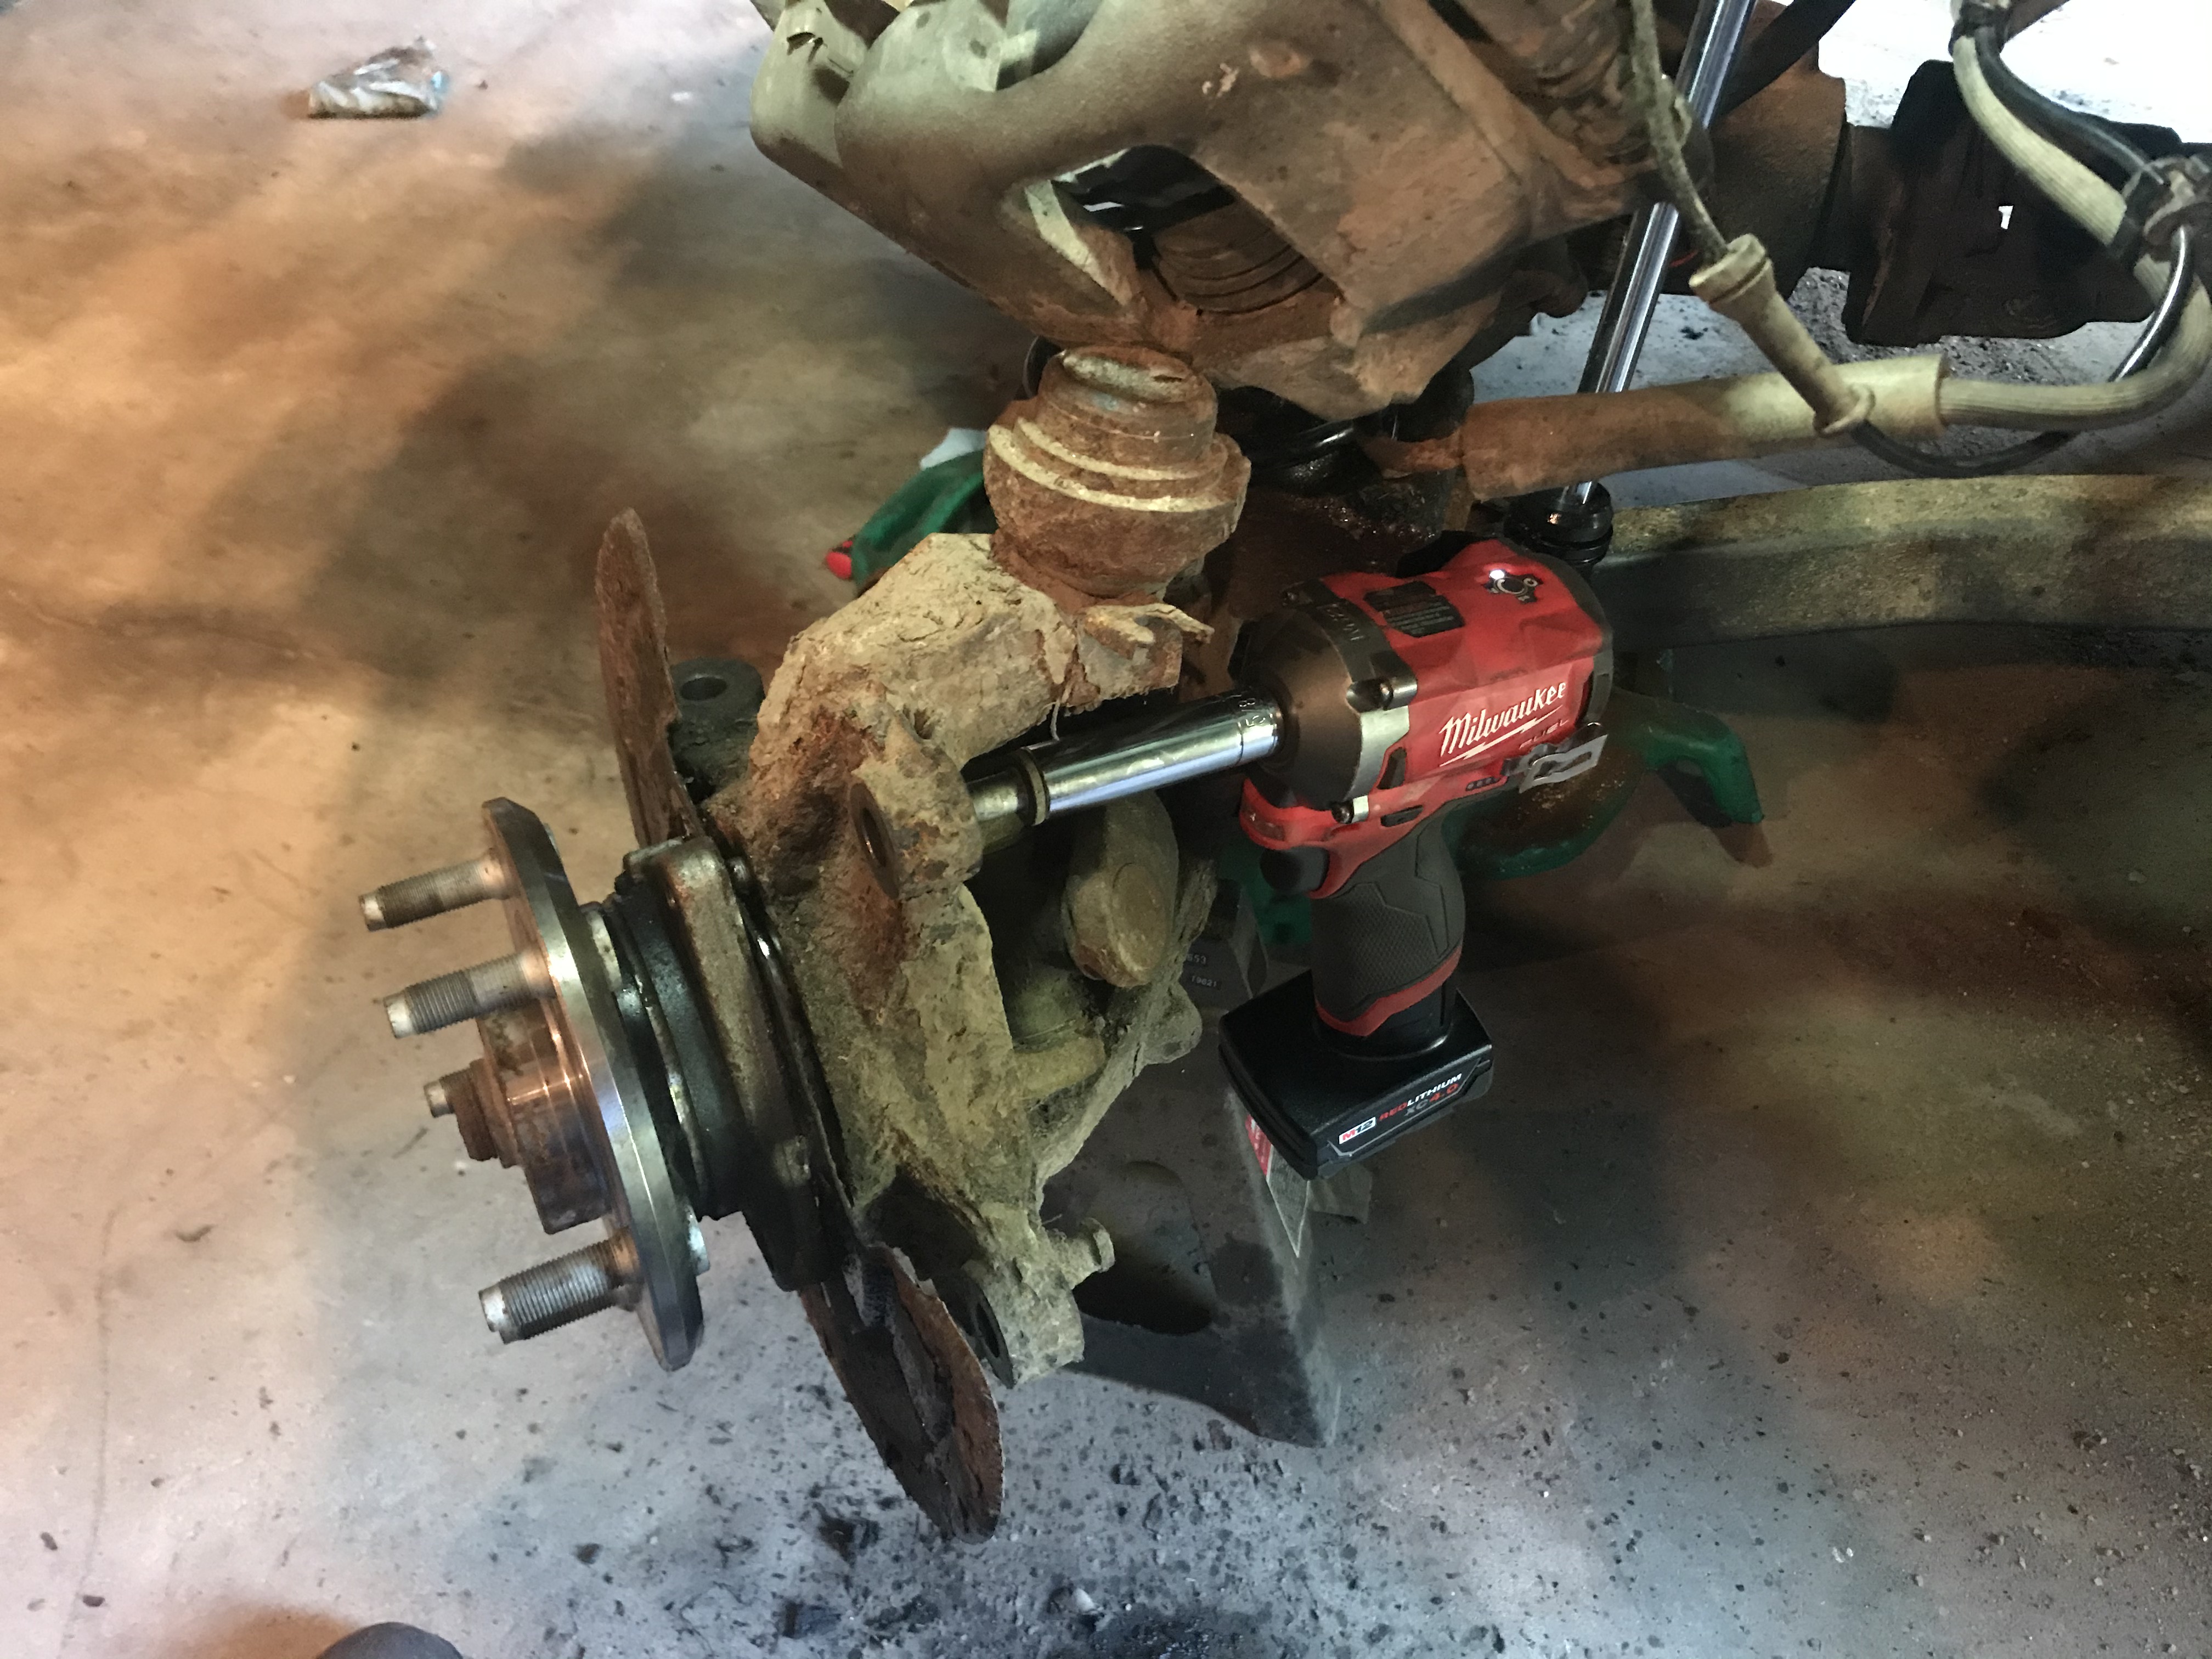
This guy is handy for saving some time. While I could get the 21mm bolts for the brakes on the other side with just a breaker bar, this side I had to hit with my air wrench then was able to zip them off with the electric.


This...would've made a sailor blush. If the sailor was 500' through the woods at Henry's house. I said a lot of very bad words, very, very loudly.

It intially broke when I was probing I *thought* fairly gently with a screwdriver. At that point it didn't matter if I made it worse.

It needs to come out so the blue wires for the e-locker position sensor can be unplugged from it before removing the carrier.


Couldn't figure out the part online, ran up to Putnam and got there 10 minutes before they closed at 1...normally. They were closed altogether today. Harr Jeep in Worcester was open till 3:30 so I zipped up there. I doubted they'd have it in stock but I at least wanted to have a definitive time line so I could figure out what I wanted to do for re-organizing this weekend and decide if I could have it ready to drive to Sorel's for a front end alignment on Thursday.

Parts guy finally said enough key words for me as he was struggling to figure it out for me to Google it on my phone and find the bastard.

It is called and "Axle Locker Sensor Connector" Mopar part number 68003570AA.


Used the towel trick to loosen the carrier.

Friday, September 4, 2020

04 September 2020 -- Wednesday & Friday progress

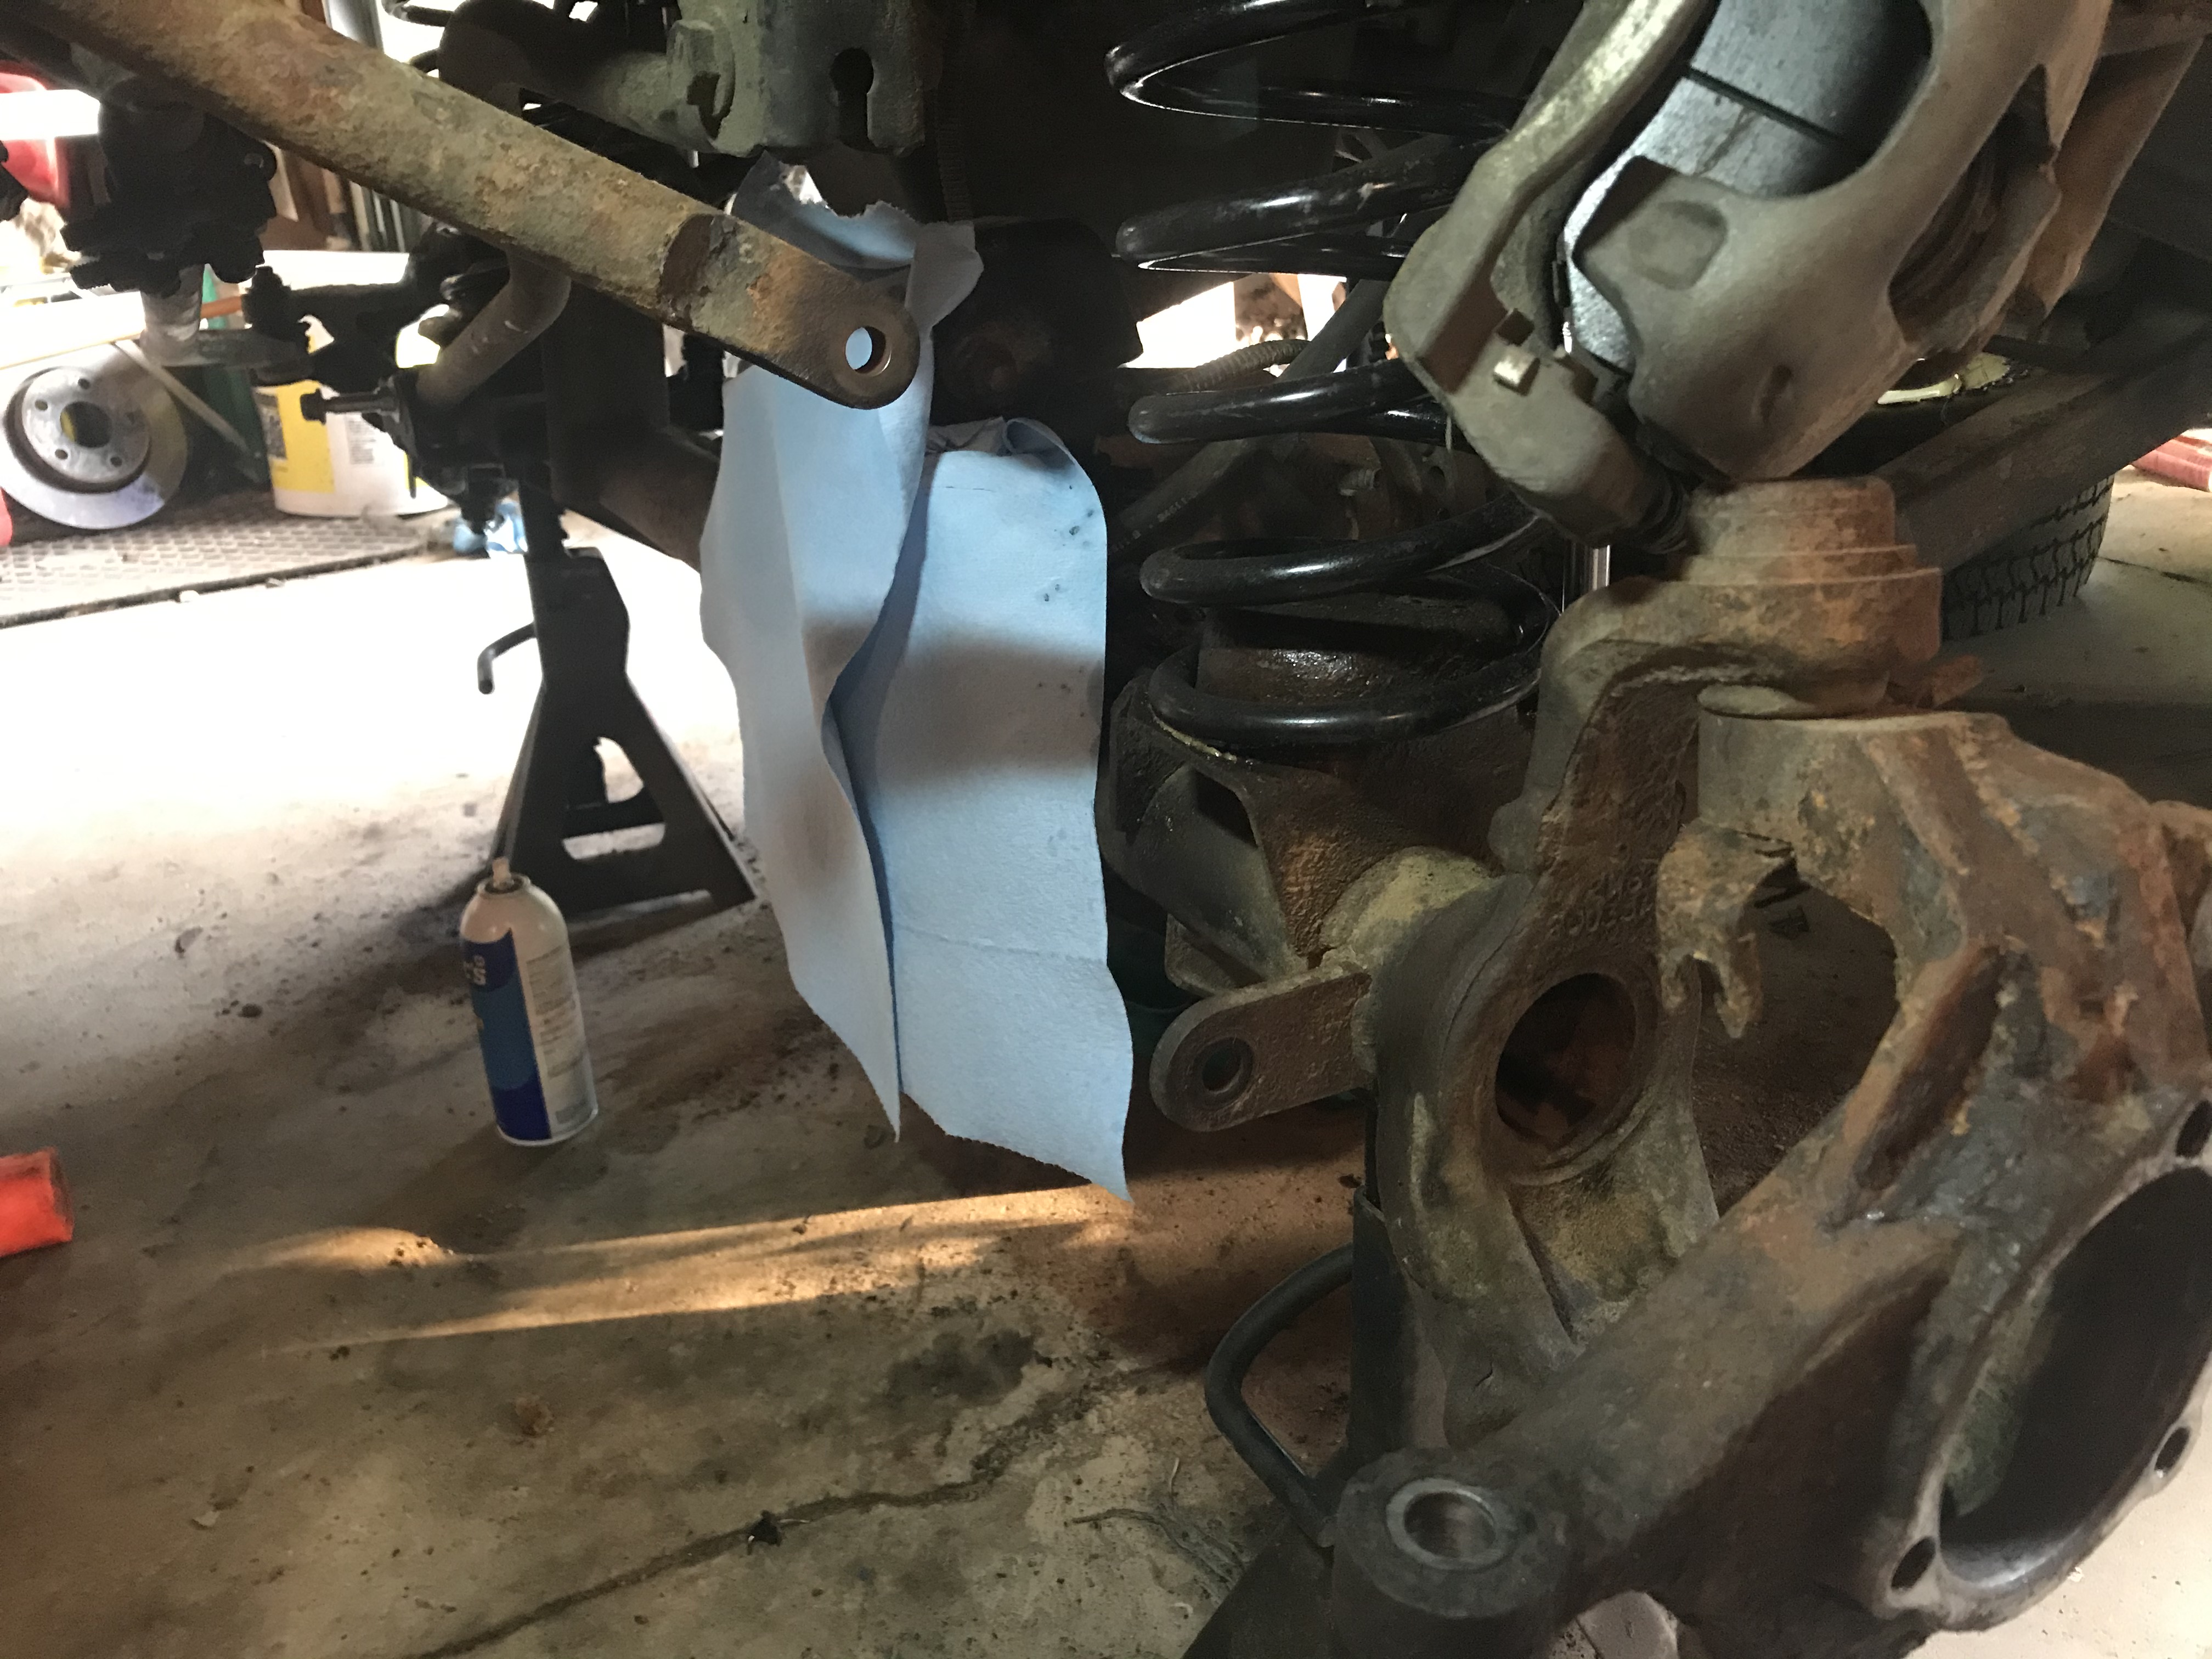
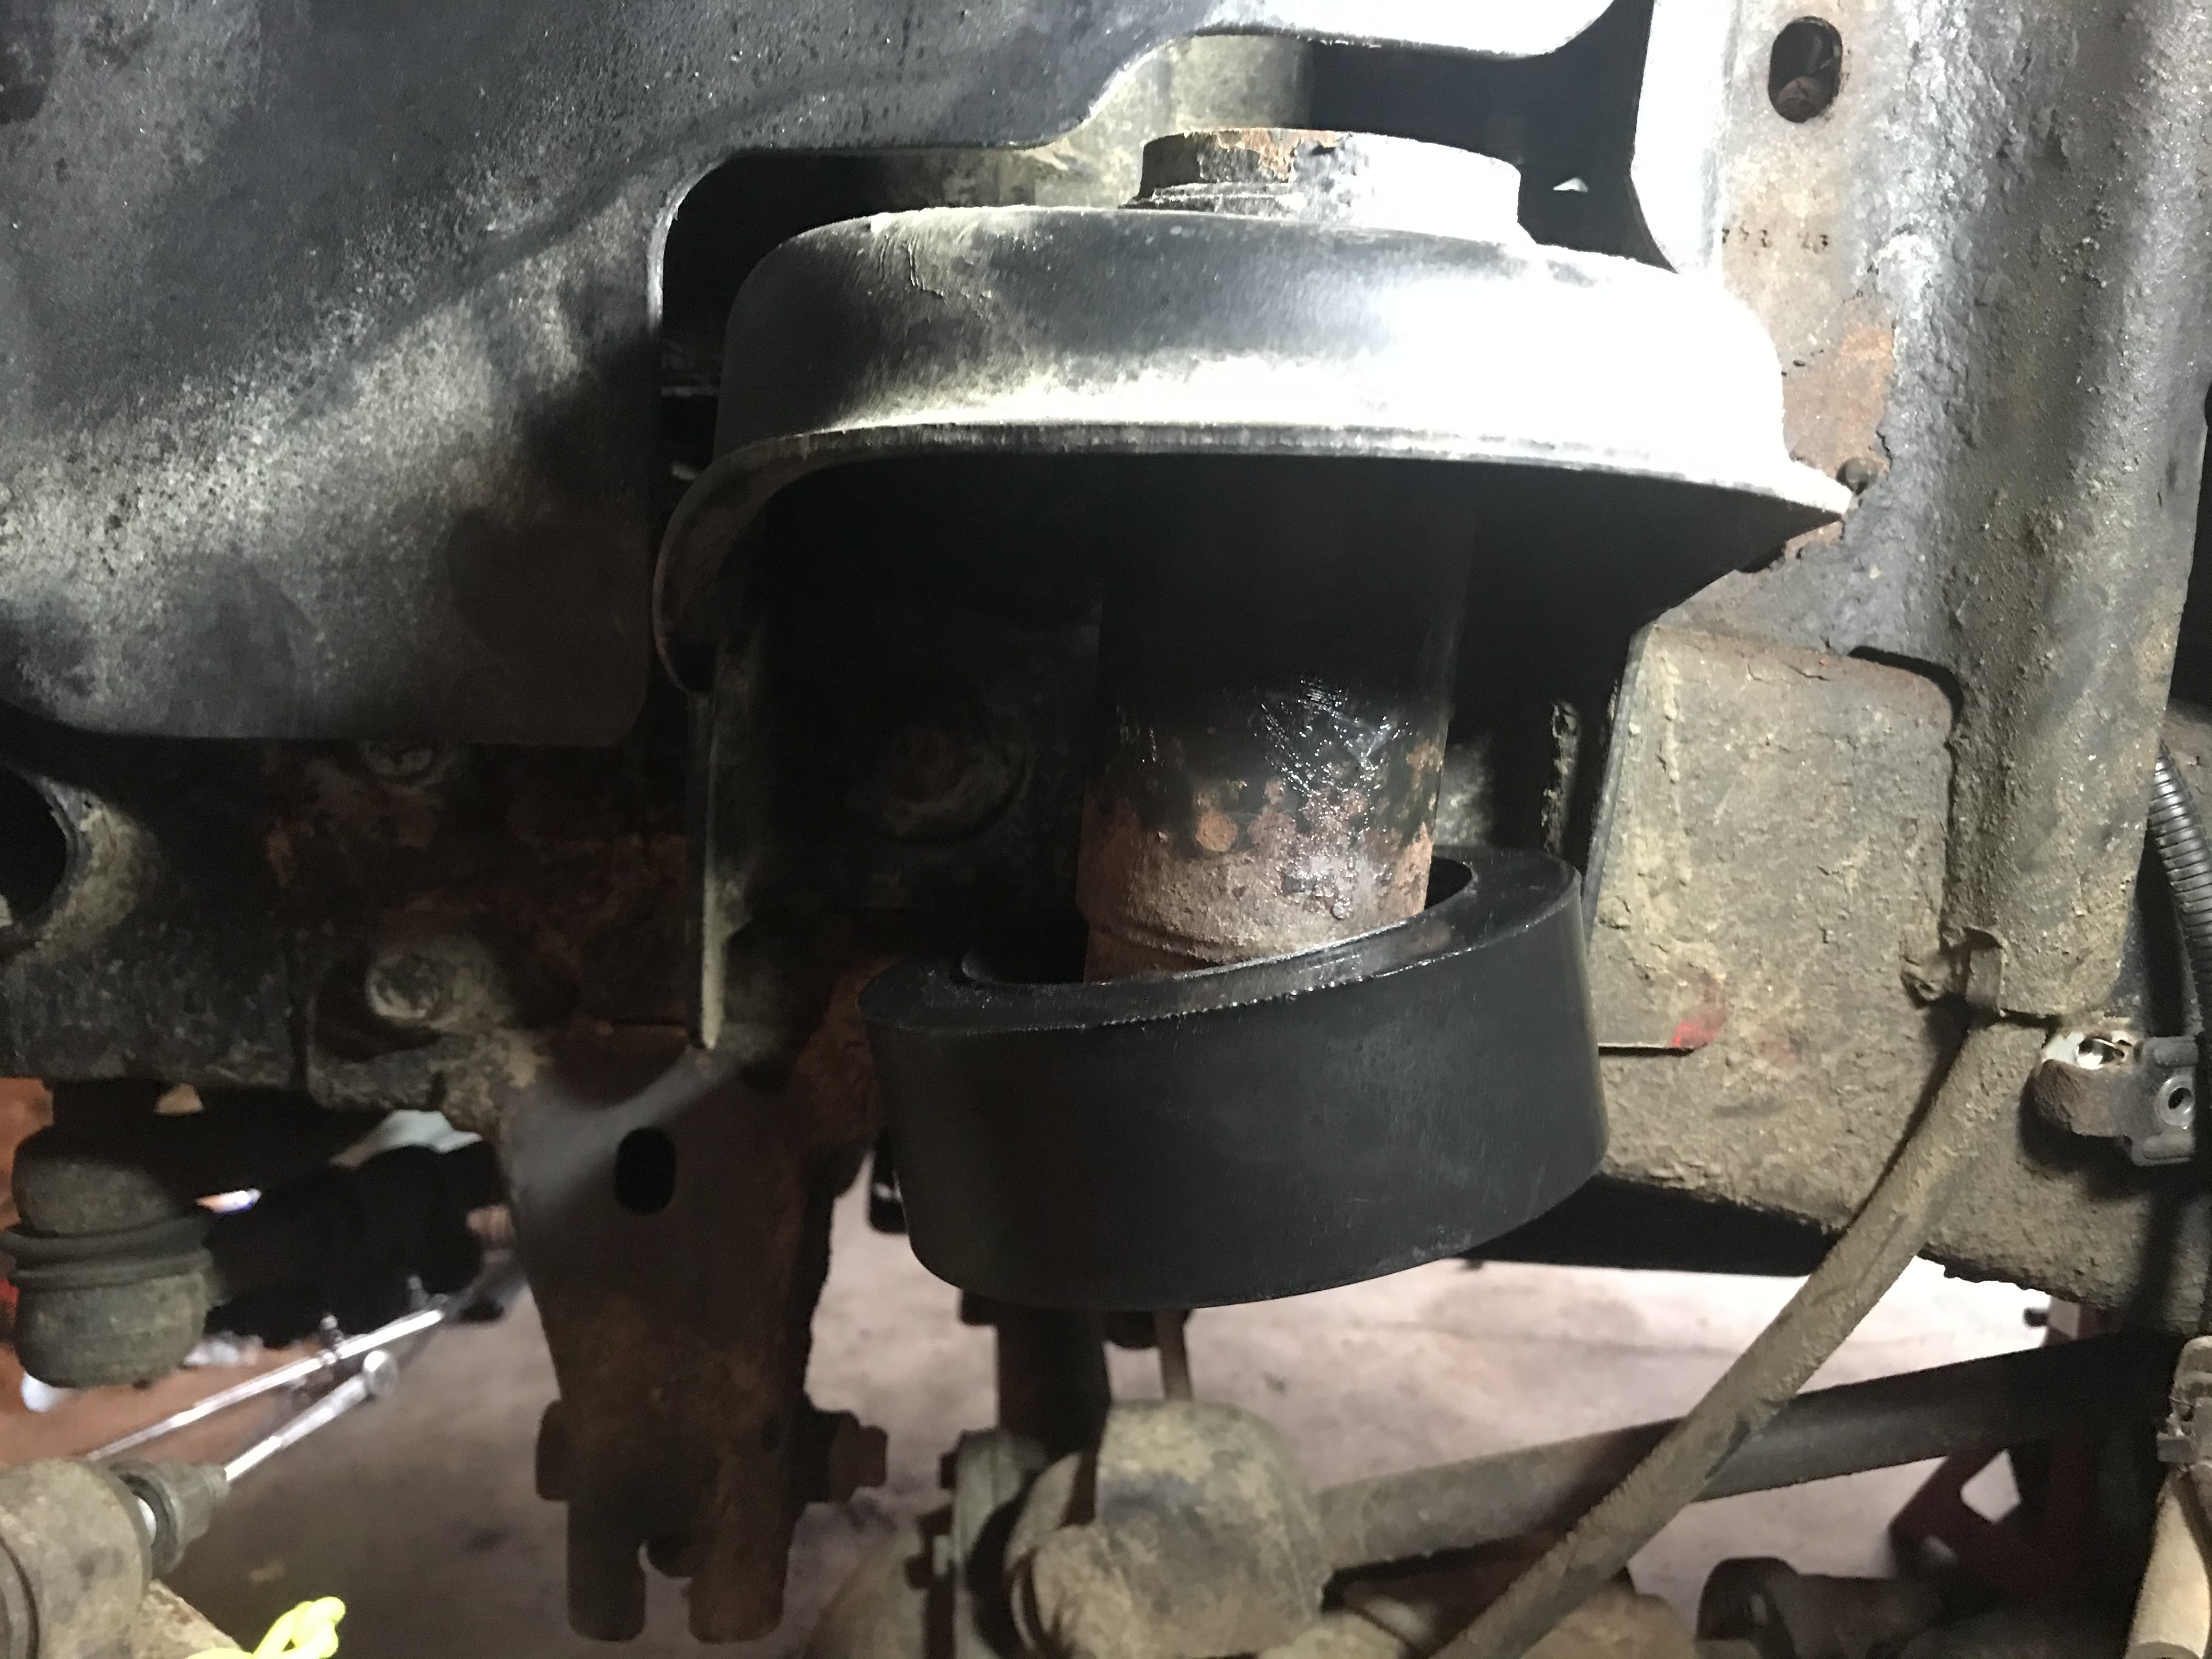
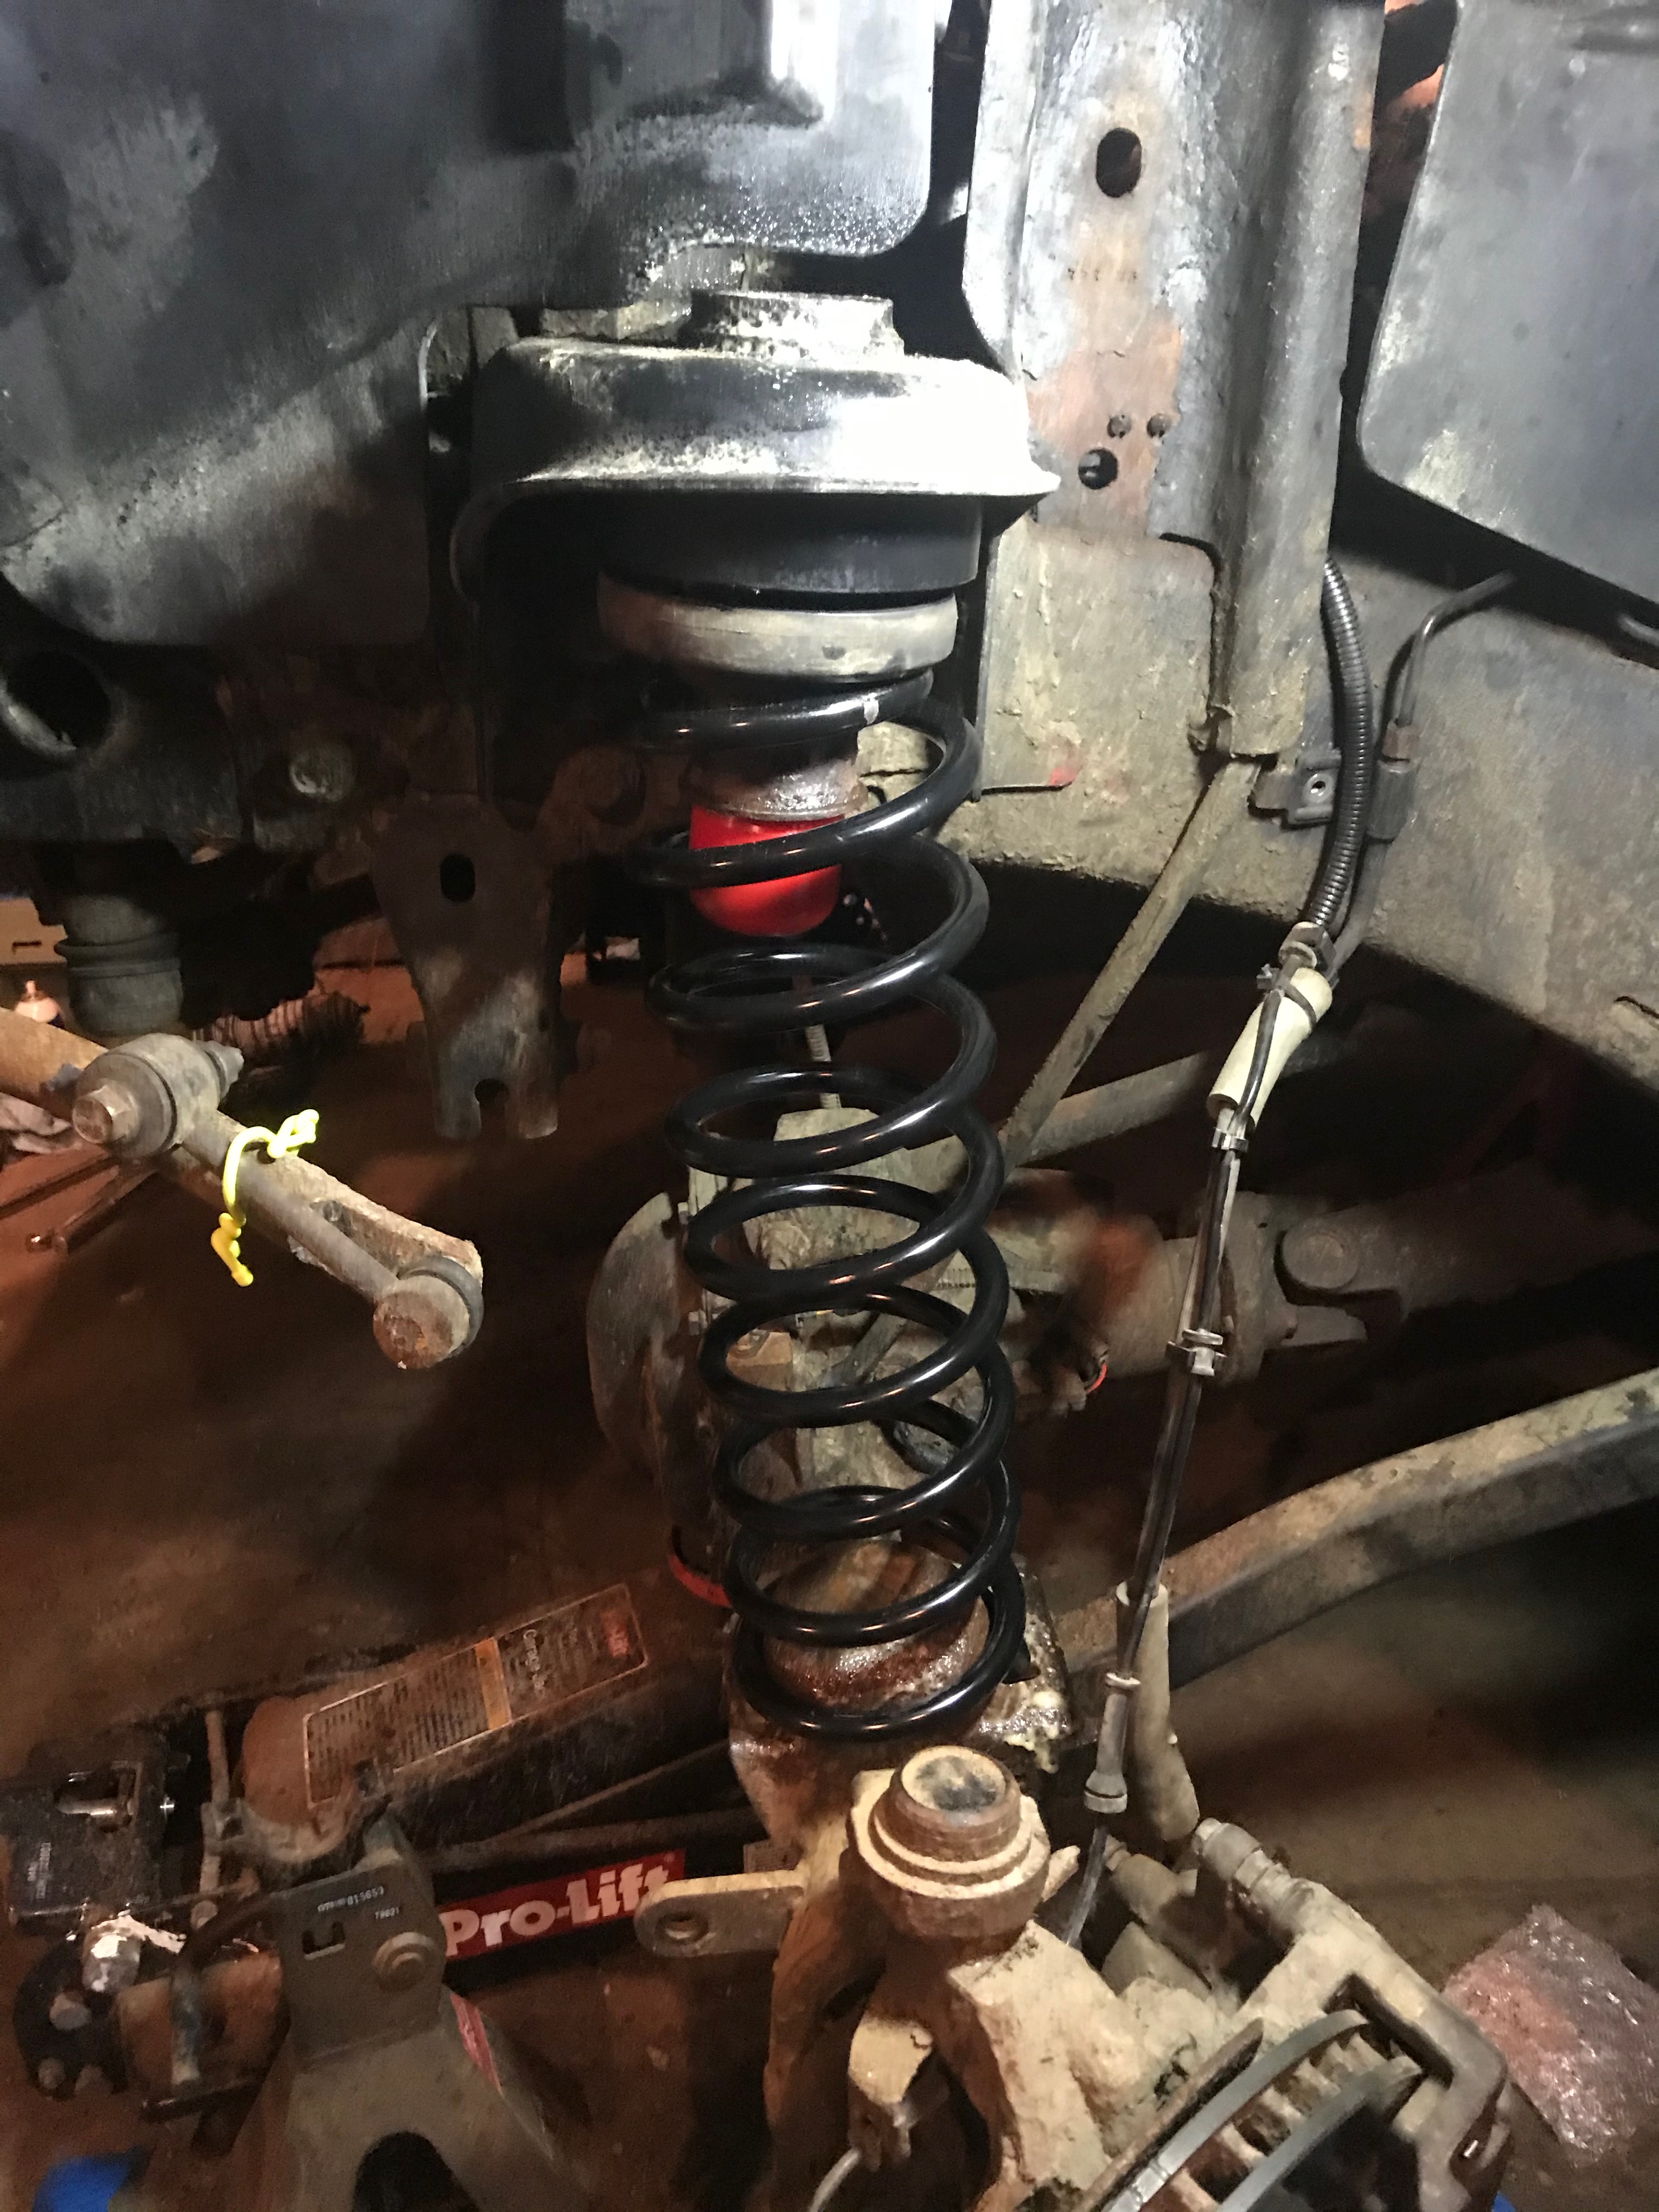
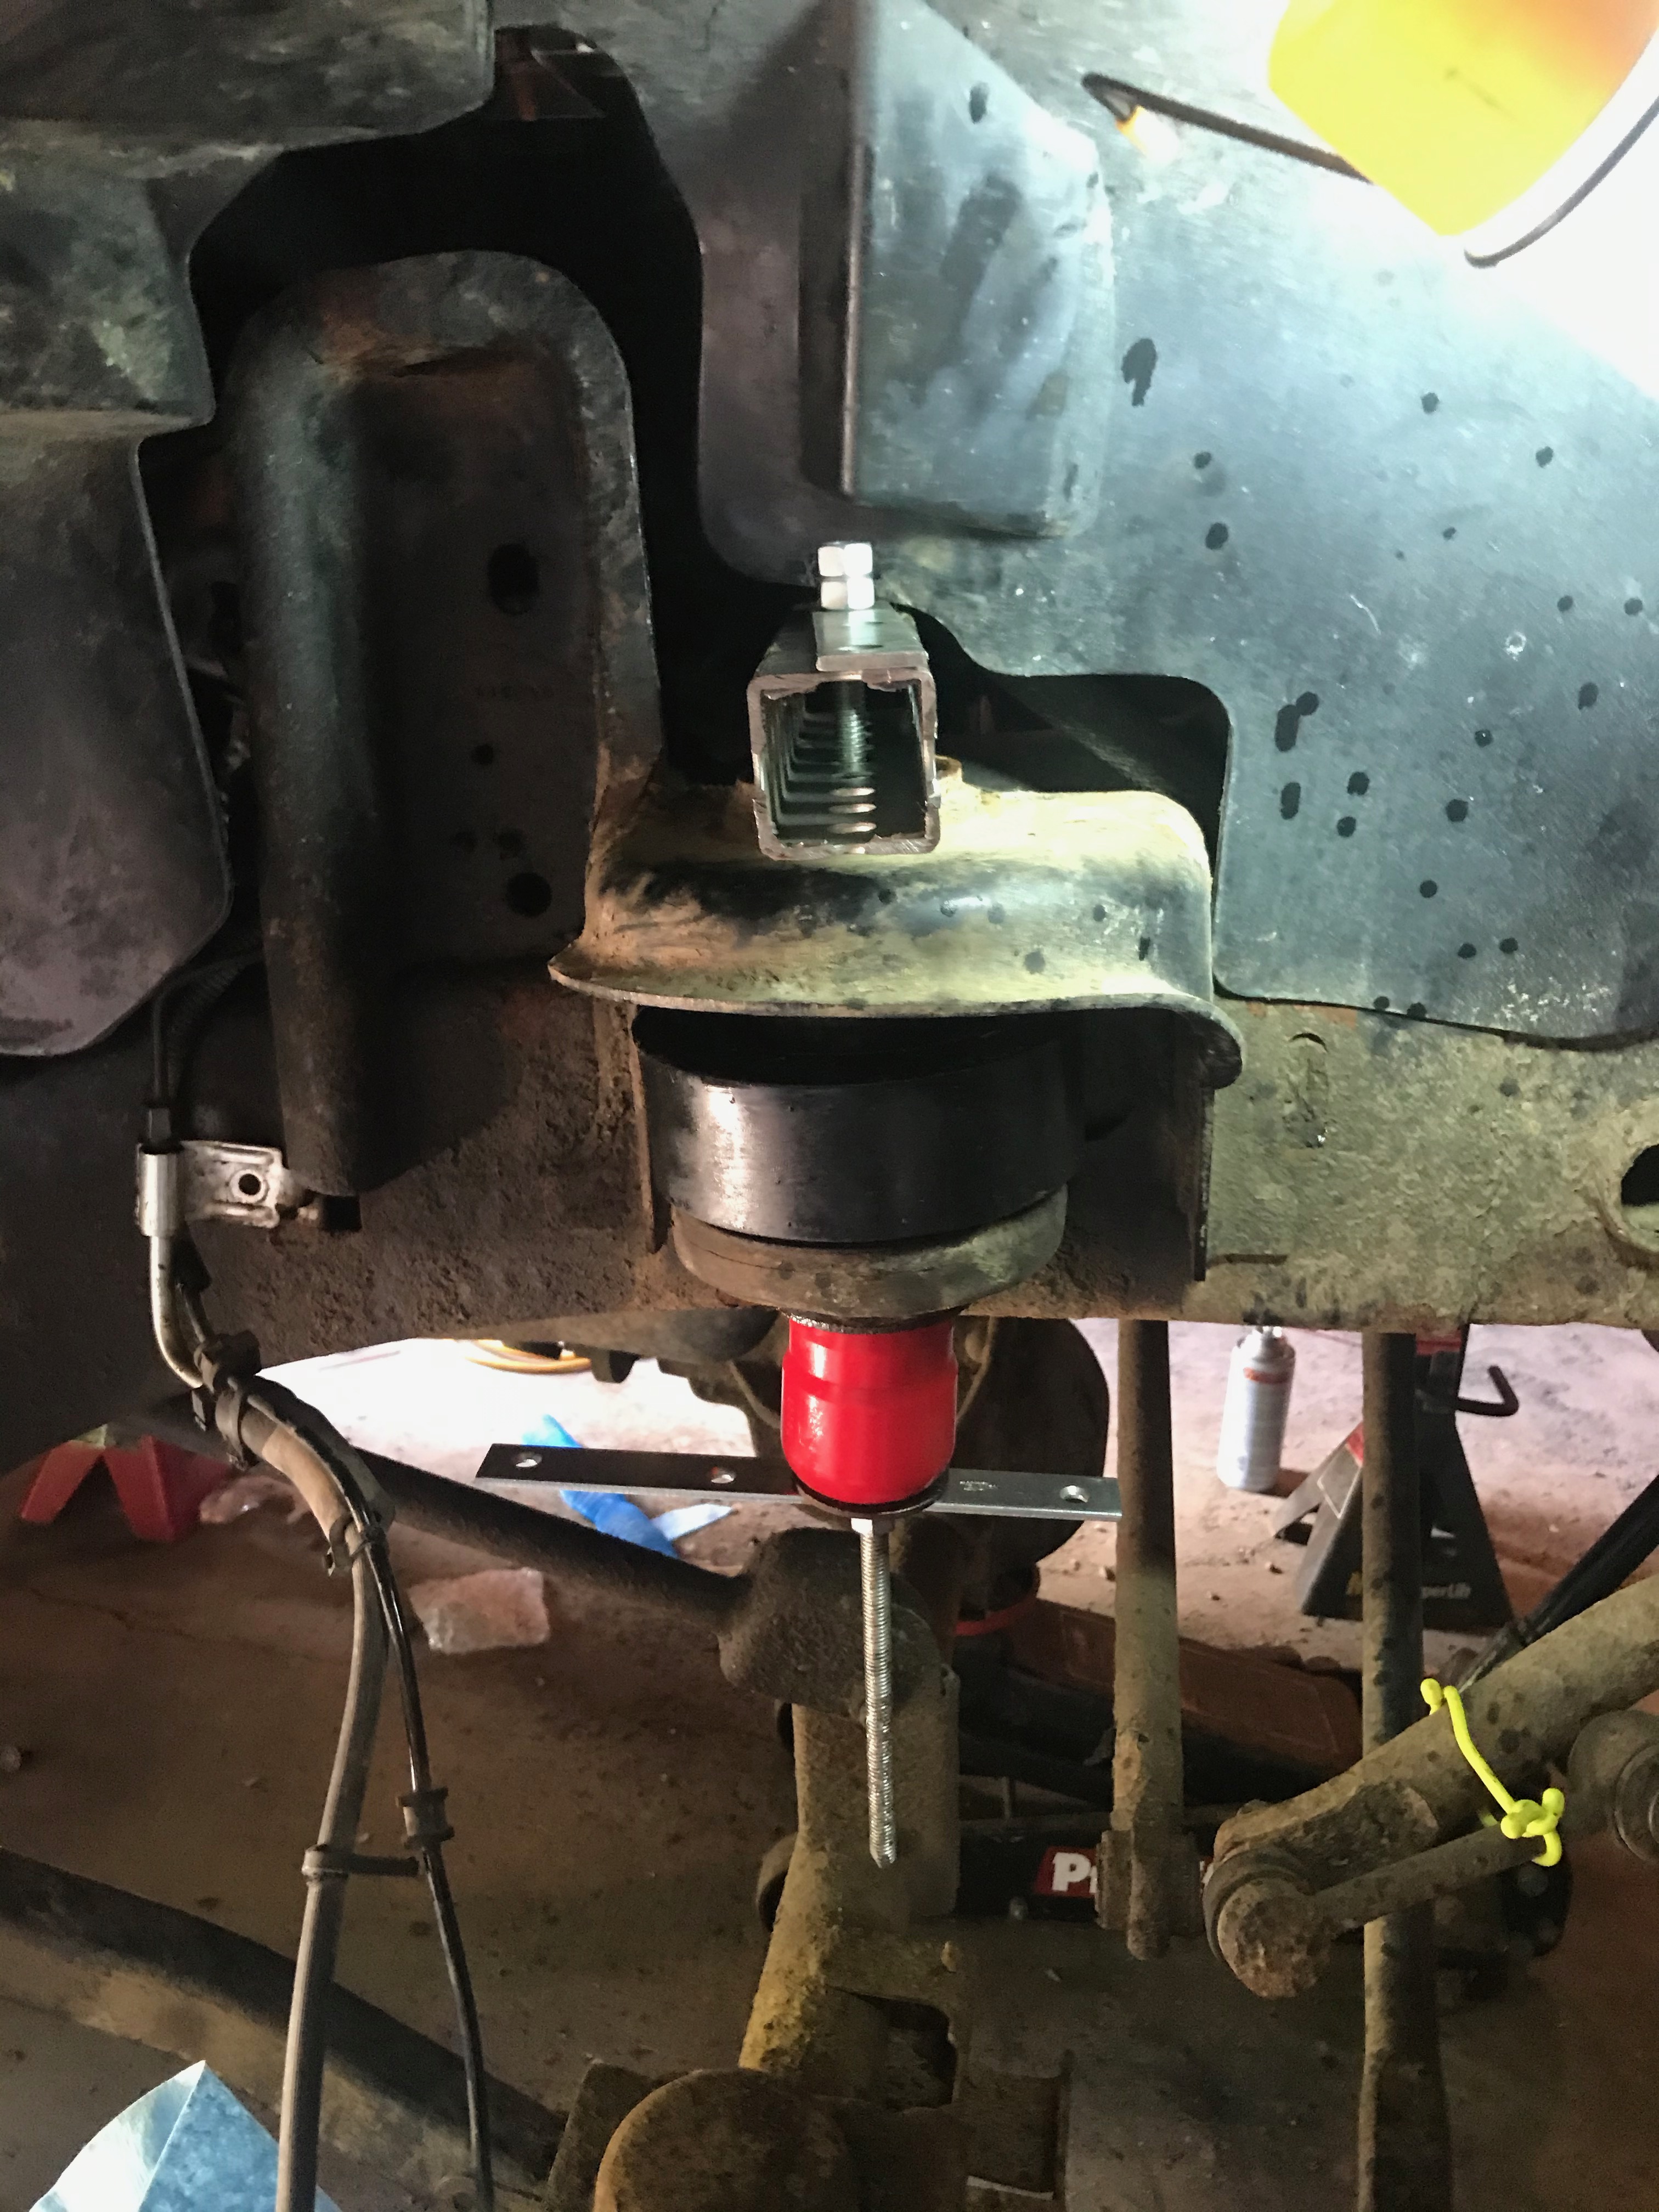
1.75" Rough Country Spacer


Fluid Film so the below the spring will be somewhat protected.


Bit of blue thread lock -- while it could be torqued alone, the thread locker provides a anti-sieze effect to protect the threads so once you break the thread lock it should come off easily.


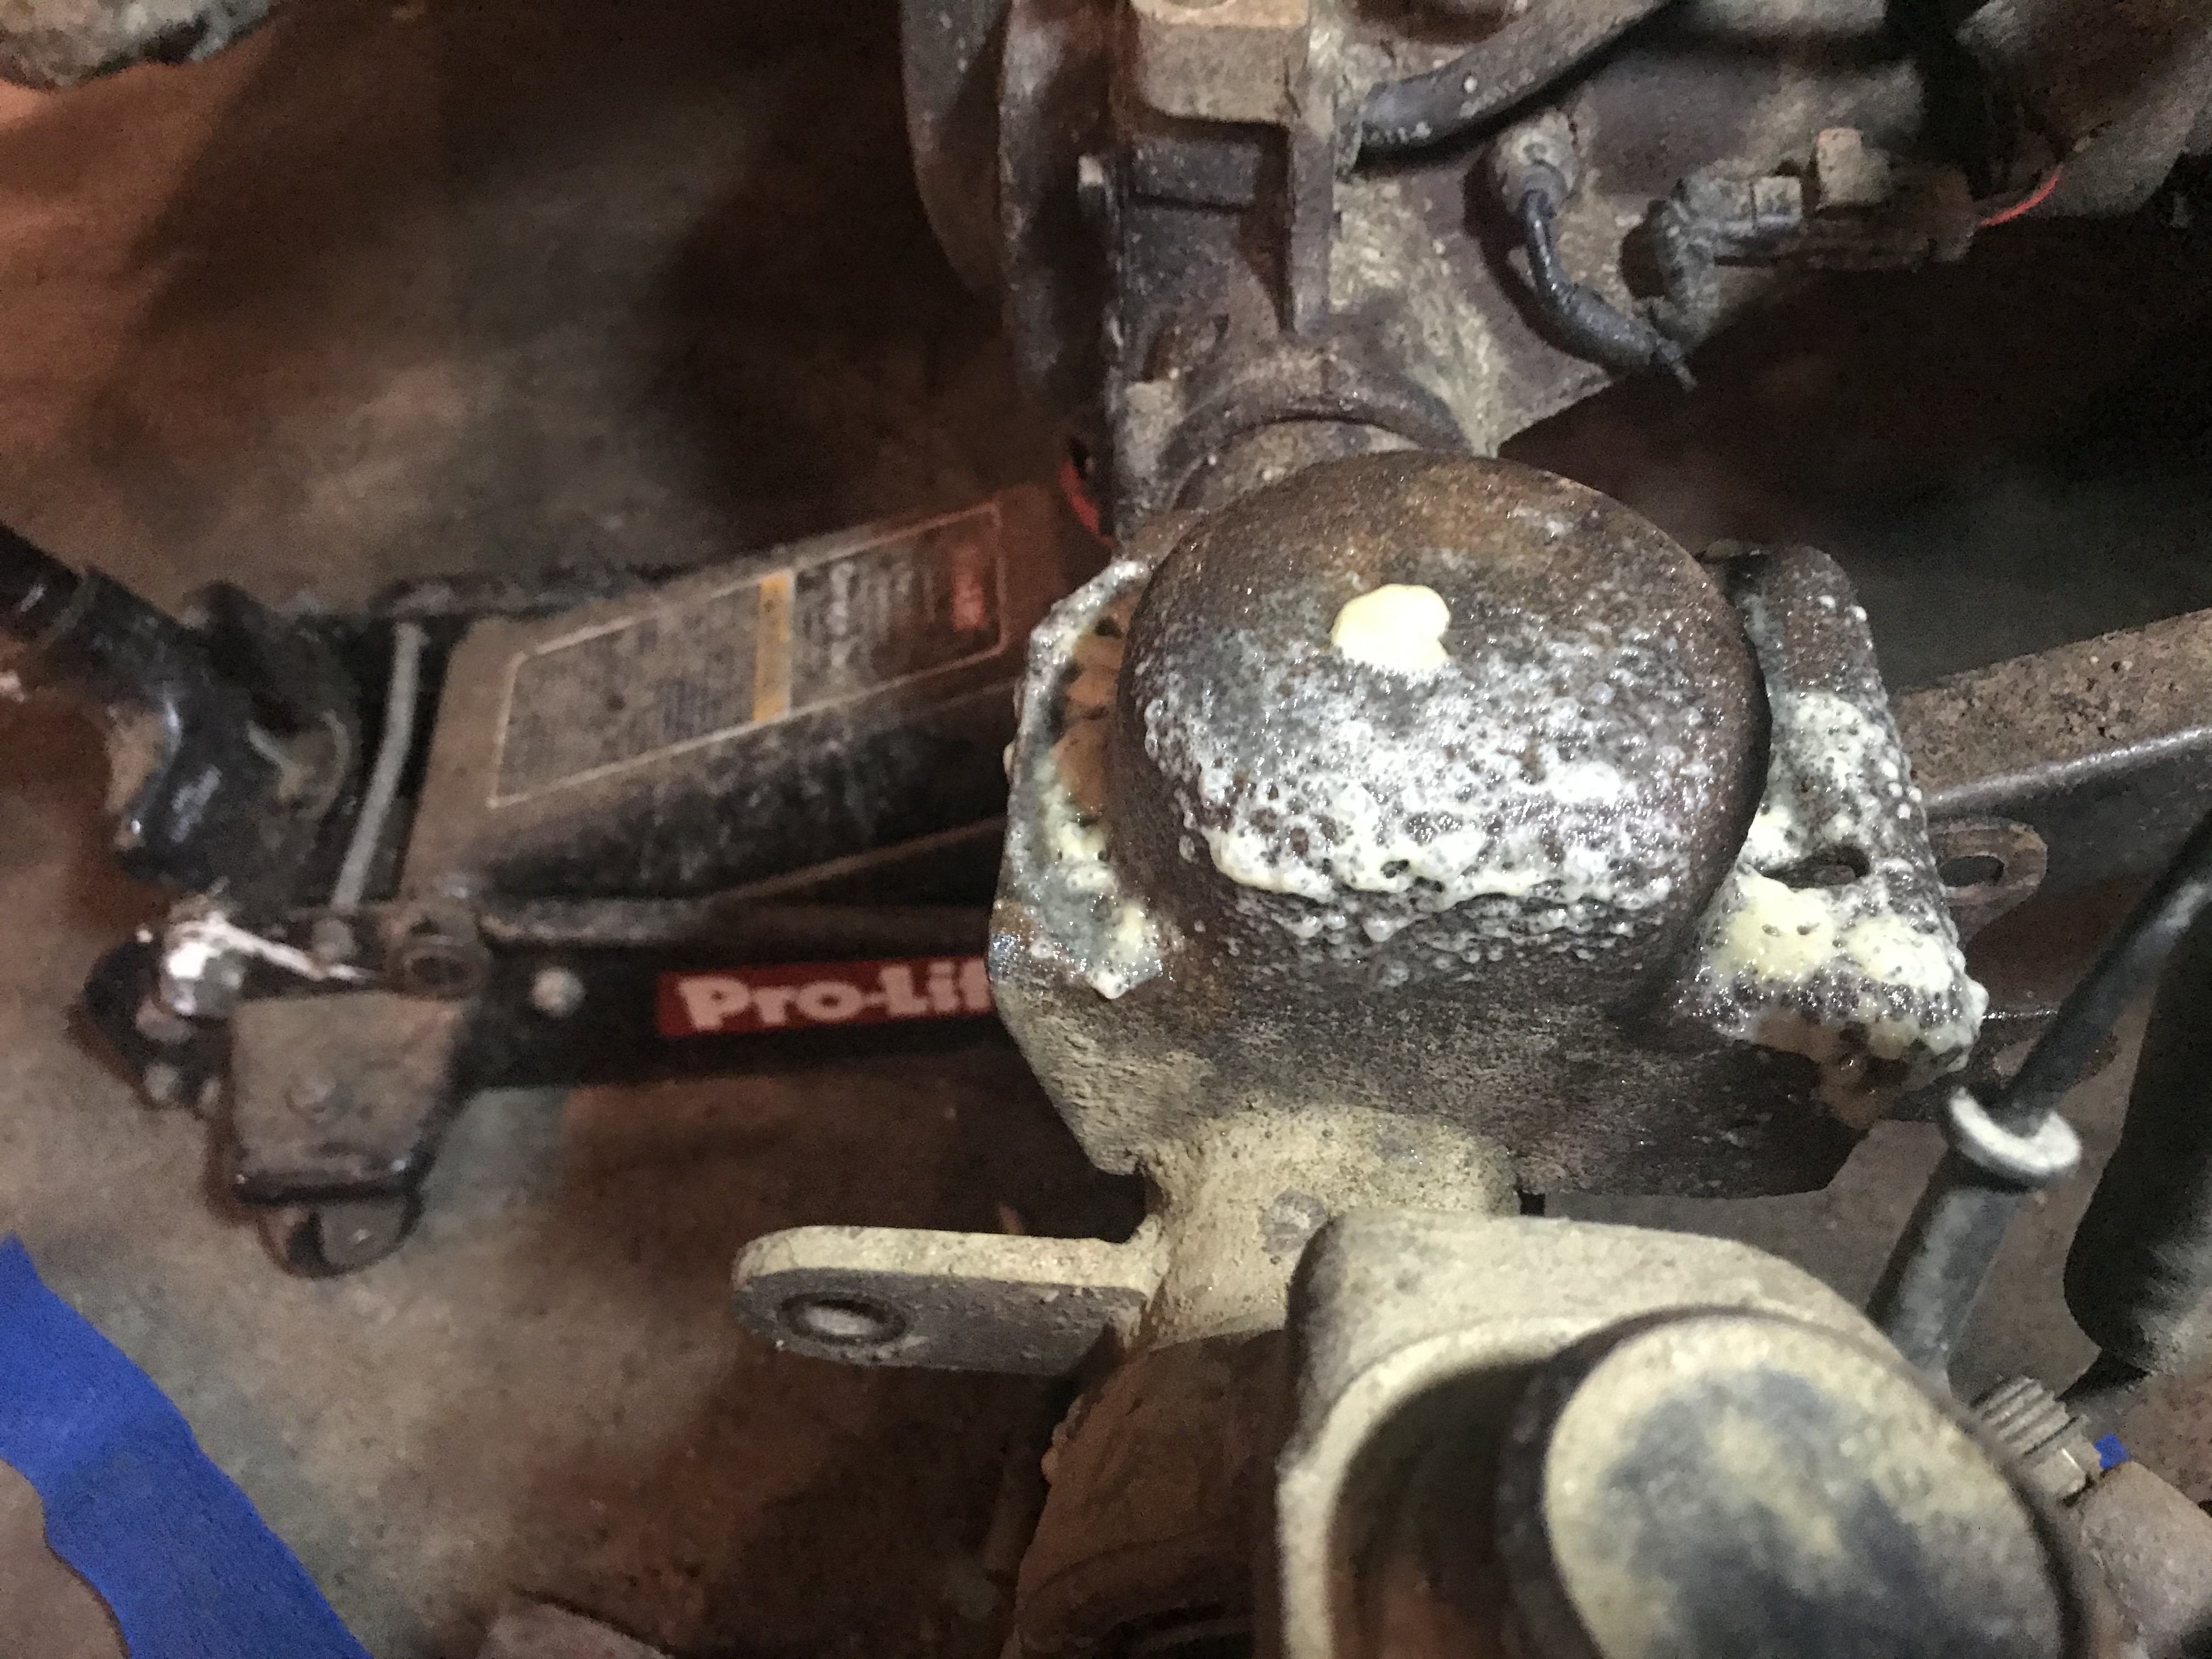
The passenger side was so plug with crap, had to use a chisel to initally break through the long cylinder to the top.


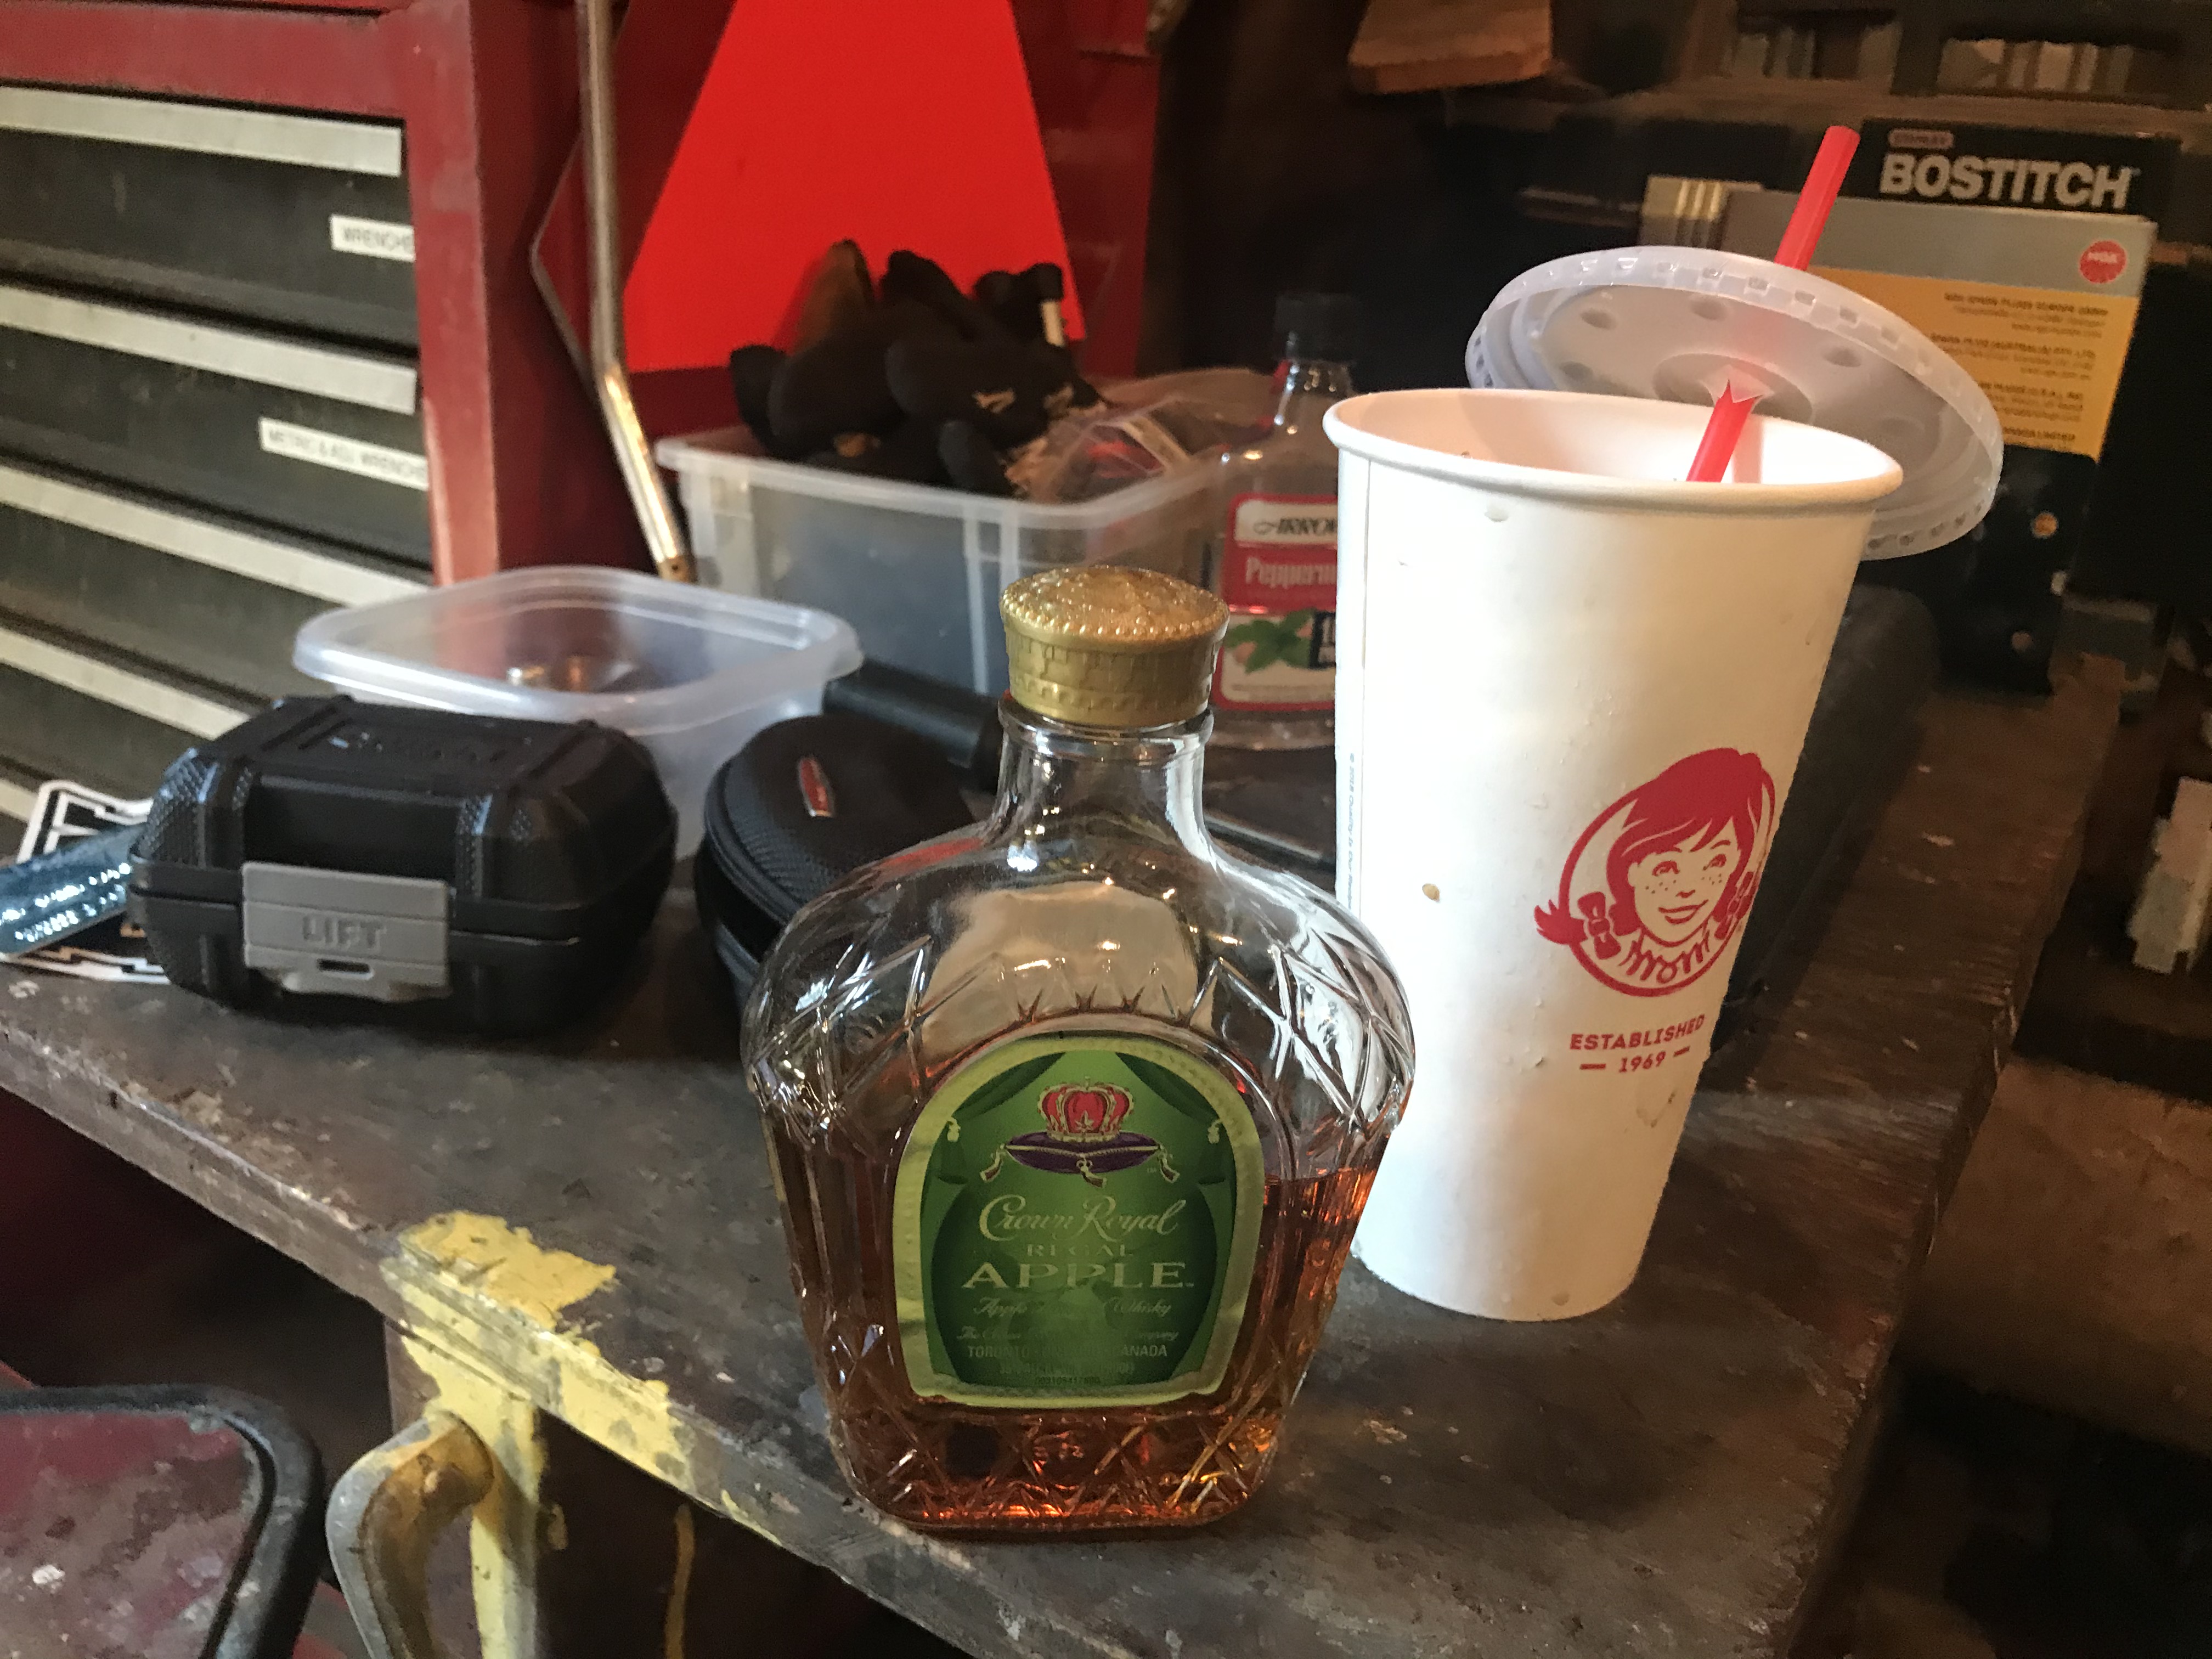
Lunch time...you know what would go good with this sprite? Garage Crown!


The tabs that are supposed to "catch" the bump stops weren't working because they were plugged on top with concrete-like sand crud. Punched it out.


Yeah, I may need to work on that bump stop some more. The rear isn't really popping in like I'd like.


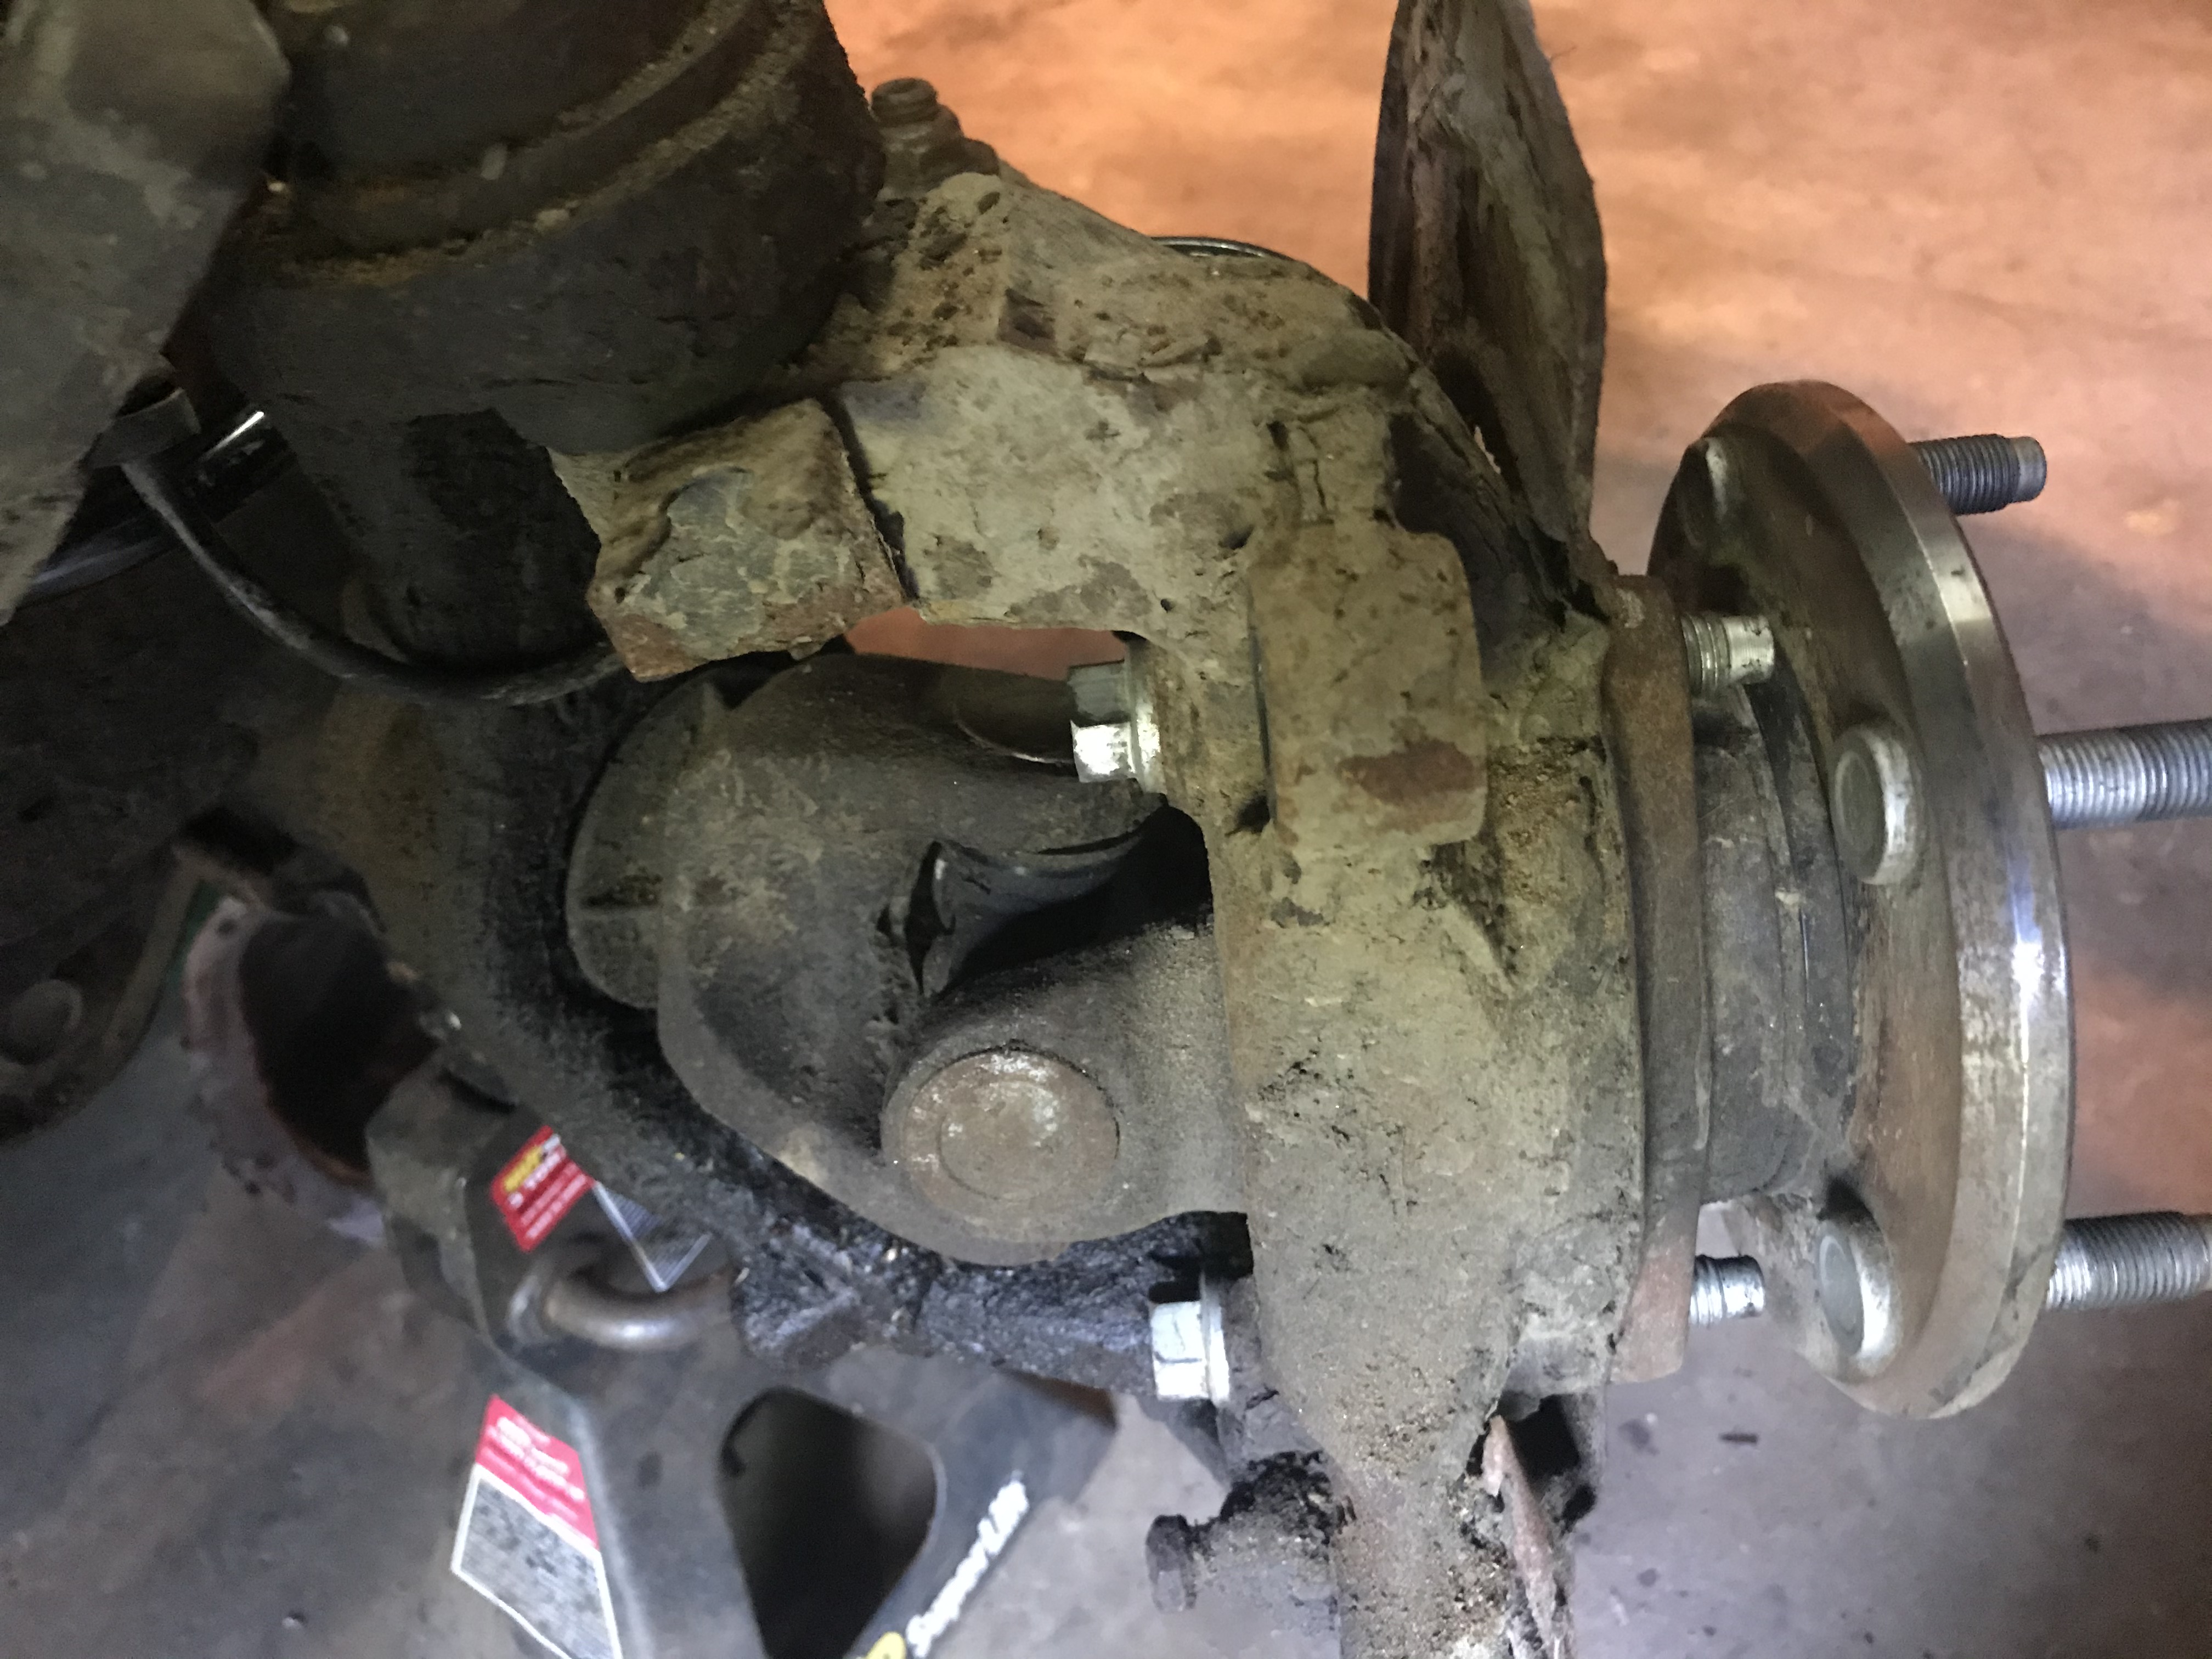
And this is the first time I've opened up a differential.